
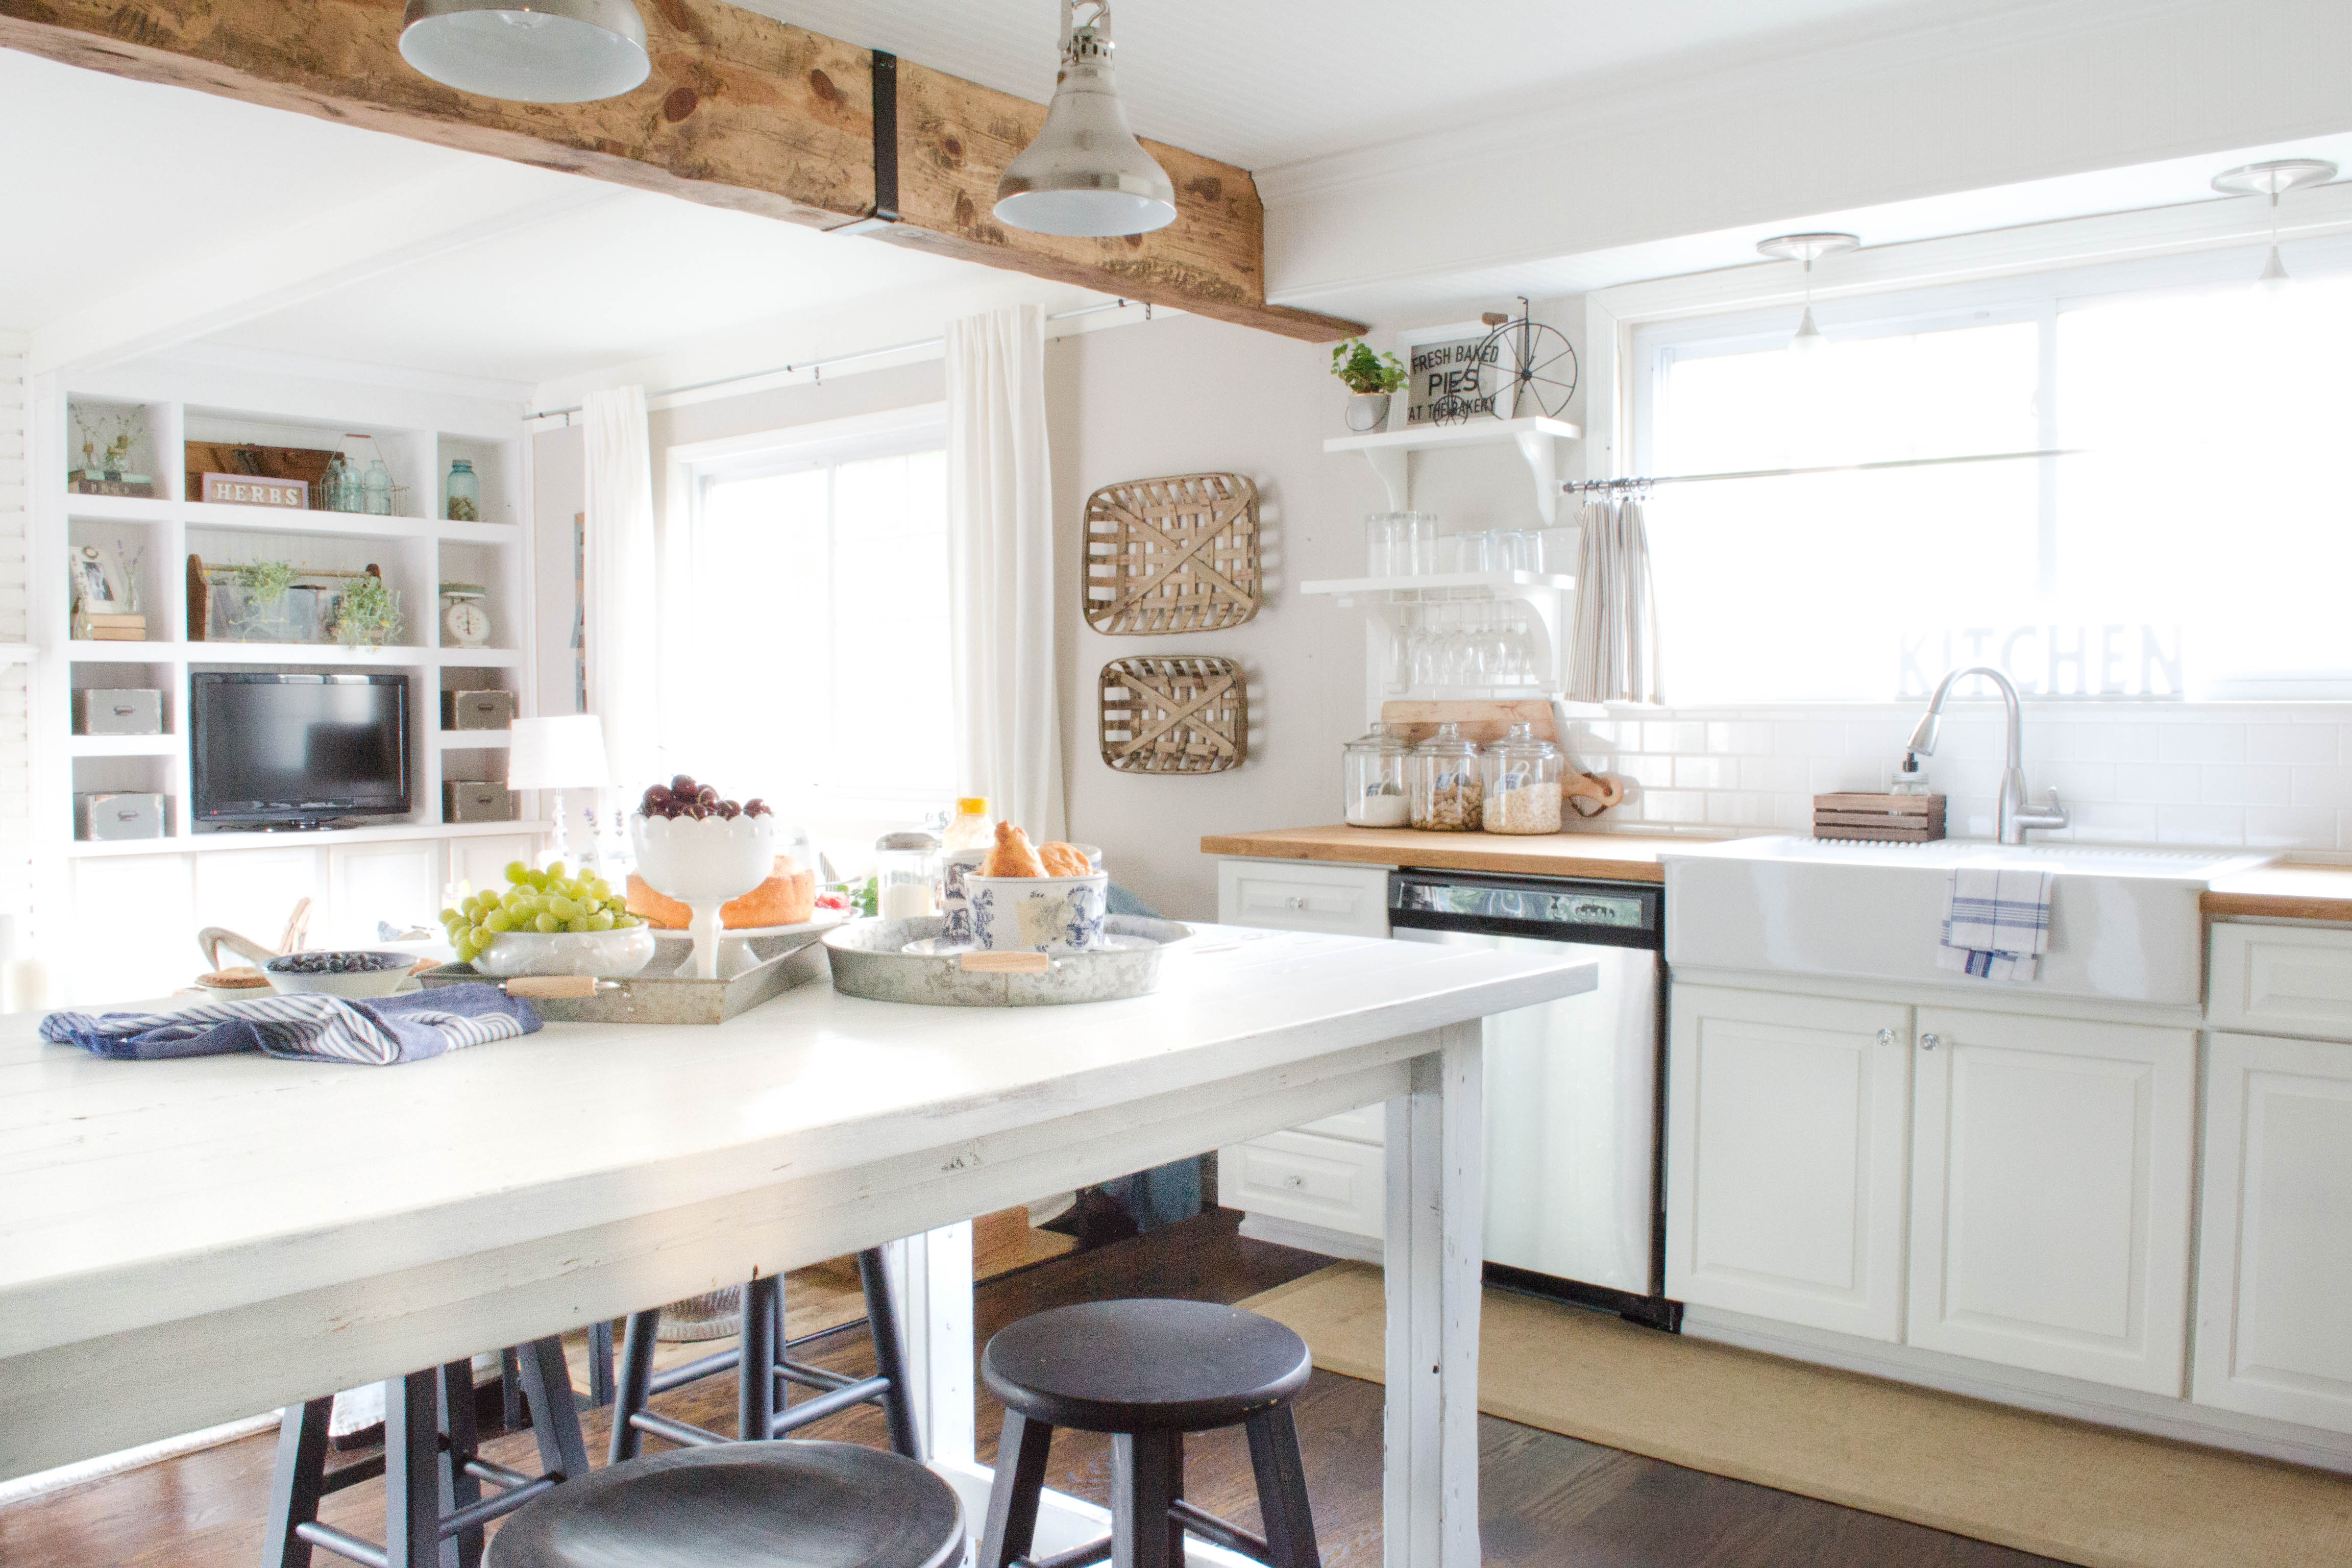
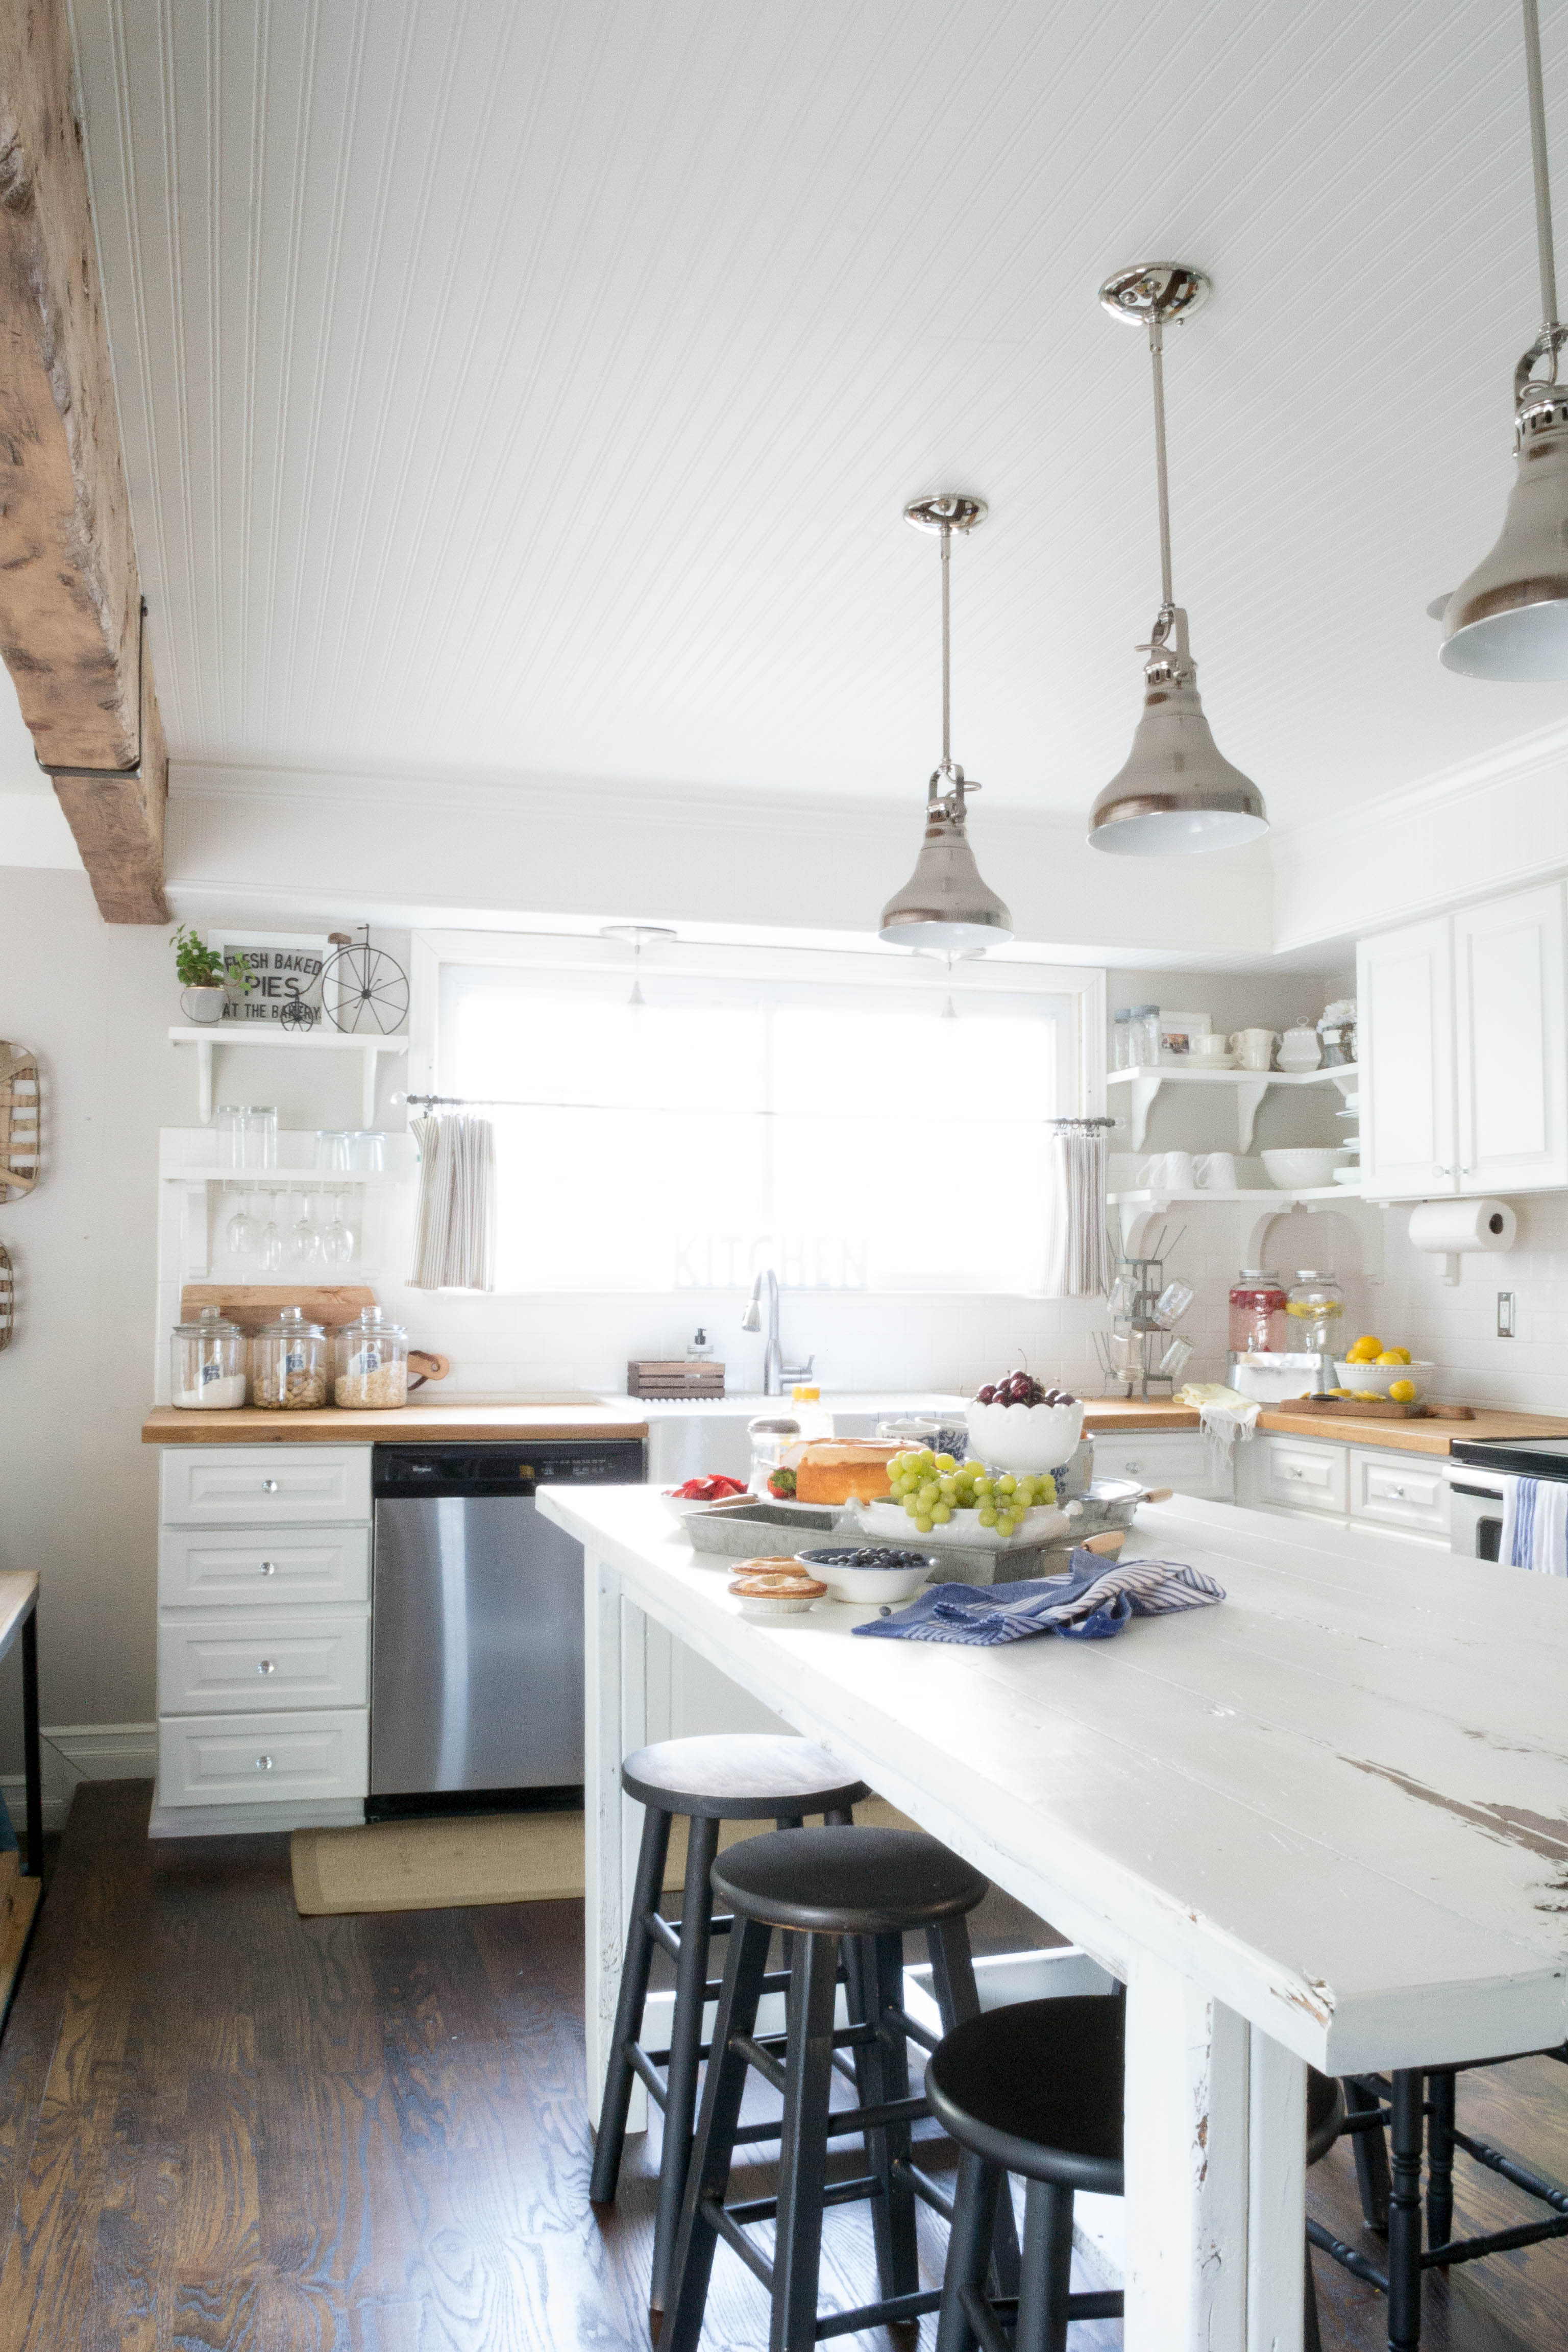
I’m so exctatic right now!!! You have NO idea! Because once upon a time I bought this fixer upper house and slowly started to make it my own with all these really awesome projects. Well, I took a bunch of pictures from these really awesome projects and until today thought I lost them when I lost my sd card(s) (sss) because I lose so many. BUT!! To my surprise I managed to save some photos on my desktop from parts of our kitchen renovation. So I’m so excited that I can actually share these with you. I’m especially happy because the one project I was so bummed to have lost is the one I found & the one I’m sharing today! It’s my reclaimed wood beam DIY!
(This post contains affiliate links. This means I get commissions for purchases made through links in this post.)
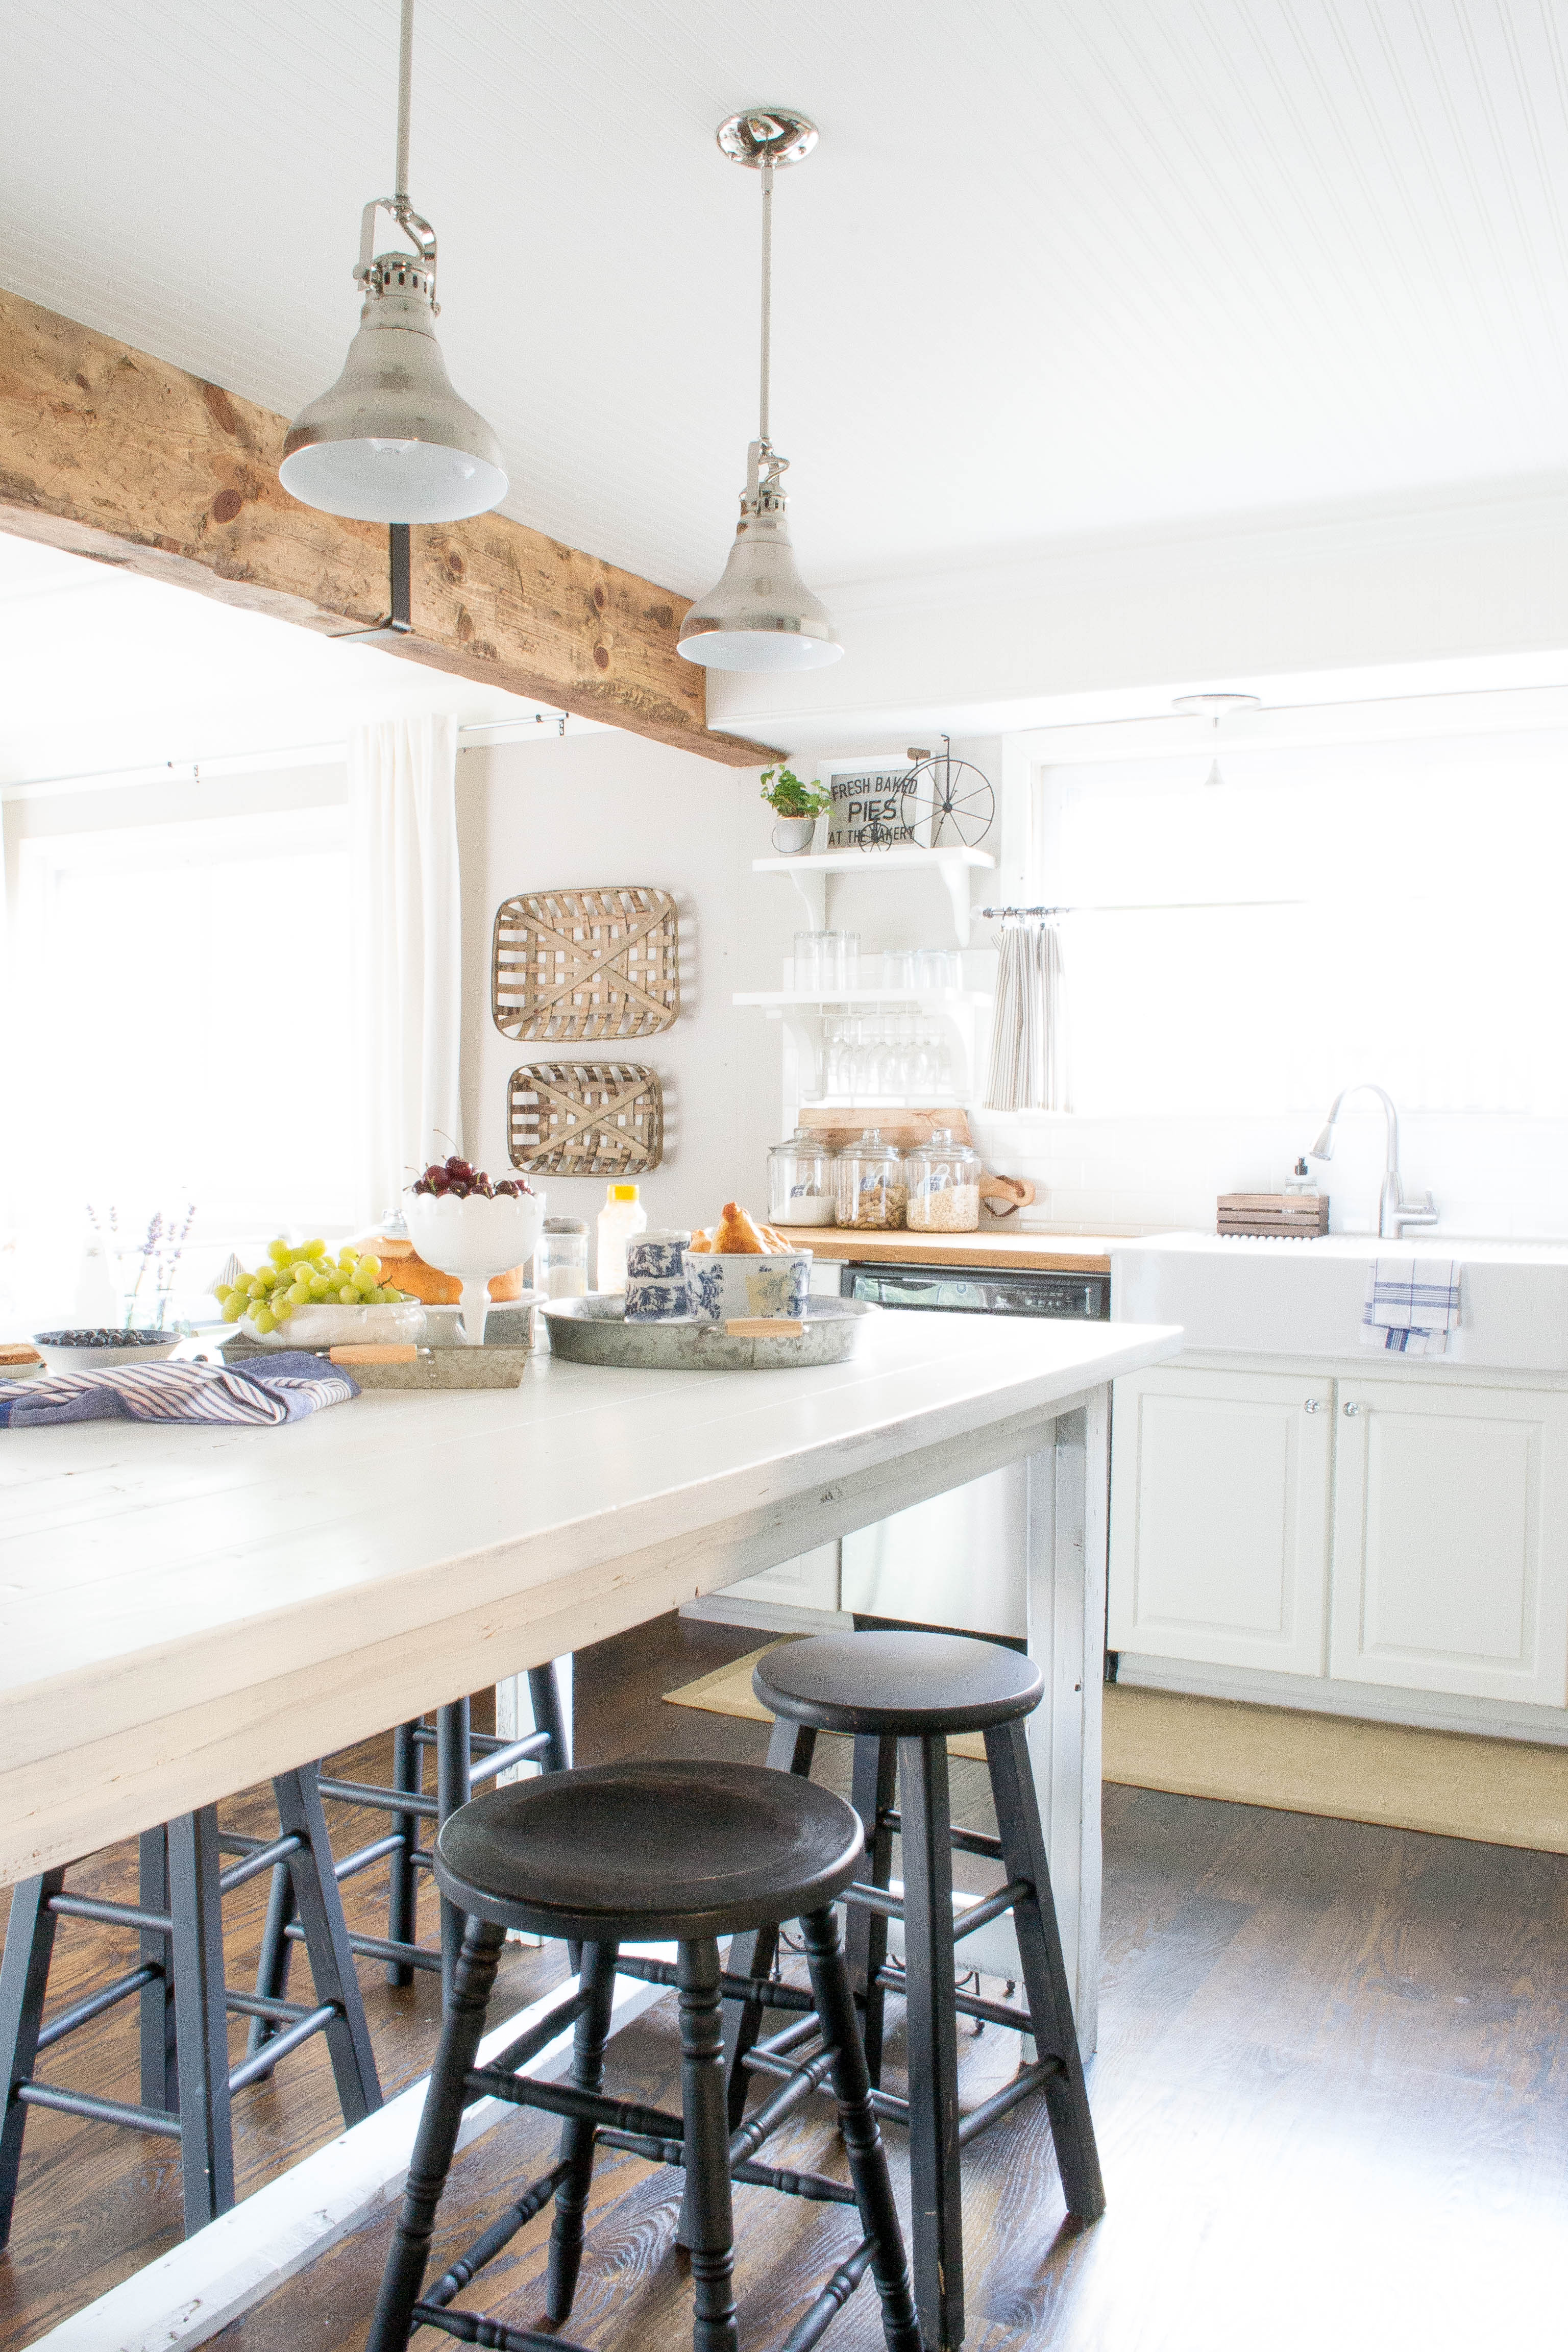
Reclaimed Wood Beam DIY Tutorial
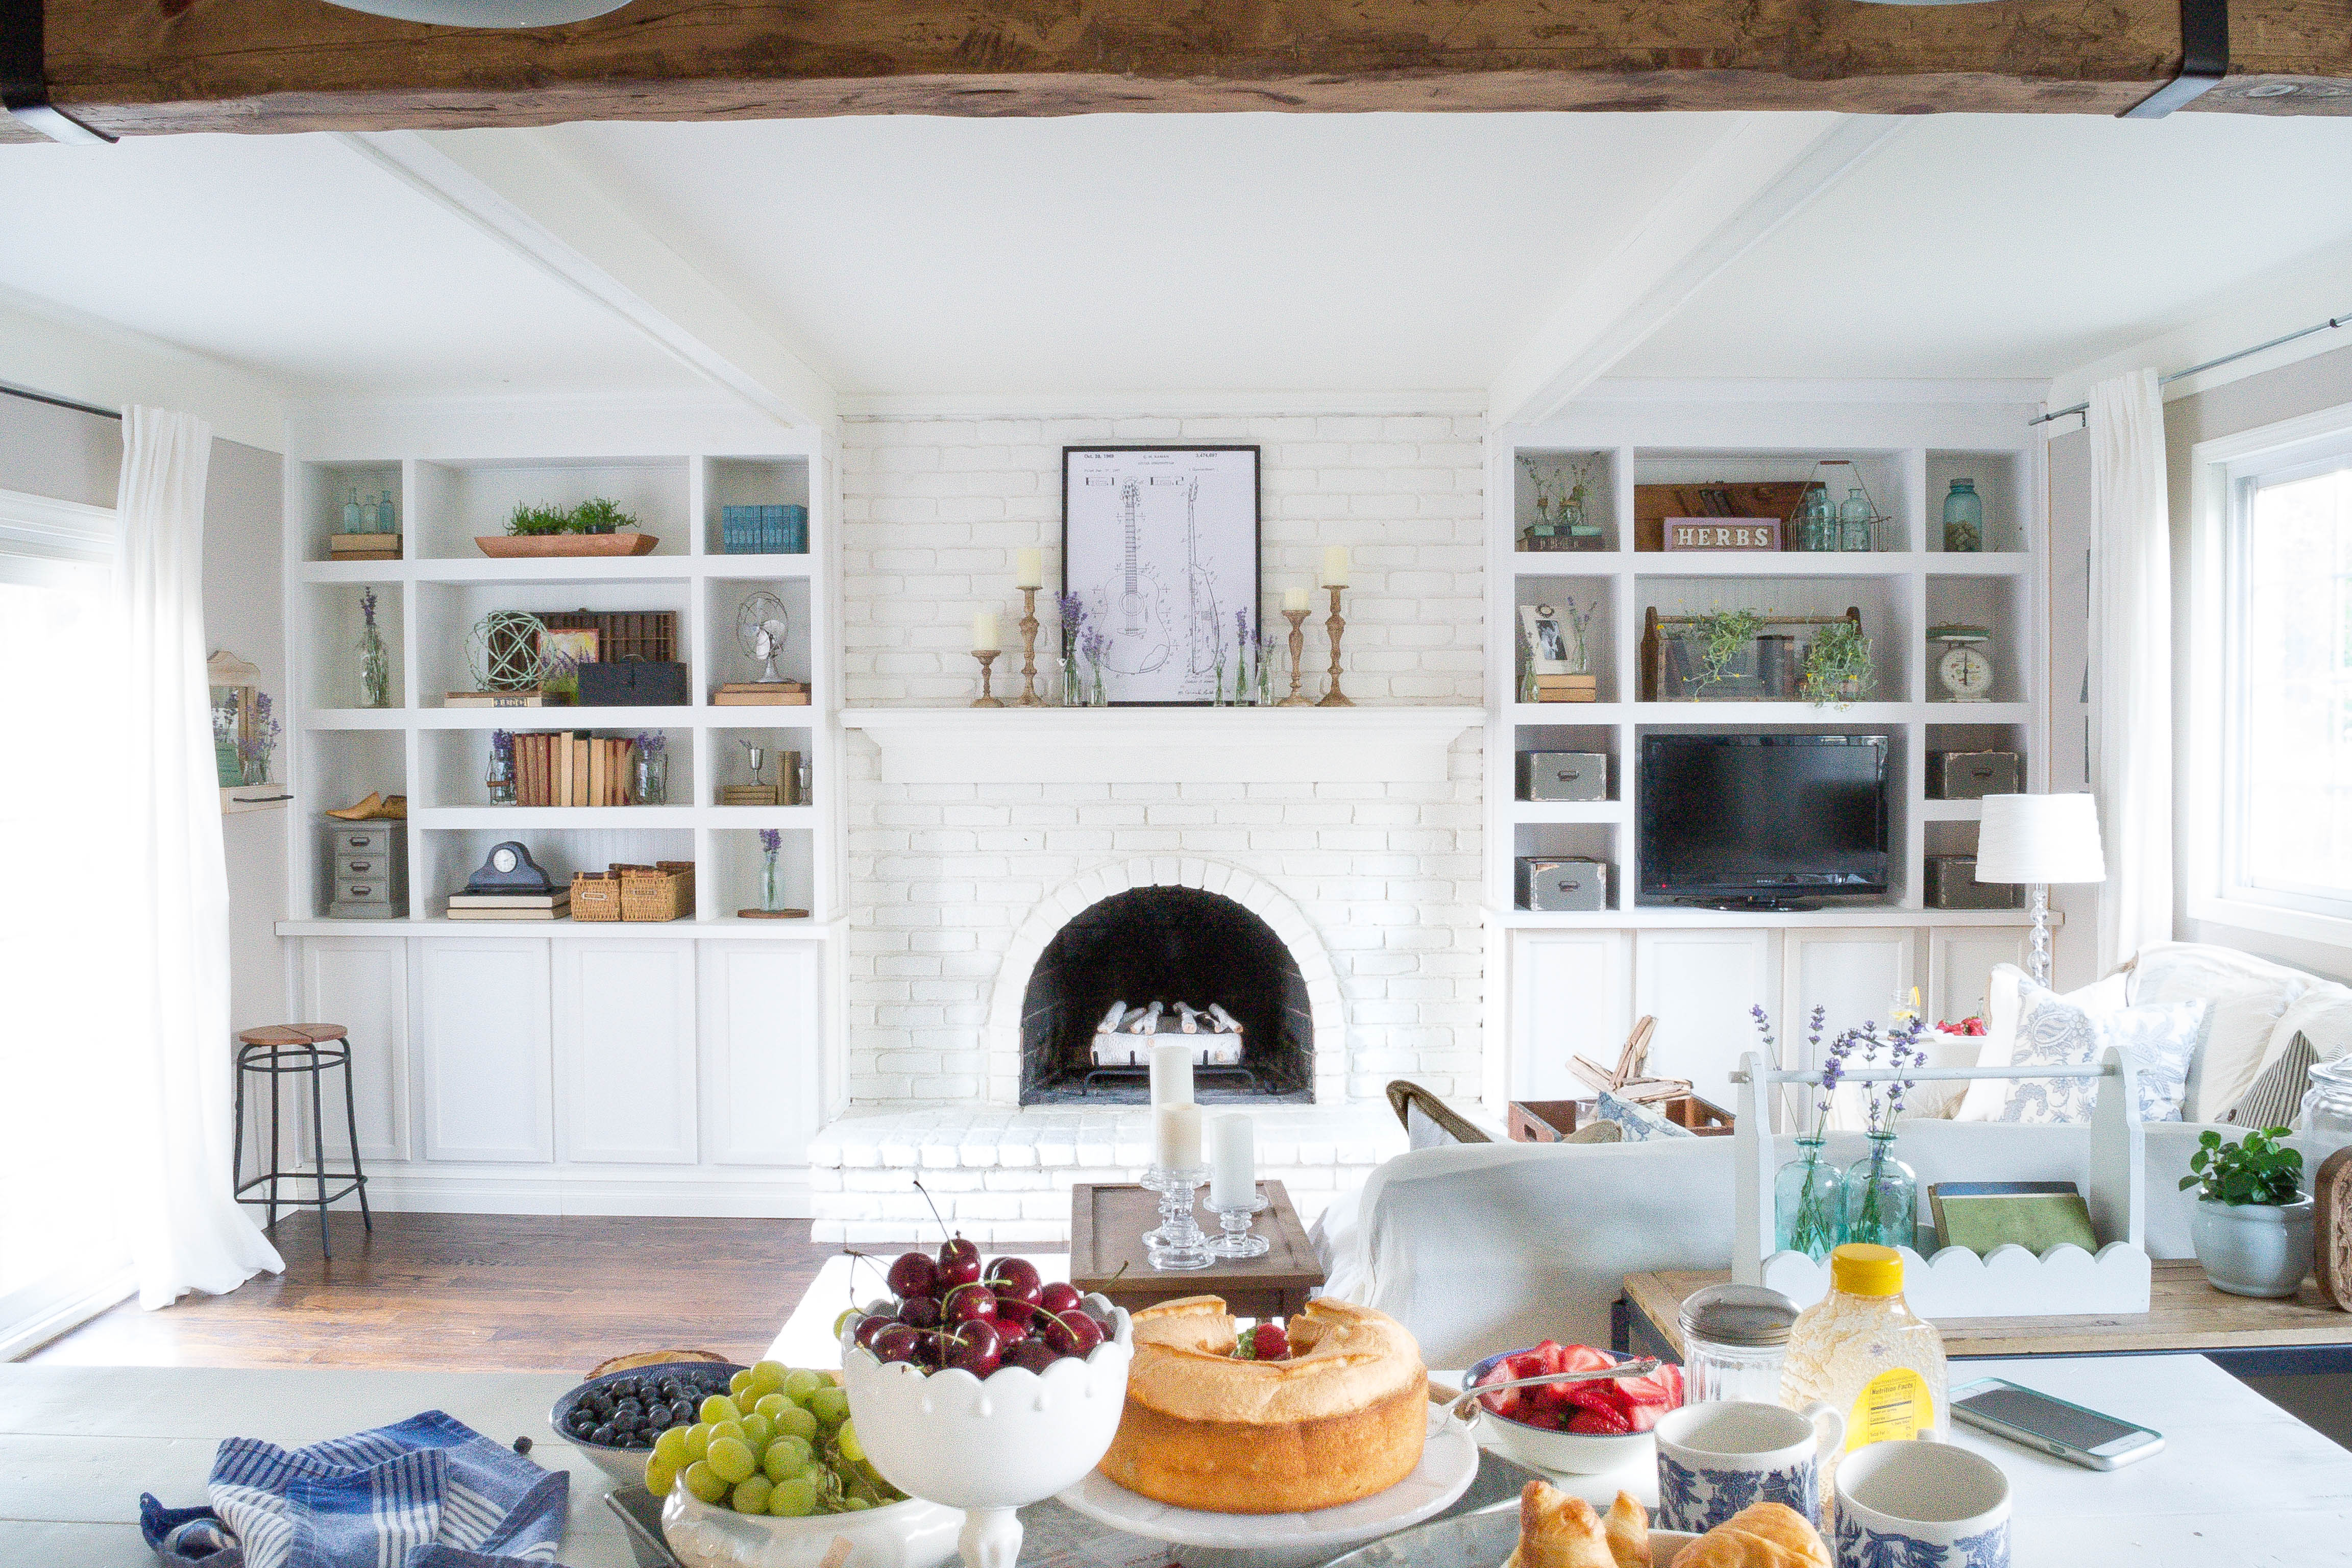
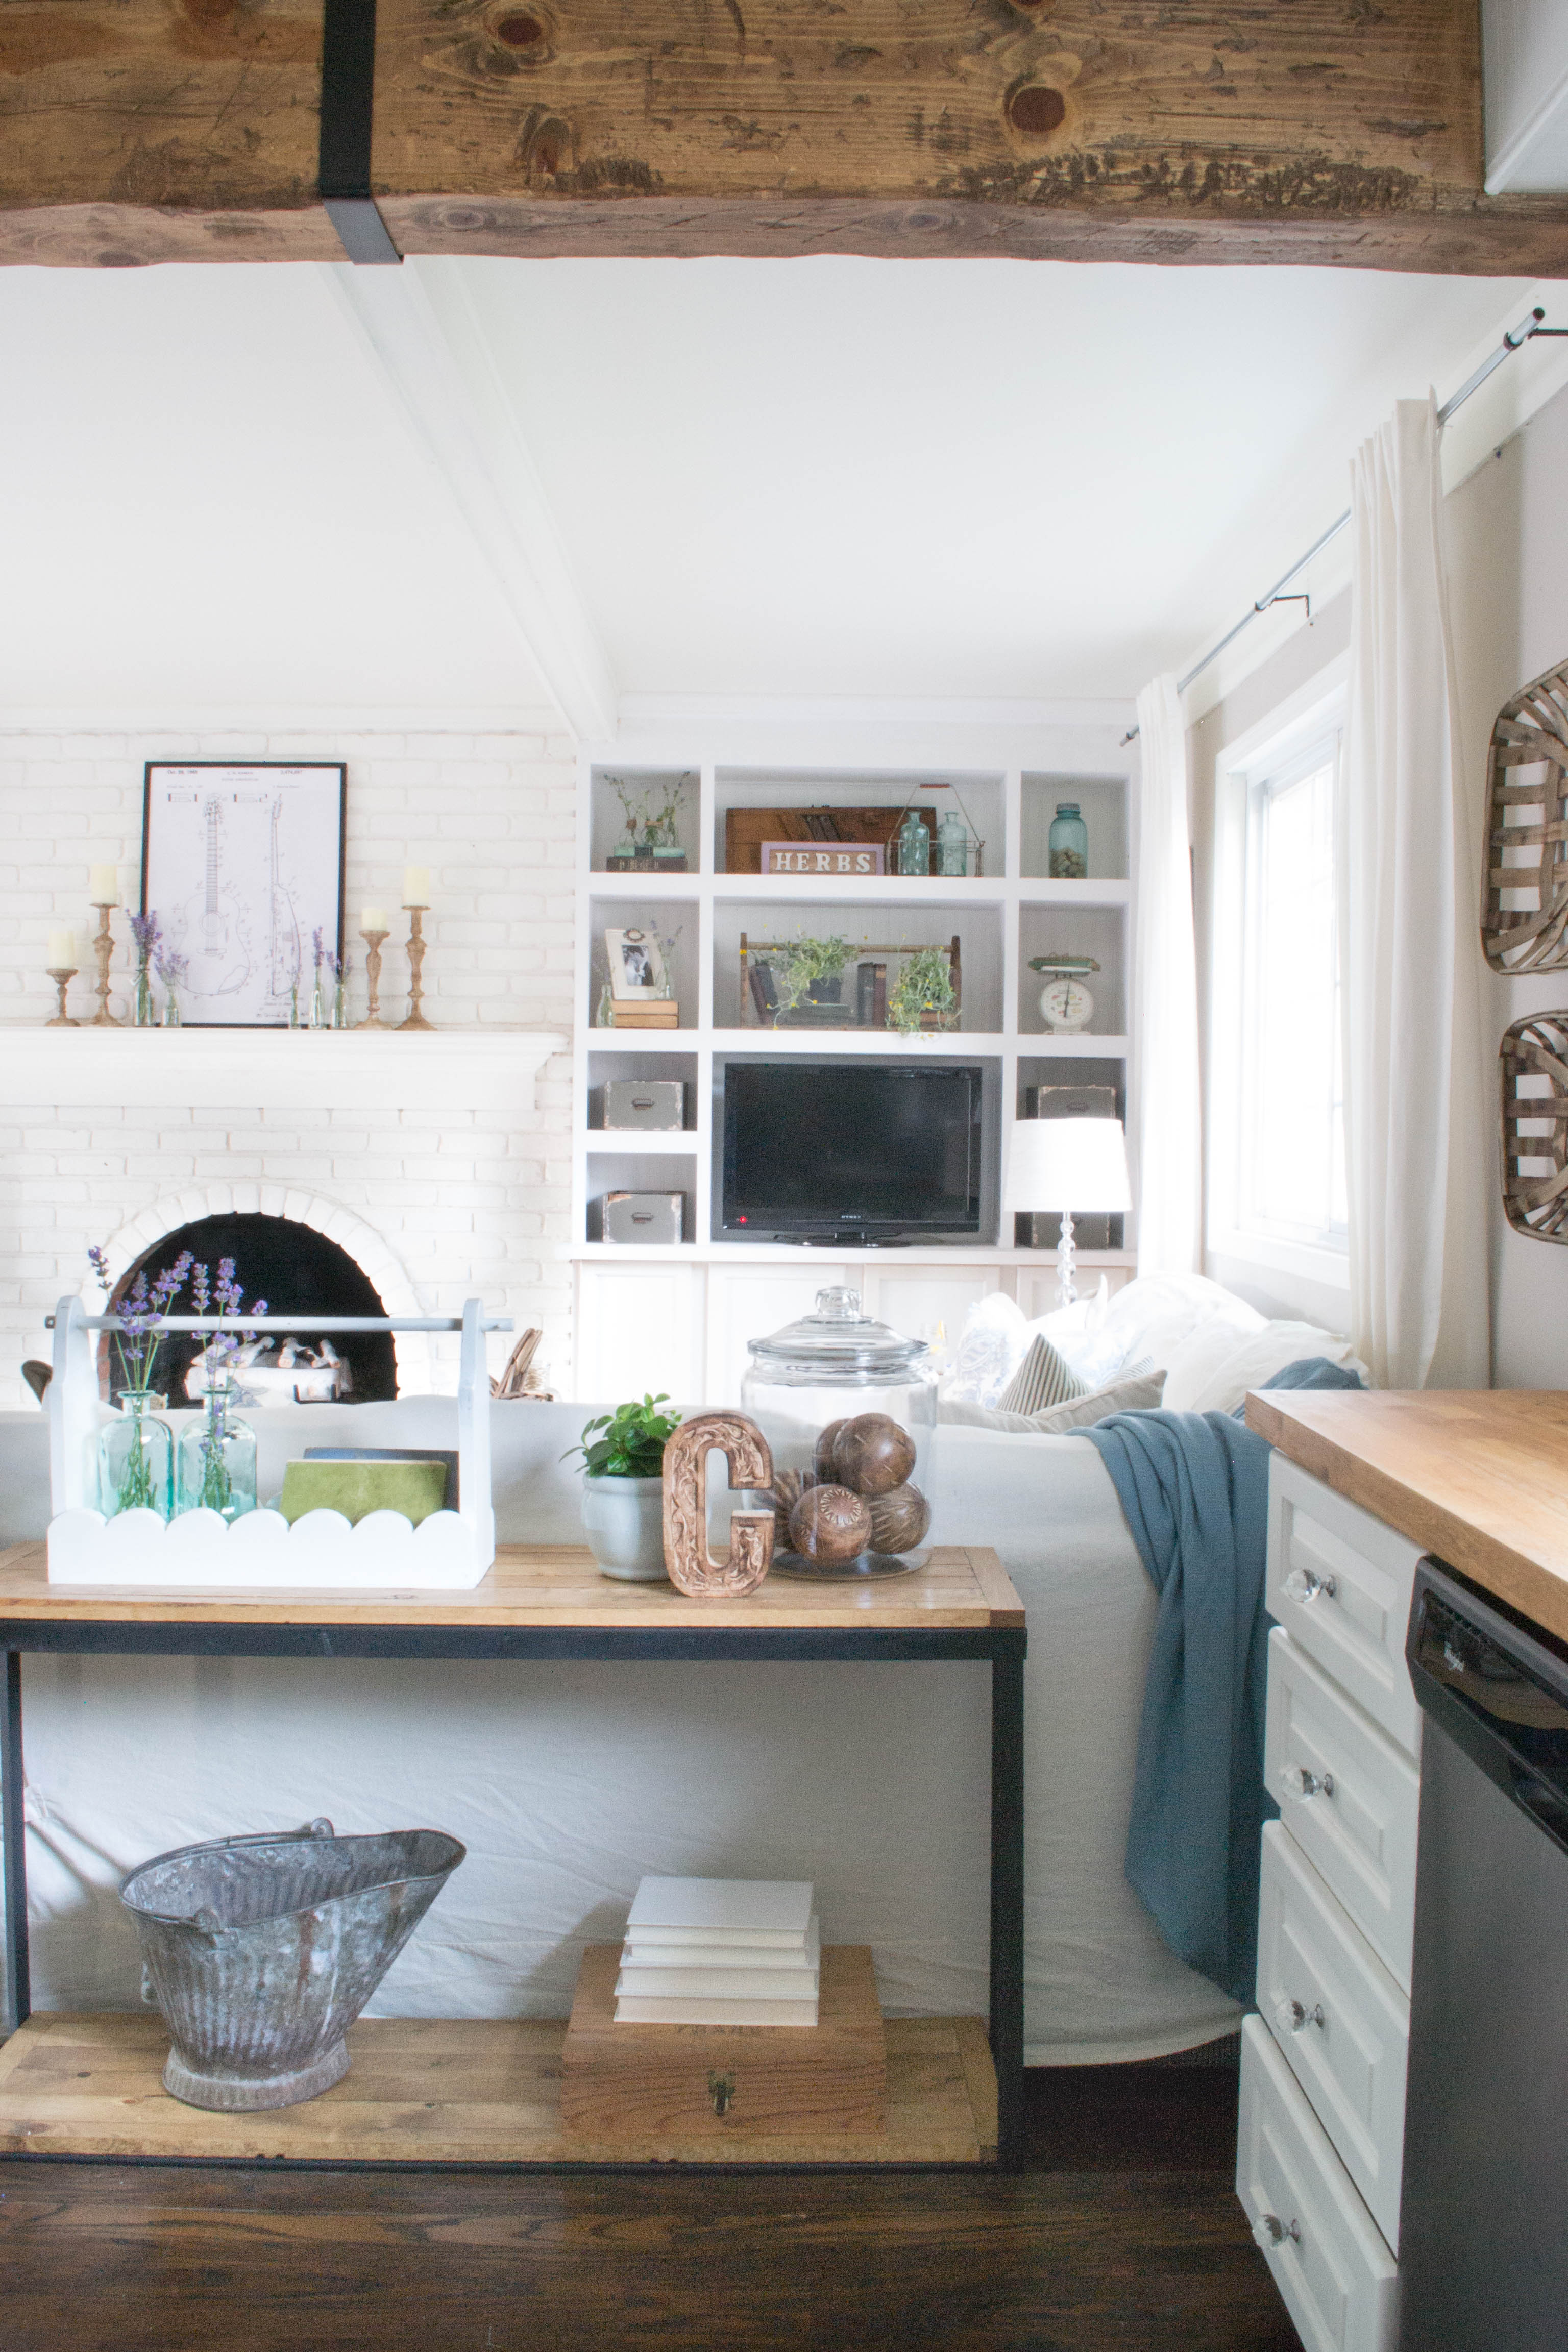
When people walk in my house and see this beam, I kid you not these are the questions I get:
“OMG! Was that original to the house??”
“Is this one of those reclaimed beams from an old barn??”
“That must have cost a fortune to install!”
“How did you get it up there? It probably took a ton of people to hold it in place!”
“Where did you find a beam so perfect for this space??”
I kid you not, and I’m not exaggerating in the least about those quotes. This is probably the most talked about piece in my home. And people are shocked when they hear me say I did it myself…with new wood…and it was cheap! They still can’t believe how I did it.
But today I’m sharing with you my reclaimed wood beam DIY tutorial so that you can do it too!
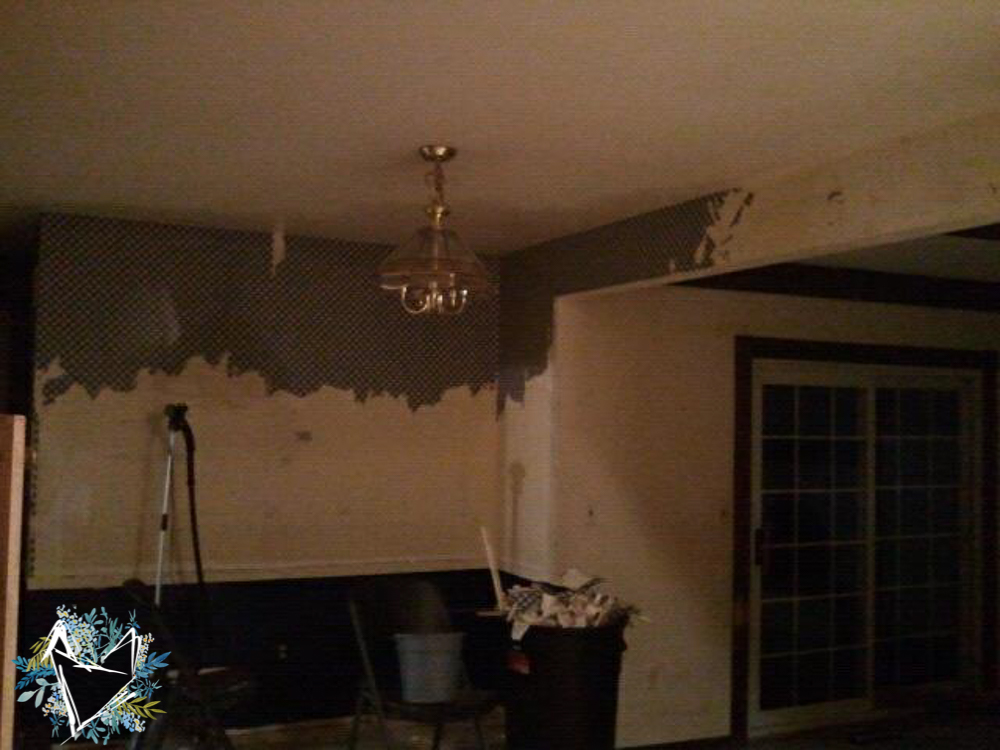
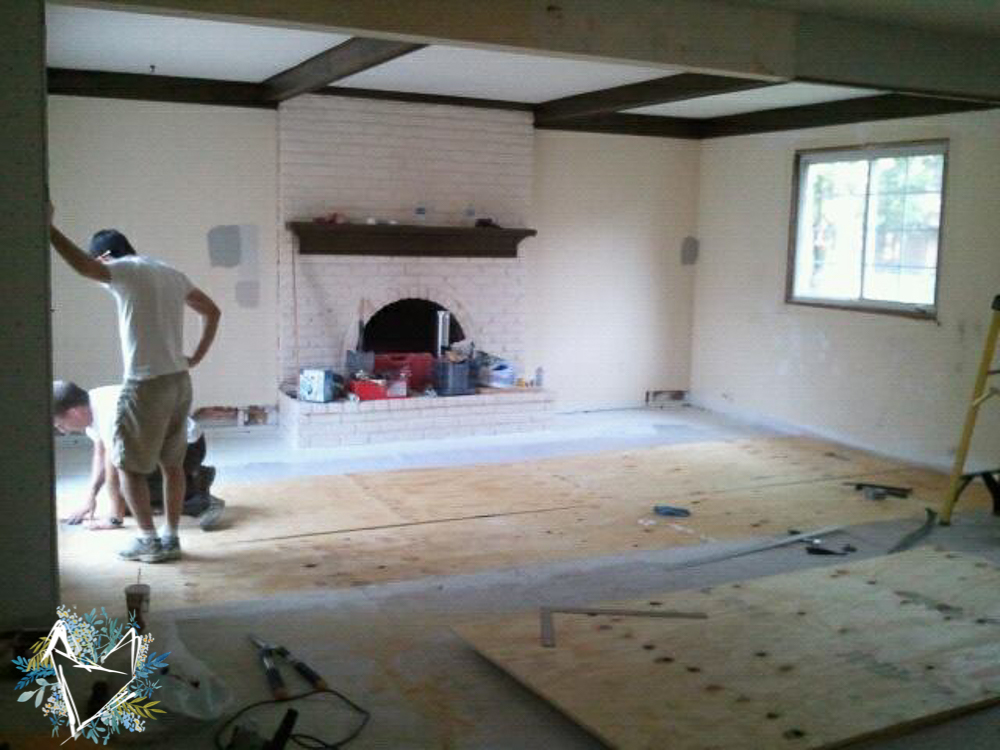
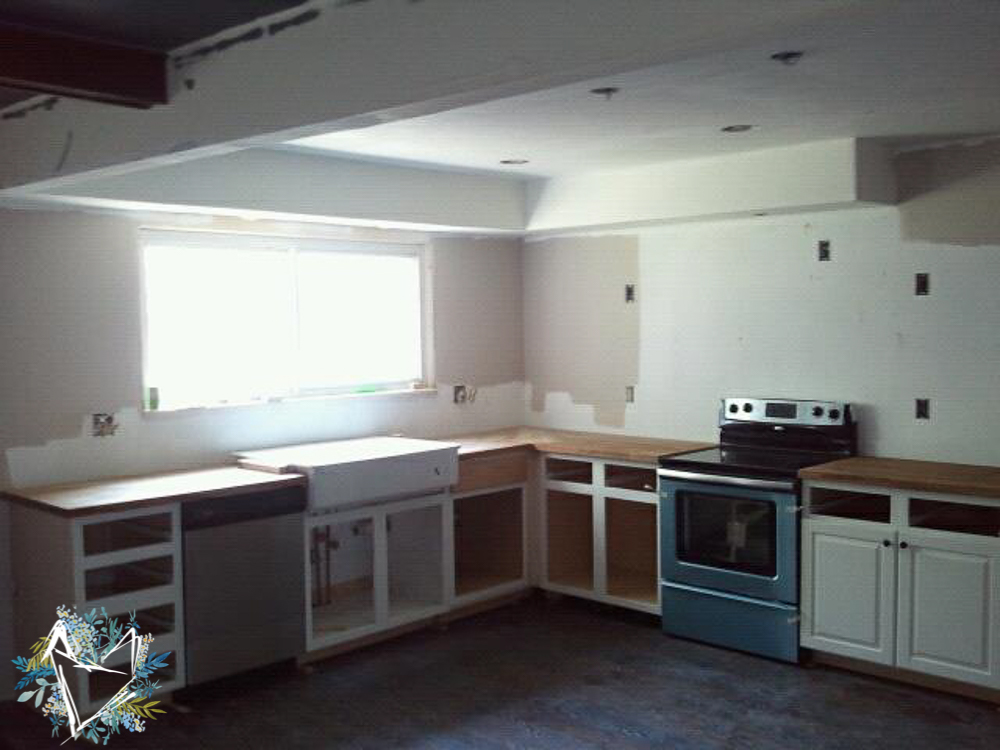
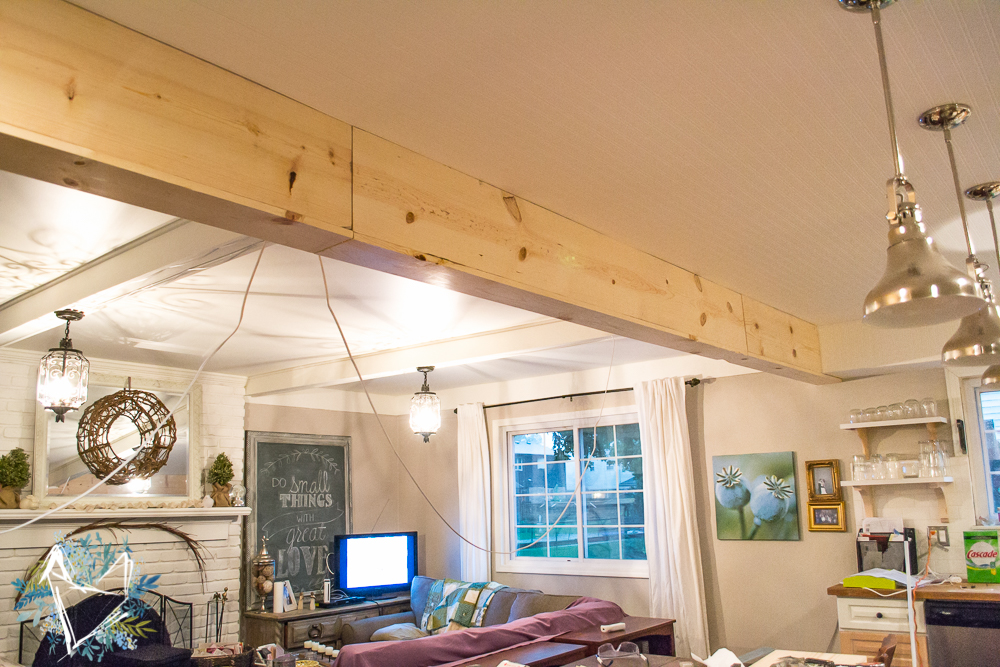
But first…some before pictures!! Which will be kind of fun, since you’ll get to see a bit of an evolution of our house! What I want you to notice, though, is that once we took out the peninsula and cabinets, the header just seemed really out of place. I mean, more than it already had before. And we just had to do something to make it fit with our style.
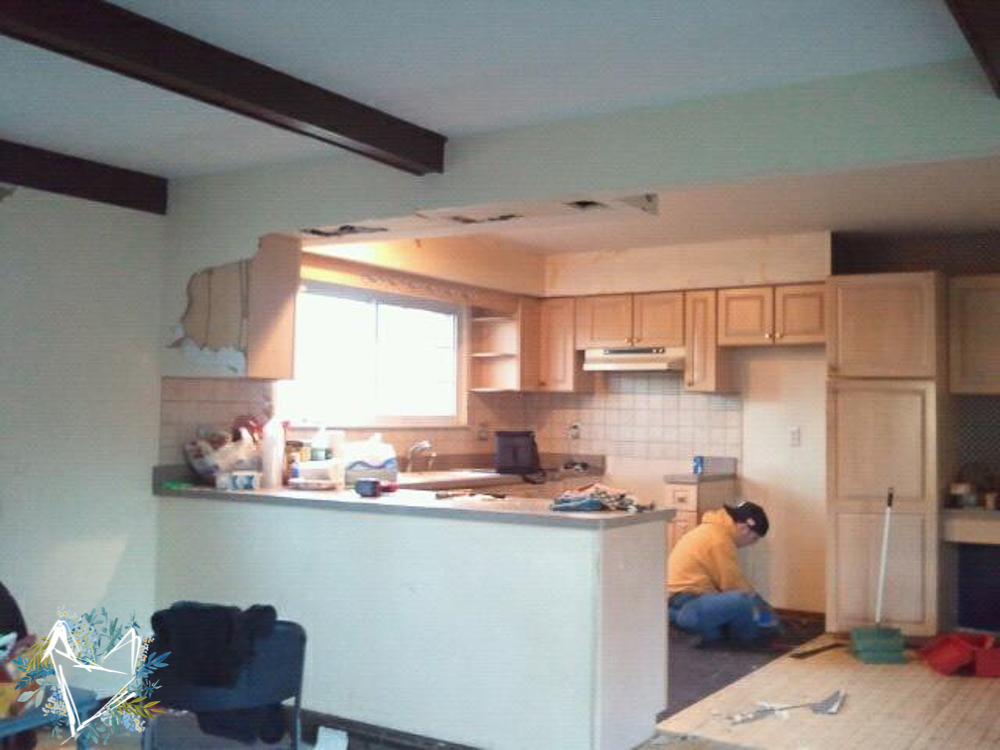
The second thing I want to point out is that this header isn’t hollow. It’s already filled with wood. I can’t remember now, but I think that when we patched the drywall over there, there must have been maybe some stacked 2 bys or something in there sandwiched together. So this project is about to be a breeze, and actually is quite fun if you like hitting things!


Reclaimed Wood Beam DIY Project Tutorial
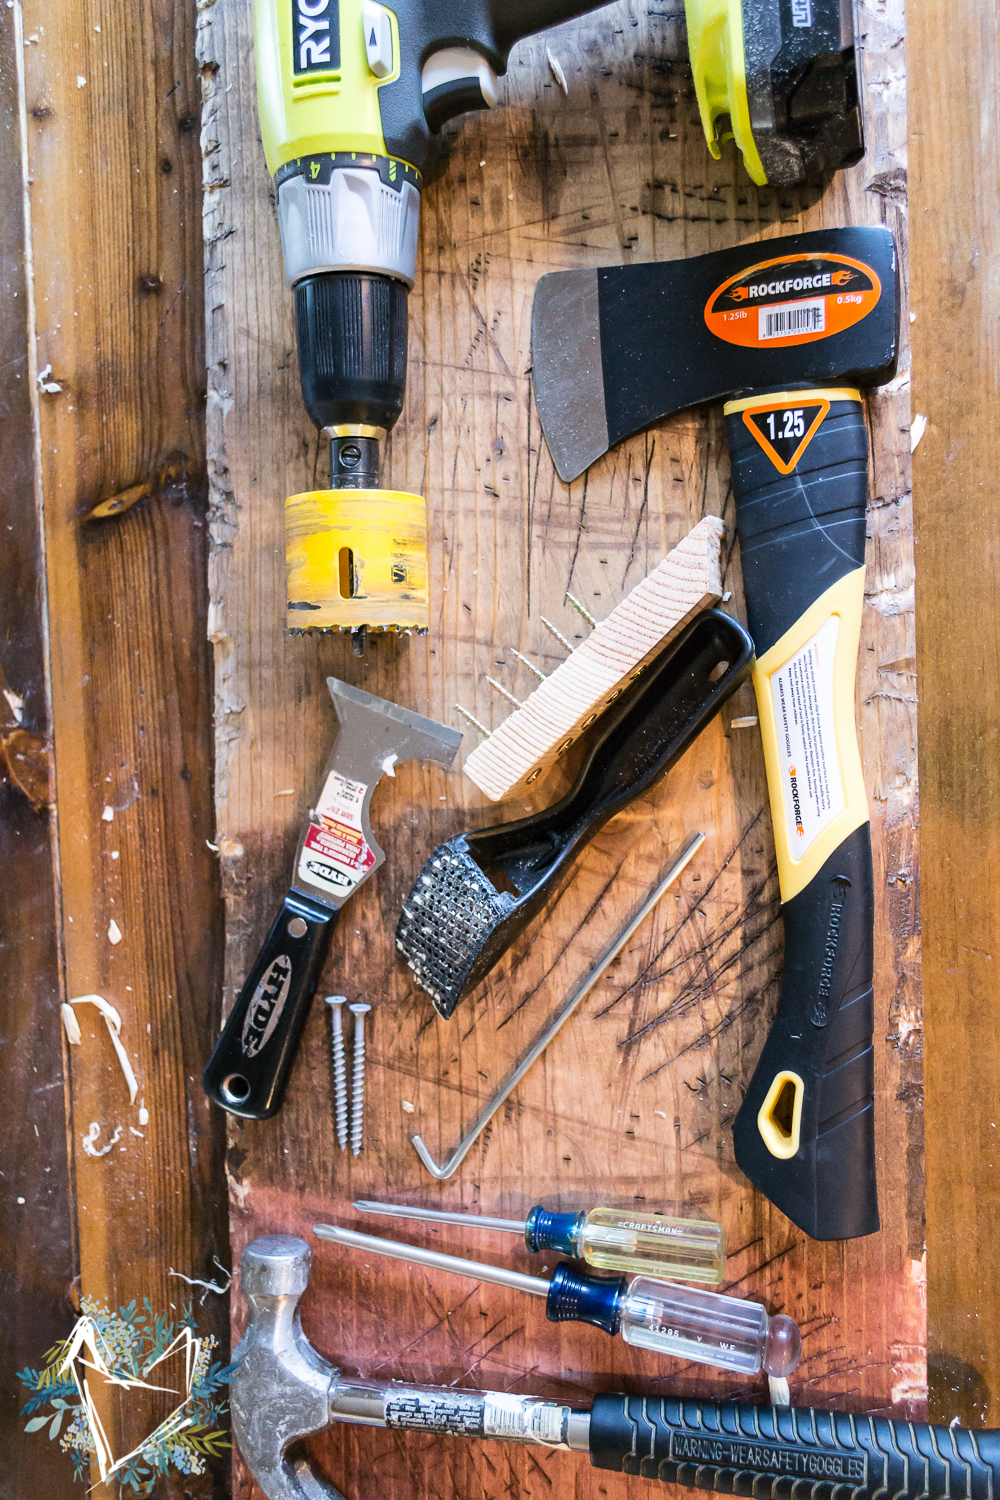
Here’s what we used for our Reclaimed Wood Beam DIY (affiliate links):
Various sized whiteboard planks 1inch thick (depending on your measurements)
circular saw or miter saw for cutting your boards to length
jigsaw for detailed cuts if needed
spray paint in metallic finish of your choice. We used this one here
stain in finish of your choice we used this one
and your zombie apocalypse arsenal which can include:
screws and nails
basically anything that you can use to shred this new wood to pieces and make it look old.
(I’ll get back to that fun part a bit later)
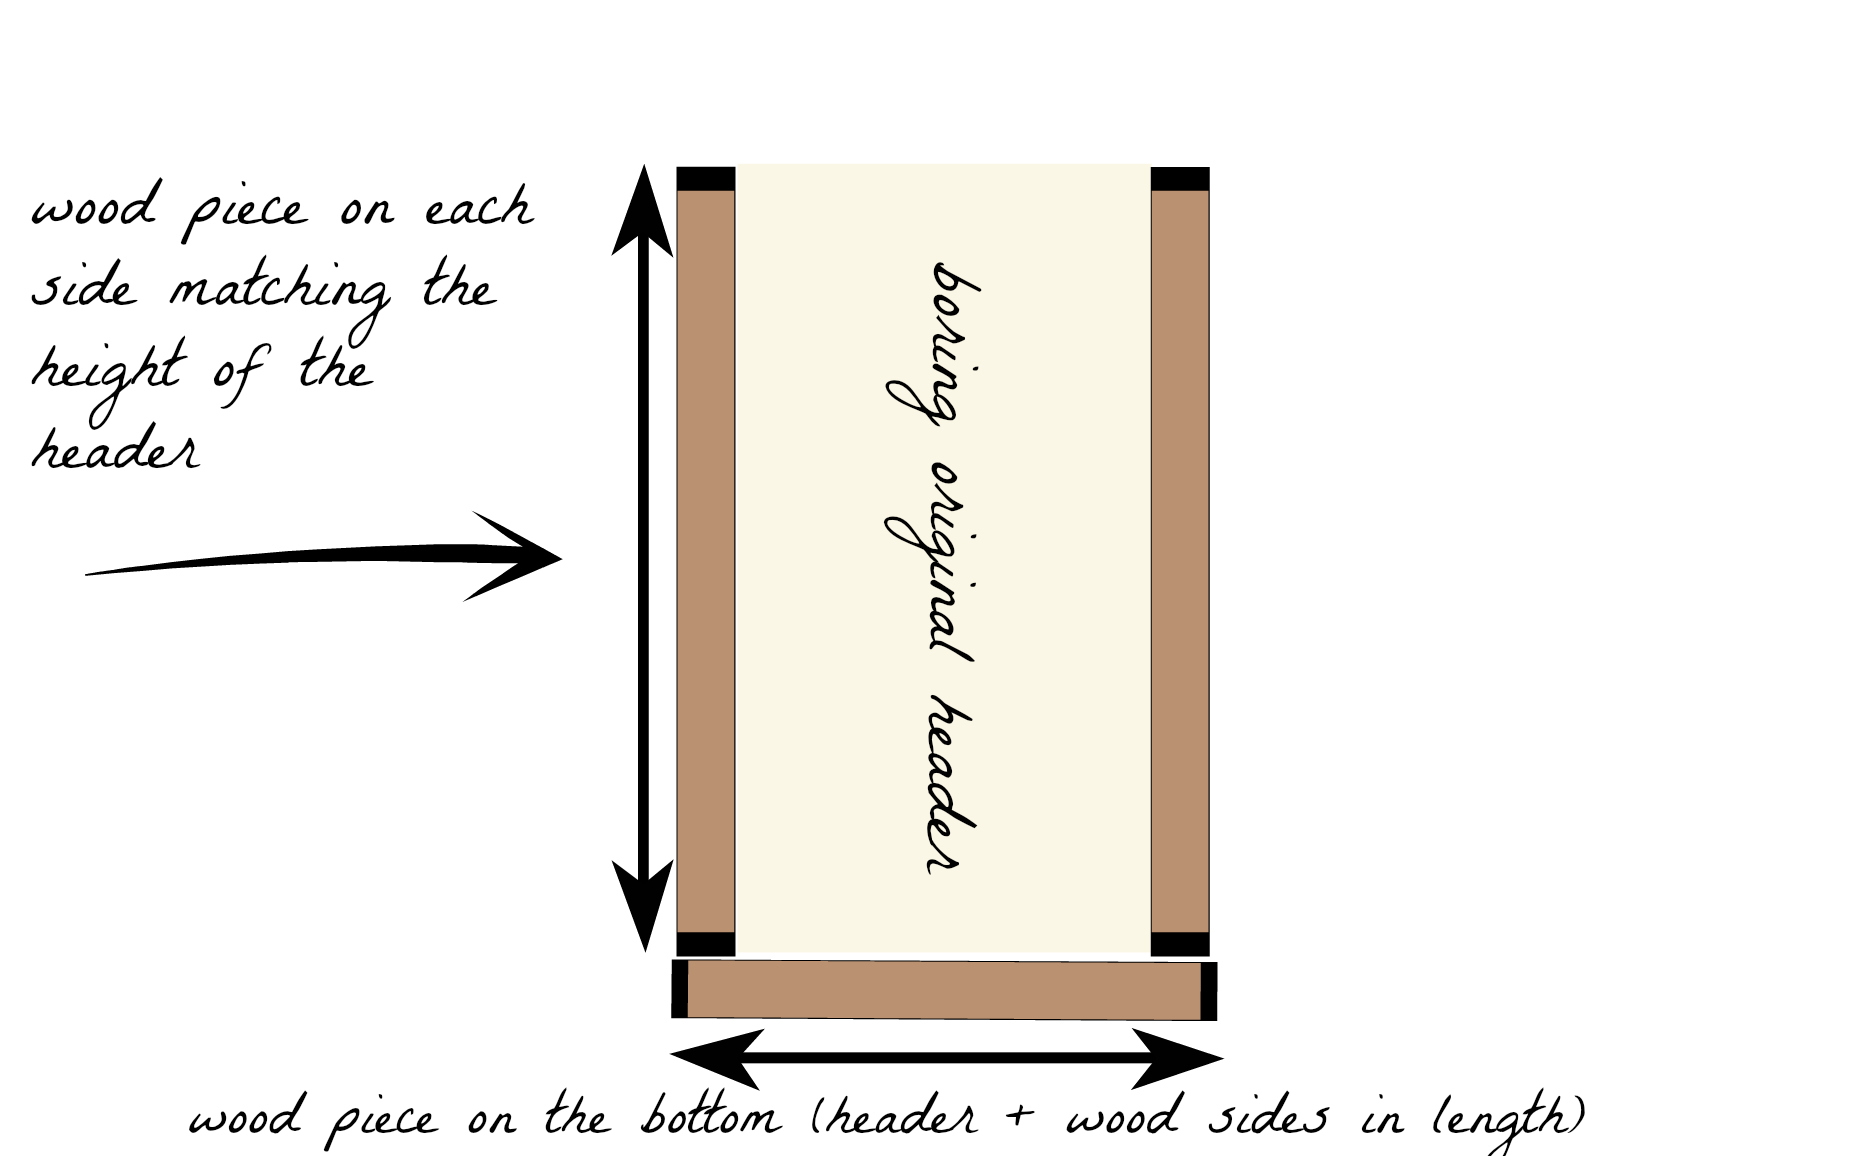
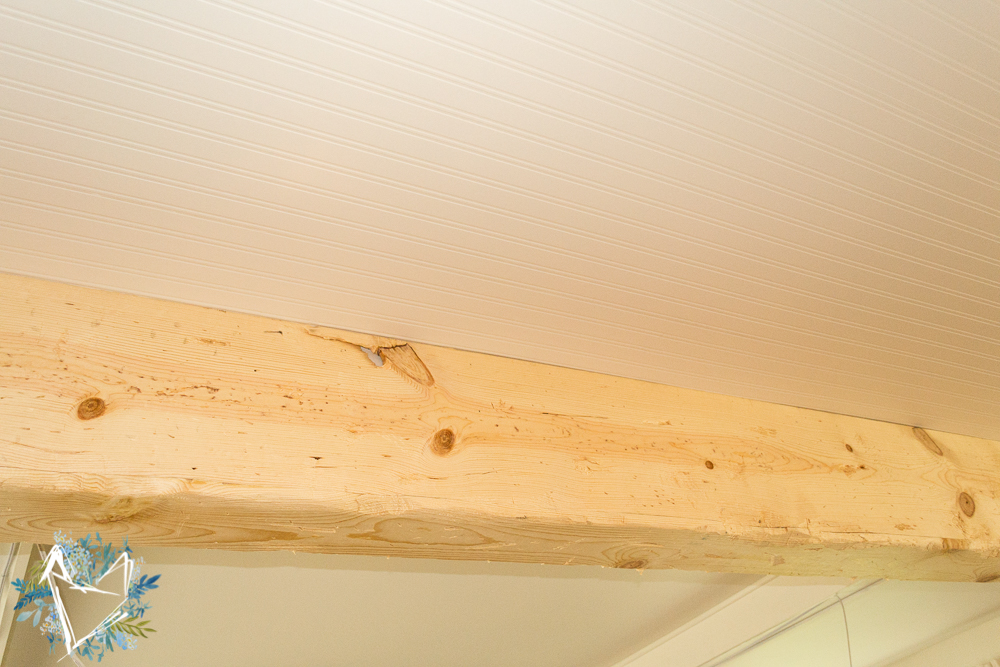
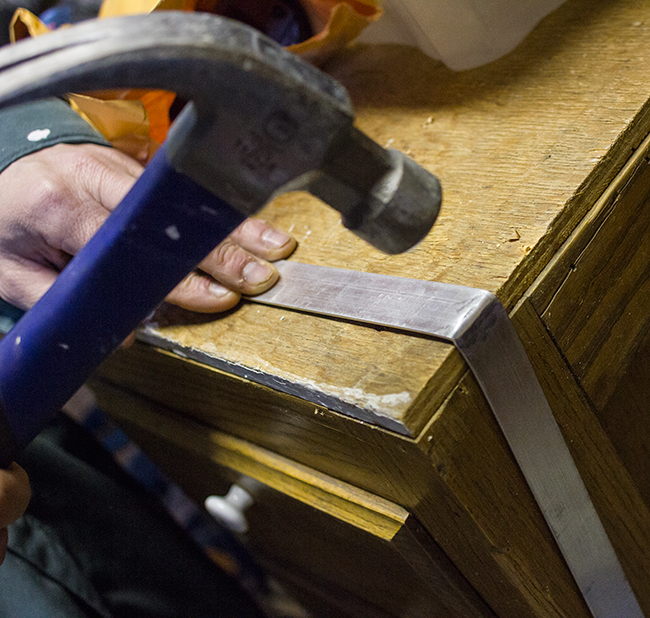
So basically it goes like this. We started by sandwiching the header with a wood board on each side. Our header somehow spectaculary was the exact height of the 12 inch boards that we bought. but if yours isn’t just make sure you cut your board so that the wood board is the same height as your header. And maybe you don’t even have to cut it down if it’s just a smidge larger. Who cares? It’ s not really going to change the end result. You’ll then add another wood board to the bottom, and that board width will need to be the sum of the header, plus the two other boards. Here’s a diagram because I’m really good with using words.
So basically you’re going to end up gluing and nailing this thing like crazy so that it never ever moves. But before you do that, double check where your seams are going to be.
Because if you’re going to have seams like we did, you’ll probably want them to be symmetrical so that later on they look nice when you cover them with that aluminum slats later.
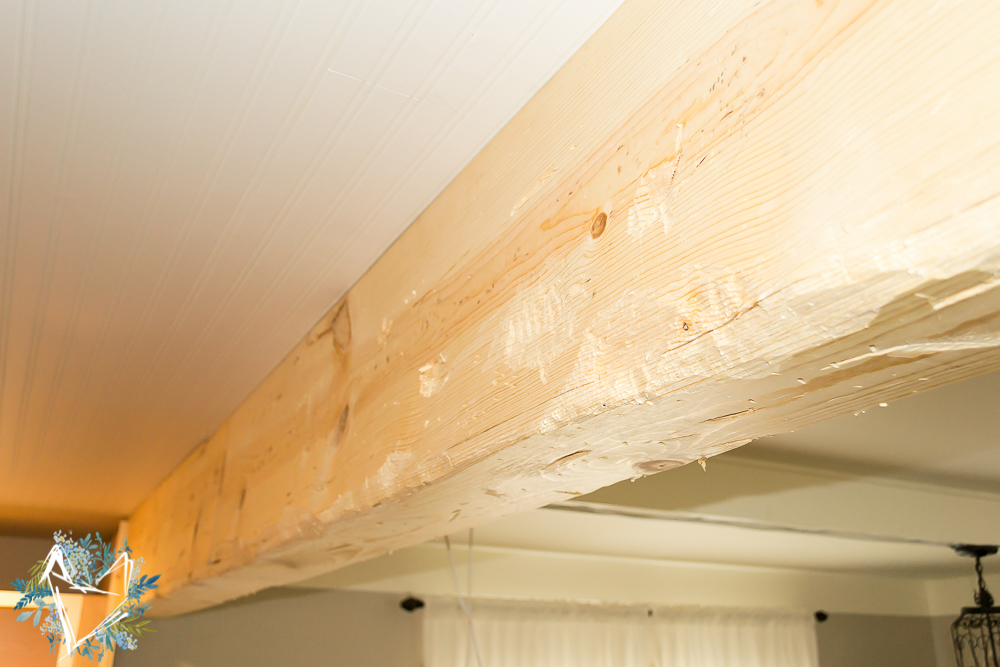
OK so now you’ve decided where you want your seams to be and you’re ready to cut your boards! To determine the center for ourselves, we just found the center of the header and made sure our first board was centered with that. Then we added the boards to the left and right from there. So measure, glue and nail the boards into place and then you’re ready for the next step!
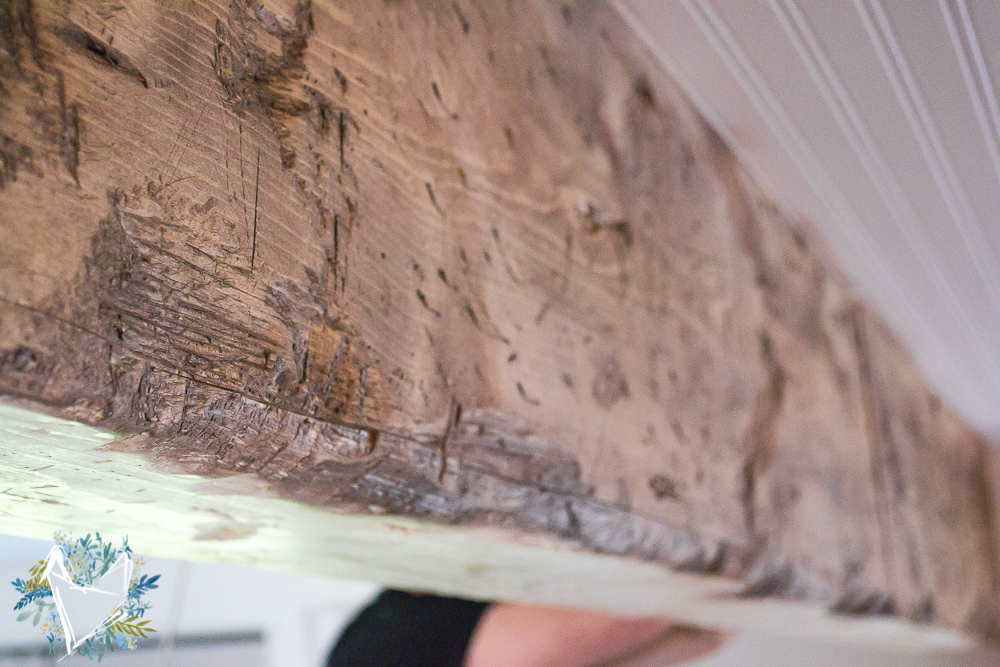
This is where you can get creative and have fun! Take your zompie apolocalypse arsenal and go to town on those boards!

Pay extra special attention to the corners. That is the most important area to really make sure it looks worn. And when you are chiseling the corners, be sure to follow your hand through both boards that meet together. This is the best way to actually hide the seams where the two boards meet together to make it look like one large beam!
We got really creative and made different tools to use on the wood. Like a scrap piece of wood that I screwed 5 screws into it so I could scratch the boards up. In other places I just laid a screw right on the board and hammered it into the wood. To create a worm hole look I tapped the pointed end of a screw in a bunch of times just in a concentrated location. You basically can’t go wring with what you do here. And the more you dig into the wood, the better your results are going to be after it’s stained!


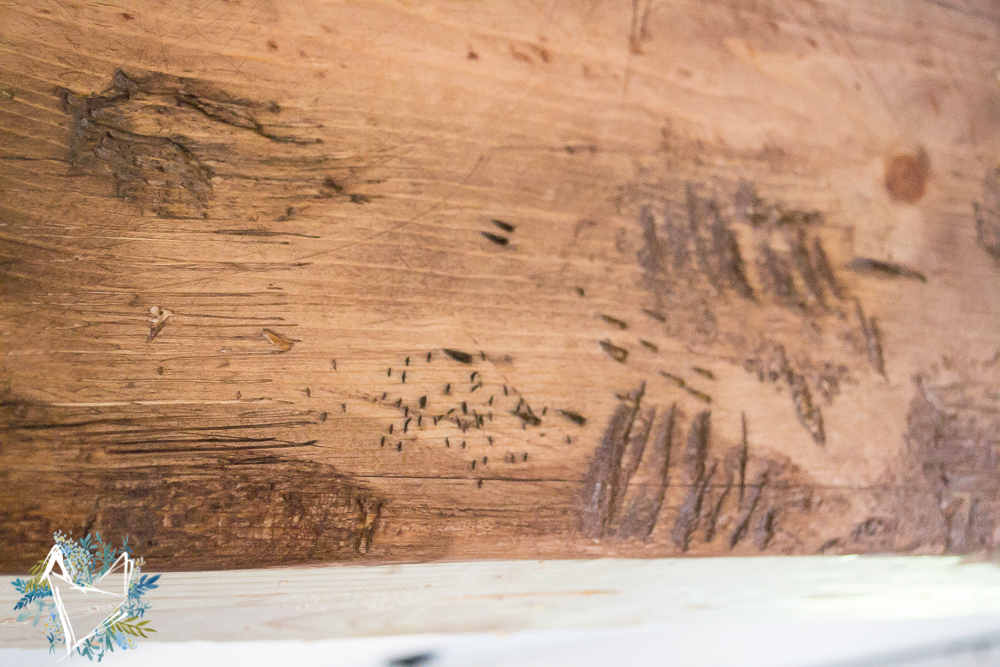
Once I had it all destroyed, I just grabbed my stain and an old rag and rubbed it on over the wood. I didn’t do enough to oversaturate the wood, just rubbed it on and wiped it off. You can do this in layers if you want to make certain areas darker than others. But doing it this way helps to add to the dimensions that comes with aged wood.
After the wood is stained, I grabbed my aluminum slats, my antiqued bronze spray paint and did the same thing Jenna did in her wood beam tutorial.
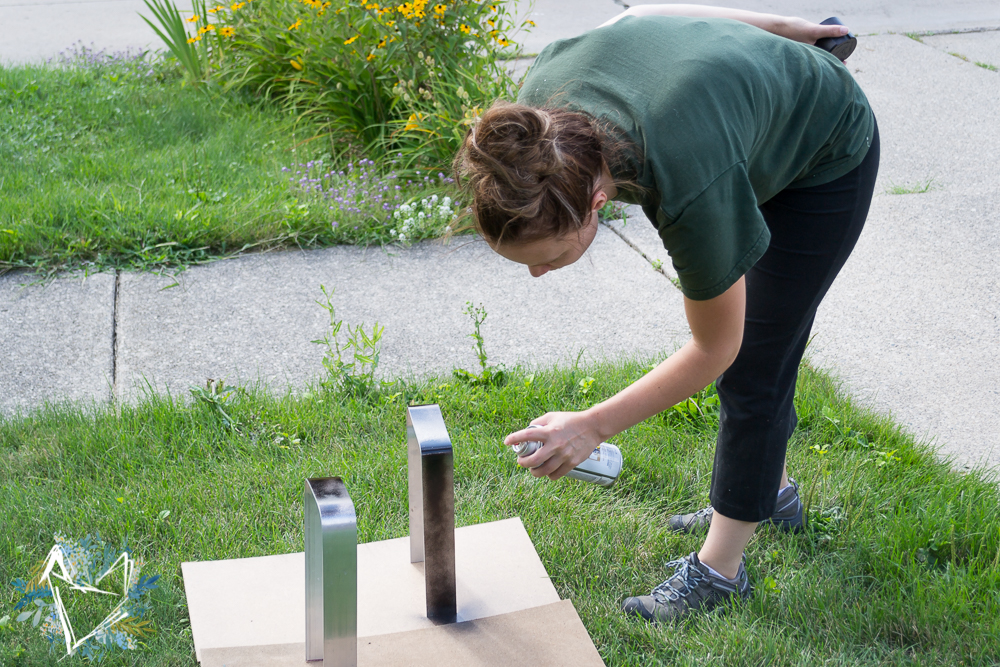
These are going to hide the seams and add a bit of decorative interest to the beams. And viola! That’s it! You did it! You finished a reclaimed wood beam diy that will leave friends and family amazed! That wasn’t so bad was it? And wasn’t it fun??
Here are some other awesome reclaimed wood beam diy tutorials:
16 comments
[…] The gorgeous lofted ceiling living room! I love the transformation here. The modern furniture mixed with the warm wood planks make for a beautiful blend. the dual sided fireplace that separates the room looks like it was meant for that space. and did you know those beams are fake? Yep. Total phonies! And did you know that you can buy your own faux beams on Amazon & Home Depot!? Yep! And they’re surprisingly affordable. Or you can just DIY your own like I did in my kitchen/living room. […]
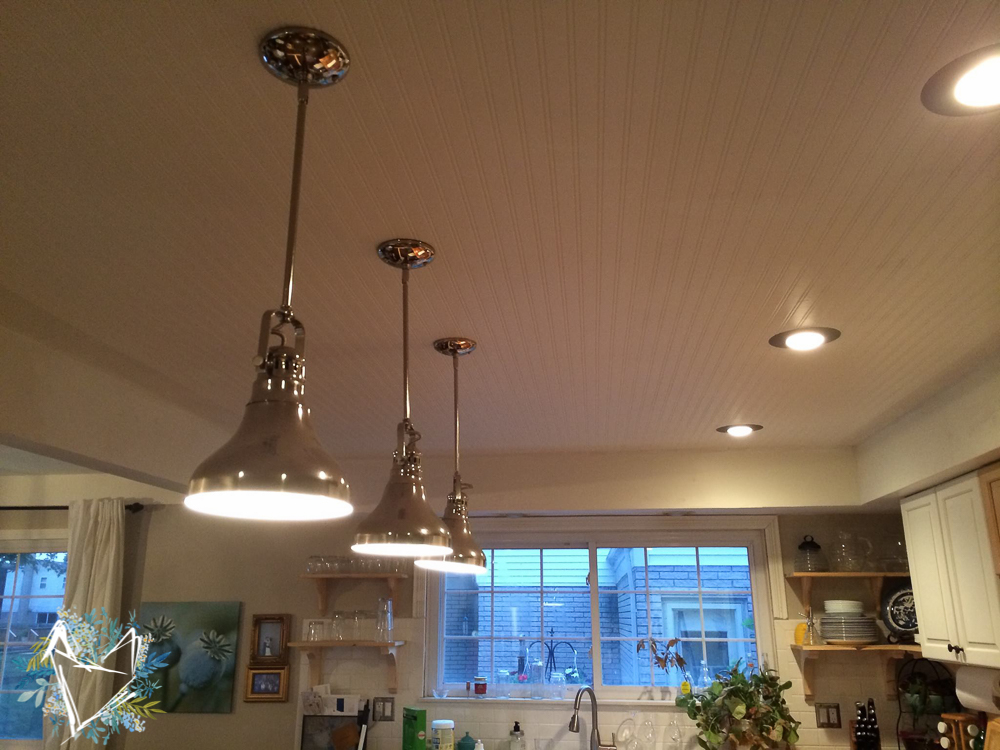
Where were the hanging lights purchased?
here: http://fave.co/2dYDrvv
Another great post and transformation. You are awesome. Thanks for sharing with us at Waste not Wednesday/
[…] ever lovely Crystal from The Weathered Fox did her own DIY weathered and distressed beam. And when I said she DIY’d it, she seriously […]
[…] Reclaimed Wood Beam DIY With New Wood | Anika’s DIY Life […]
[…] DIY Reclaimed Wood Beam with New Wood from The Weathered Fox […]
[…] DIY Reclaimed Wood Beam with New Wood from The Weathered Fox […]
[…] DIY Reclaimed Wood Beam with New Wood from The Weathered Fox […]
Absolutely love this! Great tutorial and love seeing the before and afters of your house. P.S. the wallpaper in that one picture looks like the same stuff I took out of my In-laws dining room! No lie. 🙂
This looks so, so good! I am dying to do a beam between our kitchen and dining room but until now hadn’t found any examples that looked like the “real deal” using boards. Nicely done — it looks amazing.
Sorry if I missed it, but what stain did you use on yours? Looks like Provincial maybe, or Special Walnut?
Thanks for the excellent tutorial!
Thank you Allison! I’m so happy you like the tutorial!! I think it was Minwax English Chestnut. It should be linked in my post, you probably just missed it
This looks great. I would have never guessed that it hasn’t been there for decades. Do you mind if I share one of your photos and a link back to your post in my Friday favorites this week?
Please feel free to share! Thank you for the compliments!!
You have done an amazing job! Love the colors and the simplicity.
Maria
Thank you Maria!