Hi Friends!!
I’m here today to show you one of my old school projects. A project I did long before blogging was ever in my head, but the spark was starting! This is my tiny guest powder room update. It was one of the first projects that I completed finished to 80% and moved on.
I really don’t have a clear picture of what it looked like before we finished it, but just know that this house was a foreclosure. It smelled terrible. Practically nothing in this house was useable. The walls in this bathroom were painted a purpleish gray with a pinkish texture over-top. The floor was an engineered hardwood that was buckled, broken and soaked in who knows what. yuck.
First thing we did was tear out those floors & install new tile. I really wanted a herringbone pattern, or an old school hexagon tile floor, but since this was our first time tiling, we went an easier route.
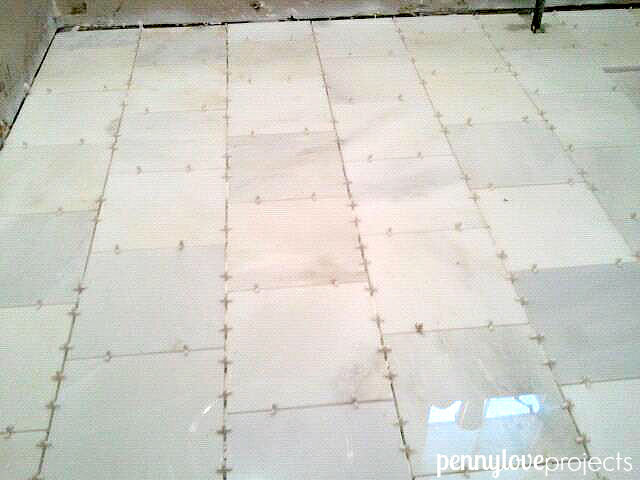
One of Brian’s adult guitar students helped us with cutting the tile. He even let us borrow his tile cutter since we didn’t own anything like that.
And Brian’s dad came by to help with the grouting.

The next thing I did was buy these thin pieces of plywood from Lowes. Who knew my love for these panels would blossom over the next few years! I’m still using them around the house.
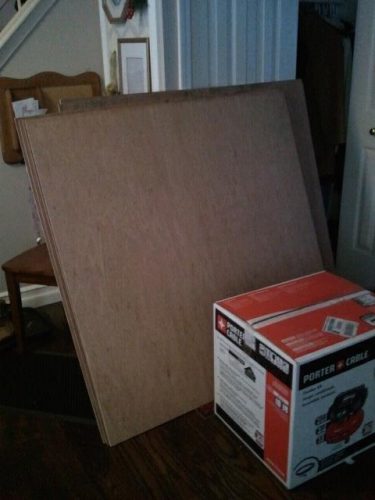
They are about $13 per 4×8 sheet. It’s an amazing deal & really adds a lot of character when you cut them into planks, which is what I did. But ignorant me, I cut each one myself…with a circular saw…using a long metal ruler and some clamps to hold my line steady. Now I know that I can just push a button at Lowe’s & they’ll do all the cutting for me!
Anyway, I cut them into 5 inch planks I believe. and used the tile spacers to keep the plank gaps even. 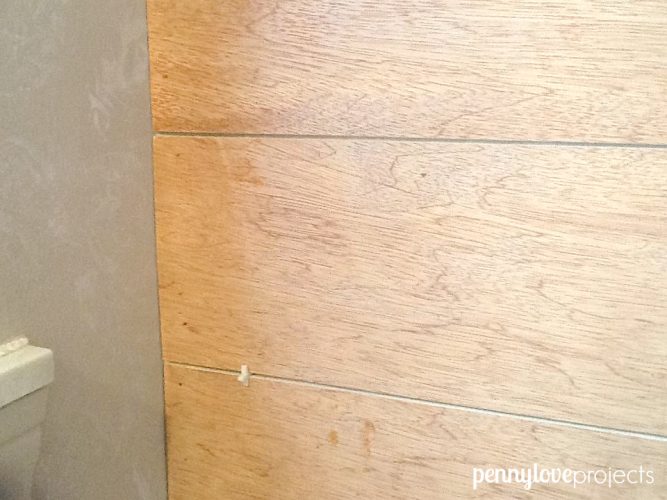
I think this was the first project that I used my air compressor and brad nailer! Don’t try doing this without one.
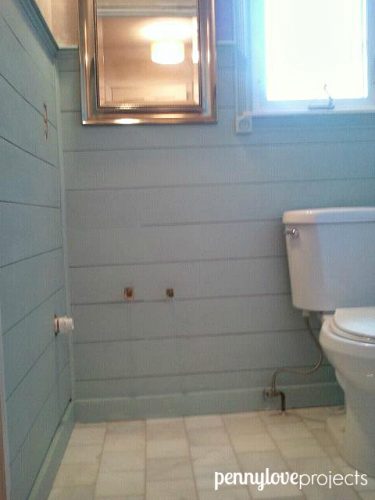
Tacking the boards up was easy, the difficult part was cutting around vents and outlets using just a circular saw! But I did it. I would not recommend that either. sheesh!
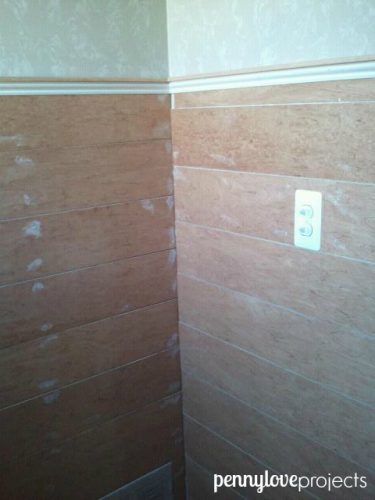
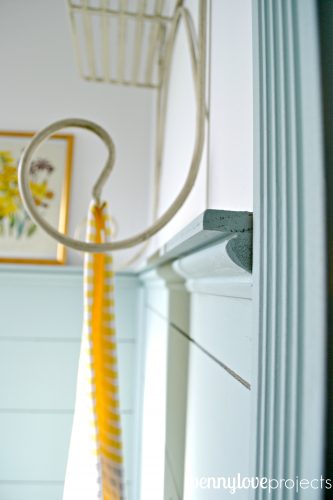
Spackled all the holes, and added trim on the top. The trim is two pieces. The first is a sort of chair molding, and then I added a flat lattice piece on top.
I added some new molding around the window and the door, and put a cove molding the cover the seams in the corners of the walls. Sorry for the blurry photo!!
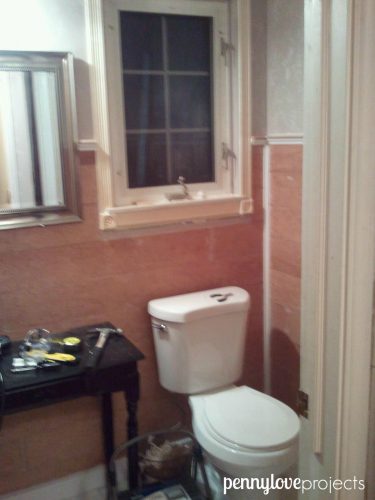
That little black desk is just waiting for the day that I turn it into a sink. But we haven’t done that yet. It’s sitting in my garage.
The molding was cut to fit the mirror snugly against the wall.
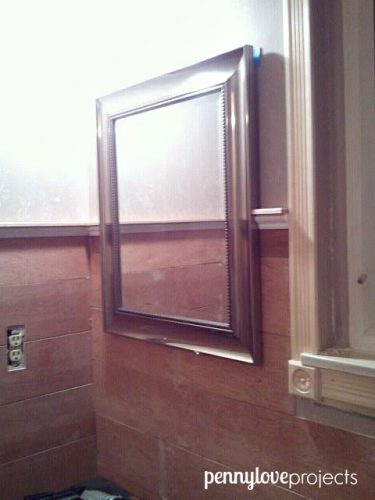
& now we’re ready to paint! I don’t have the paint color because I mixed this myself with leftover paint from other projects.
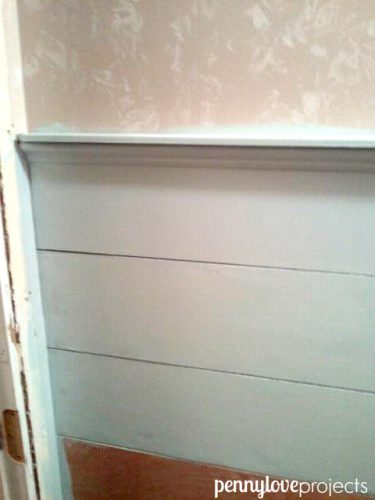
But it’s a powdery blue – gray. Not a baby blue, it just reminds me of a country blue. I’m not even sure what that means. But, trust me. It’s country blue.
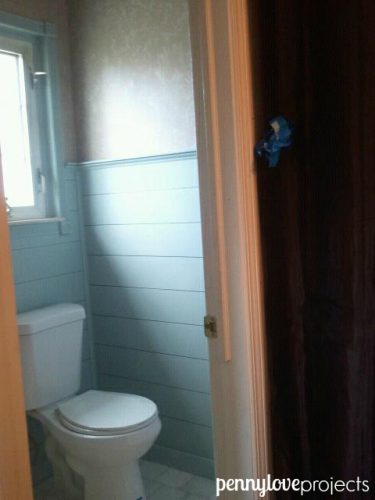
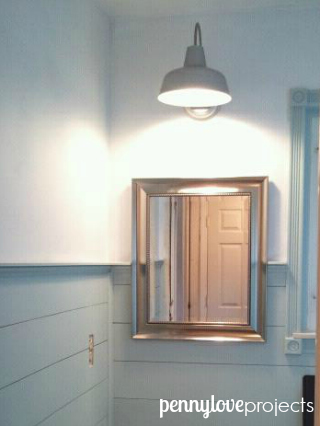
We painted the walls off-the-shelf white and added this light fixture. It’s actually an outdoor fixture, but it was cheap & the only one I could find that really fit the style I was going for!
The old sink is back in place for now.
& this is how it looks today!
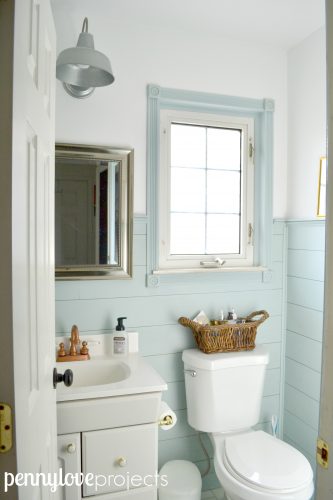
Project costs: Approximately $210
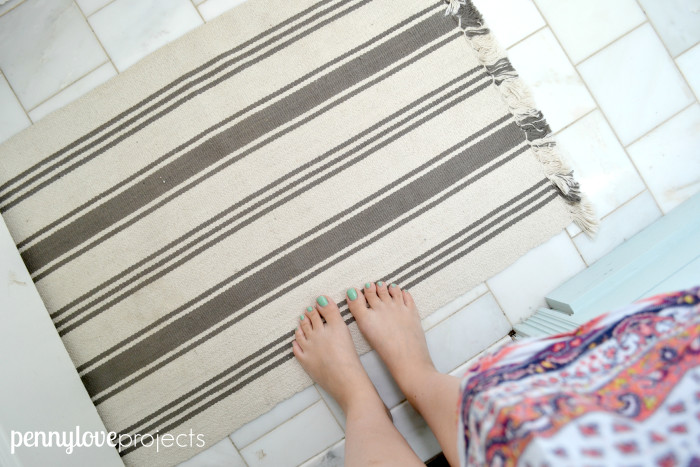
Floor: Tile is from Home Depot approximately $100 , rug is Ikea $3.00
Wood Planks & paint: Lowes, about $50
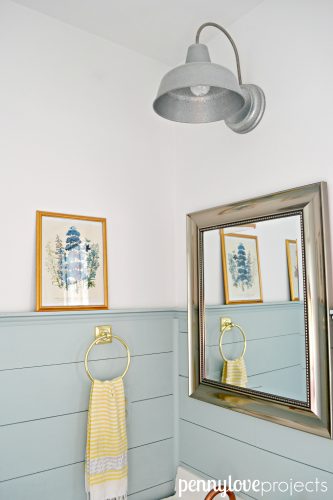
Light Fixture: Home Depot, about $20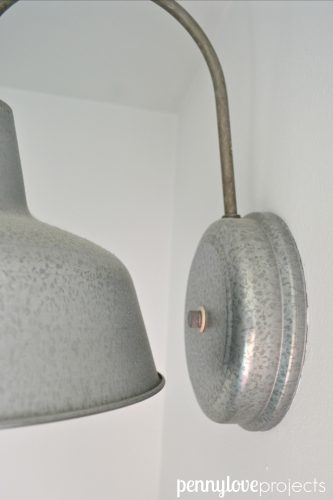
Molding & trim: About $50 for everything including picture rail, window and door, corners, base, everything.
Window Privacy: $20 Ace Hardware 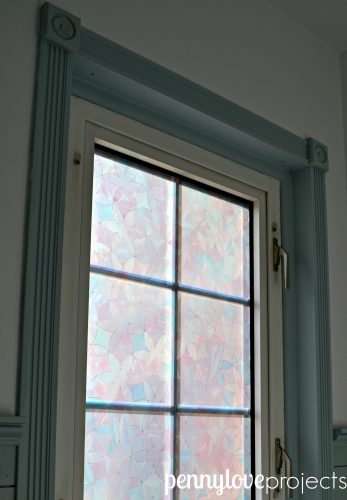
I can’t wait to finish the sink & officially add some art to the walls. What do you think so far?

13 comments
[…] Source: The Weathered Fox […]
[…] Since we bought our fixer upper, I’ve been slowly adding little farmhouse touches in my powder room. For our first round of updates we replaced the floor, added a new toilet, installed shiplap, replace all the trim, and gave it a fresh coat of paint. You can see that project here. […]
[…] out my other powder room posts on my $200 makeover and my Painted Faucet in 5 Easy […]
[…] I love the farmhouse nod in this kitchen. It’s very Joanna Gaines without the pricetag I’m sure! That blue works really well with the butcherblock countertop too! And DIYing a shiplap wall is super simple and inexpensive. I did it in my powder room for maybe $30! […]
[…] $200 Powder Room Makeover […]
[…] Budget Powder Room Makeover […]
I love this re-do! I’ve been wanting to plank too! Did you purposely not line the lines up, where the corners meet? One wall’s line gaps are not the same as the adjacent wall’s….
yea Linda I did that because I didn’t want to be too concerned about the variation in the widths of the wood and the gaps. So instead I just alternated the adjacent walls 🙂 Then I didn’t have to rely on perfection, because that would not have been a good idea hahah
This was awesome, I am working on a kitchen and wanted to do some kind of board and baiting. On the lower parts of my kitchen. Your idea with the boards/wood you used on your bathroom I think would work great. Thanks for the idea.
Thank you Tracy! I think that would look amazing in a kitchen! I don’t have enough wall space for it.
This is SO cute and I’m really impressed with what you got done for $200+… You are bad for me, my friend…very bad. Because now I have the house to myself and want to just take an innocent stroll around Lowes and then come home and start ripping up tile. Hahaha.. That light fixture is AWESOME. Thanks for this post!
I love this comment Joy! & that’s exactly what I do! A quick stroll through lowes & a 5 week projects. lolol
I love everything about this room, so many ideas to steal!