
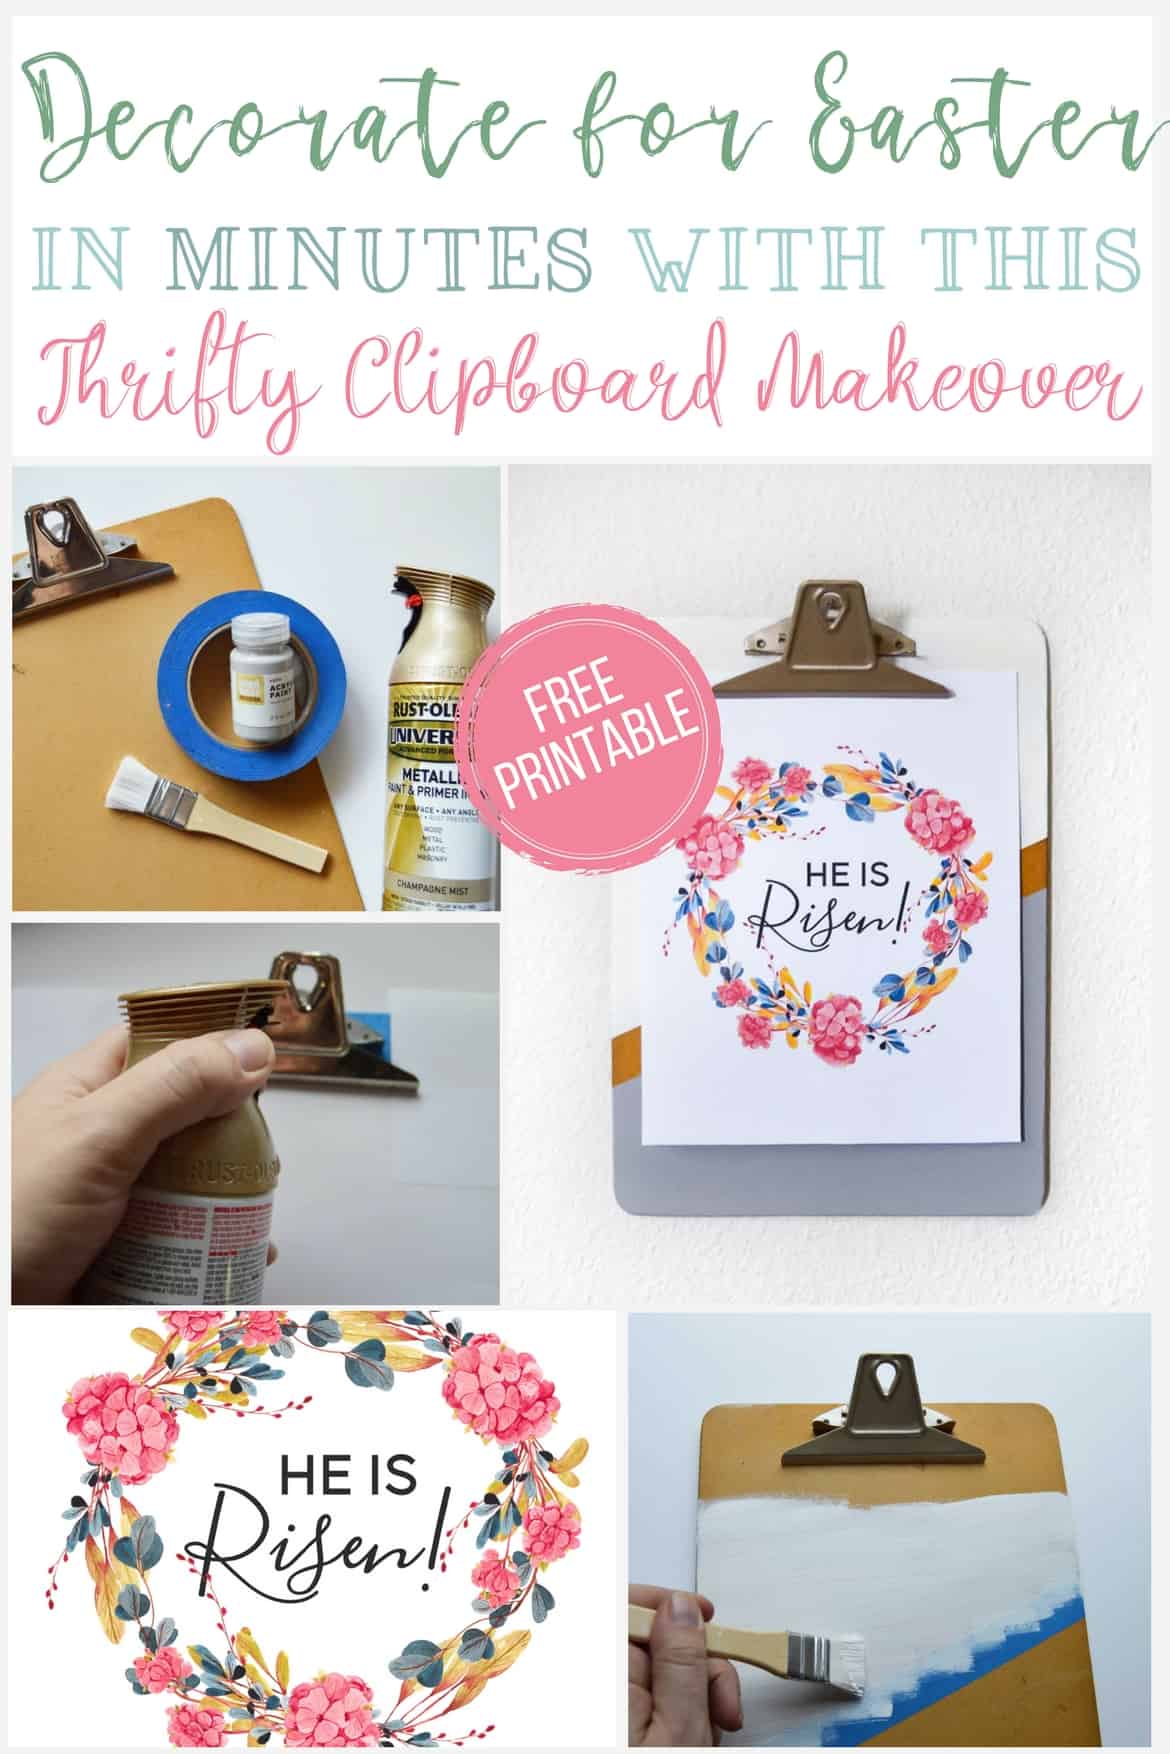
With Spring right around the corner, it’s time to start freshening up our home decor with hints gorgeous spring blossoms. And with Easter just a few weeks away, you may need a few quick DIY ideas to add some Easter decor to your home. This super simple thrift store makeover not only will save you money, but will also save you time!
Thrifty Clipboard Makeover Tutorial
Hello friends! It’s Leslea from A Heart Filled Home and today I’m sharing how to make an easy DIY clipboard display. By repurposing an old clipboard you can give it a whole new look! I’m also sharing a free Easter printable that you can display in your home.
I’ve been saving some old clipboards in my craft stash for years now, and I’m happy to have finally given one of them a beautiful makeover! If you ever spot one of these at the thrift store – you now know what you can use it for! You could even repurpose them and give them as gifts to family and friends. I’m thinking that they would make adorable gifts for my children’s teachers – along with some artwork that they can change out throughout the year.
(This post contains affiliate links. This means I get commissions for purchases made through links in this post.)
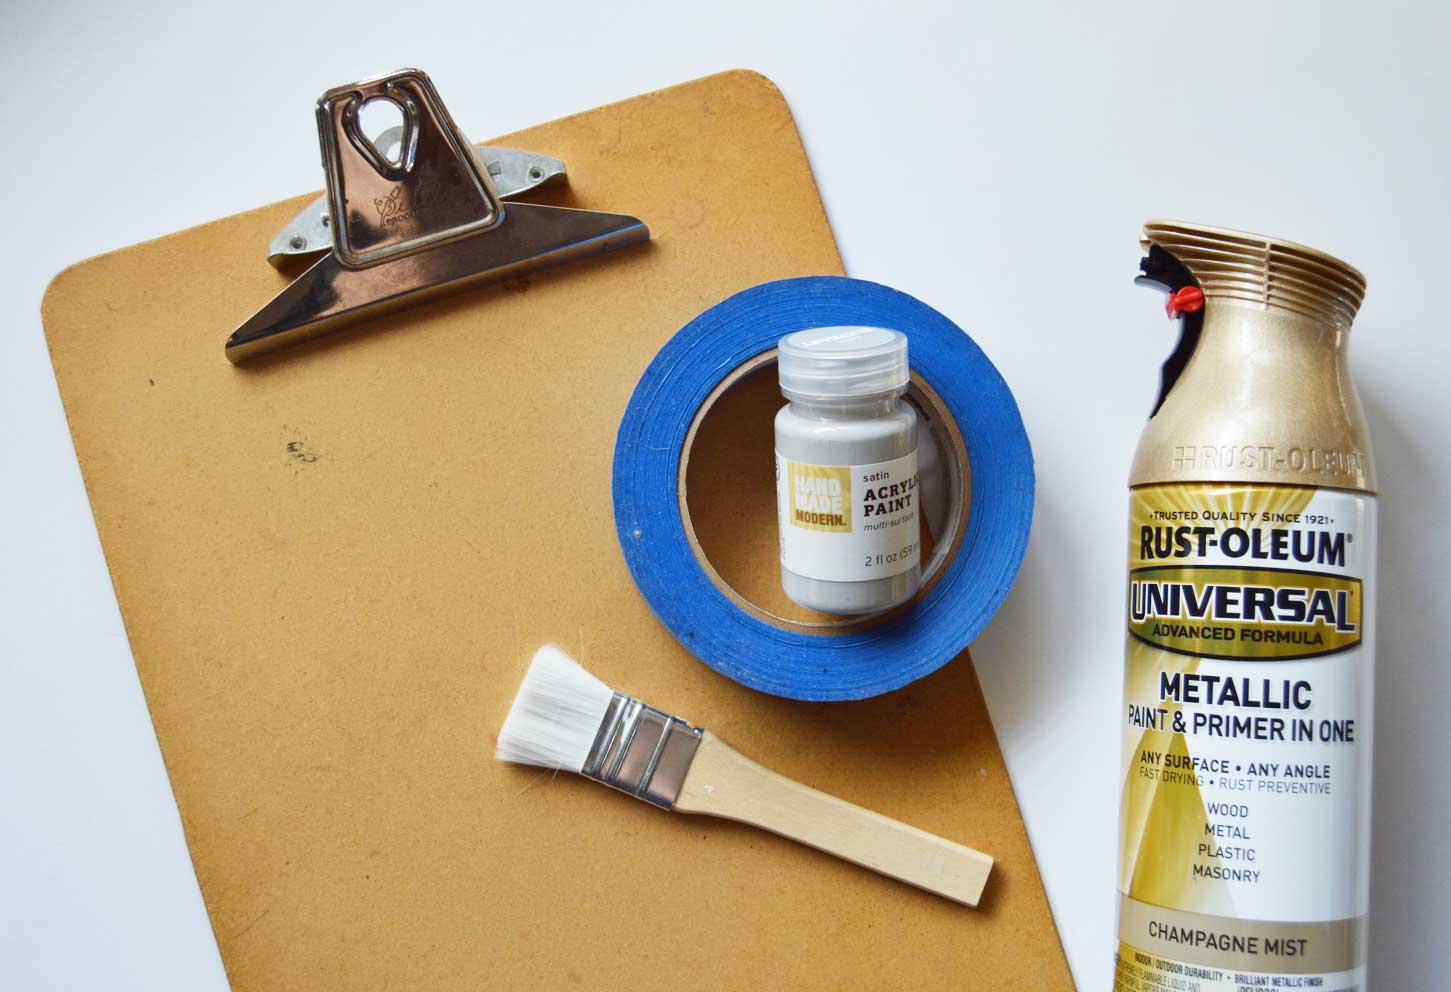
Materials Needed
- Clipboard
- Painter’s Tape
- Paint Brush
- Paint
- Spray Paint
- Paper
How To Make Your DIY Clipboard Display
First you will start by cleaning off any dirt or grime off of your clipboard. The one I used had some residue on the clip and some dirt on the backing. I was able to get most of it off with just some water and a towel.
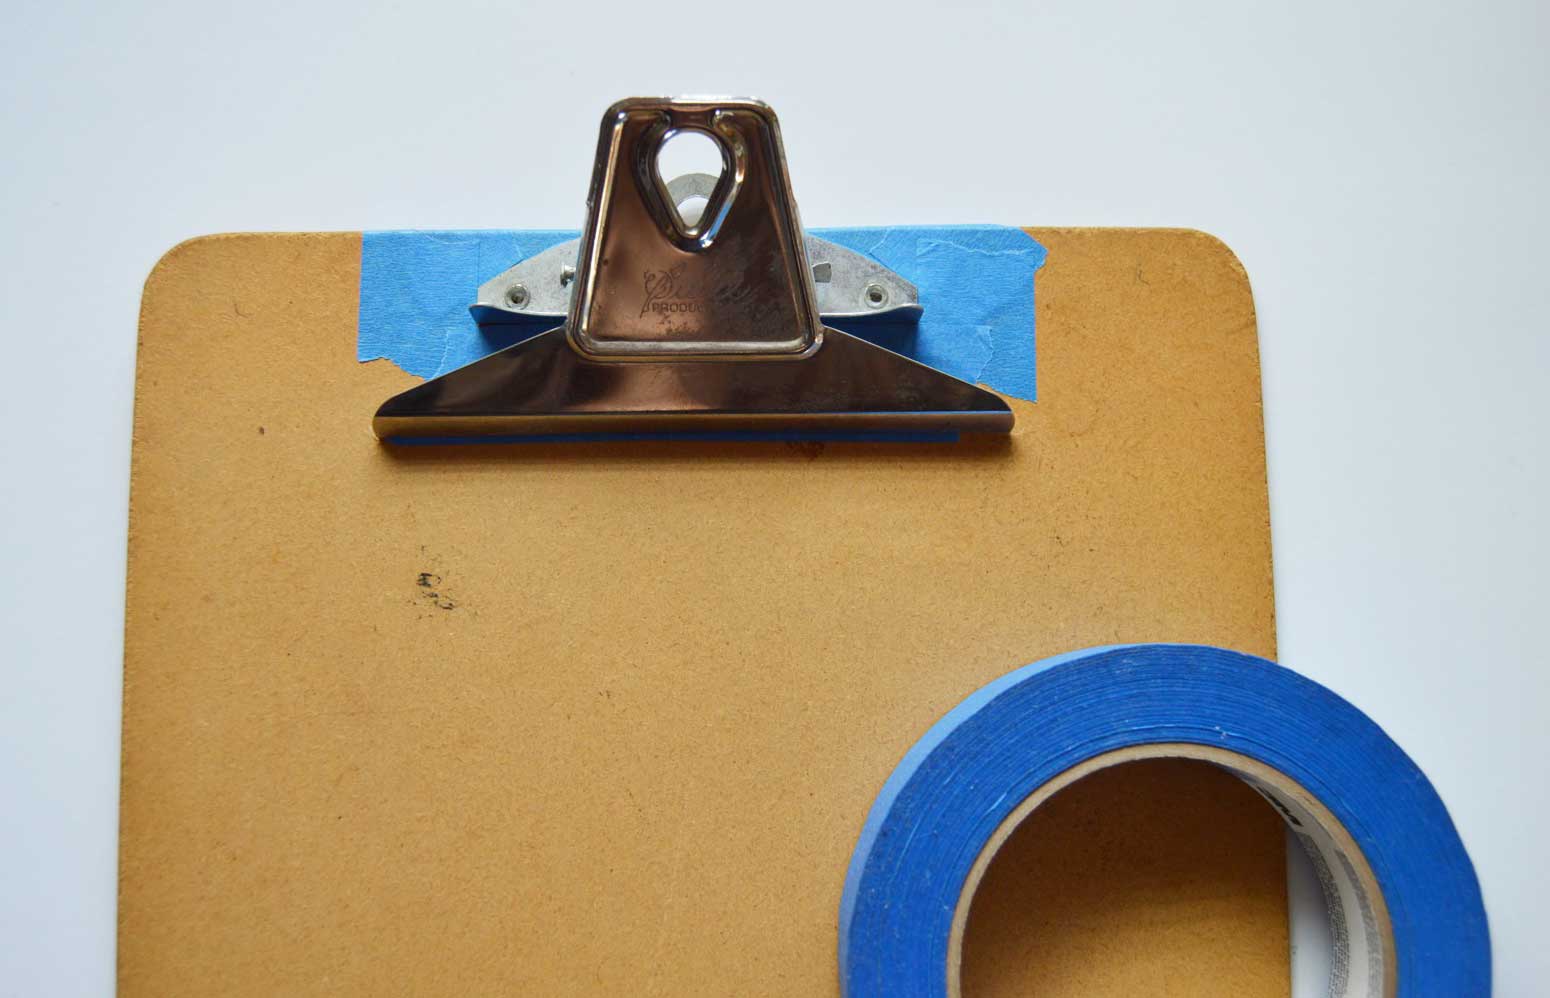
Next I used painter’s tape to tape around the edges of the clip, and then placed some paper down to cover the rest of the backing. This is to prevent your spray paint from getting on the backing of the clipboard.
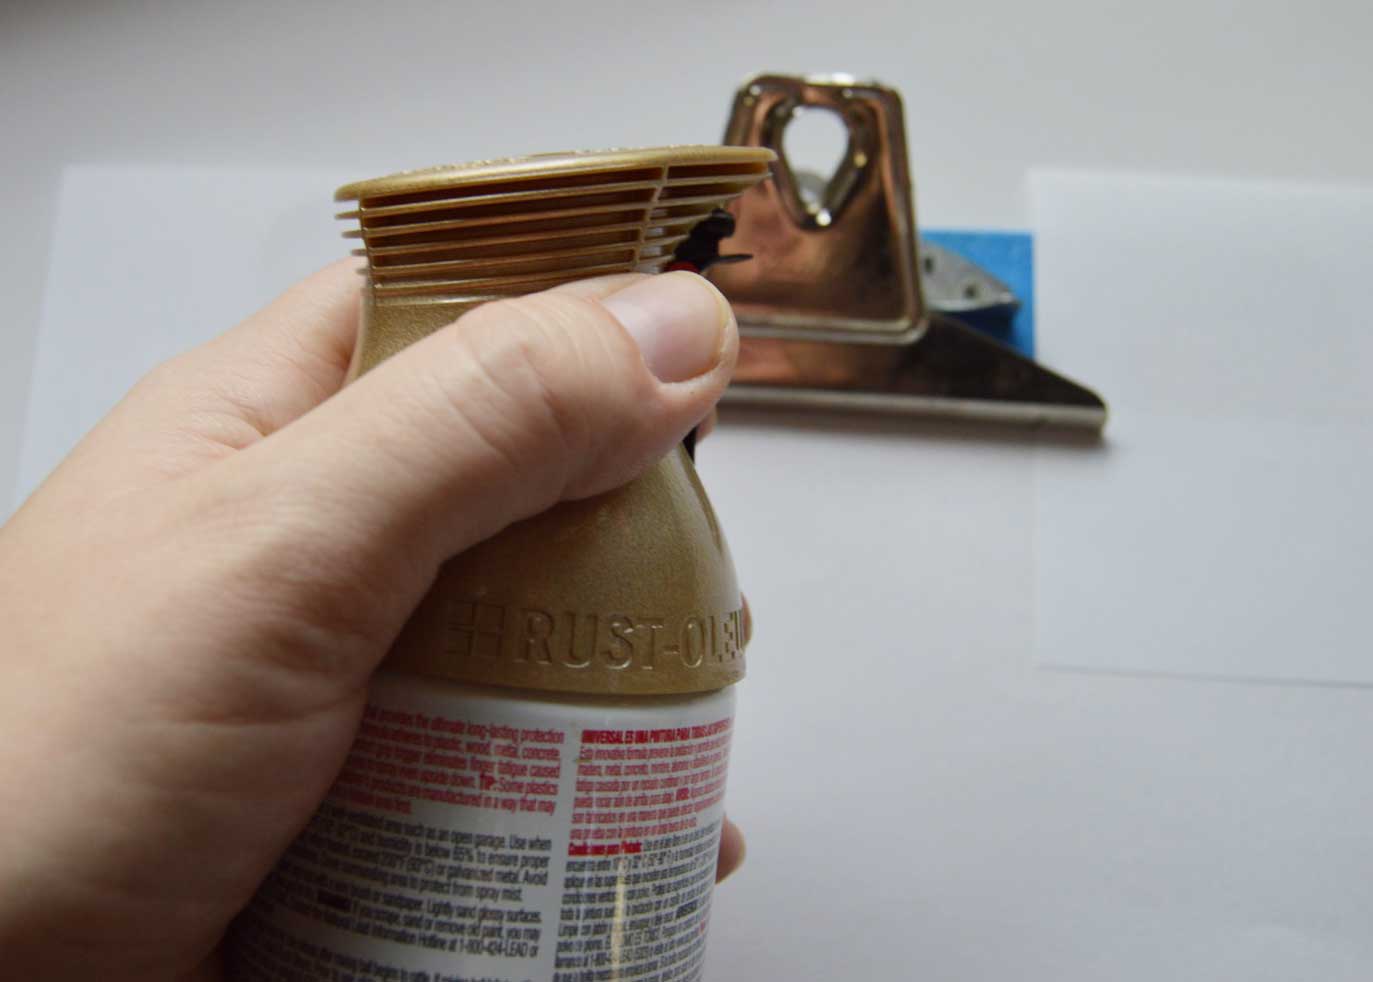
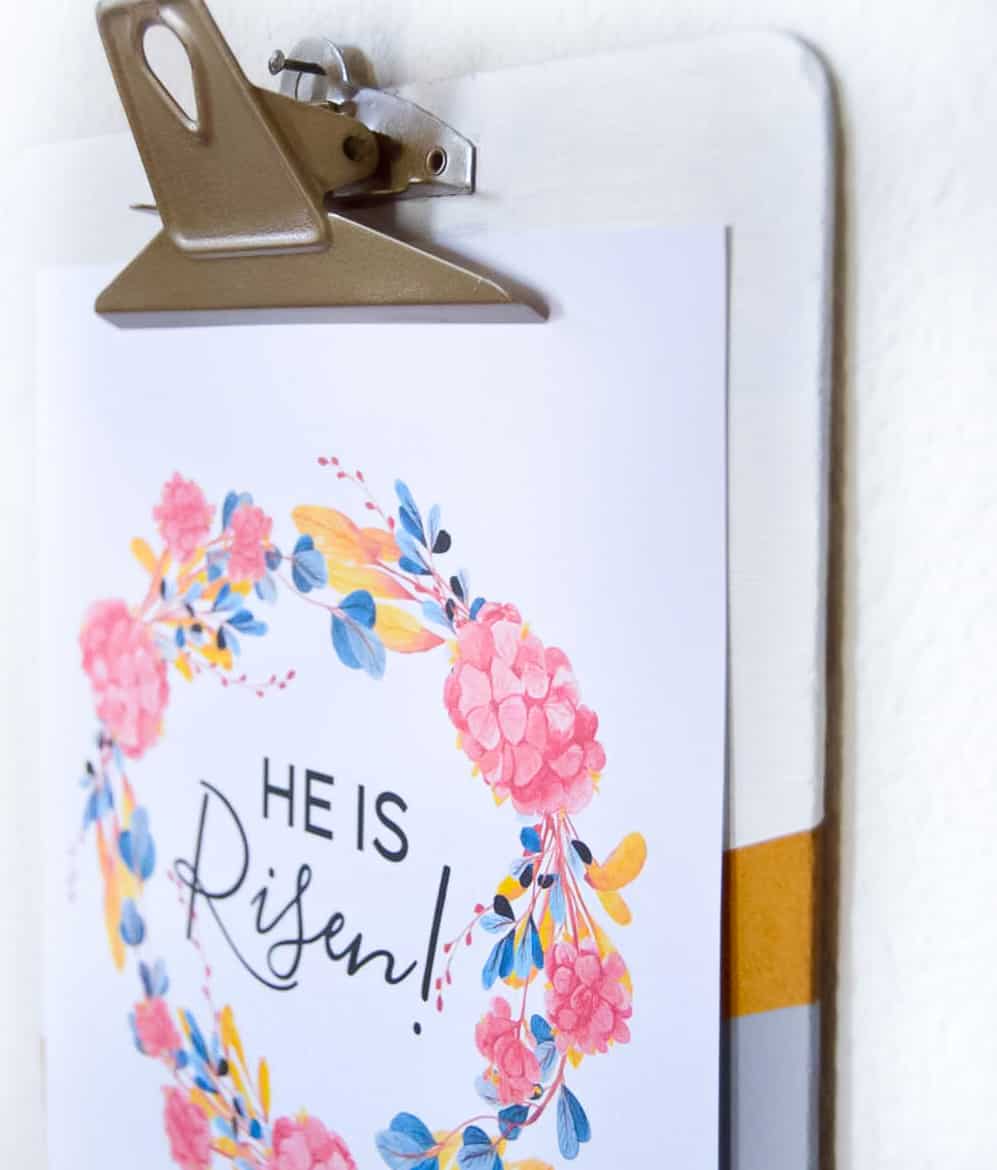
Then I gave my clip 2 coats of spray paint. I used Rustoleum in the color Champagne Mist, and I love how the color turned out!
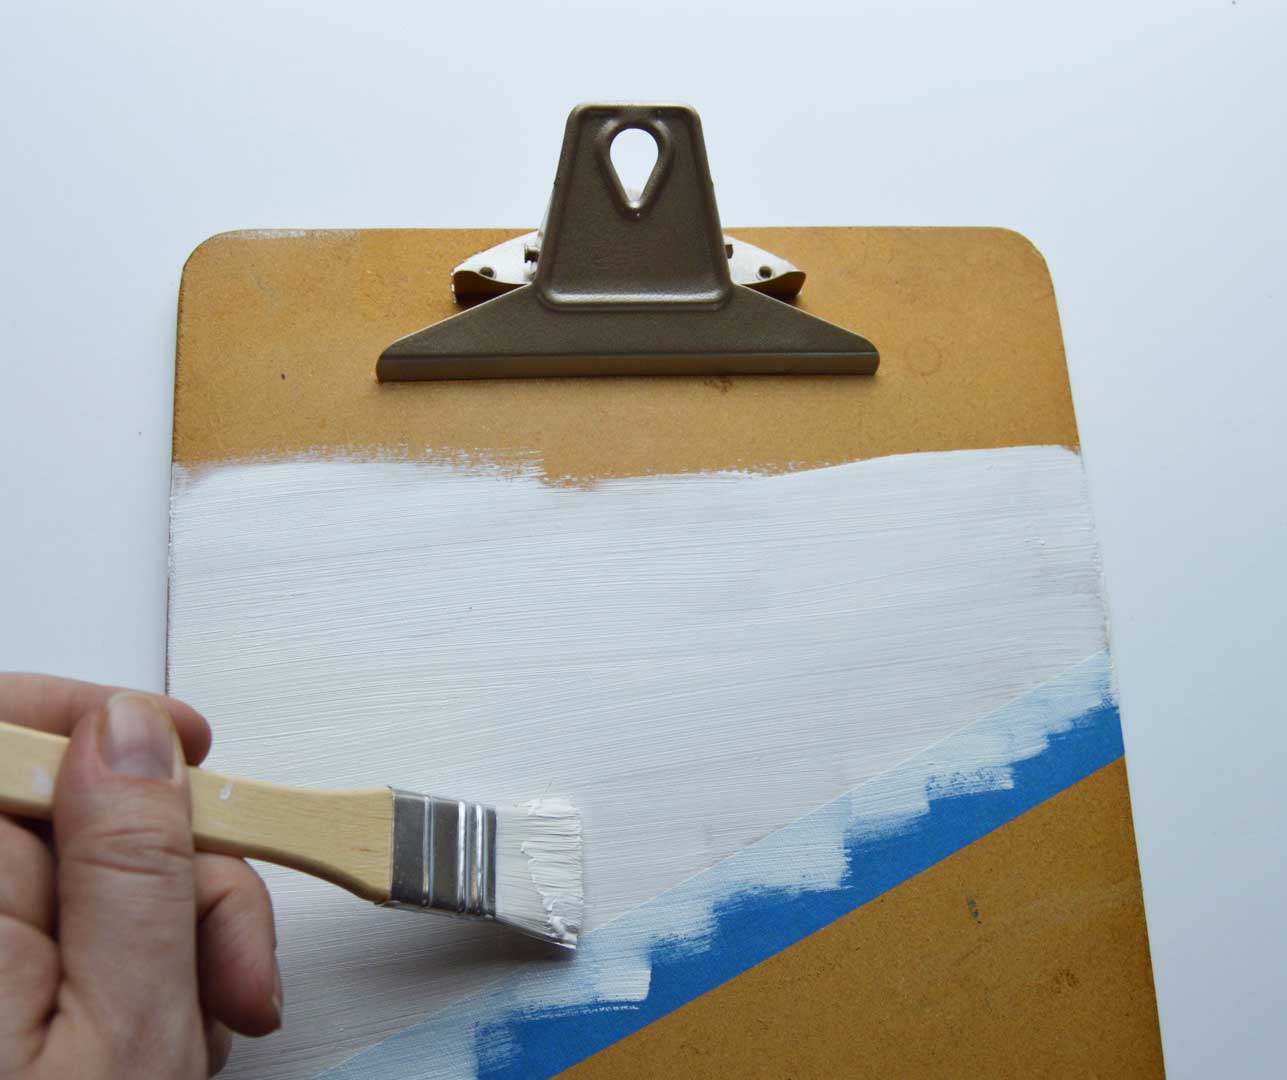
After your spray paint has dried, you can place your painter’s tape on the backing where you’d like your line to be. I placed mine diagonally to create 2 separate blocks of color. I wanted some of the wood backing to show through, so I kept the painter’s tape on and painted on either side of the tape with the colors I choose.
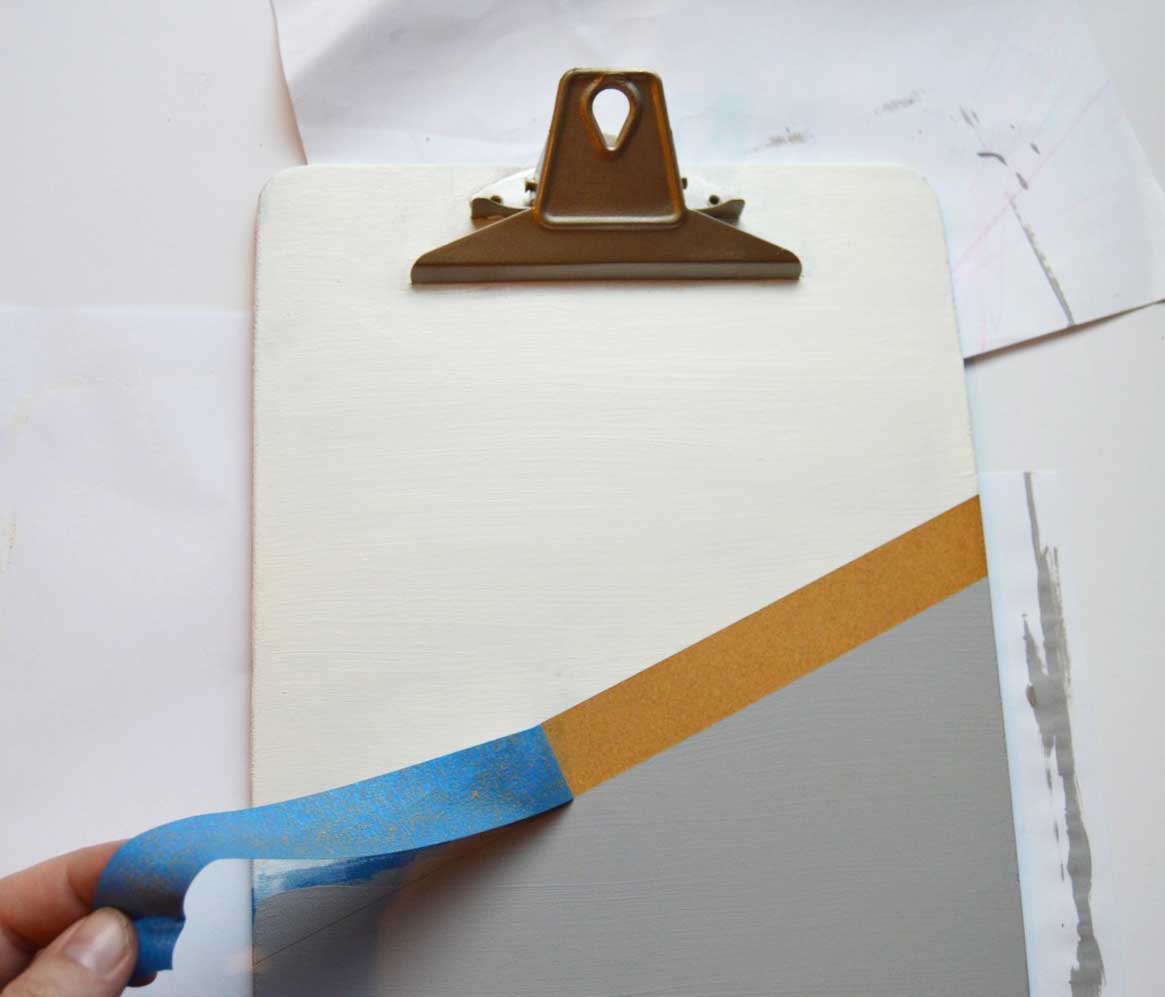
While the paint was still a little wet, I removed my tape and then let it dry. Removing the tape while the paint is still wet can help prevent paint from seeping under the tape.
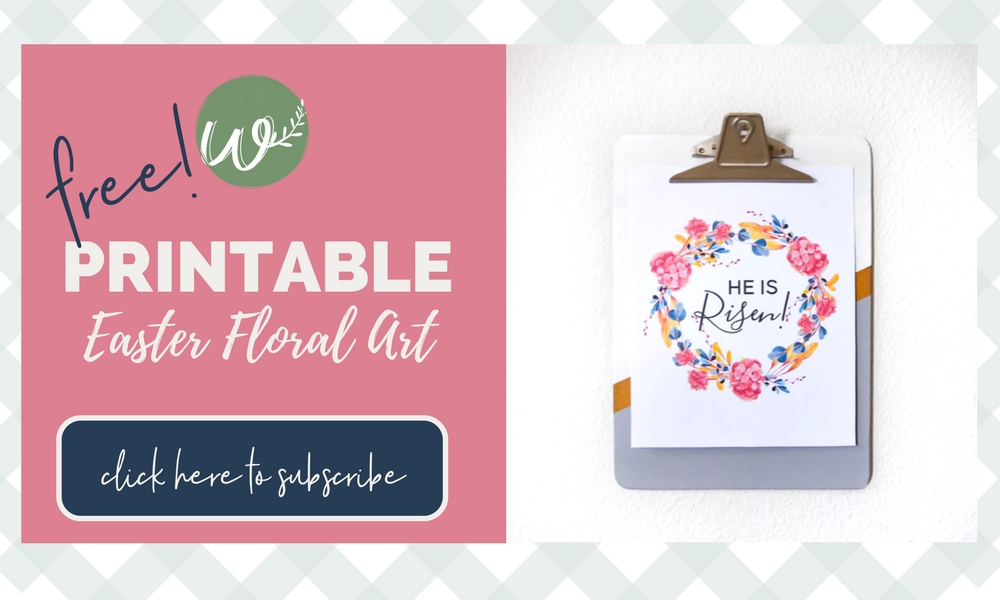
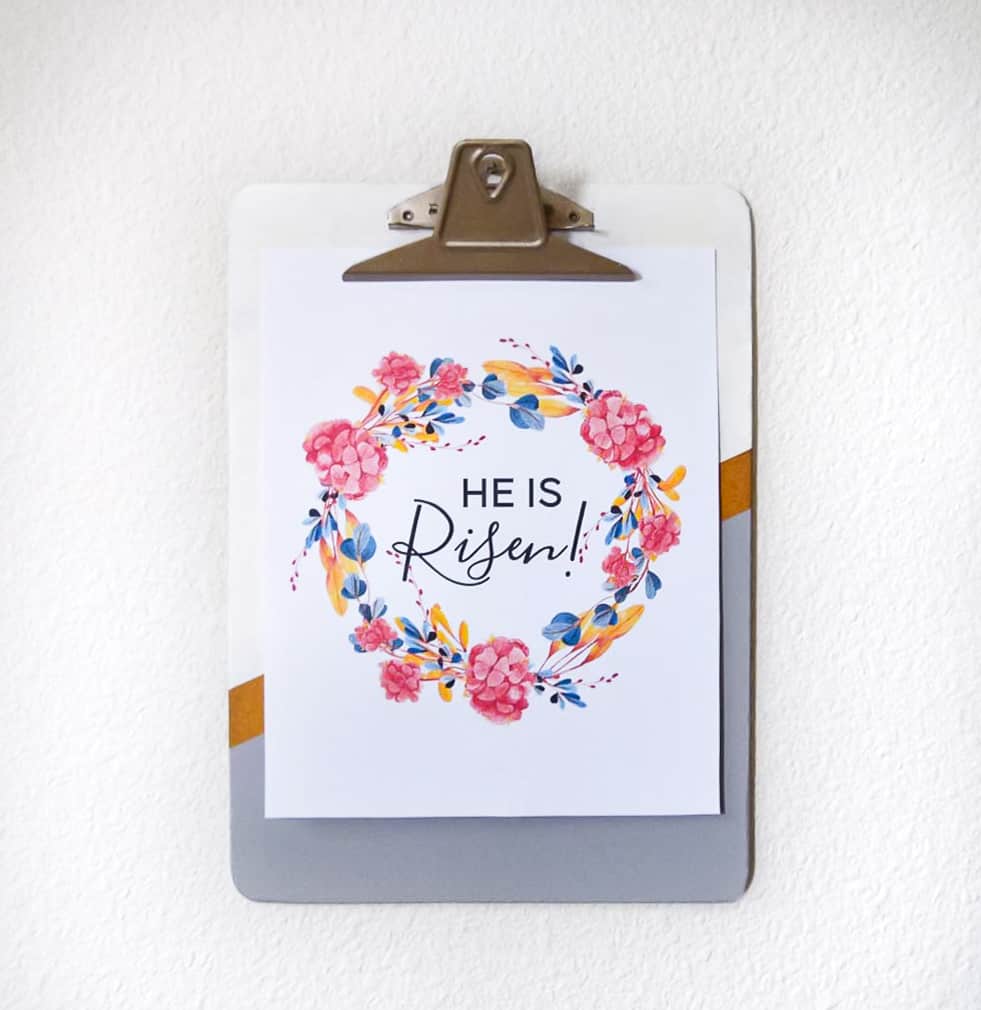
Now you are ready to display your artwork! You can download your free Easter printable by clicking on the sign up form below! This printable is free to all subscribers, and is for personal use only. If you want to download this printable, simply sign up with your email and I’ll send it directly to your inbox.
If you love a great DIY project, you will love my DIY tutorials for an easy hand-lettered canvas, my drop cloth headboard makeover, and these easy birch candle holders.
1 comment
[…] find the rest of this DIY Clipboard Display Tutorial head over to The Weathered Fox! (adsbygoogle = window.adsbygoogle || []).push({}); Do you have any old clipboards laying […]