This week we’ve been slowly chipping away on our bathroom renovation. It’s come a long way from what it used to look like, and it’s starting to look a lot more like the inspiration and design board I made. So far we have demo’d the room, tiled the floor and shower, and today I’m showing you how I updated our vanity for, um actually, FREE!
(This post contains affiliate links. This means I get commissions for purchases made through links in this post.)
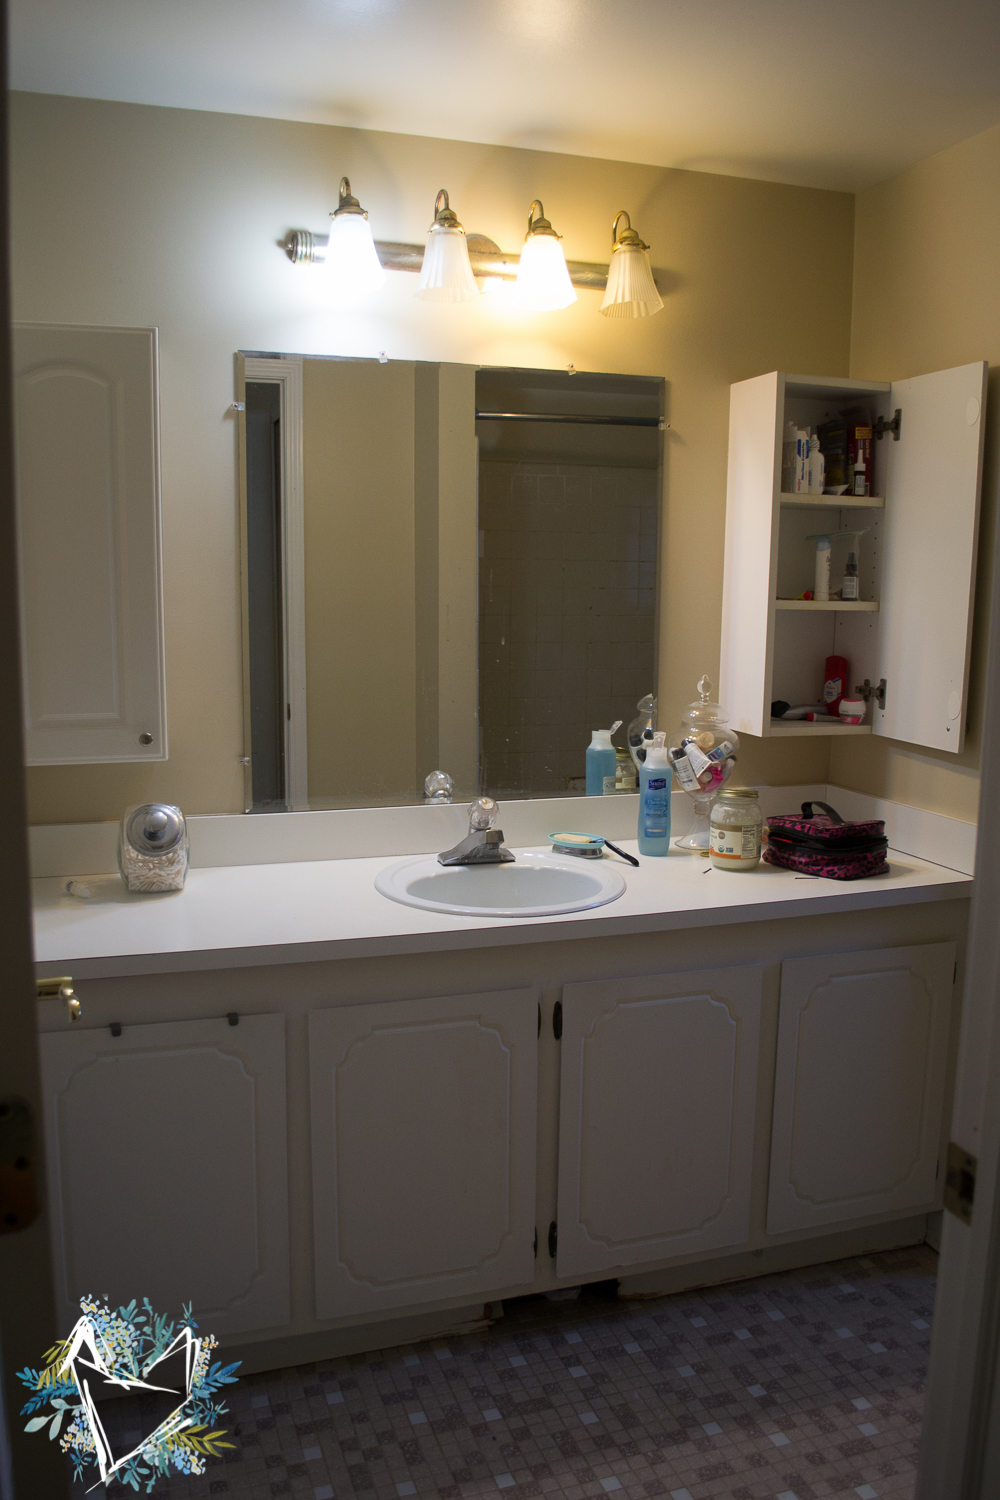
Just to remind you of how the vanity looked before we started this project
And how it looks today!
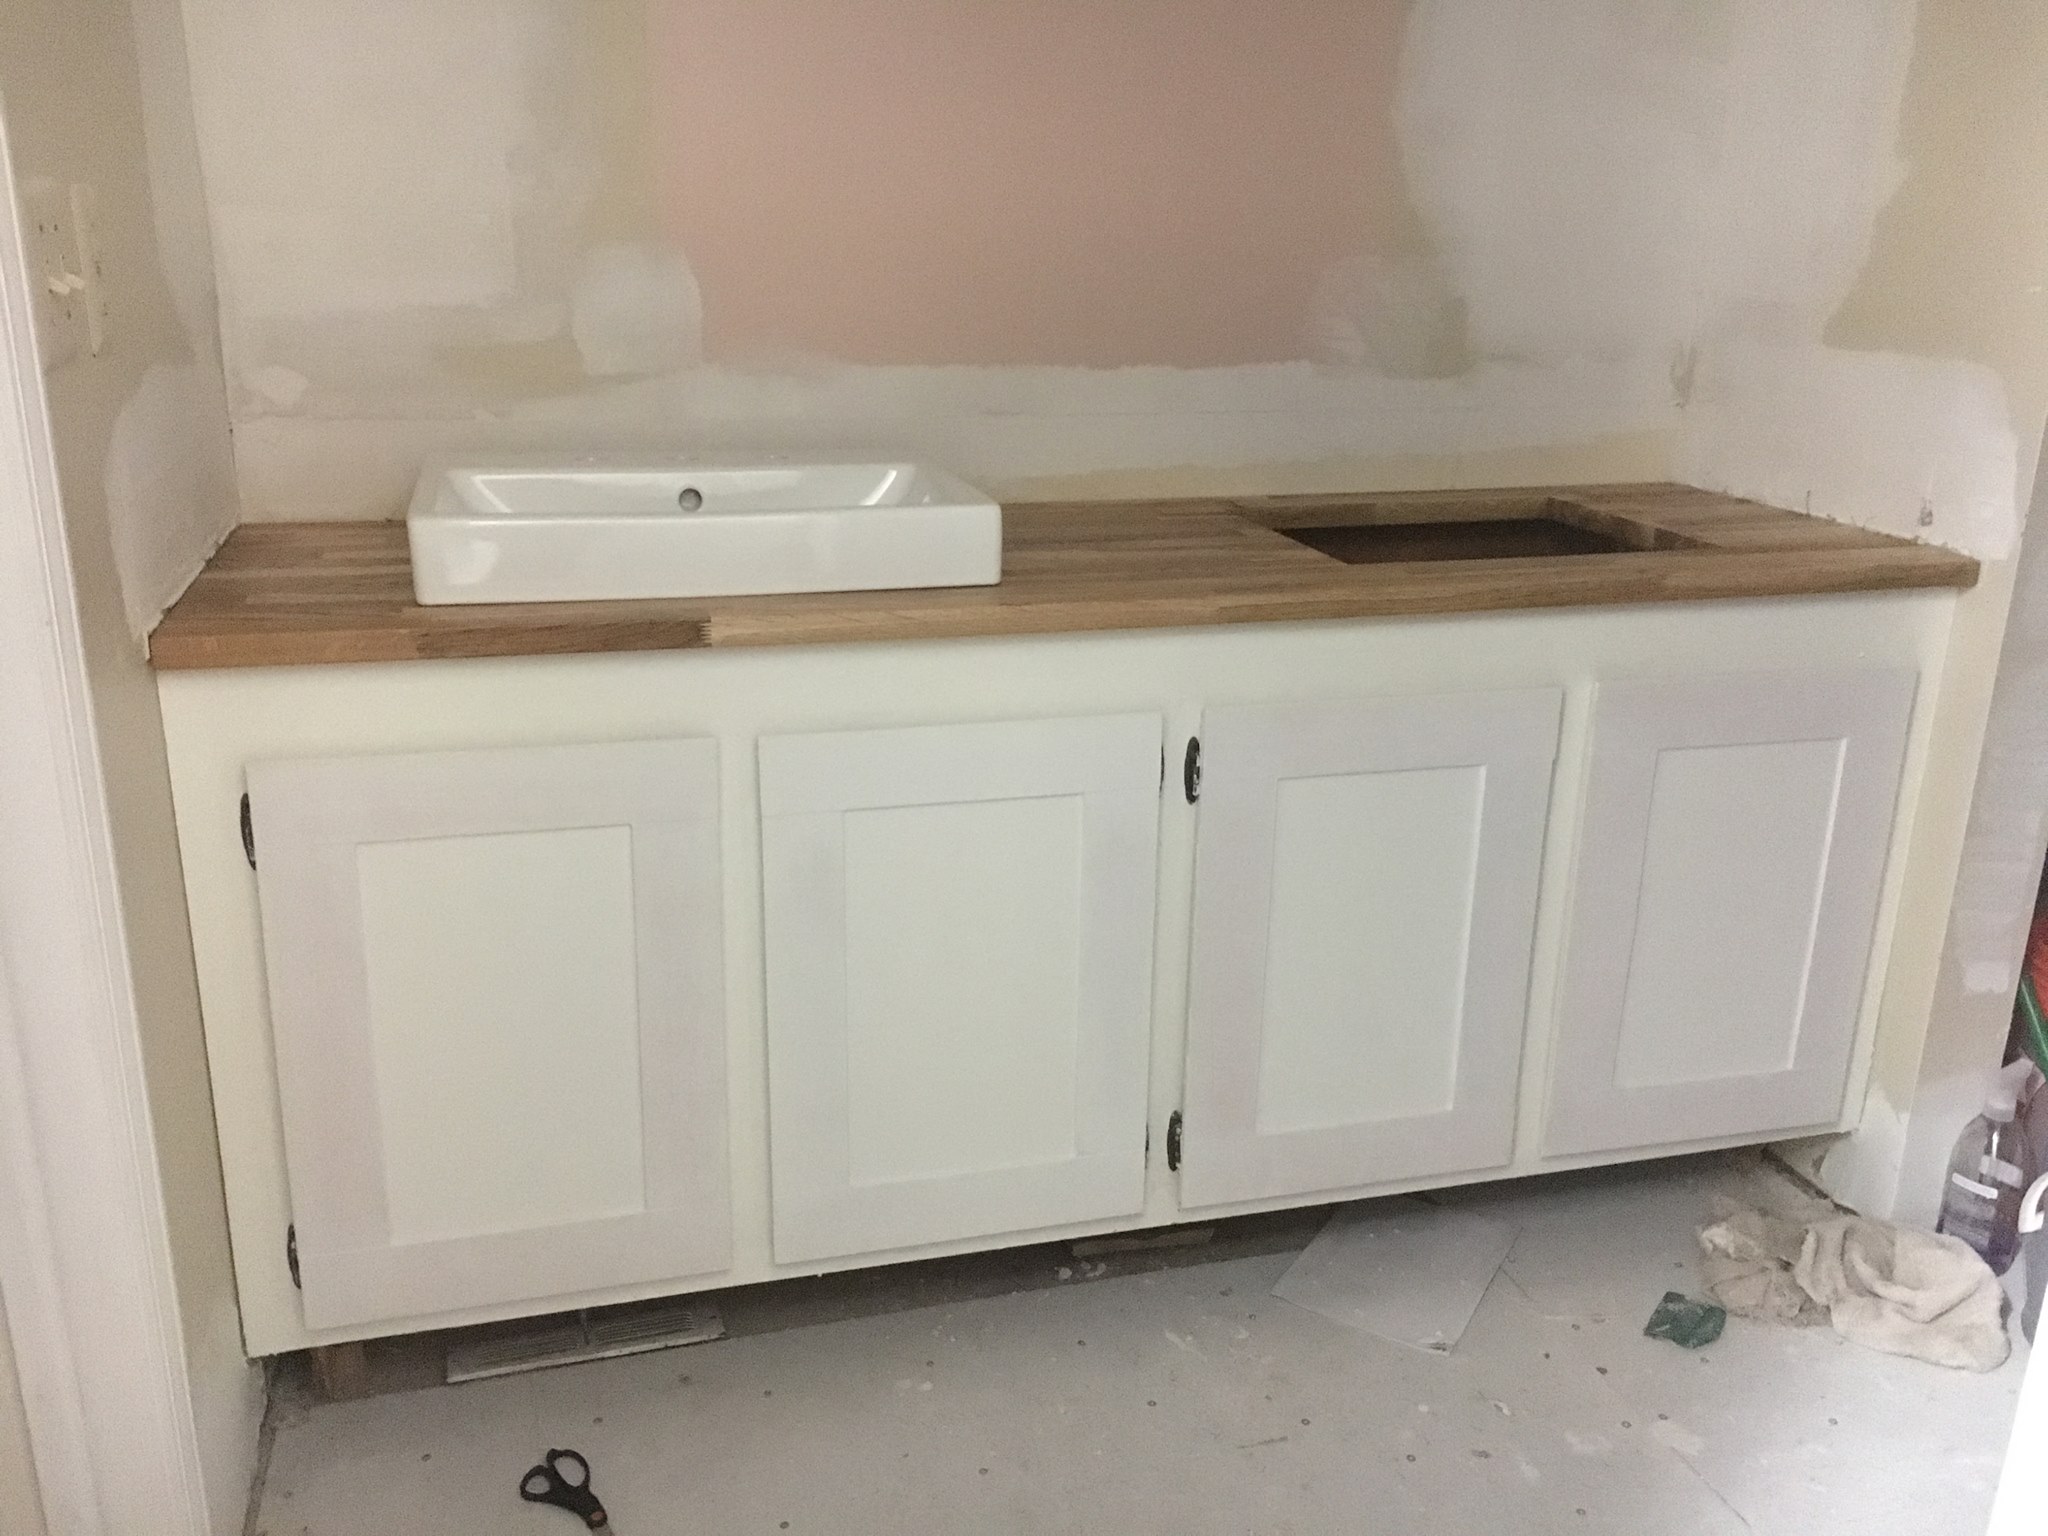
We’re on a super tight budget, and have this giant vanity here in our bathroom. It’s 5 feet long, so replacing it would most likely double our costs. And since it’s not in too bad of shape, we decided to just add additional supports to strengthen the existing vanity, and then give it a facelift. So our contractor strengthened the vanity, took off the old countertop, and started working on the plumbing for the two sinks we’re adding in.
Once they were done for the day, I started working on our vanity update. This update is super simple because it just involves covering up the design on the doors. When the update is done, these doors will have a shaker style and will better match the rest of the new bathroom.
Here’s what you need to update an old bathroom vanity (affiliate links):
- 5mm plywood cut to 3 inch strips
- Construction Adhesive
- Circular Saw or Miter Saw
- Finishing nails or clamps (I used a Finishing nails )
- Joint Compound
- primer & paint
How to Update an Old Bathroom Vanity
I shared a how to video on my facebook page! Check it out by clicking here!!
And check out my tutorial on filling in the seams here!
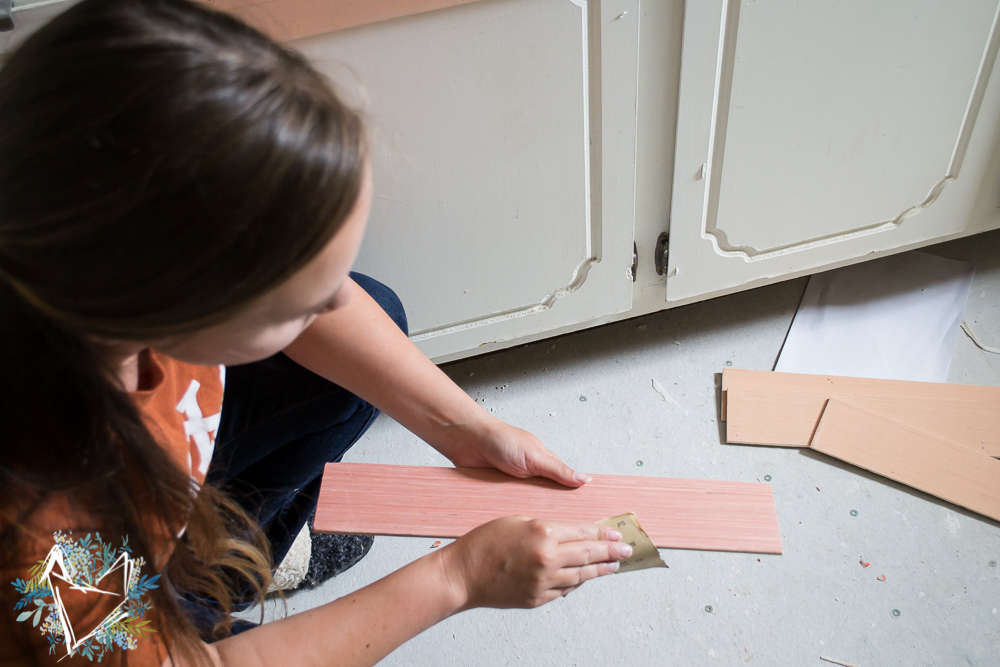
1) We first measured our cabinet doors and then cut our 3 inch strips to size using our Circular Saw. Each door had slightly different measurements, so we measured and cut new pieces for each door. Make sure your pieces are fully sanded so your edges don’t have any sharp areas or splinters.
2) We applied construction adhesive to the backside of the wood pieces, pressed them into place, and used a couple brad nails to keep them in place while the glue dried.
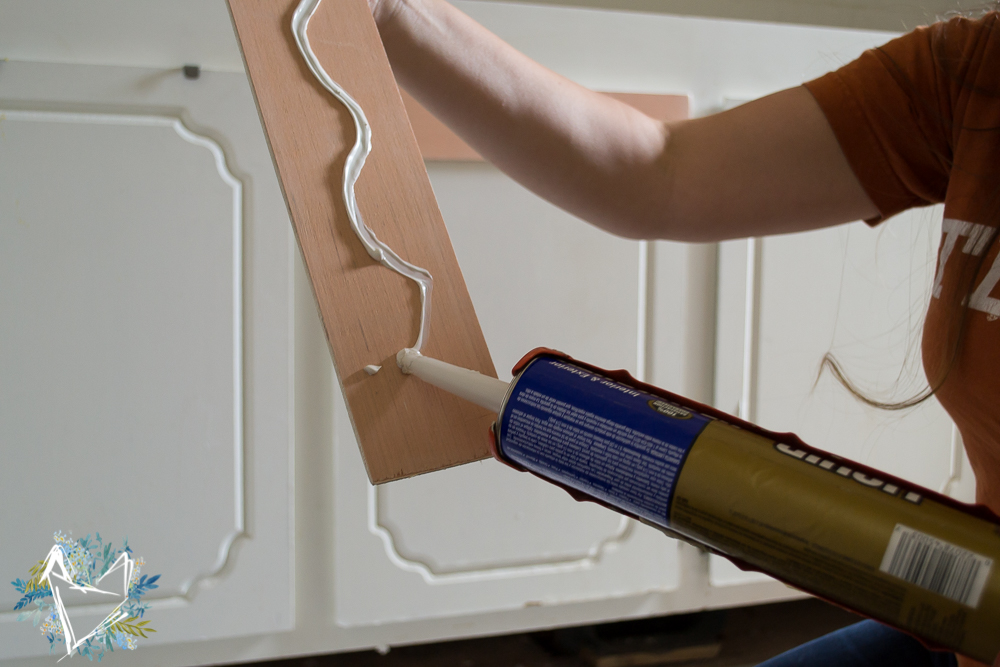
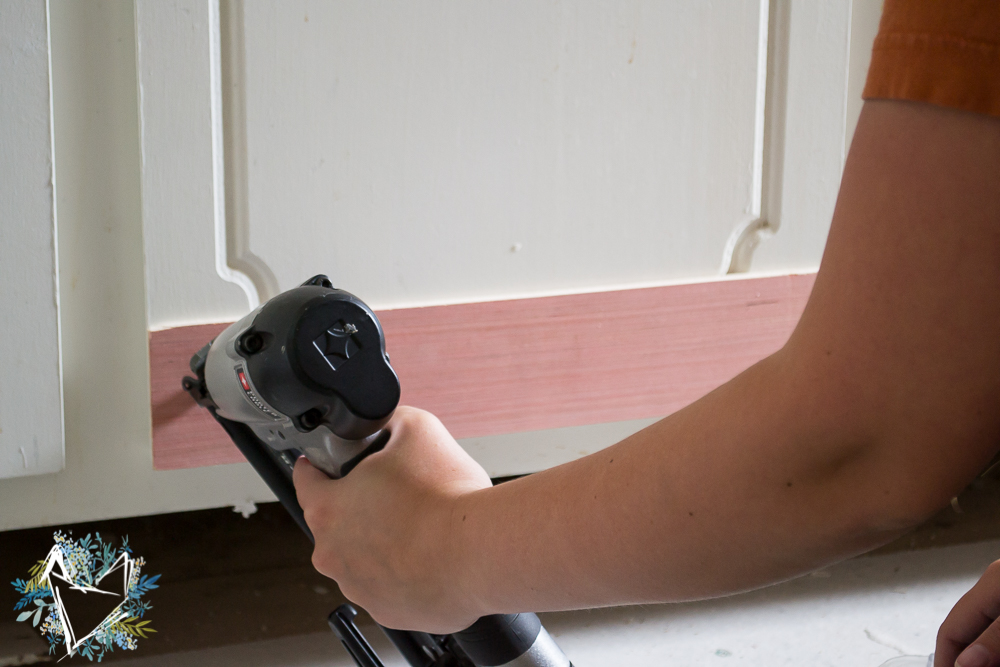
We added all of the horizontal pieces first, then cut the vertical pieces to fit and added them.
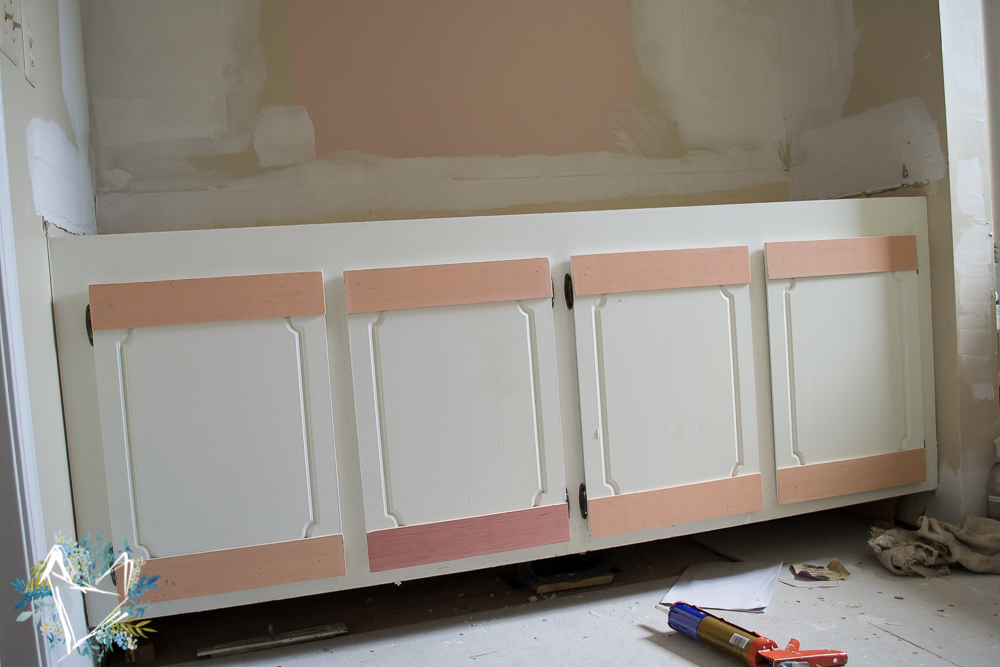
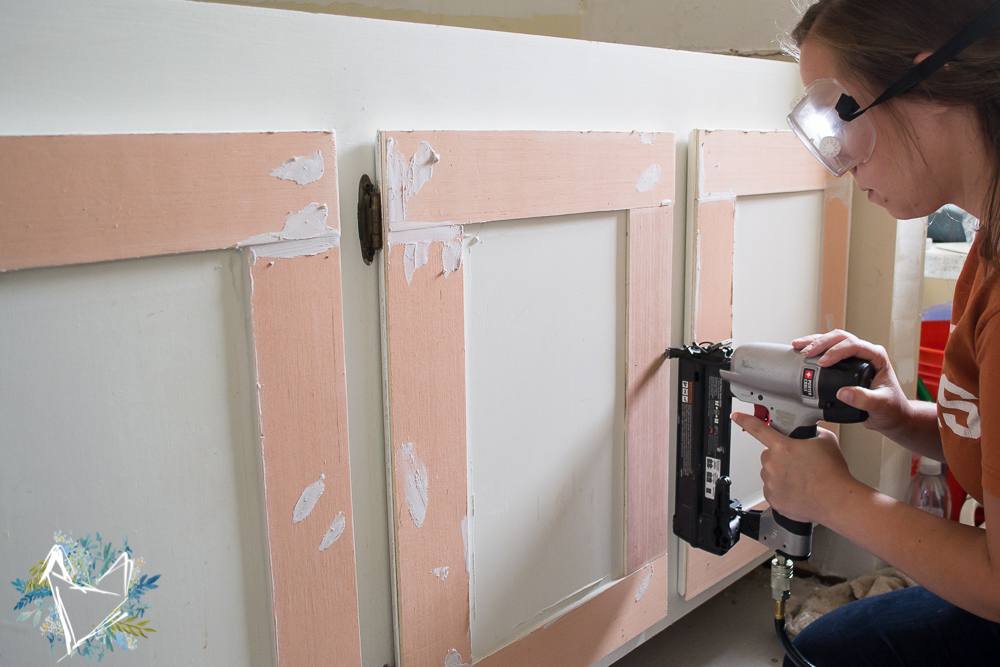
3) Once you have all your pieces attached to the cabinet door, and everything is dry, use Joint Compound to fill in the seams. This will give you a nice, smooth finish. I fill a ziplock bag with the compound, and cut off the tip, similar to when you’re frosting a cake! 🙂 Apply the compound across the seam, and wipe off the excess with your finger or a cloth. Wait until it’s dry and go over any areas that may need a second application.
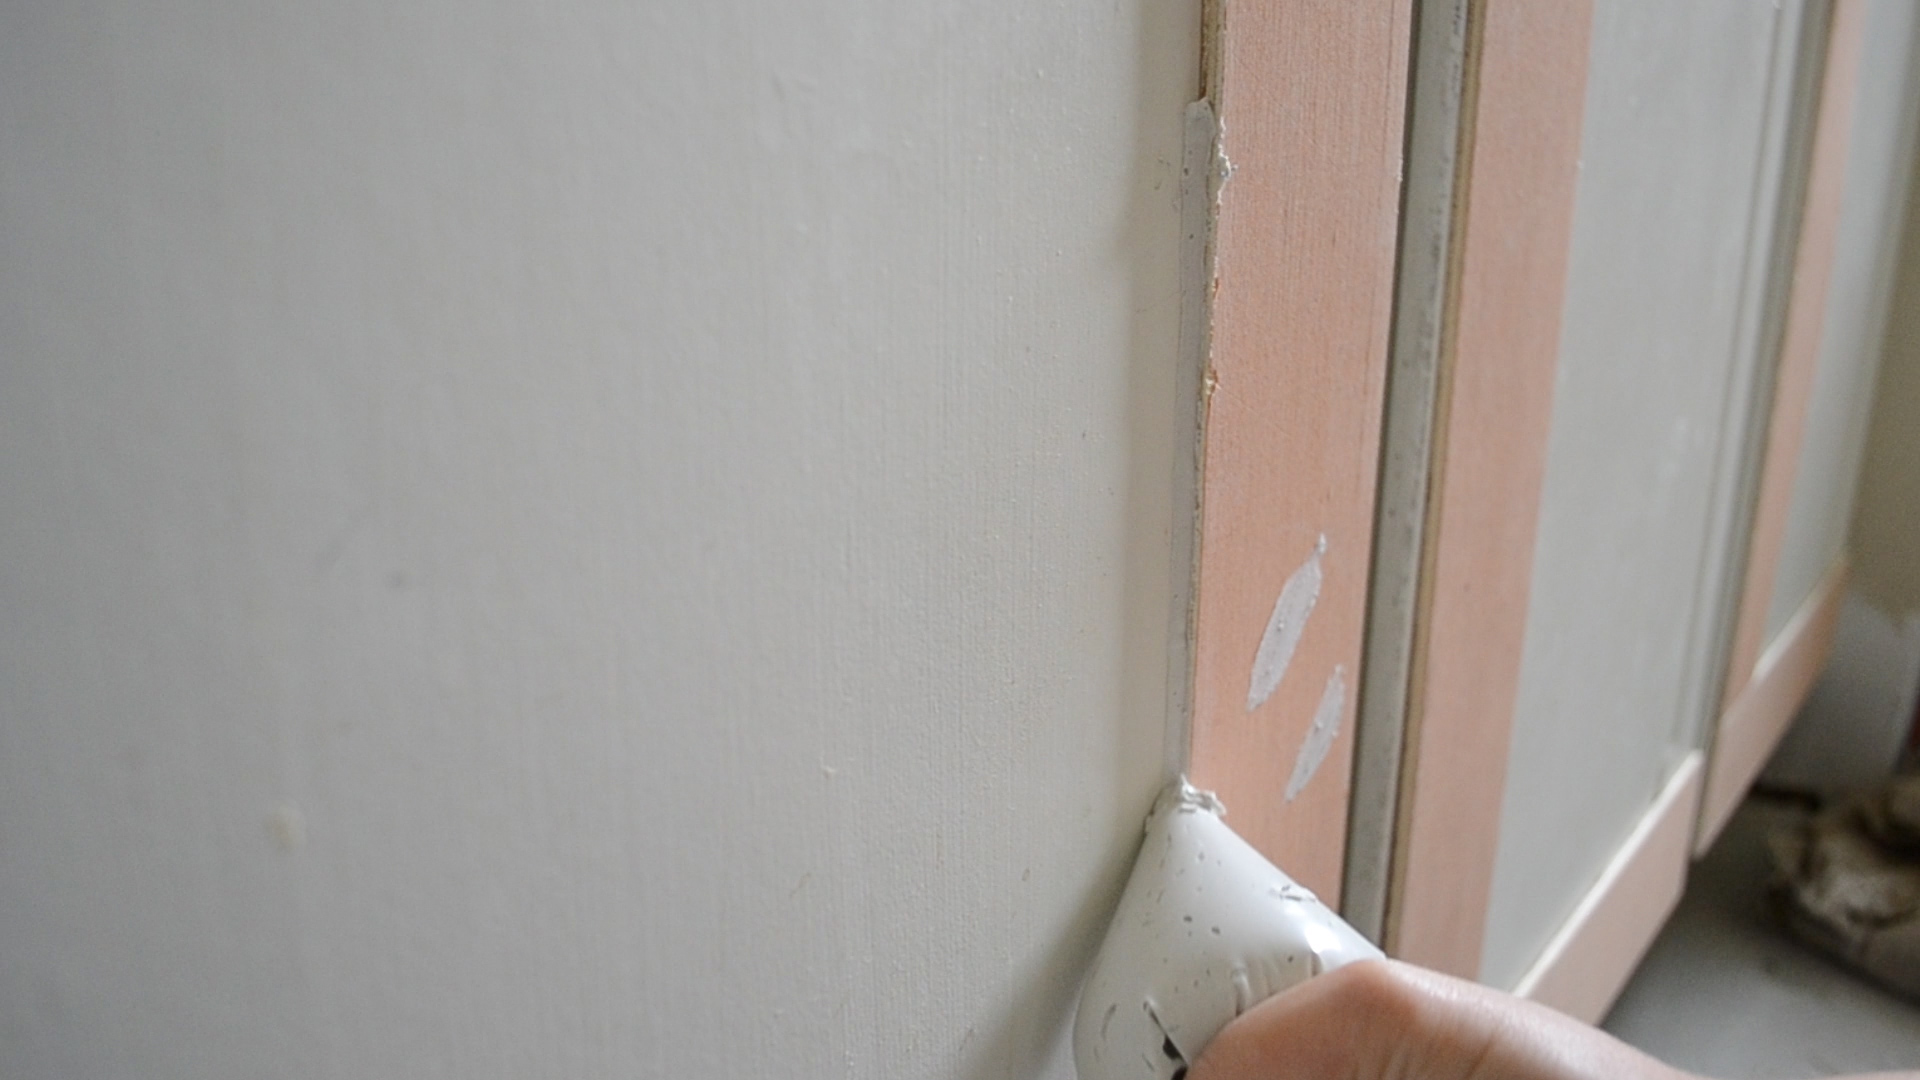
4) Taking a damp cloth, wipe off any extra compound left over after everything has dried. I like to do this instead of sanding. no dusty mess in the air, and joint compound is very forgiving in this way. When it dries, it’s very easy to fix any errors left behind with just a damp cloth! I made a facebook live video of this process, check it out here. Just make sure your surfaces are smooth so that when you paint you won’t have any bumpy areas.
4) Prime and Paint! That’s it. That’s the whole tutorial. It really is the easiest thing to do! Here’s the vanity after it was primed. I’m still deciding on a paint color. I had originally wanted to do a gray-blue, but am kinda digging the white! What do you think??

This week we will be installing our countertop and sinks, painting the room, and adding our fixtures. It’s SO close to being done, I’m so excittteddddddd!!!!
See the entire bathroom renovation:
Floor and Shower Tiles are down
And check out all of my facebook live video updates:
Demo! | Picking Materials & Costs | Subway Tile is Up! | Dryfitting the counter & sink! |Vanity Update 1 | Vanity Update 2 |

10 comments
[…] I loved seeing the bathroom floors and shower tiles being added, and saving a ton of money by salvaging my old vanity. […]
I need to do this to my cabinet faces, I love how it looks!
Great idea Crystal! Love the way these turned out.
I love this idea! What a great way to update outdated but perfectly usable cabinets! I never would have thought it would be so simple to make Shaker Style ones! Great job Crystal!
I love how you were able to cover up those grooves in your doors. Clever and so much better looking. I can’t wait to see the reveal next week!
SUCH a good idea! Way more budget friendly than replacing it and it looks great!
I need to do this in my kitchen! Except they also have a floral-esque design in the center. Looks great! Can’t wait to see it all finished!
That looks great—completely new cabinets 🙂 Can’t wait to see your big reveal!
What a transformation!!! I have a very similar vanity in our master en-suite. I am SO going to try your plywood update to cover up the old style. LOVE LOVE LOVE the new sinks! I would go white. Can’t wait to see the reveal!
Brilliant solution Crystal!