
Yes, I gave the house a nickname. The Trilevel Turd. Cute isn’t it? It really reflects the way I feel about this house in its current state. 🙂 But I am happy to say that this house is growing on me. You can tour the before and see a video update in this post. I’m finally seeing the vision I had in my head when we decided to buy the house. This renovation has been ongoing for a few months. But I consolidated it for you in this post. Among some general updates, I’m also showing how to remove a load bearing wall!
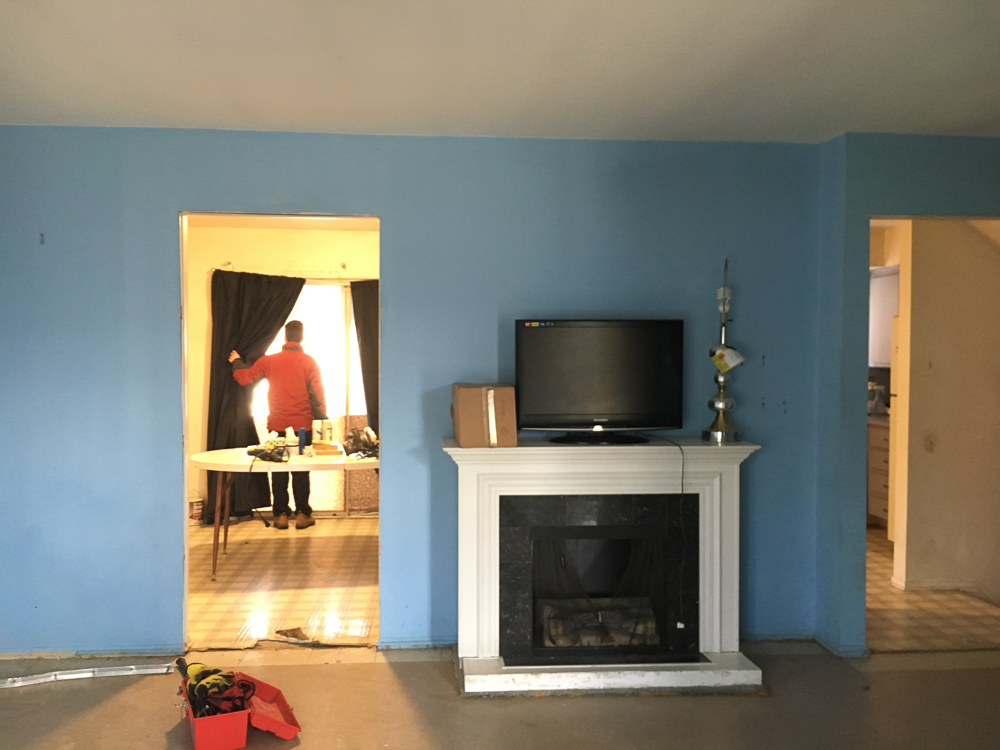
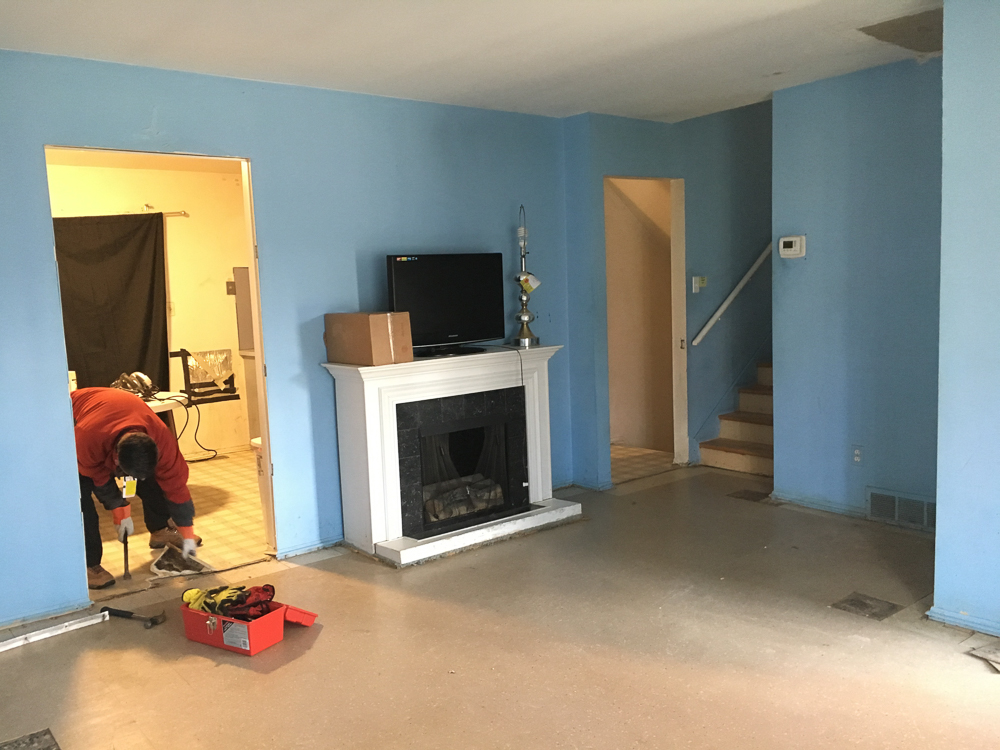
One of the first things I wanted to do when we looked at this house was take out the wall between the living and dining room. So we called our builder friend to come over and help us determine what we were really getting ourselves into.
I would say that I’m a little bit above average when it comes to load bearing wall knowledge. But I’m not comfortable enough to make these kinds of decisions on my own. Especially with this wall. It had two doorways, and there is no second floor above it. But I had a feeling some weight was being carried by this wall.
How to Remove a Load Bearing Wall
Decide if the Wall is Actually Load Bearing
Before you remove a load bearing wall, you may want to be sure the wall is actually load bearing and to what degree. One sure way to decide if a wall is load bearing is to look at the joists in the basement or rafters in the attic. In this case, we had to check the attic to see which way the rafters ran. If the joists run perpendicular to the wall in question, you’re almost certain to have a load bearing wall. Dealing with a load bearing wall can get complicated. So even if you have a small suspicion, leave the wall there and call on a professional.
Even if you do find that you have a load bearing wall, the amount of load can vary based on your house. In our case, there wasn’t much load to bear because there was only attic space above and the weight of the roof. This was amazing news because that meant we could remove a load bearing wall and put in a simple wood beam in its place without the price of the project skyrocketing. If more weight is carried by the wall, consult a structural engineer or architect to help you decide how to handle the project.
Remove the Drywall
[soliloquy id=”7851″]
Our builder friend was happy to have us help out with demo of the wall, which saved him some time and ultimately saved us money. Of course his crew would have had it done much faster. But you know me I like to get my hands dirty! So we spent a day just the two of us taking out all the drywall from the wall and leaving the structure in place.
**Safety Tip** Before attempting to remove a load bearing wall, make sure to turn off your circuits in the wall, obvs. And remove any electrical cover plates. Be careful of electrical wires and other things hiding in the walls. And don’t start this process unless you have a clear idea of where you’ll be rerouting these things!
The process starts a bit slow. My method was always to get my hammer going in a small section and try to pull off the drywall in chunks. It’s easier to pull the drywall out toward the finished side rather than the other way. It seems to go down a lot easier that way.
Cut an Observation Slot
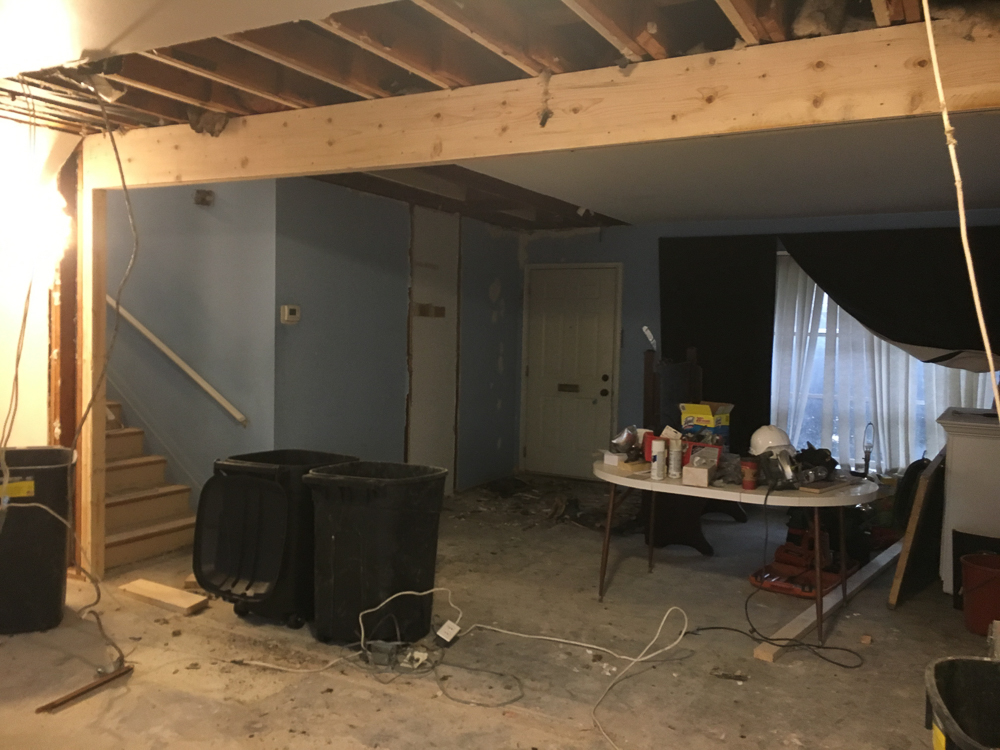
The next thing our builder asked us to do was to draw a line from either side of the wall and cut out the drywall along that line. We just used the measurement of the soffit hole and cut straight along that since all that drywall would need to be redone anyway. It’ll save you some time if you use a Dremel saw or oscillating tool to get your cuts nice and straight. We had a heck of a time trying to use a carpenter knife, and ended up making a bigger mess for our drywall guy because the cuts weren’t clean. (One photo was from after the wall came out, but you get the idea)
Check Joists for Overlap
Once we had all the demo done and everything ready, our builder came in to check our rafters in the attic for any overlapping beams. This helps determine where your temporary support wall will need to go. You will see one of two things. Your joists will either be one continuous board or two boards that overlap. If your joists are continuous boards, you are free to add one support wall. If you find boards that meet, you will need to be sure there is enough overlap to bear the weight of a temporary wall. Otherwise, you will need to possibly build more than one wall.
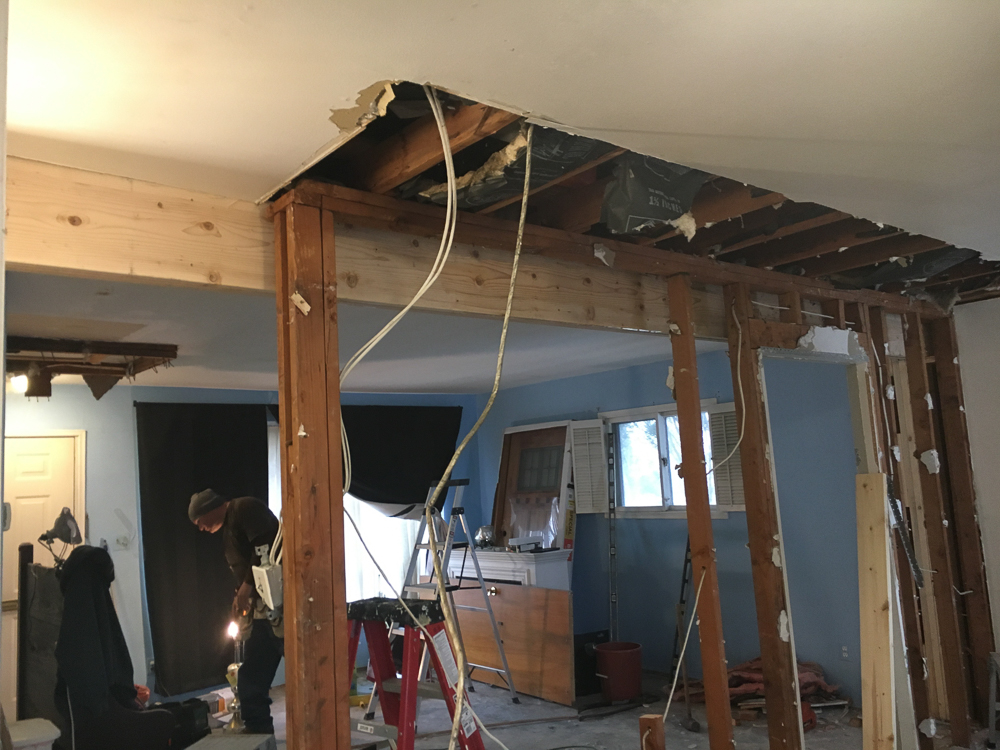
In our case, we had boards that overlapped compounded with a load bearing wall that ‘jogged’, or zig-zagged. See how the wall jogged back on the right side there? So some of places where the boards met were not in the same place as the others. We had to extend our boards before adding in our load bearing beam. But the good news is that because the wall jogged back, we didn’t actually need to build a support wall. We had enough room to work with the existing wall and still add in our beam without having to remove the wall completely!
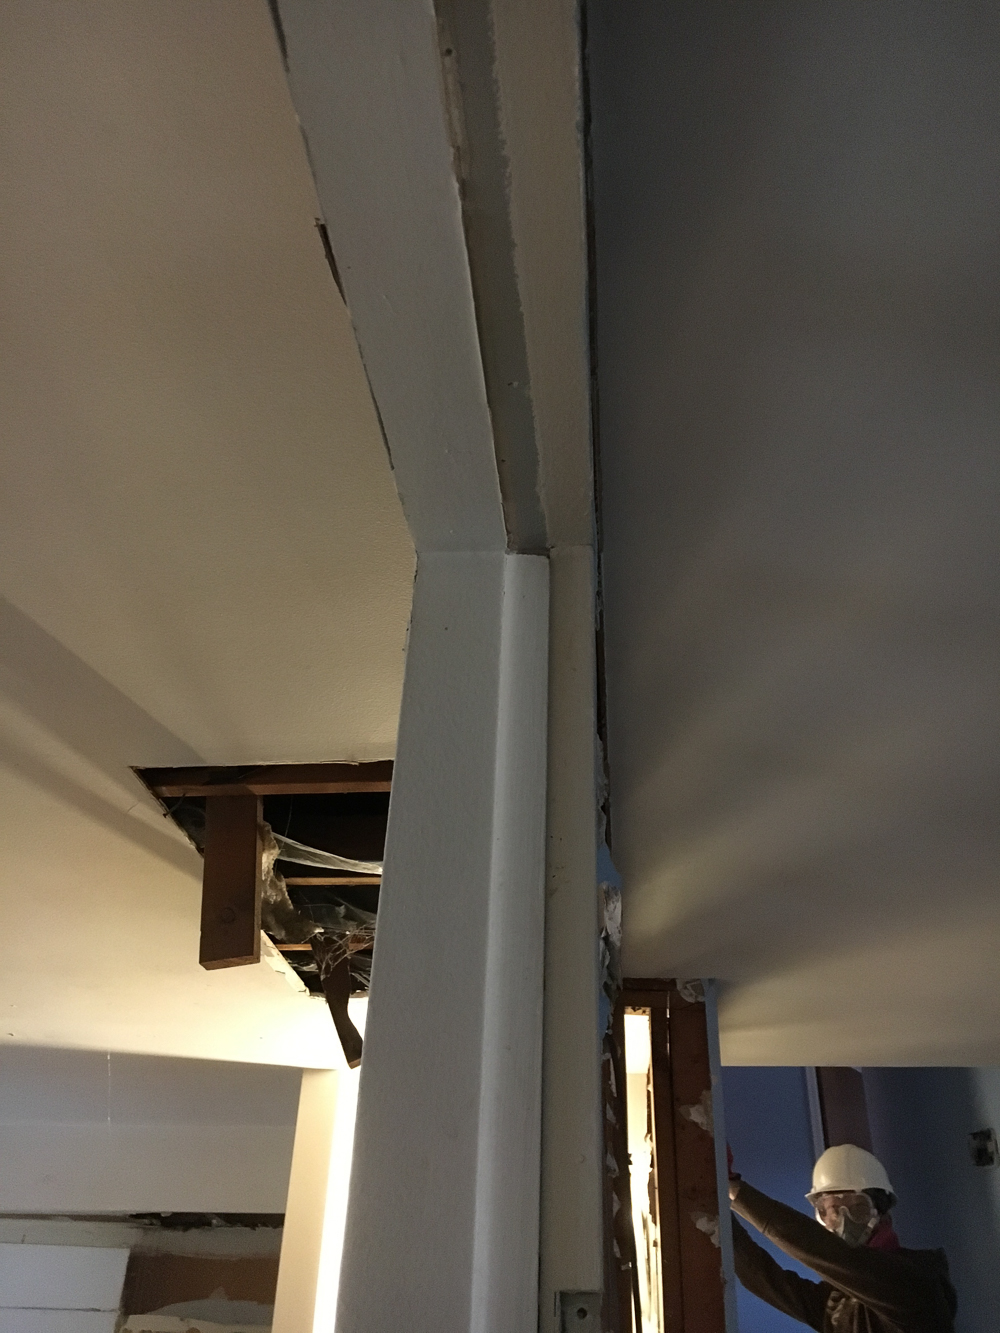
Install Load Bearing Beam
[soliloquy id=”7867″]
Now this is the part that I don’t know a whole lot about. I know our builder determined what kind of beam would bear the load of our old wall. I know he went out and bought 2 2×12 boards and some plywood. And I know he sandwiched the plywood between the two 2x12s boards to create one big beam. He also determined the place where the beam would need to be installed in order to support the load it was carrying. And I know he added in some 2×4 boards to the end walls to help support the beam while it was going in. But since I’m not a pro in that area, and was too excited to ask enough questions, that’s all I know!
Remove Support Wall
[soliloquy id=”7868″]
Once the beam was in place, we were able to remove the wall in pieces, being careful to remove the wires that were still attached to the studs.
Clean Up the Mess
[soliloquy id=”7869″]
This was probably the most extensive part of the job, believe it or not! Removing a wall meant that drywall repair was necessary. But that’s OK for us, since we had already planned to have our drywall repaired due to the years of a leaky roof this house endured. This gave us the perfect opportunity to get some electrical work done, including new lighting throughout the kitchen and living room. We also took this opportunity to have the rusting galvanized pipes replaced throughout the kitchen and bathrooms.
[soliloquy id=”7870″]
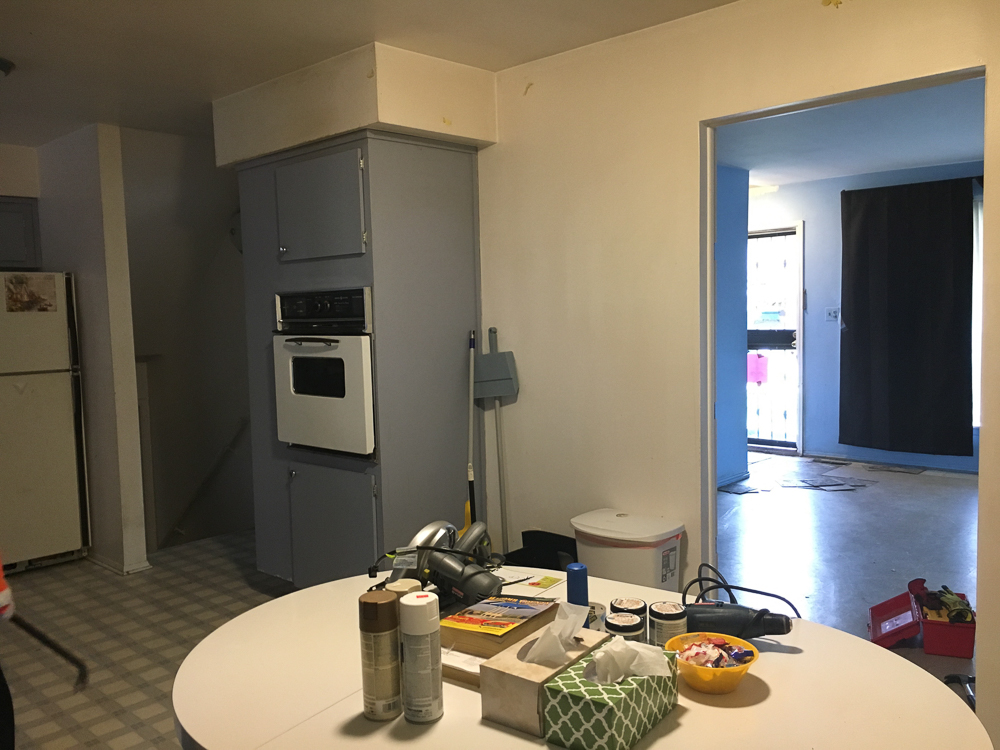
The rest of the kitchen was demolished, including the soffit and had a new exhaust added in for a future range hood. I’m gonna be honest, it was pretty fantastic to watch the new drywall go up. And I didn’t lift a finger for that process. And now that the new drywall and old walls are all primed, it’s starting to feel like a house I could live in!
And here’s a little before and after action for ya! What a different this project made in the overall feeling of this house! I hope you got a bit more insight, and hopefully I helped answer some of your questions about how to remove a load bearing wall!
[soliloquy id=”7871″]
Next time I’m sharing what we decided to do with those slab floors, and how it led to our stair reconstruction!

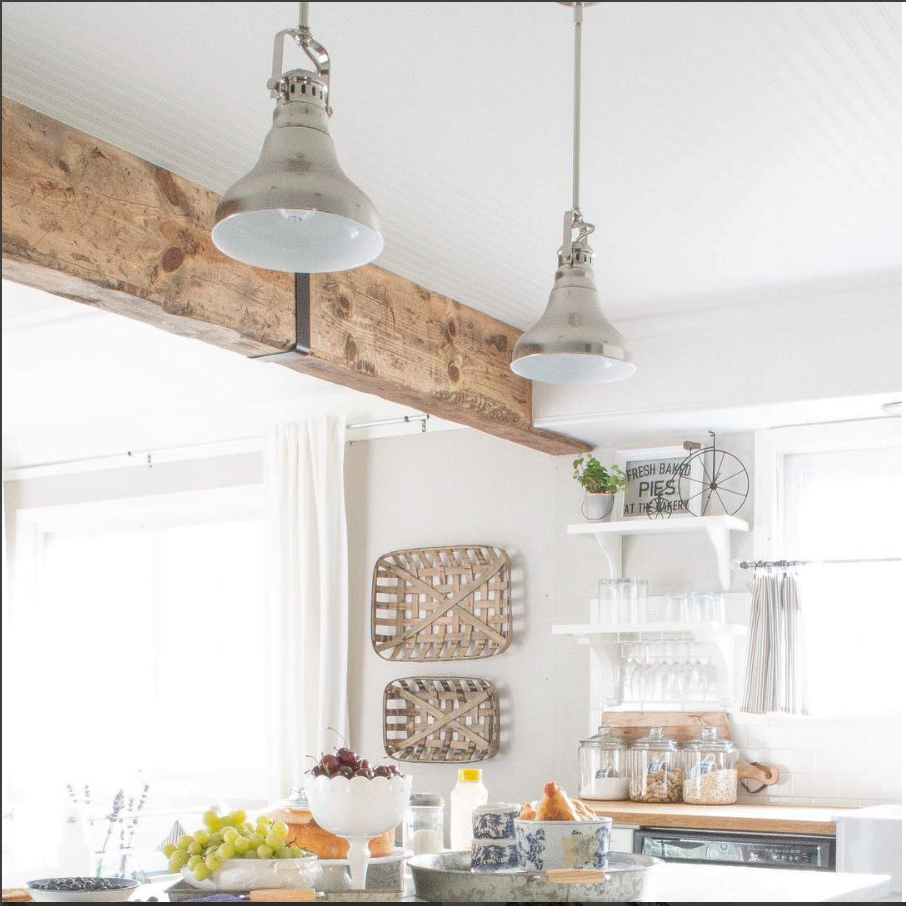
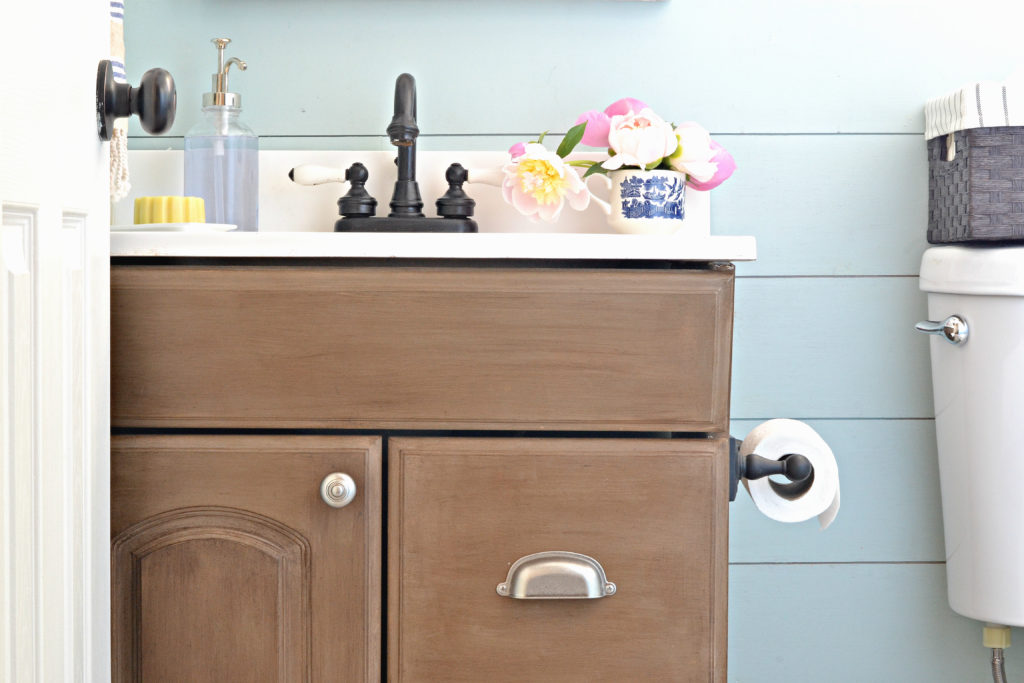
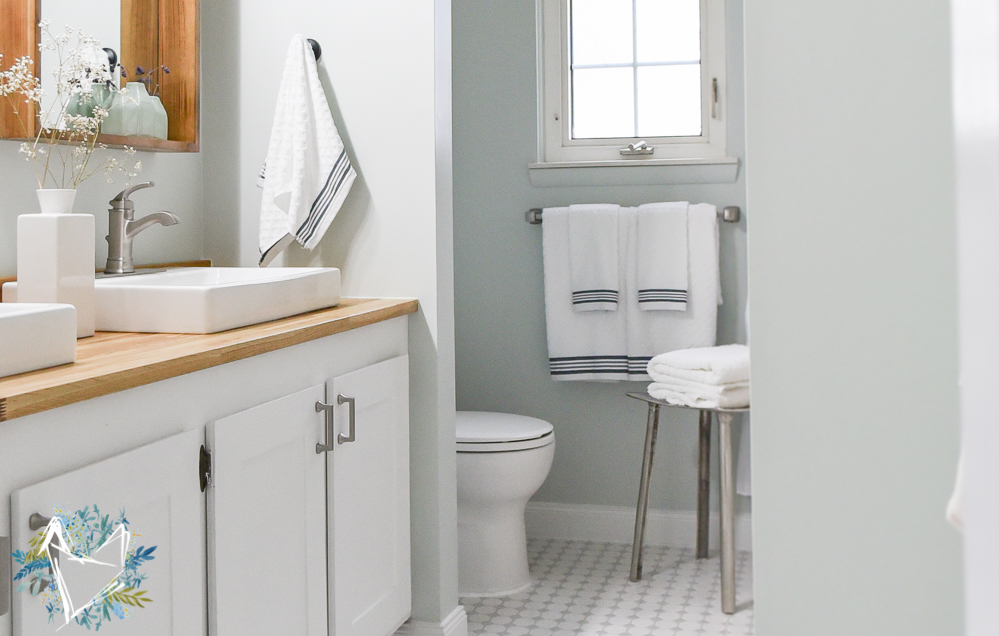
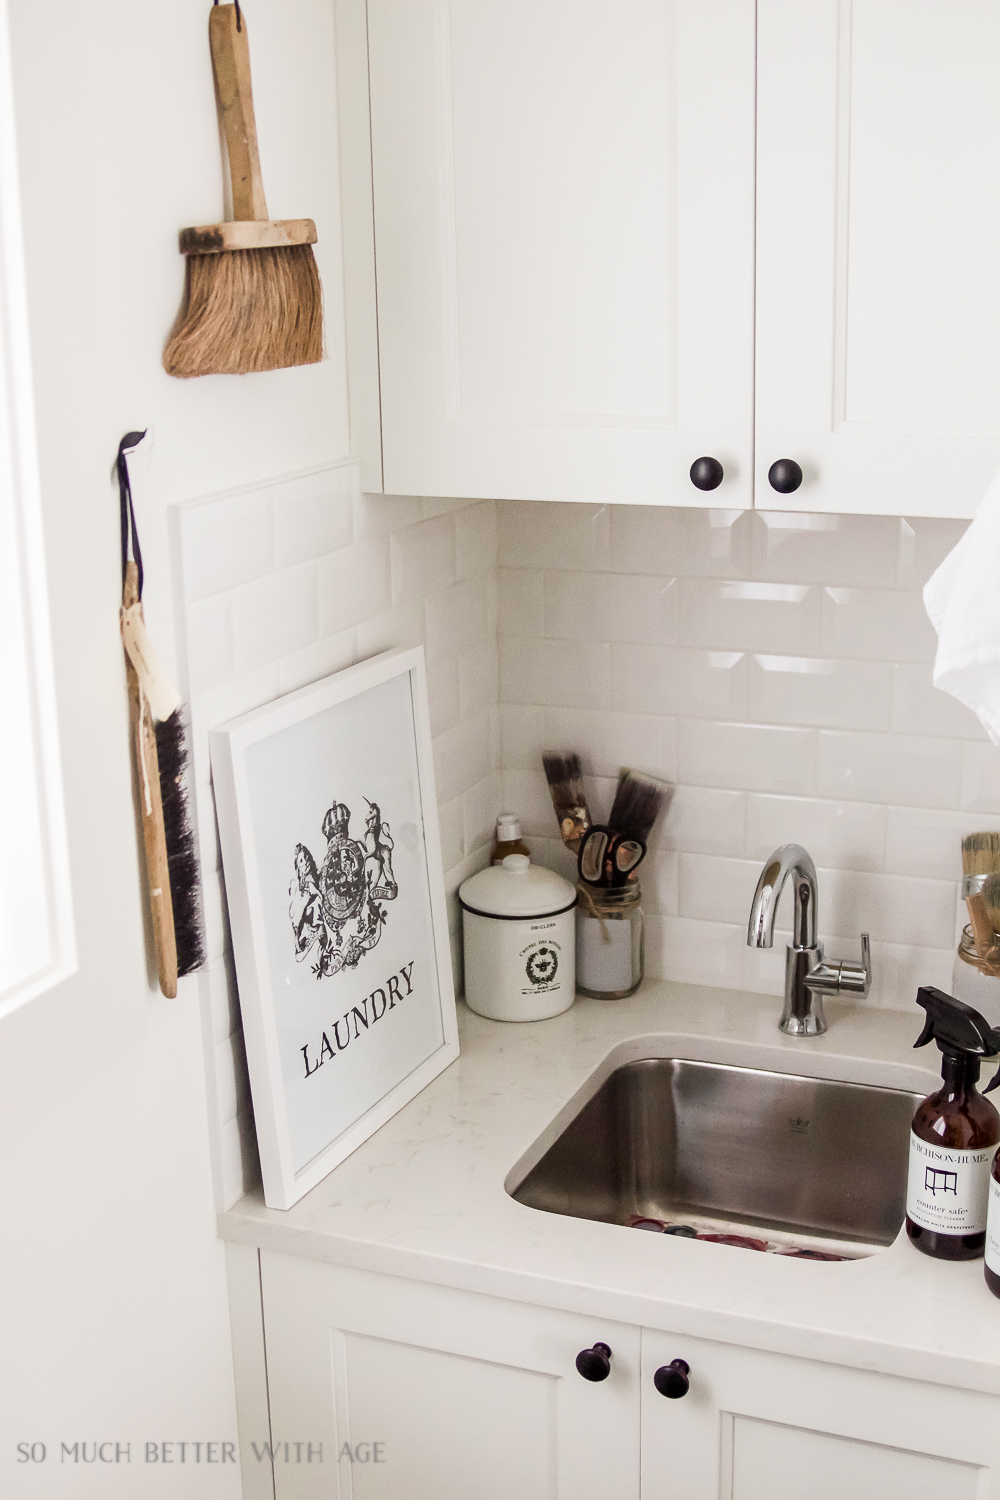
Check out these DIY renovations from around the web!
[one-half-first]

[/one-half-first]
[one-half]
[/one-half]
1 comment
[…] here today to give you a an update on our new house. You can see what we did to the kitchen and living room in our last post here. Today we are talking about floors. This floor had the original asbestos tile in the living room, and […]