Hello new friends! Kelly here from North Country Nest, back with an easy DIY outdoor bench tutorial to share with you today!
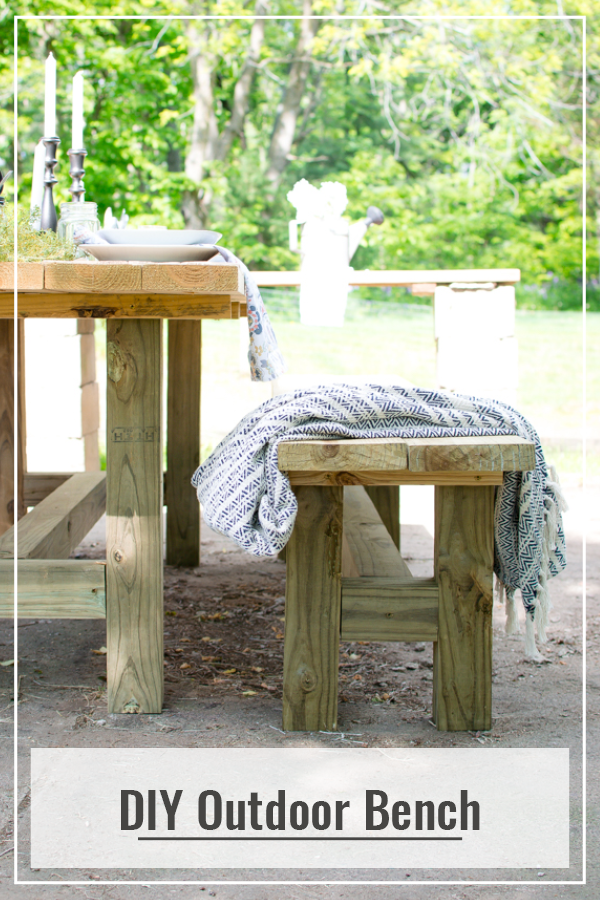
Patio season is in full swing here in Minnesota and we have been sorely lacking in the outdoor furniture department.
Last year I picked up a few outdoor chairs that have been haphazardly strewn about on our patio, but it was still missing something.
To make it more appropriate for entertaining, we built this super easy bar top with 2x4s and cinder blocks, but it was still missing something.
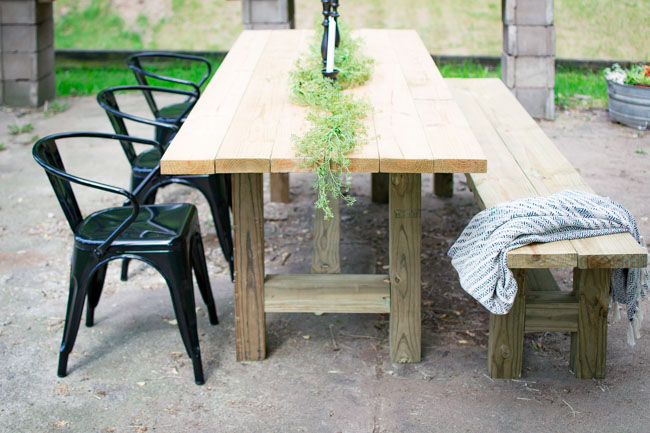
A farmhouse table and bench, perhaps?
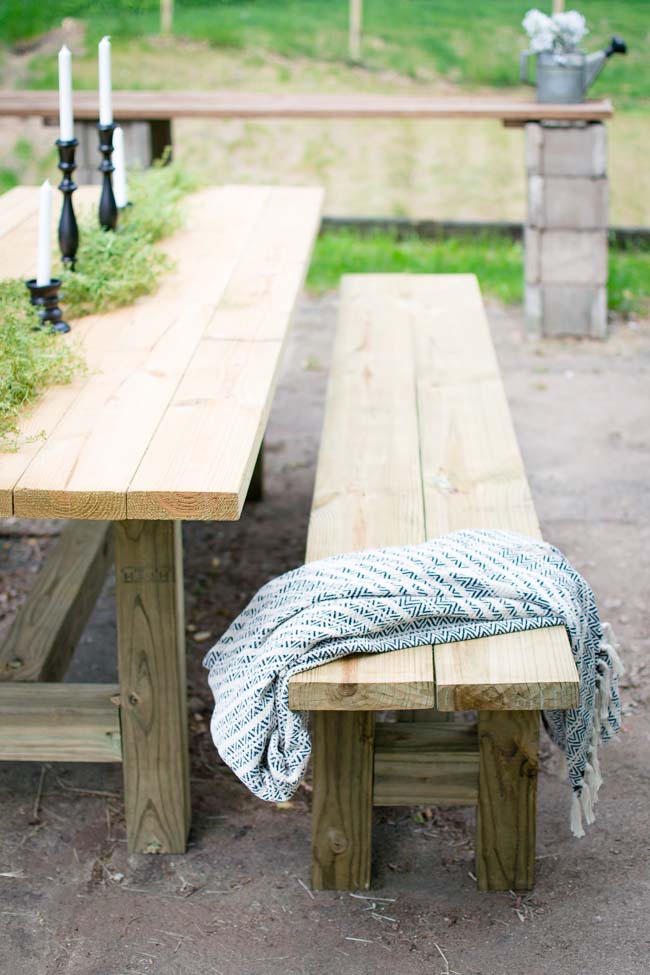
We built the table first and then a matching bench to go along with it.
I am by no means a woodworking pro, so know that I mean it when I say this bench was so easy to make.
I did tag in Brett for the lower half, but I know you could do it by yourself if you’re a one person dream team.
The Supplies
(This post contains affiliate links. This means I get commissions for purchases made through links in this post.)
Two 2×8 boards, treated wood, eight feet long
Side note: you cannot stain treated wood. this was news to me and something to consider if you’re wanting to change the color of the wood. treated wood needs to cure for a while before it can be stained and varnished.
Two 4×4 boards, treated wood, eight feet long
One 2×4, treated wood, eight feed long
The How-To
I made four holes along the length of the board using the Kreg Jig and screwed together the two 2×8 boards.
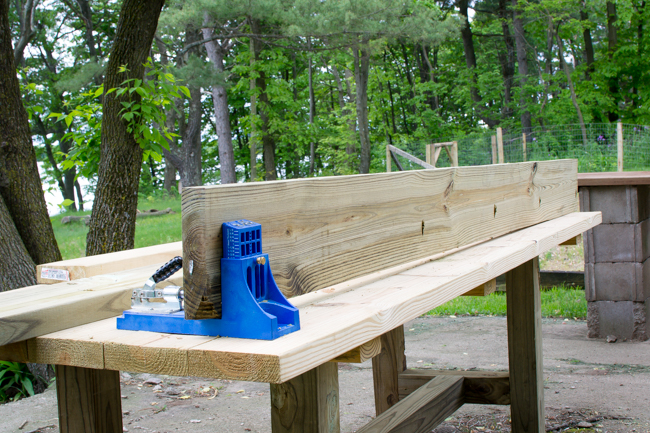
Quick tip: Clamps are your best friend, especially if the wood is a little warped. I always forget to grab them and then become stubborn [I know, it’s a DIY project and I’m not really taking a stand against anything] and then cave and am immediately relived at how easy they make the project. It’s not worth the fight of trying to hold together the boards while at the same time using enough upper body strength to screw them together.
To add extra support, cut the 2×4 into four 14″ sections and screw them to the bottom of the bench.
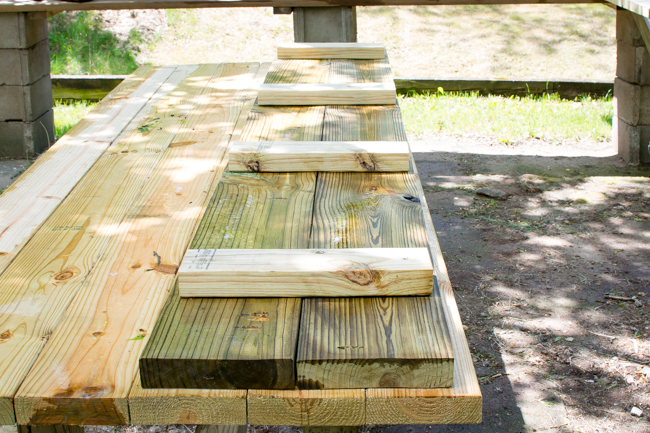
Cut four legs with the 4×4 wood – we made ours 18 inches tall.
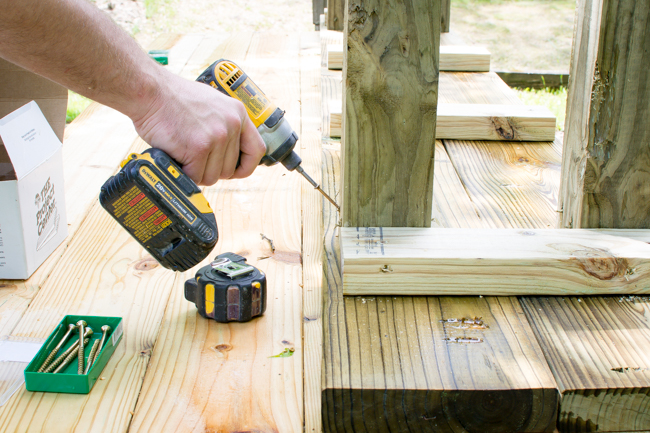
Using the 4 1/2″ wood screws, screw the legs in place – one on each side. We angled the screws so they would go through the legs and secure to the top.
Cut two 4×4 pieces of wood to fit between the short side of the legs. Ours were 6 1/4 inches and placed 6 inches from the bottom.
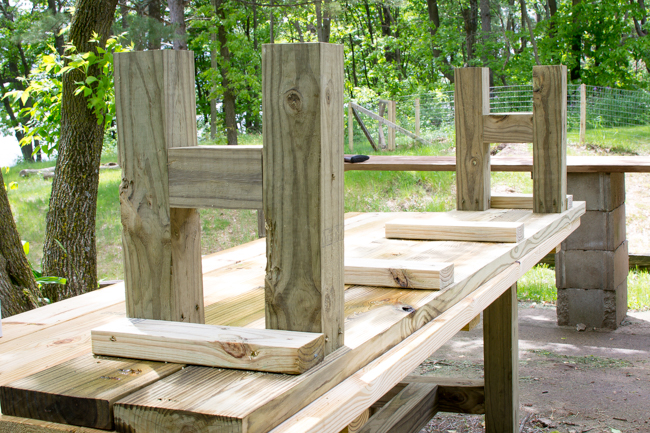
Using the 4 1/2″ wood screws, secure this short piece to the legs with the same angled technique used for the legs.
Lastly, cut one 4×4 piece of wood to go between the legs lengthwise. Ours was 67 3/4 inches long.
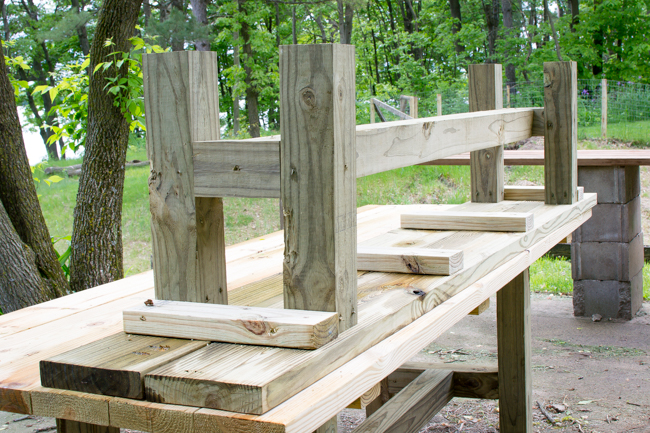
Again, use the 4 1/2″ wood screws and attach this to the center of the short pieces.
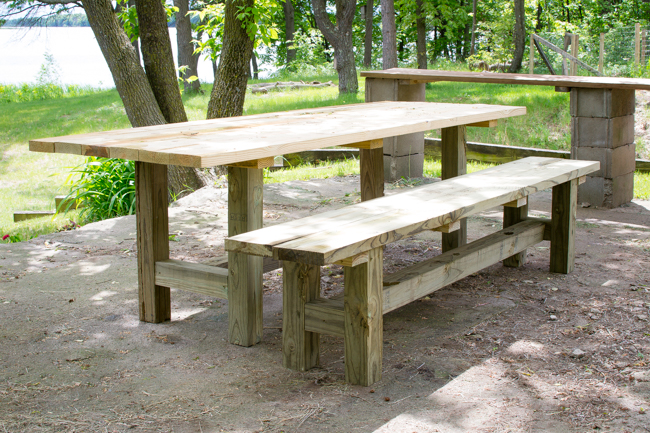
And that’s it! Since it’s treated wood and isn’t ready to be stained, you’re all set.
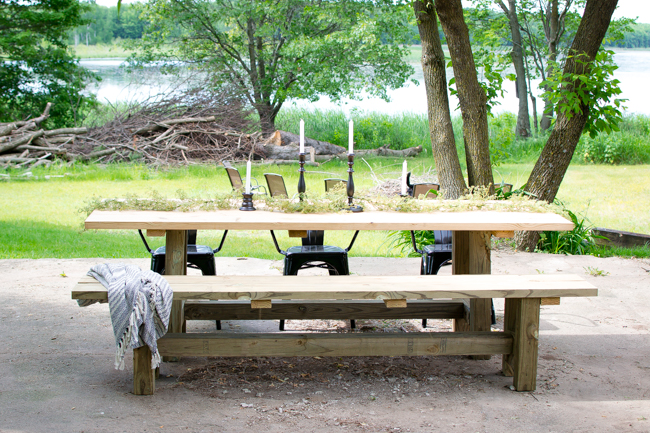
Now time to relax on your new bench 🙂
All my best,


3 comments
Great tutorial for this bench! Looks simple enough that anyone with even basic woodworking skills can make
Where is the link to the plans for the picnic TABLE? All I see is directions for the bench.
Hi Donna!
The table link hasn’t been posted yet. I (Kelly from North Country Nest) will be posting the table plans tomorrow (Saturday, July 1) on my blog 🙂
Best,
Kelly