Decorating a mantel is one of those decorating tasks that seem simple, but is difficult to execute. Like styling a bookshelf, so many elements are in play: color palette, proportions, depth, texture, symmetry, and balance. For our fall mantel, it took me several tries to achieve the right look.
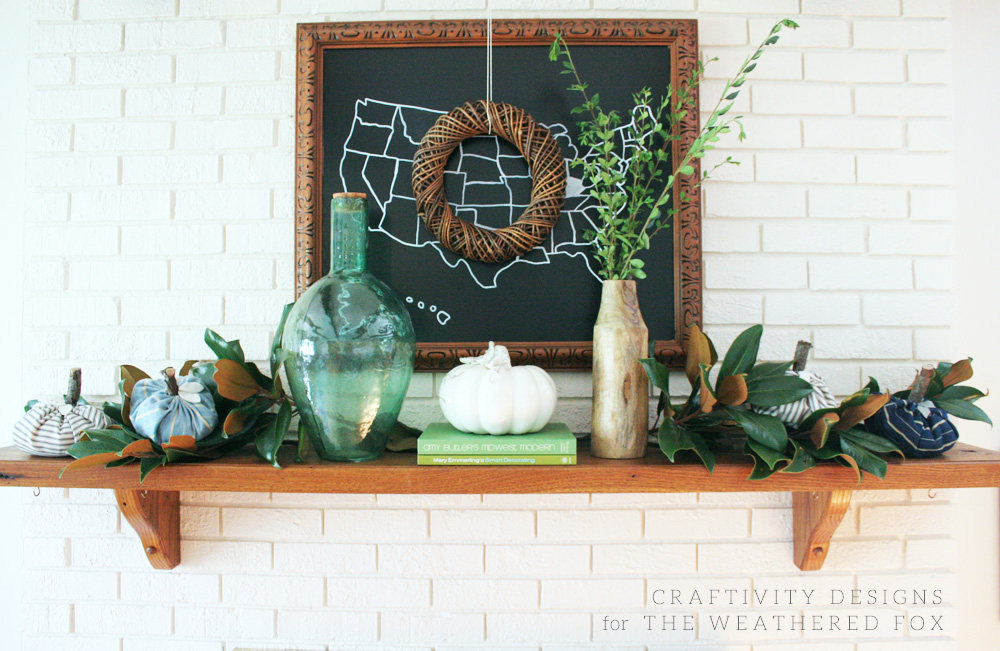
I’m Lora Green, of Craftivity Designs, and today I’m back at The Weathered Fox to make mantel styling a bit easier by sharing 5 Simple Steps to create a Farmhouse Style Fall Mantel.
(This post contains affiliate links. This means I get commissions for purchases made through links in this post.)
A Fall Mantel in 5 Simple Steps
#1: Large Artwork
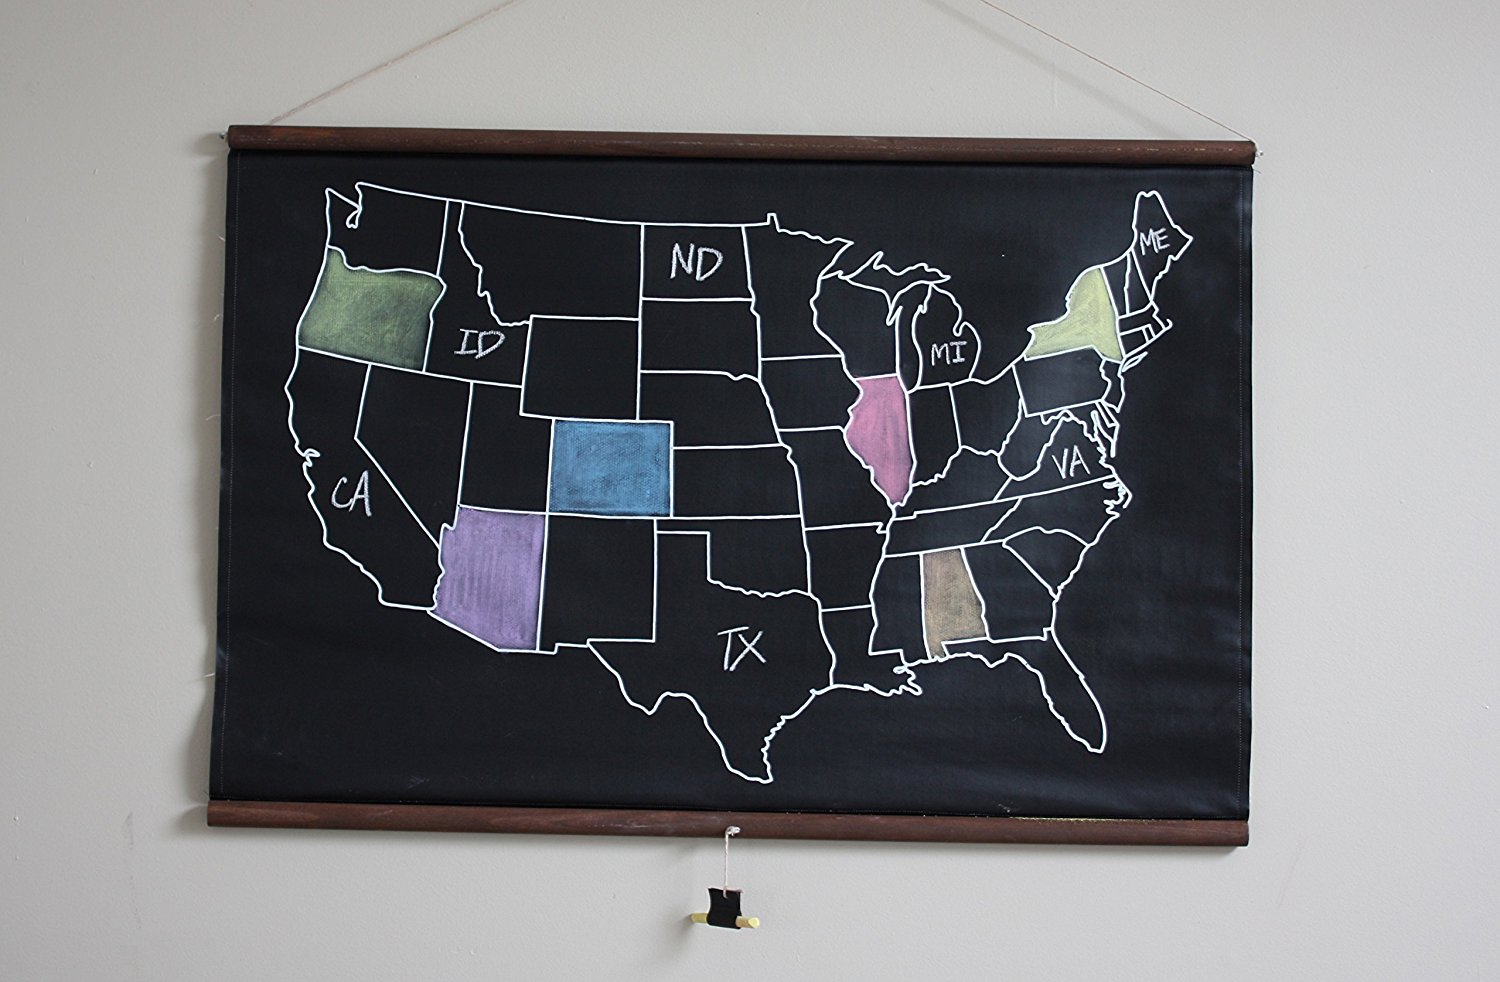
Begin by hanging, or leaning, a large piece of artwork. Since this is a fall mantel, choose art that echoes the feeling and atmosphere of the fall season. For example, my DIY Chalkboard Map is a deep charcoal with a warm wood frame. It wouldn’t be a great pick for Easter Sunday, but it’s perfect for cozy fall evenings.
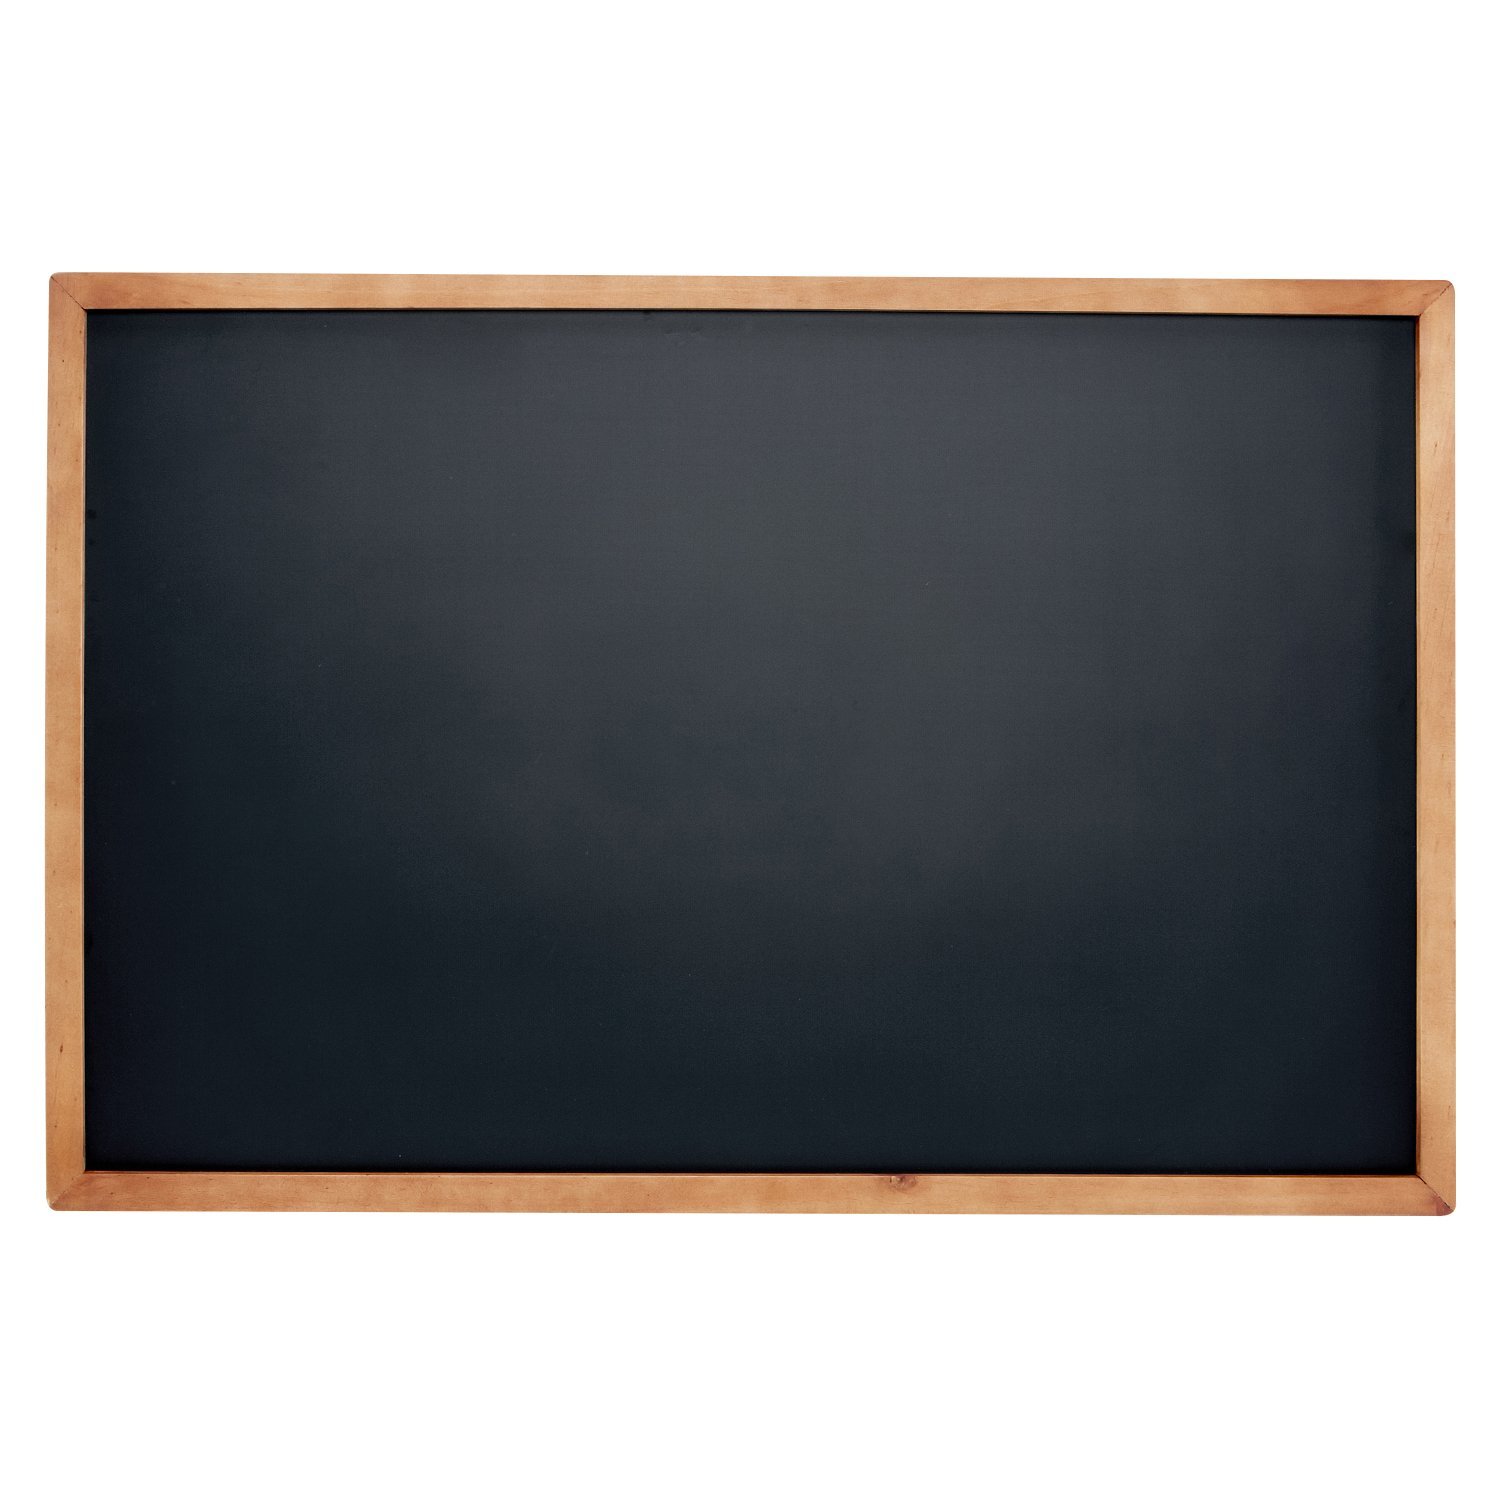
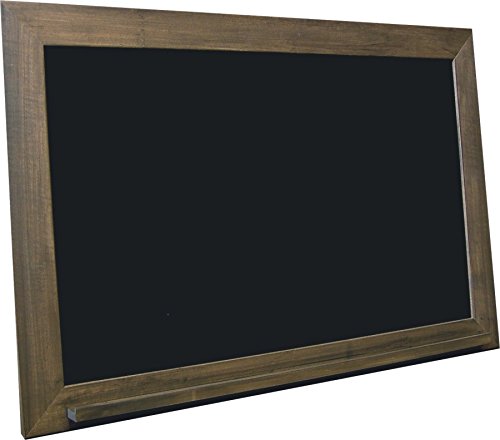
Don’t have any suitable art and like the chalkboard look? Whether you choose a map or blank chalkboard, it’s definitely a versatile option.
#2: Natural Elements
The beauty of the fall season is in nature, in the changing leaves and warm tones. Head out to your backyard and gather several natural elements for the mantel.
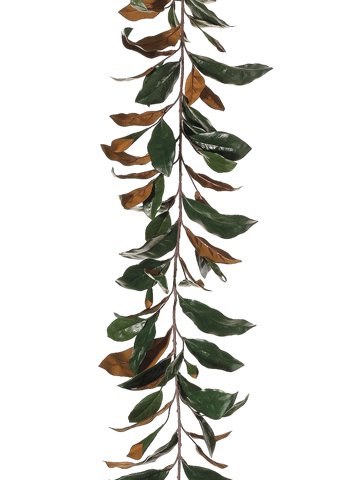
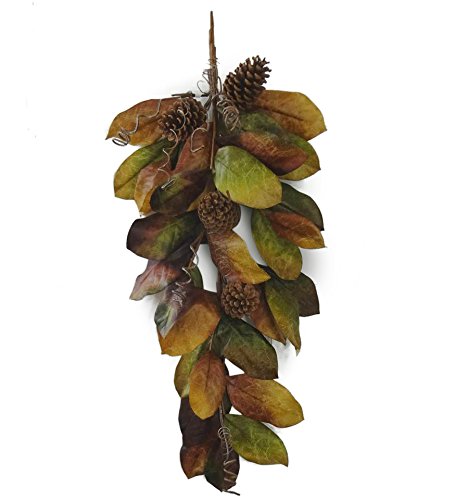
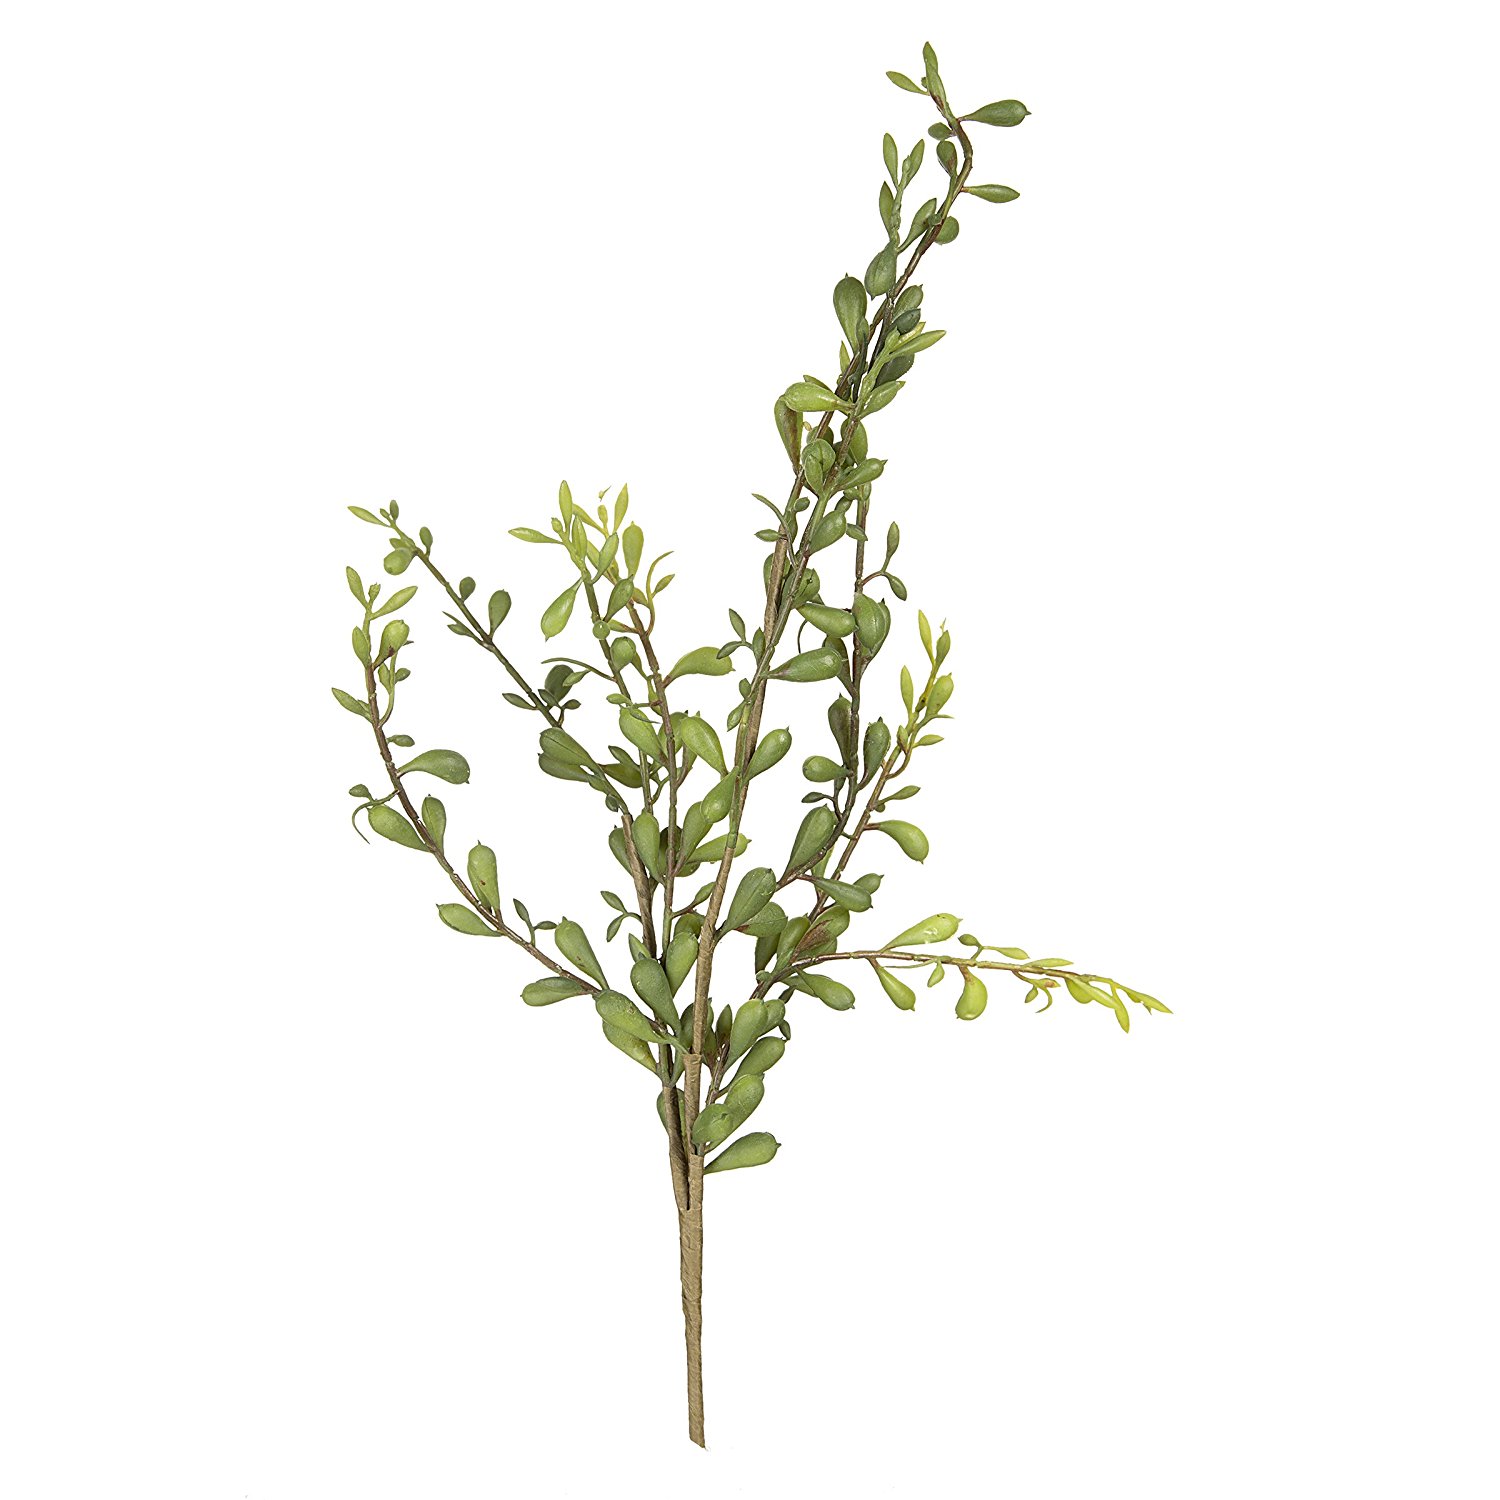
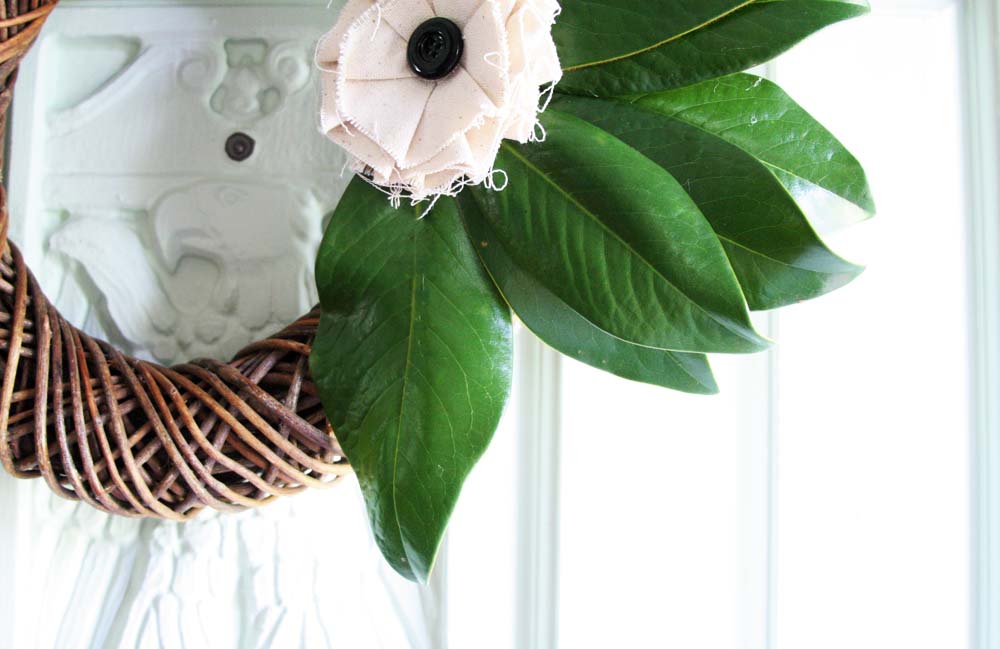
I clipped several branches from our Magnolia Tree to use as swags across the surface of the mantel. Greenery spread across a mantel really helps to create depth and texture (here is another example of my mantel draped with Magnolia leaves, but at Christmas). If you don’t have access to pretty natural greenery, buy a faux garland or swag to use year after year.
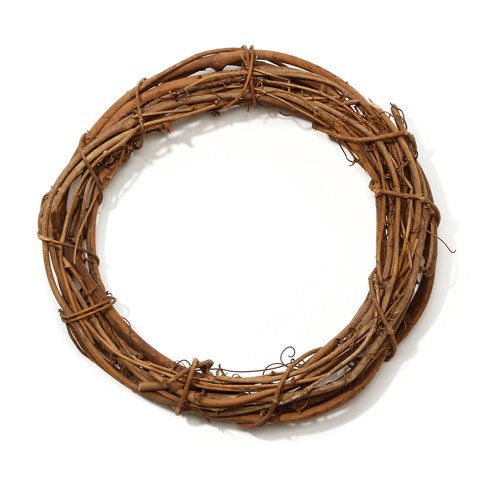
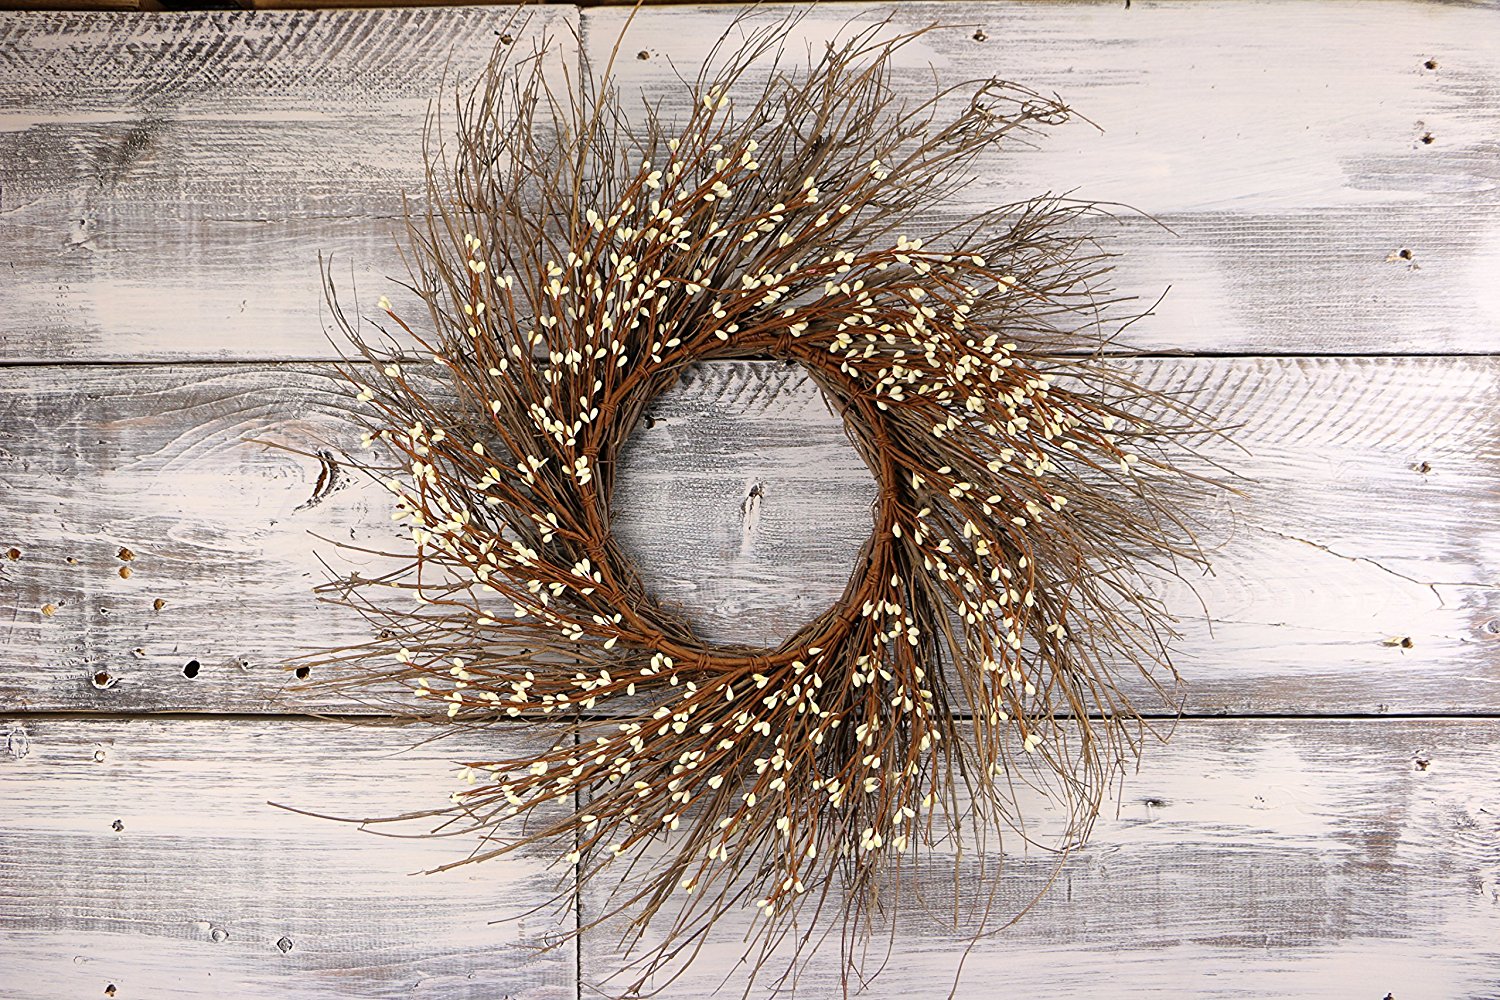
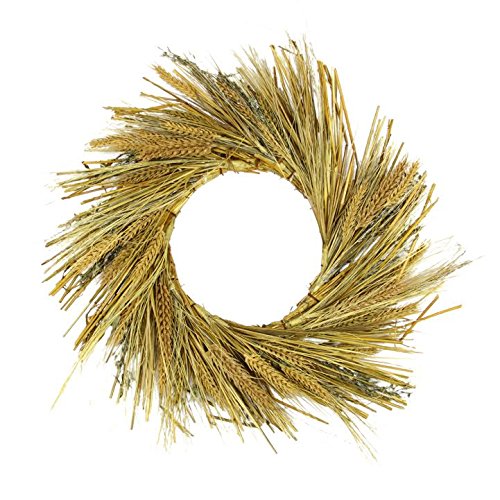
For more texture, layer a fall wreath over the artwork — my choice is something simple, such as a basic grapevine wreath or a wreath made from dried materials.
#3: Tall Vases
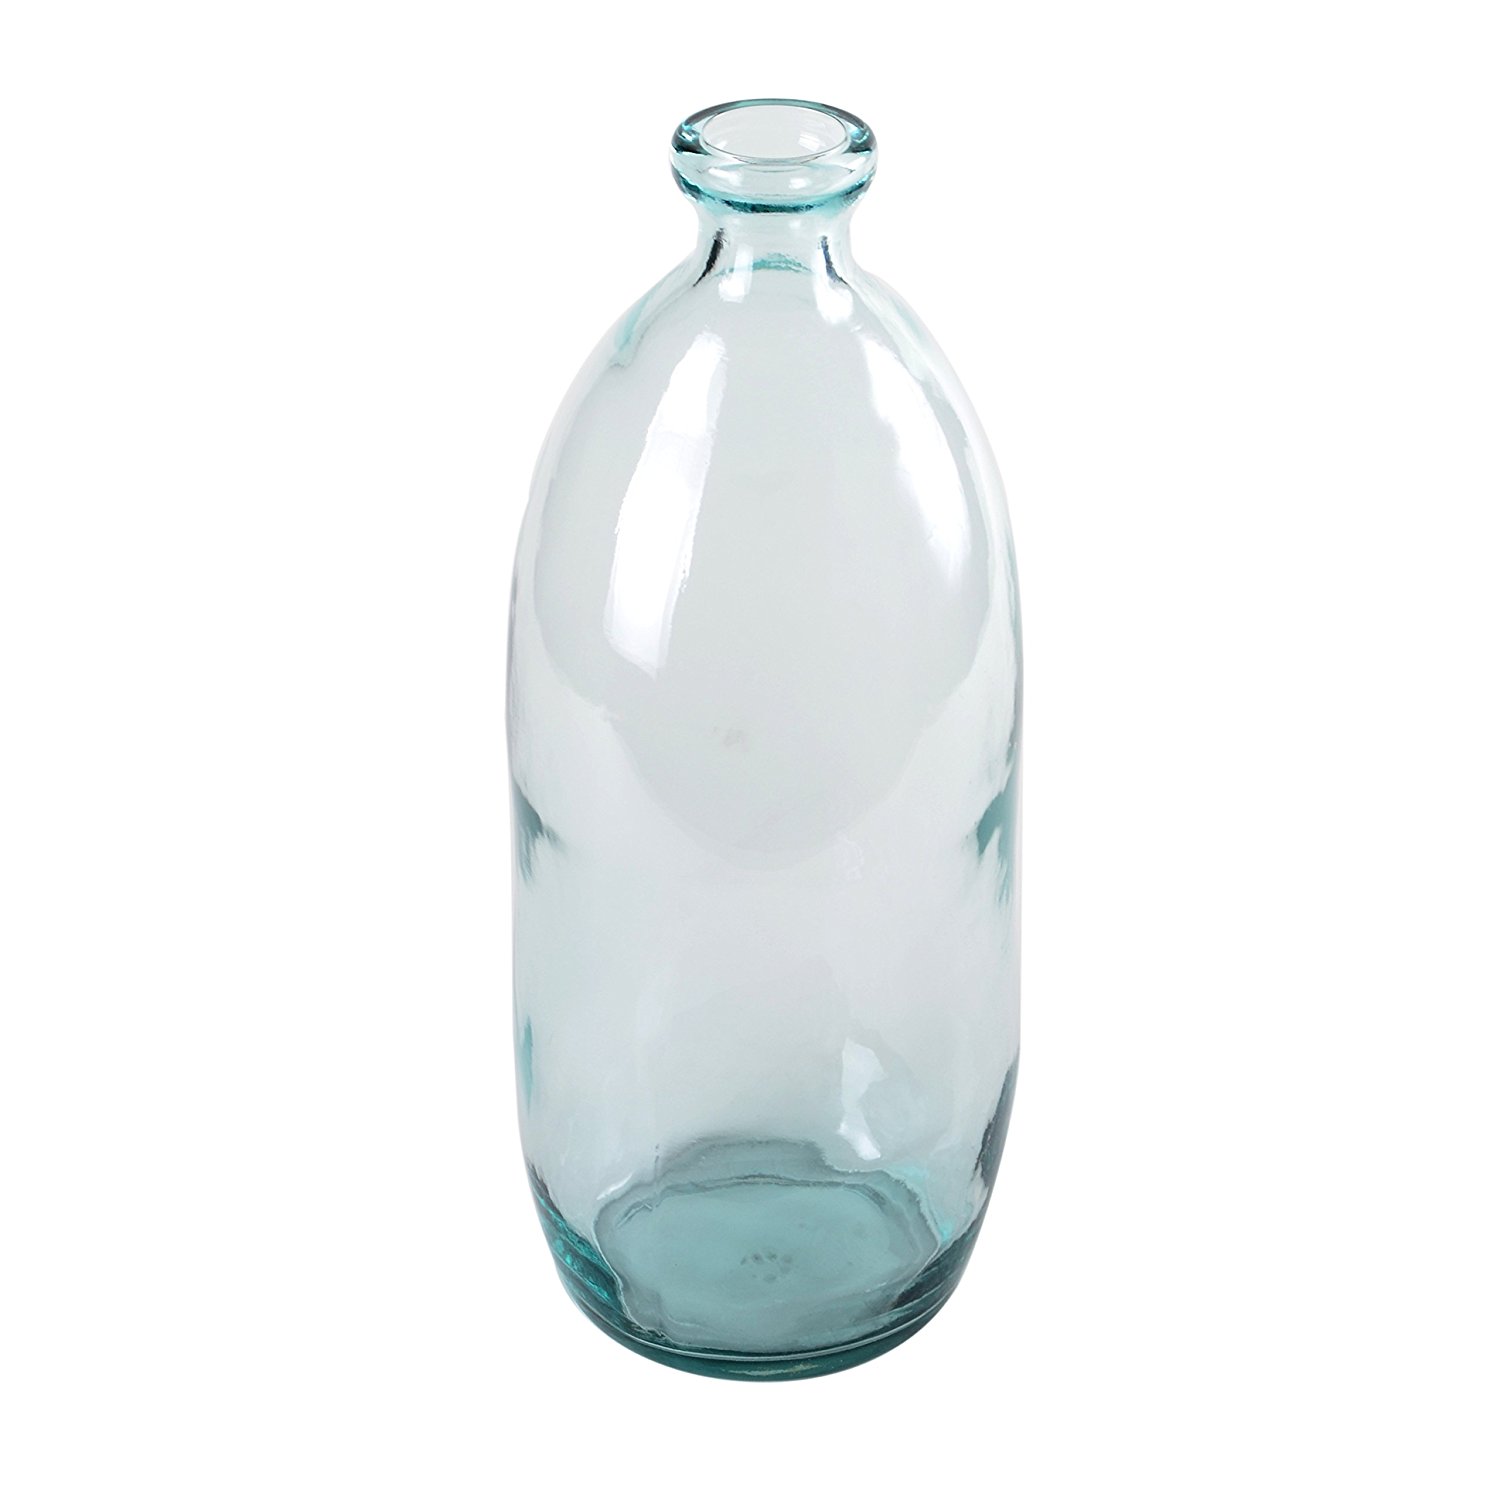
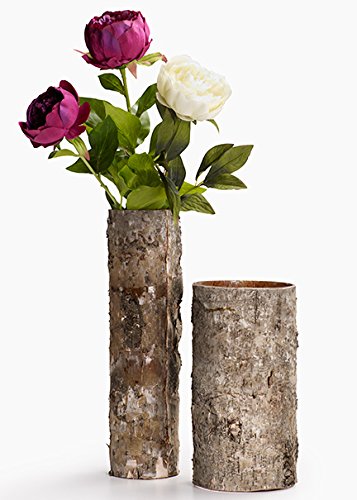
Next, add a set of tall vases to the mantel. It’s fine to keep the set mismatched, creating both balance (since there are two) and interest (since the vases are different). For example, my mantel has a wood vase filled with several clipped stems and a large, green, glass jar paired together. It was an intentional choice to pick vases that were a different color, shape, and material.
I already owned these items, but if you don’t, they are a great investment. A glass demijohn jar or wood vase isn’t season-specific. So, even though this is a fall mantel, I use these two vases throughout the year in my home.
#4: Fall Centerpiece
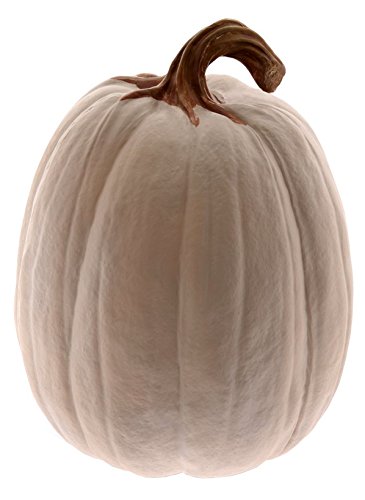
Now it’s time to bring in the iconic fall element — pumpkins. You probably already have a decorative pumpkin, or real pumpkins, to set at the center of the mantel. If not, a decorative one like this simple white resin pumpkin would work well. If it feels too small (mine did), stick a few books underneath it for additional height.
#5: Fall Accessories
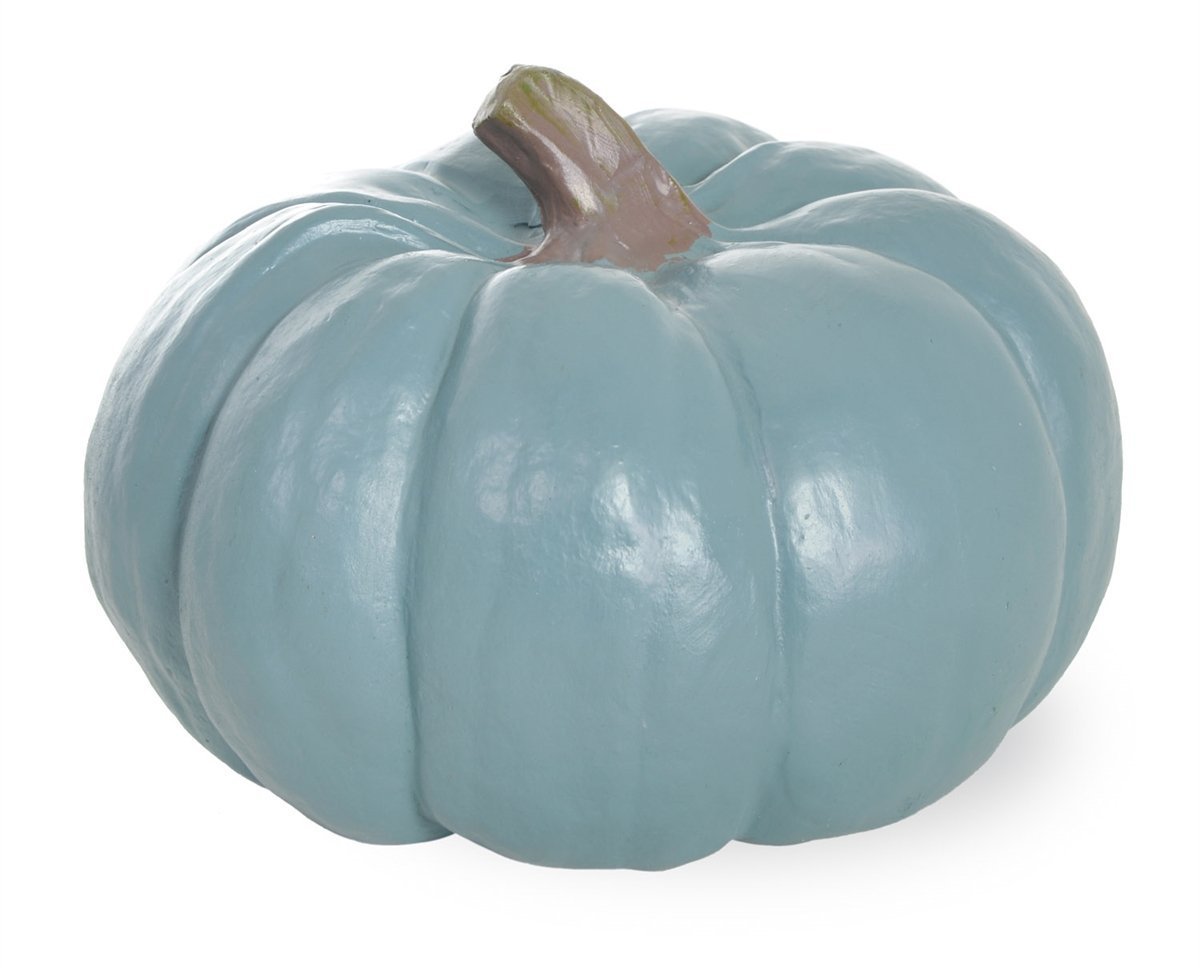
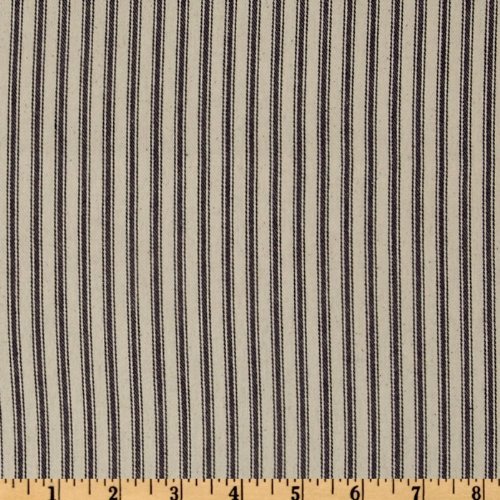
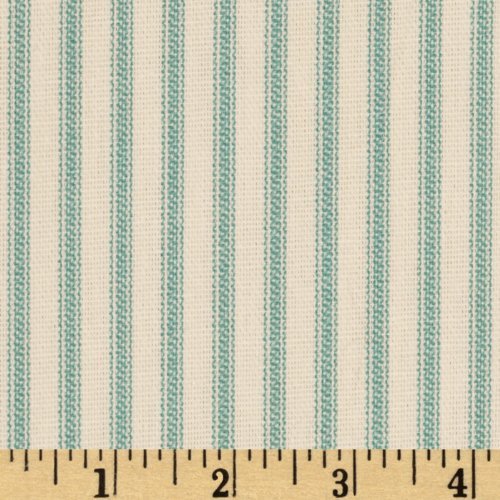
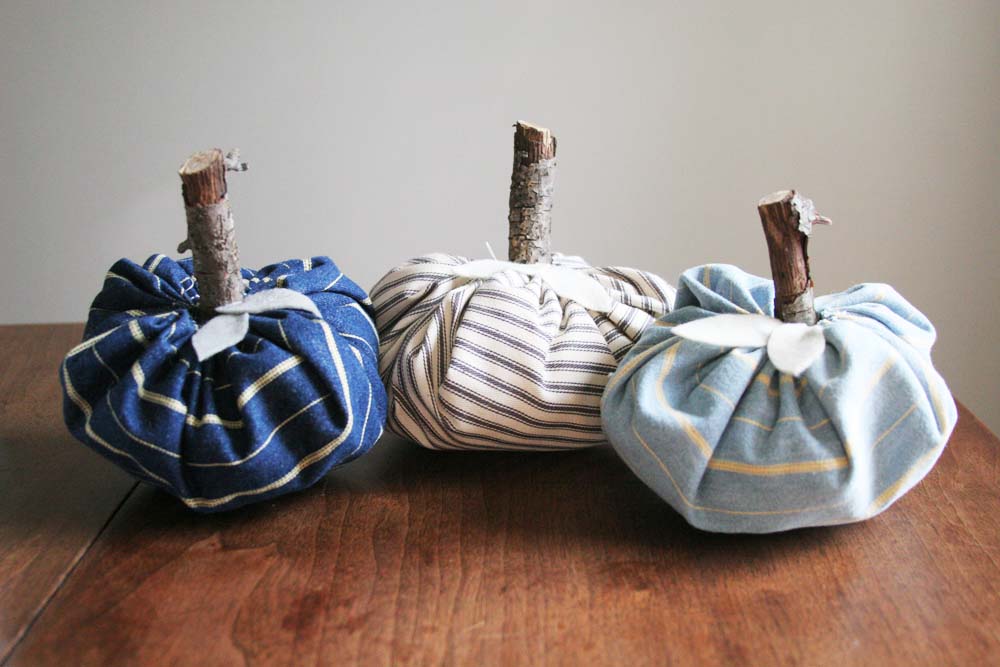
Finally, fill in with more fall elements, like pumpkins or pinecones. I tucked in 4 of my DIY Fabric Pumpkins, since the ticking stripe emphasizes the Farmhouse Style of the mantel. Make your own ticking pumpkins with a mix of these pretty fabrics:
Like these simple tips? Pin it!
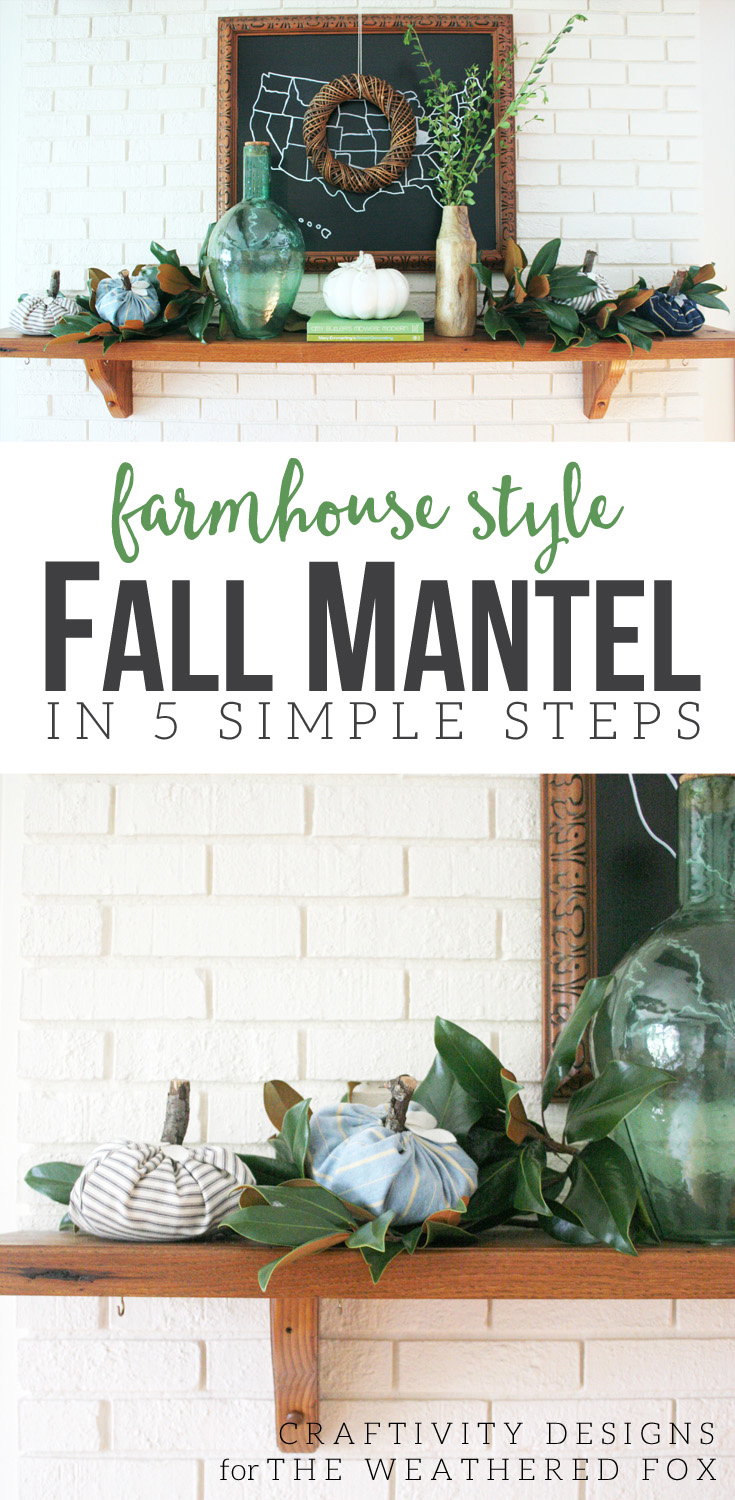
Maybe you aren’t into Farmhouse Style? Or, maybe you like reds and yellows more than blues and greens? No problem! These 5 Simple Steps for a Fall Mantel will work with your style and your color preferences. Consider it an outline — you fill it in with the perfect details for your home.
Need more inspiration? Don’t miss Cheyenne’s roundup of 10 Farmhouse Fall Mantels and Crystal’s tips for a budget-friendly Fall Mantel.
Happy Fall,
Lora Green of Craftivity Designs

Would you like to see more from Craftivity Designs? Check out how I painted our brick fireplace, my DIY fabric pumpkins, and a roundup of 22+ ways to decorate with Magnolia leaves.
See all my posts on the Weathered Fox by clicking here!
