Here is an easy melt and pour soap making tutorial! If you’ve never done any soap making, this is great way to start. It’s also a fun little project to do with the kids, and is a great handmade gift idea. The whole process is as simple as gathering your supplies, melting the soap, and pouring it into a mold to create pretty shapes and color combinations. I am a beginner soap maker as well, so you can learn along with me and see just how easy it is to make pretty and unique soaps!
(This post contains affiliate links. I may be compensated for sales made through these links)
1. Gather your supplies
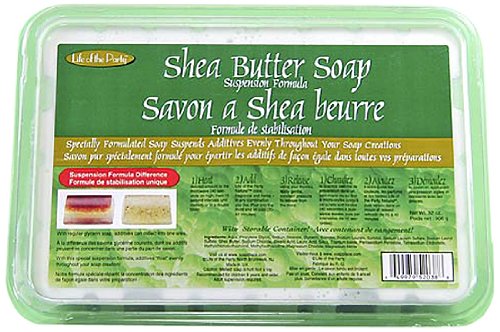
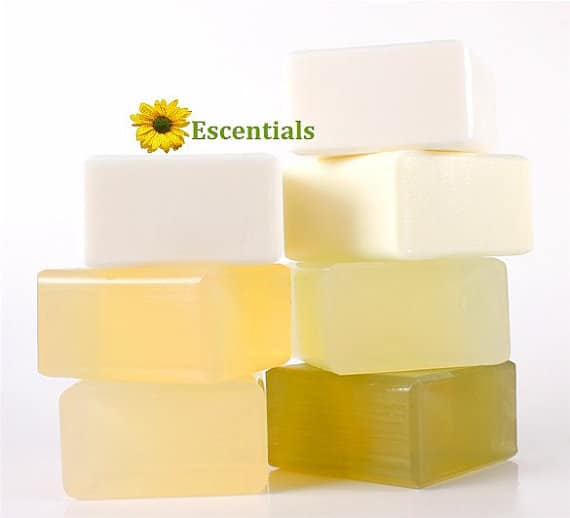
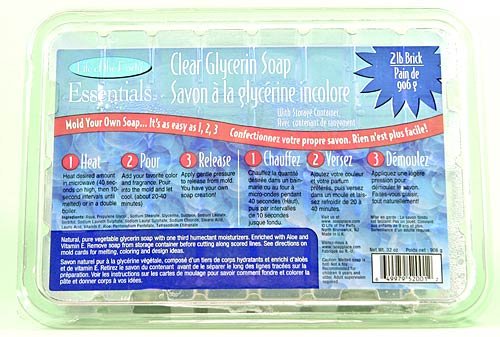
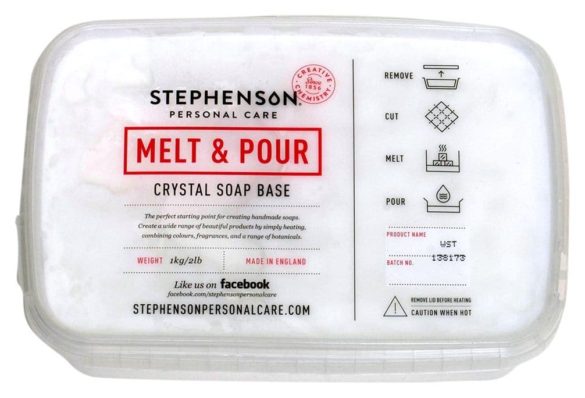
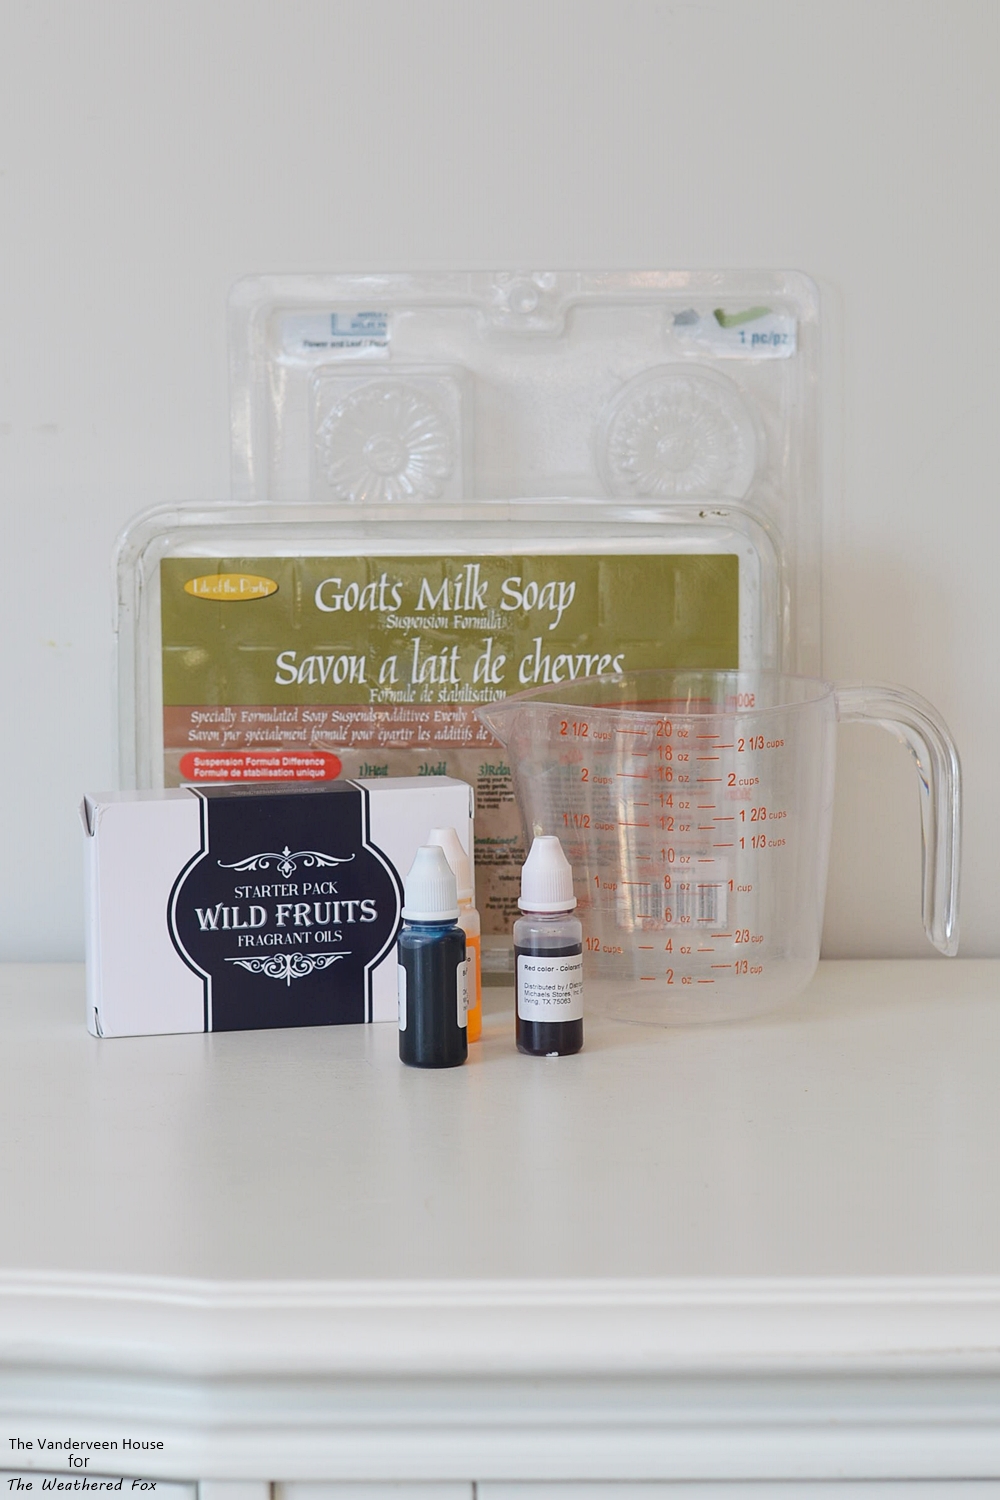
Listed below are the specific supplies I used, but at the end of this post I linked to more options so you can make any type of soap your imagination leads you to. There are a few options that you can choose for the soap base, including goat’s milk, shea butter, and clear and white glycerin. For my soap, I chose goat’s milk for the creamy white color. (affiliate links)
- Goat’s Milk Suspension Soap Base
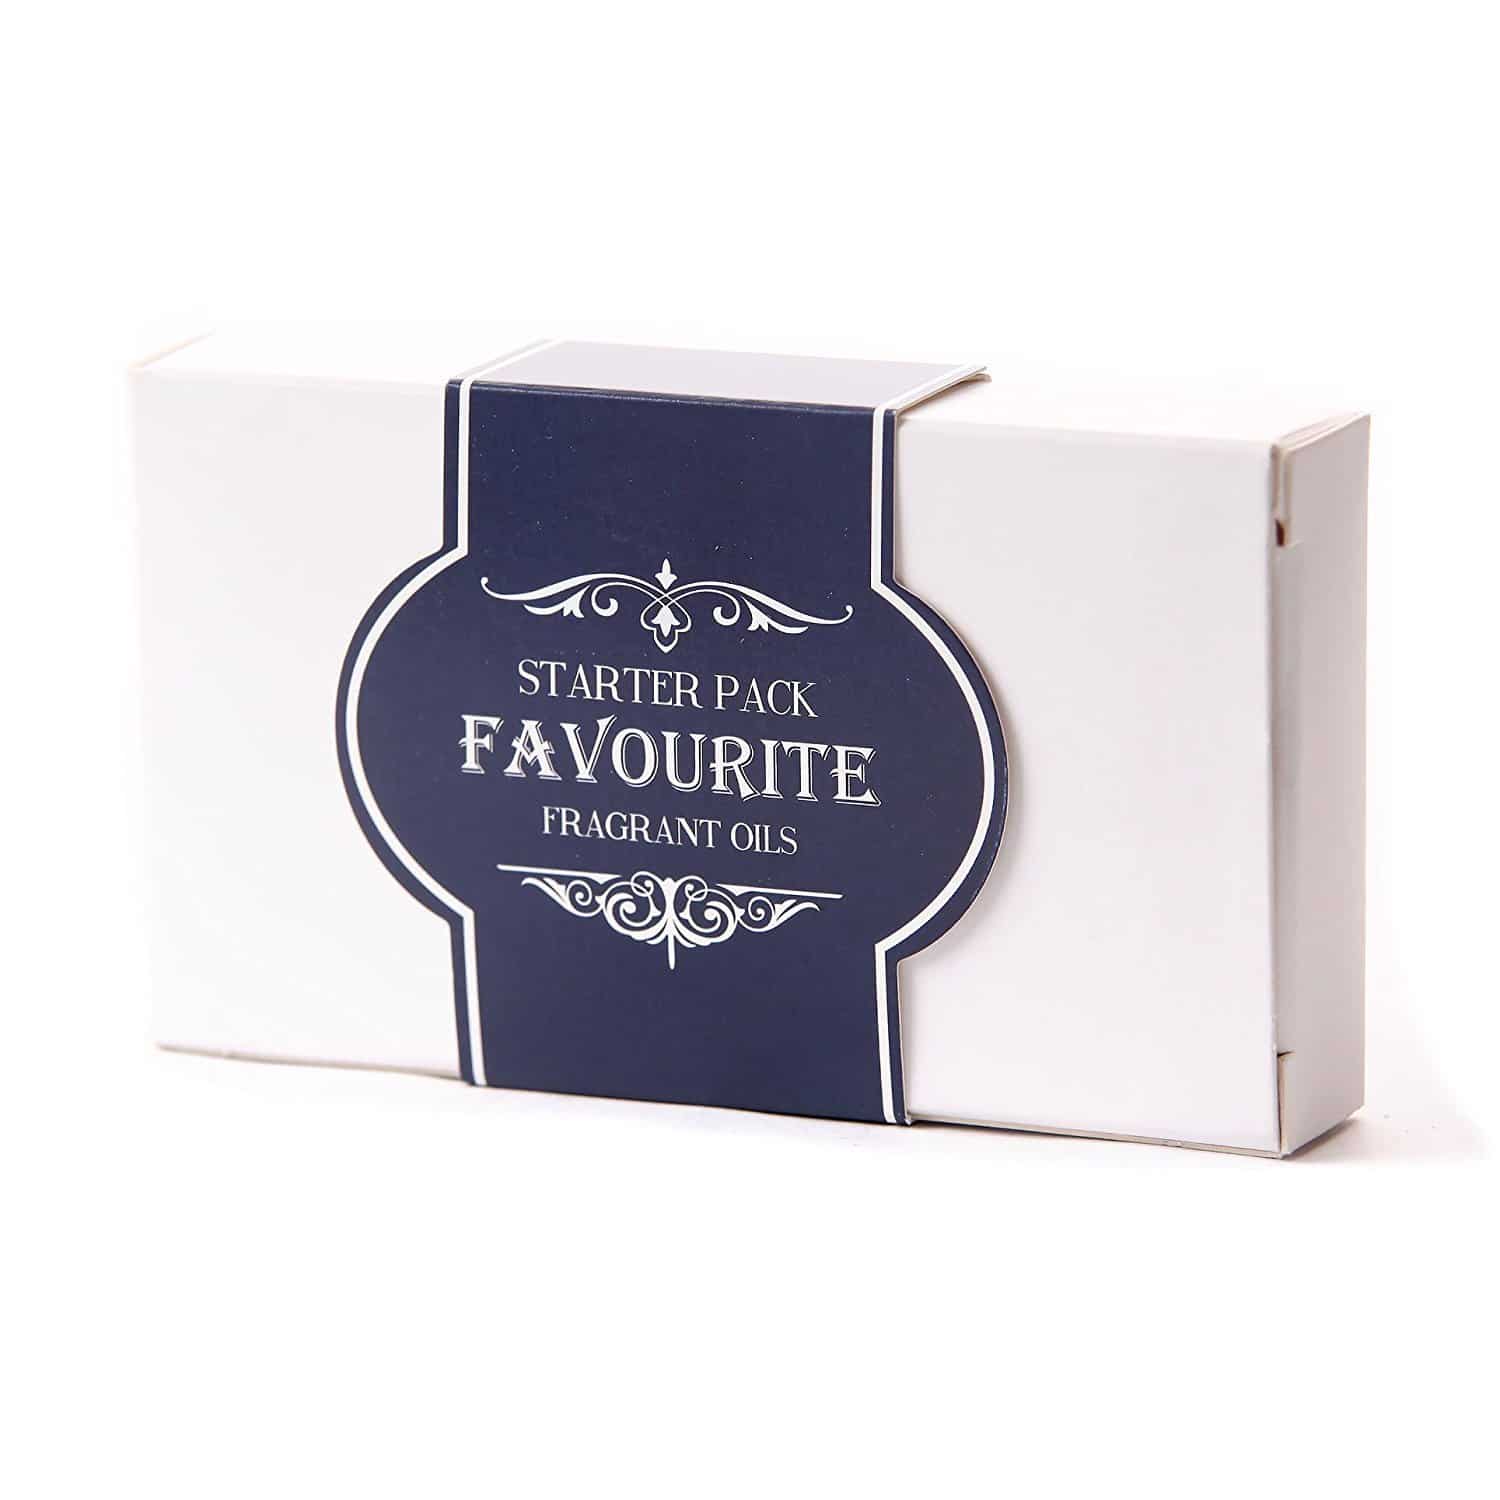
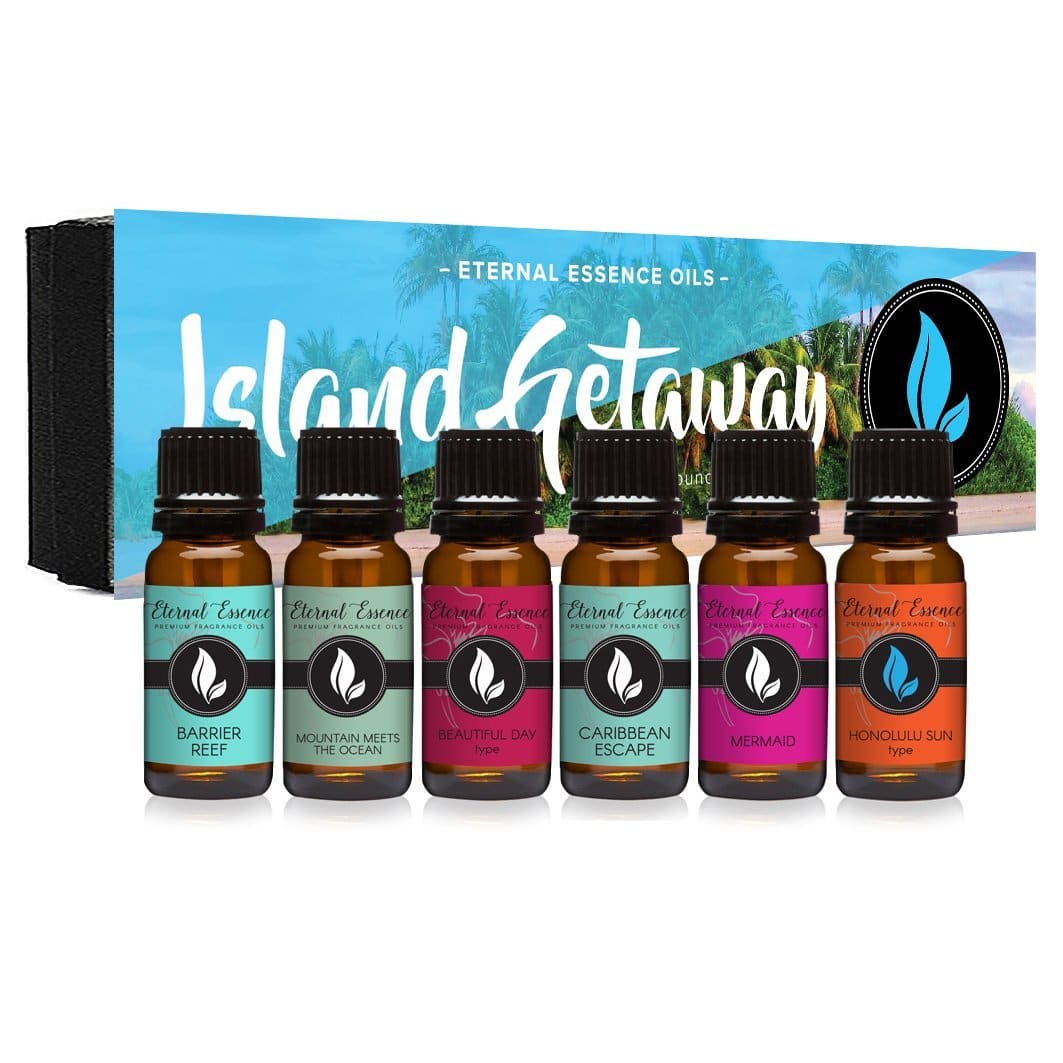
- Wild Fruit Fragrant Oils Starter Pack
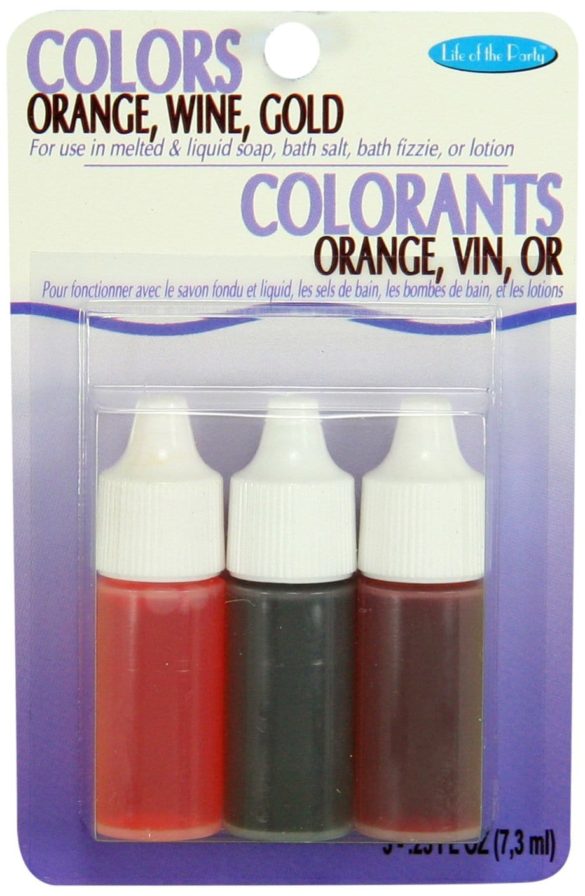
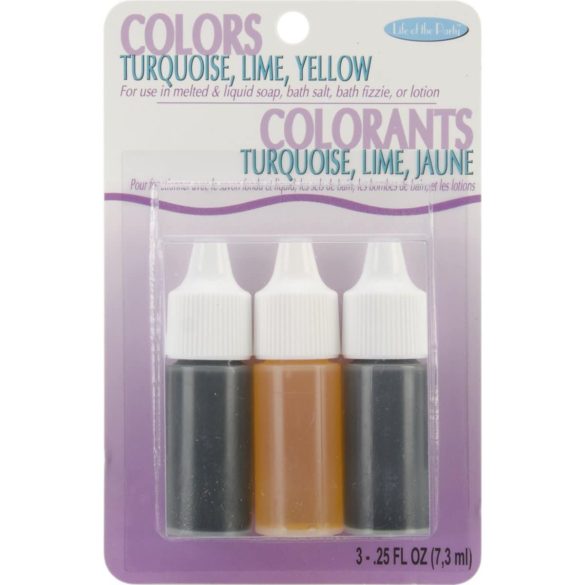
- Liquid Soap Colors
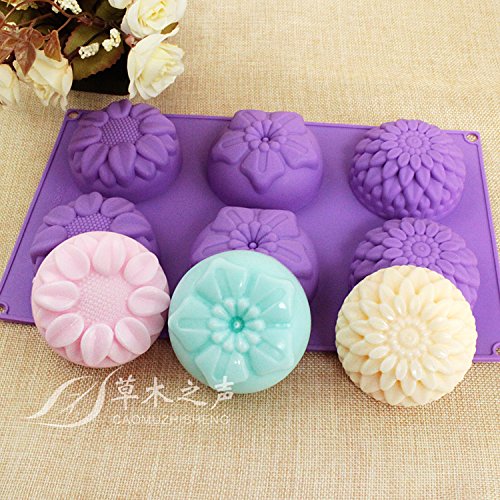
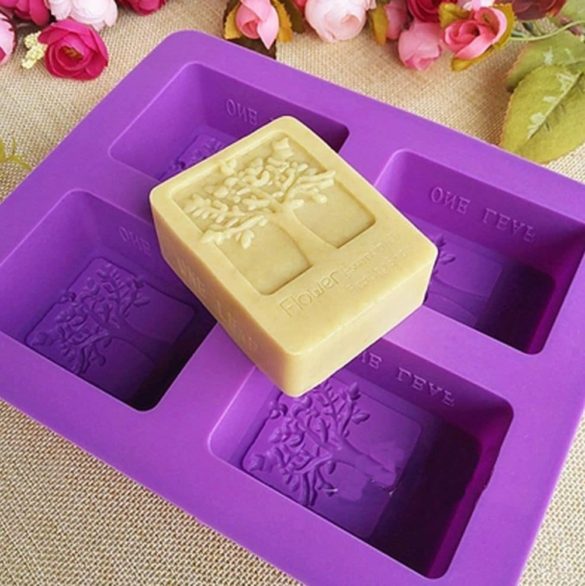
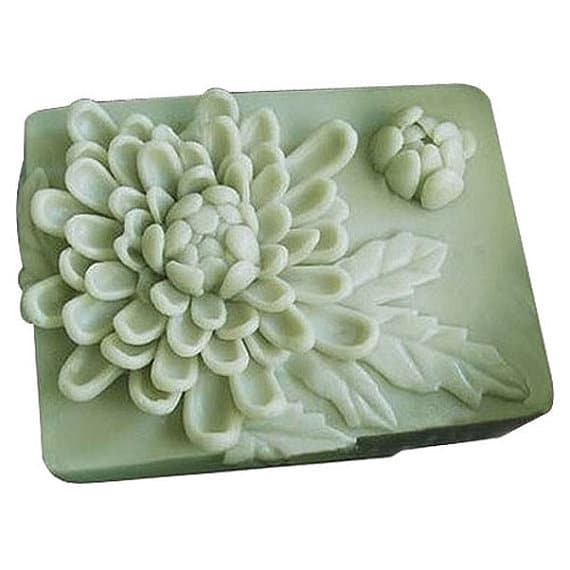
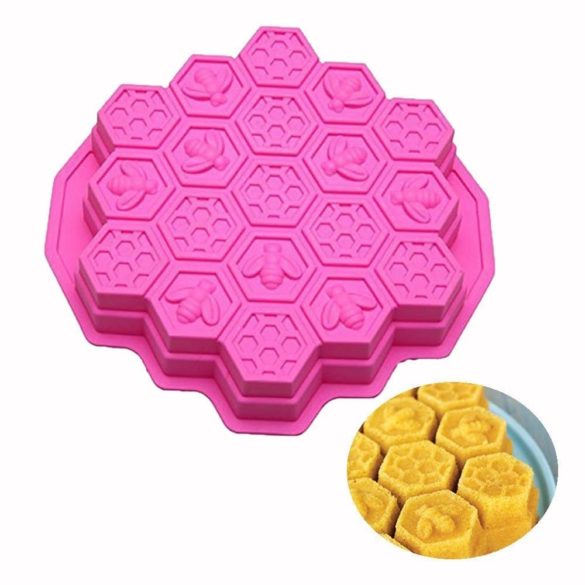
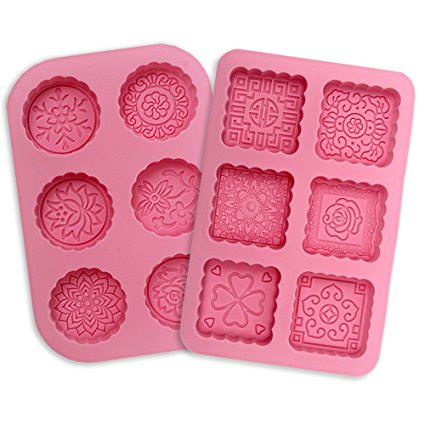
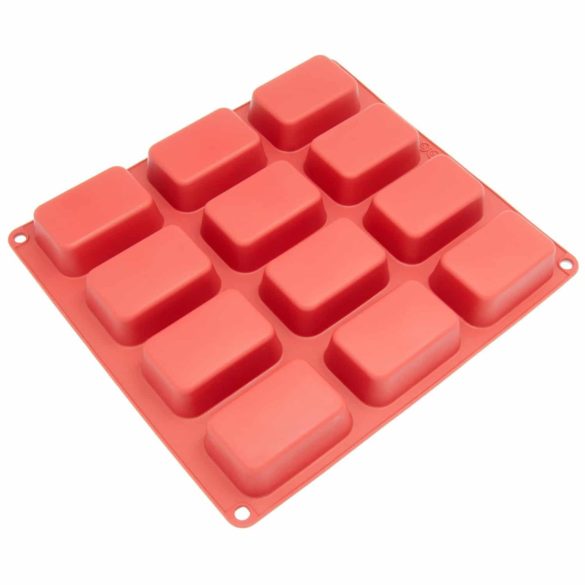
- Flower Soap Mold
- Microwave Safe Container
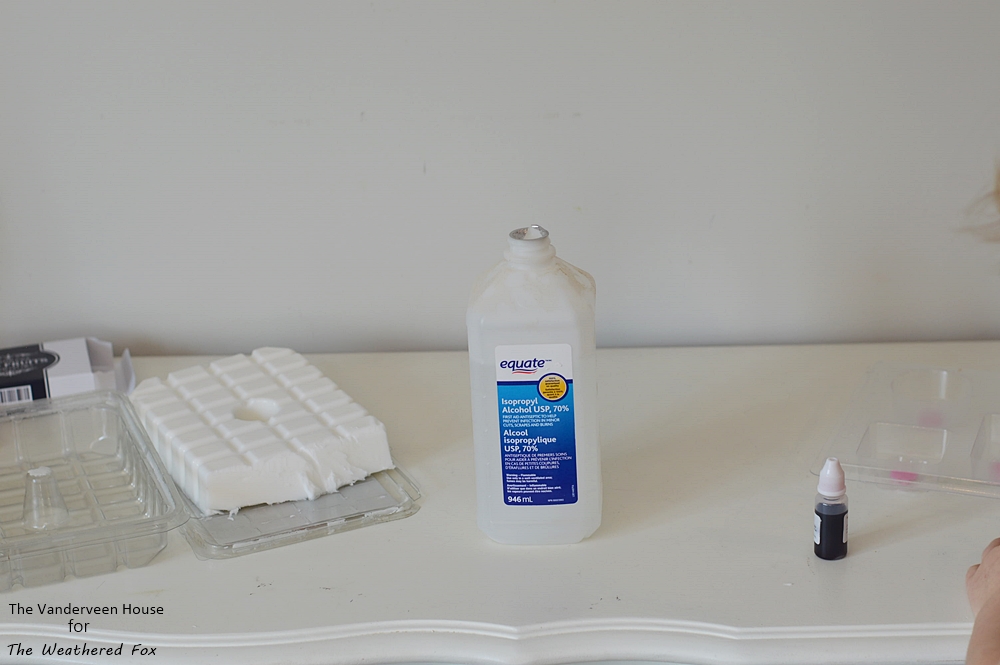
- Rubbing Alcohol
- Mist Spray Bottle
2. Melt soap base
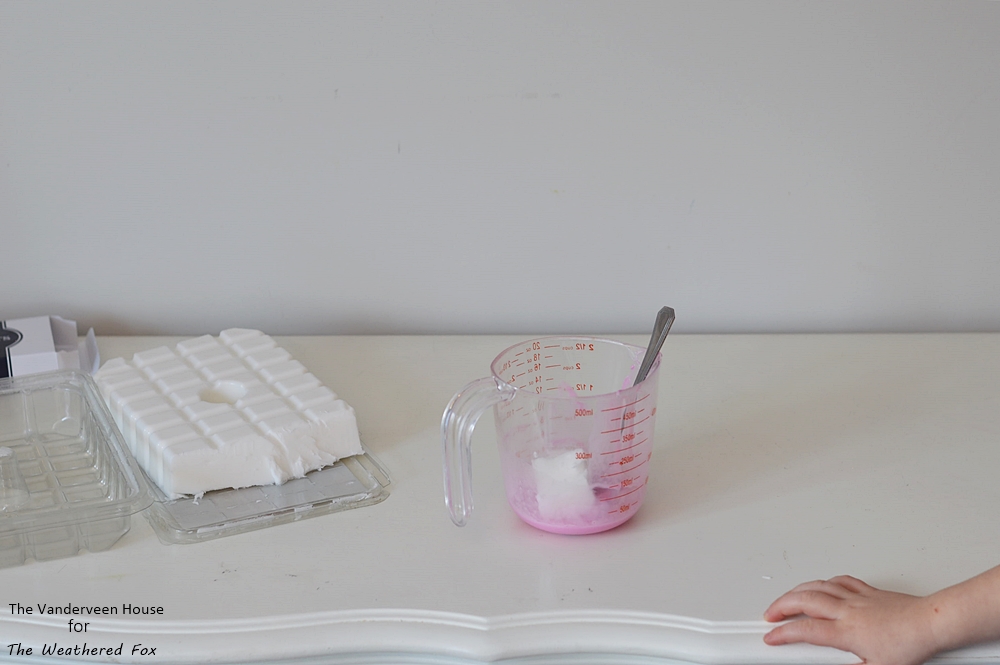
Cut off a few chunks of the goat’s milk soap base, and put in a microwave safe container. I used a plastic measuring cup. Melt in the microwave for ten seconds at a time, until the soap base is melted and smooth.
3. Add scented oil and color
I used the baby berry twist scent from the wild fruits fragrant oil starter pack. I only needed a drop or two and it was more than enough to give a delicious scent.
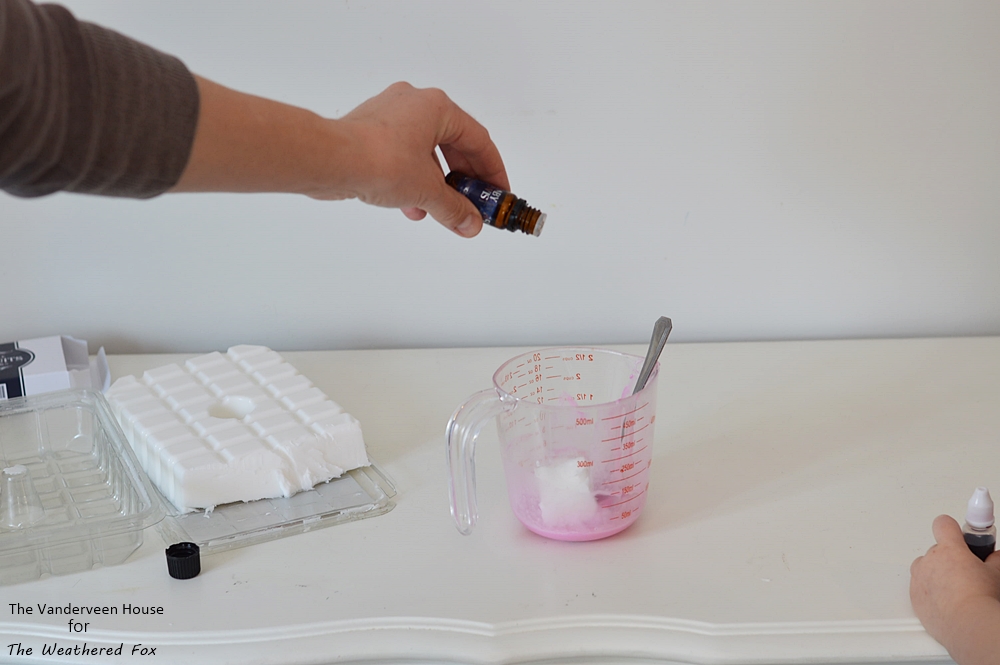
At this point you can also add your color. I wanted my soap to be a variety of pinks, so for the first layer of color I added a couple drops of red liquid soap color. Again, a little goes a long way.
4. Pour into the soap mold
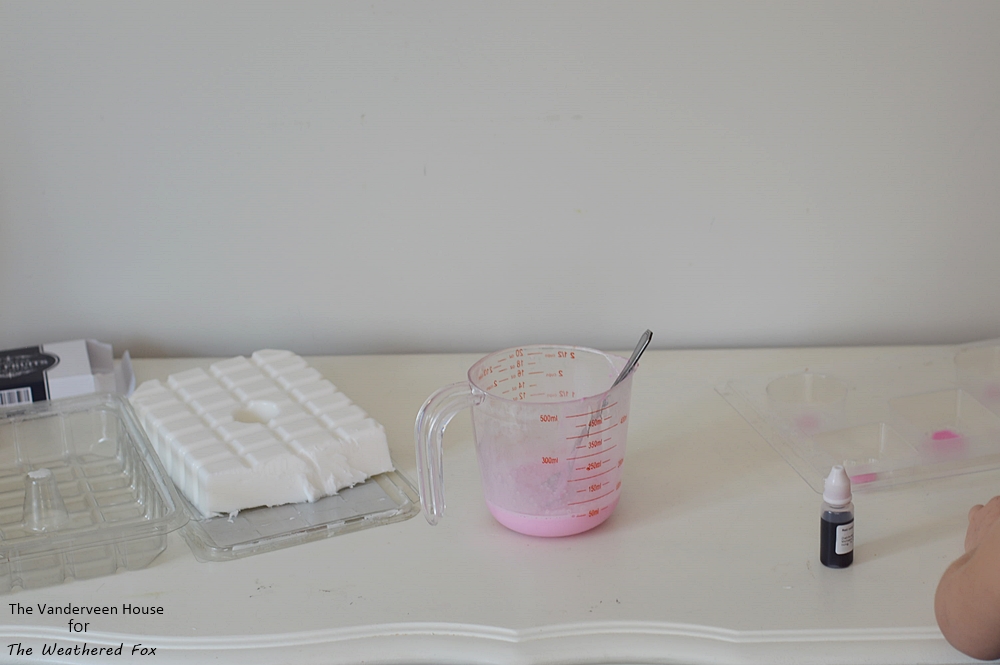
Mix the melted soap with the color and scented oil well, and pour it into the soap mold.
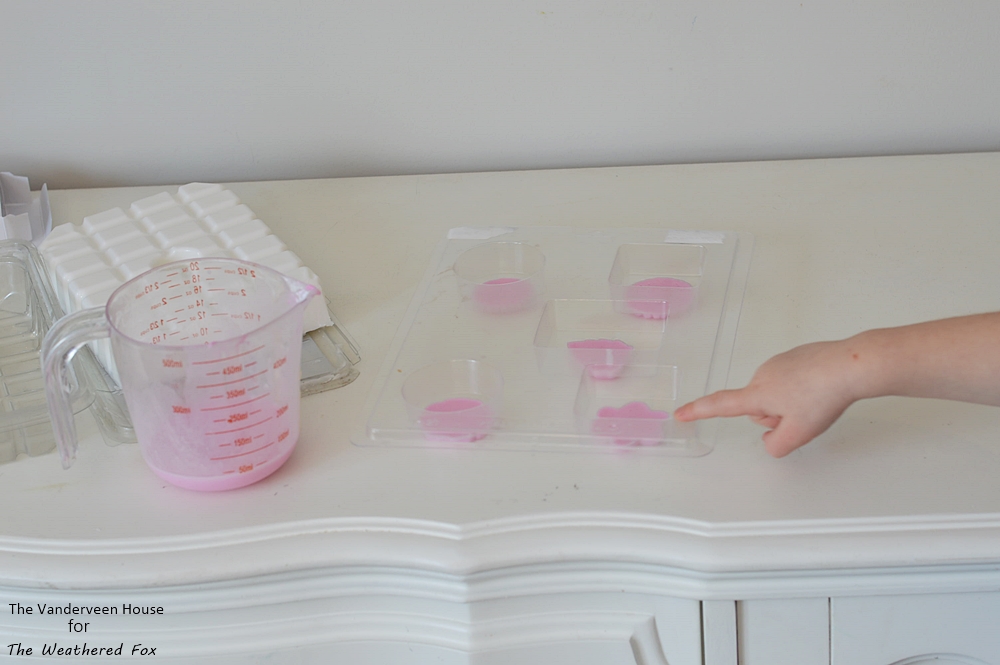
Allow the soap to set. It goes much quicker if you put it in the fridge for a few minutes. In the meantime, you can melt the soap and mix up the next color. Between soap layers, lightly spray the top of the hardened soap with rubbing alcohol. This ensures that the layers don’t separate.
5. Repeat the steps for the next layers
Depending on how many different colors you want, you can just repeat the steps: melt, mix, pour. I did a total of three layers with varying shades of pink. For my last layer, I again added a drop or two of the baby berry twist fragrant oil, and some color.
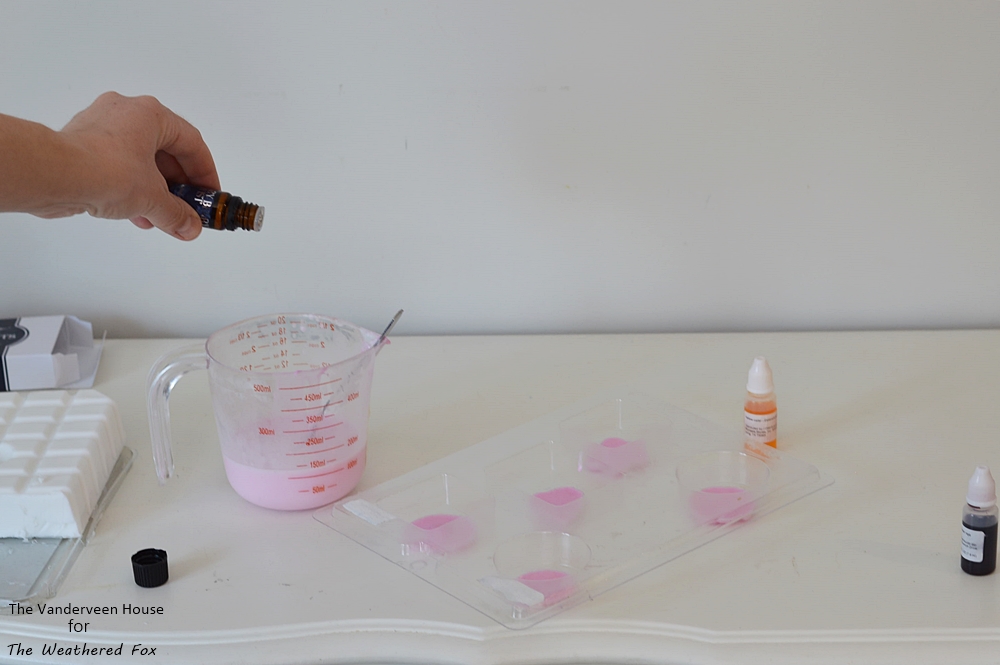
Pour the rest of the melted soap base into the mold, and let it totally harden for a few hours in the fridge.
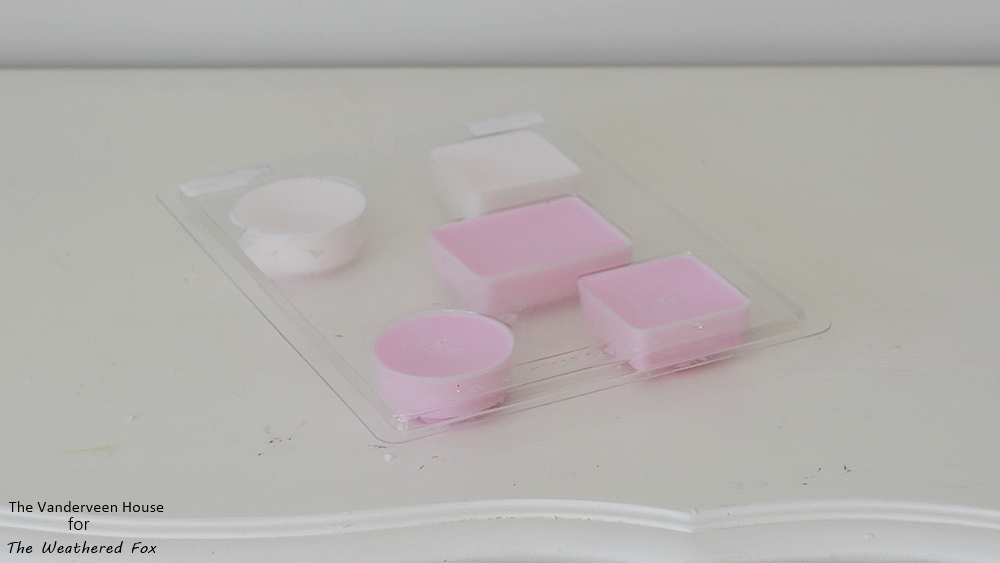
6. Remove soap from mold
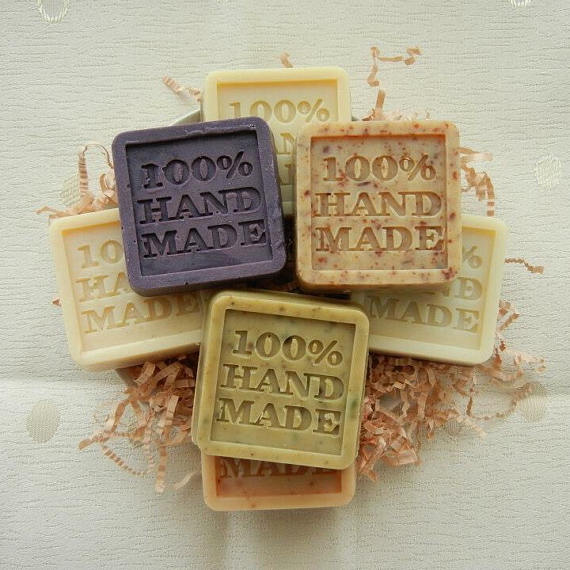
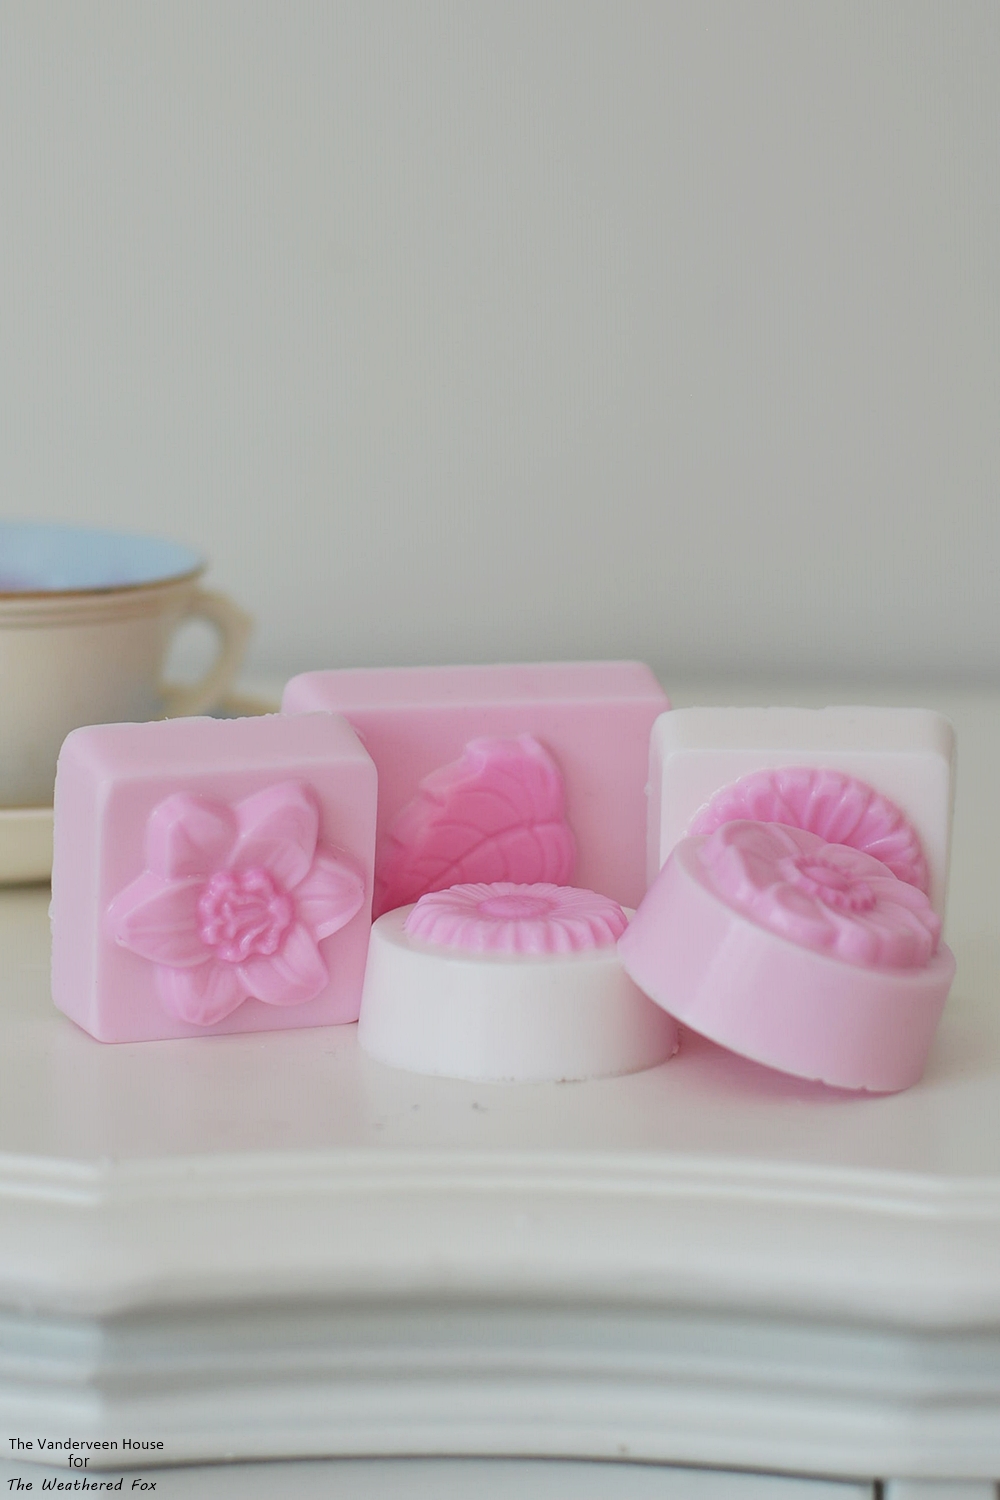
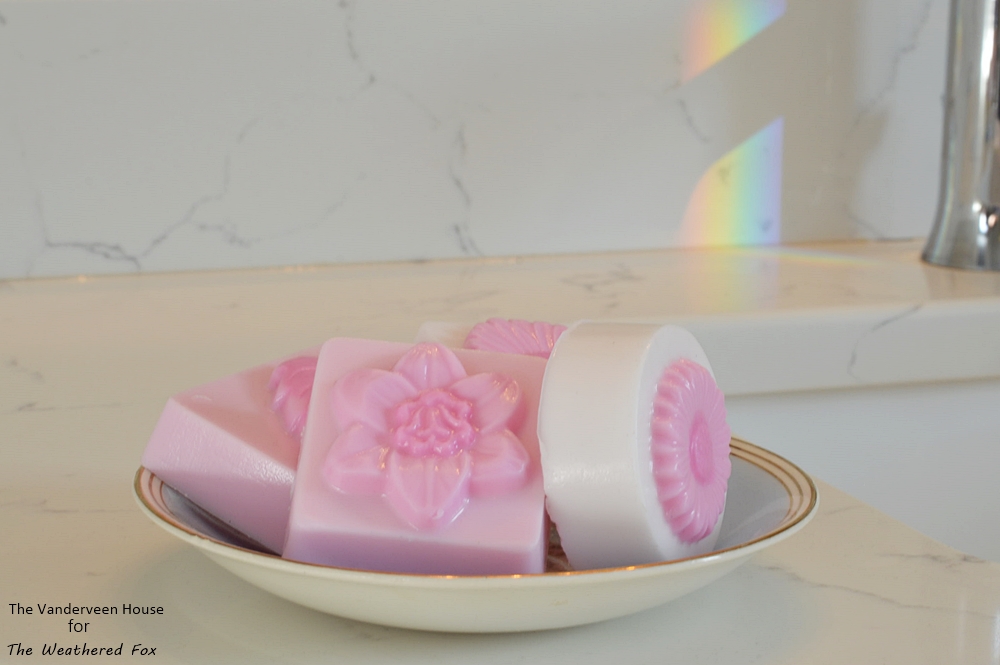
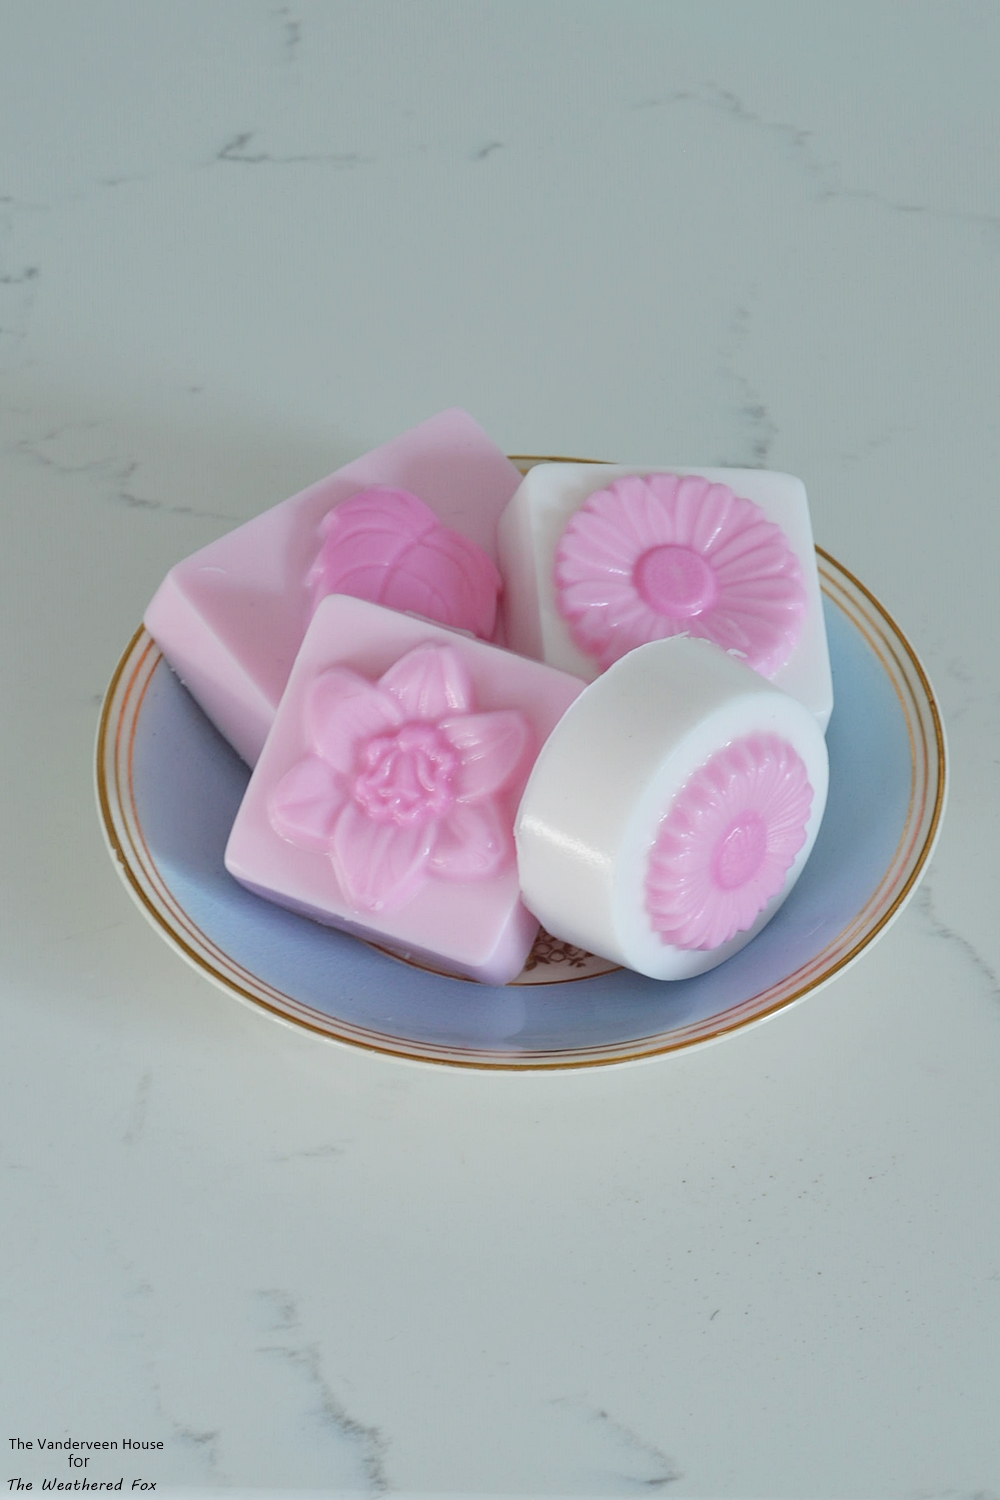
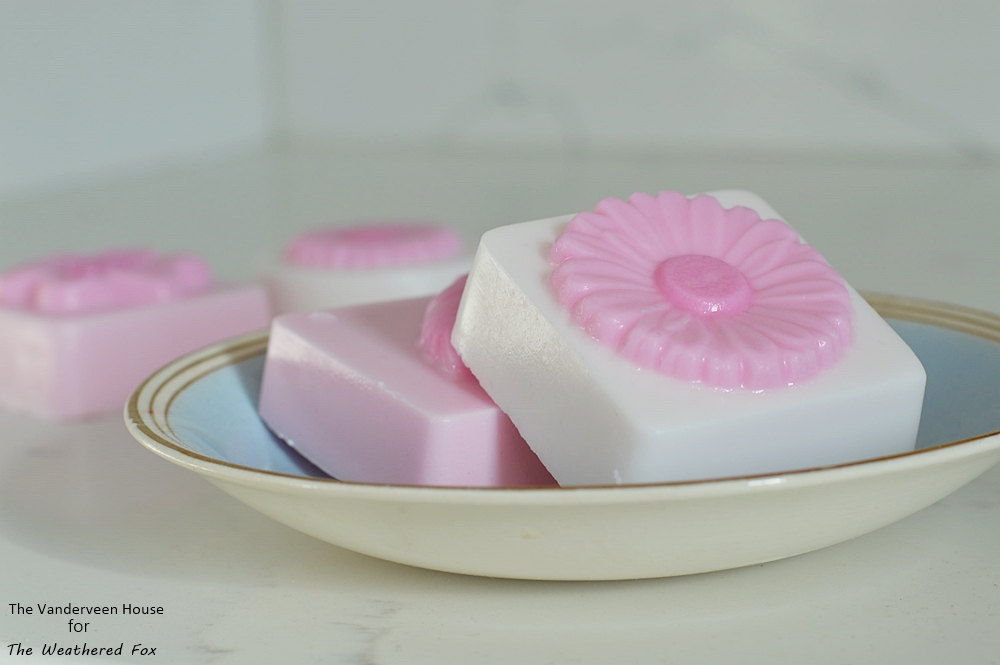
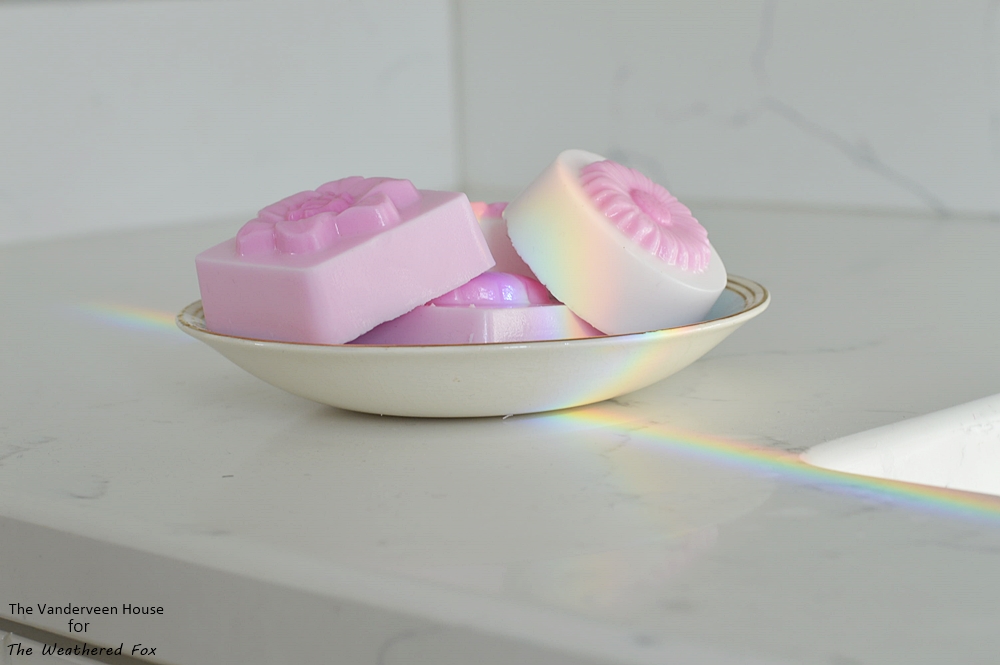
Gently remove the soap from the mold, and that’s it! Isn’t that easy? There are so many different molds you can get, so many color combinations you can create, and the different scented oils smell so great.
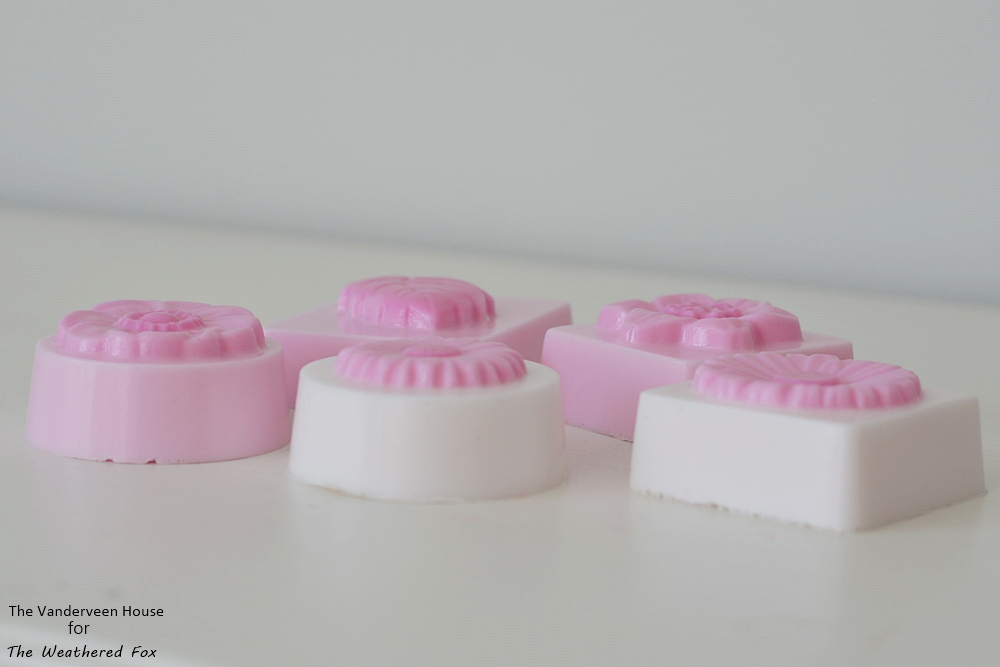
If you’re going to store the soaps for a while, or give them as gifts, tightly wrap them in plastic wrap to preserve them longer.
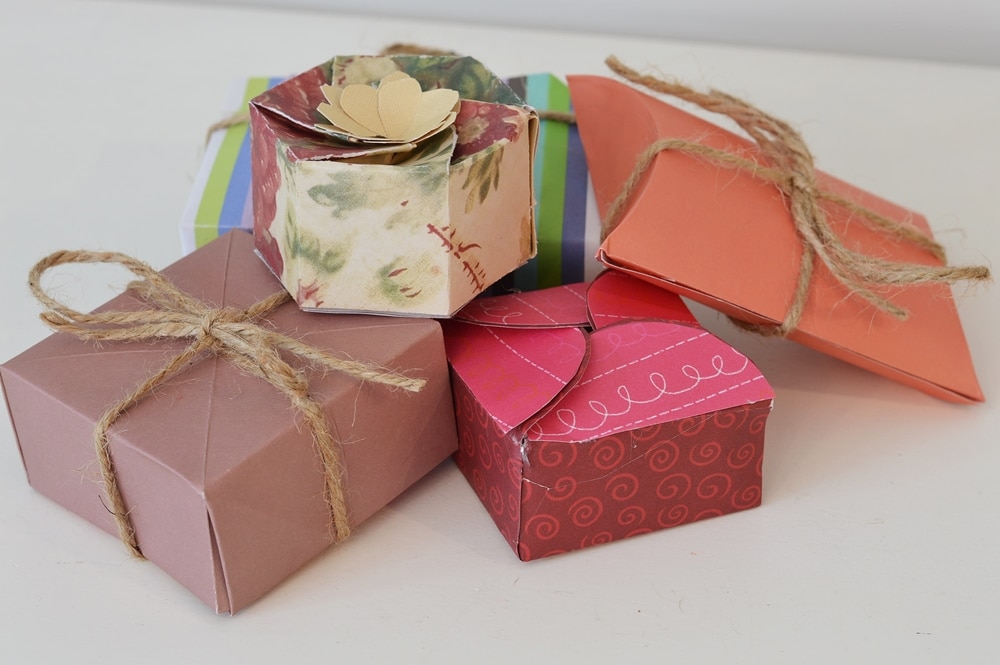
Handmade paper gift boxes
You can also put your soap in a handmade paper gift boxes, and you have the perfect handmade gift!
Further Reading
I am a beginner soap maker myself, so I’ve collected a few other sources of information if you’re looking to learn more about soap making:
And here are a few other options that would be great to add variety to your soap making:

