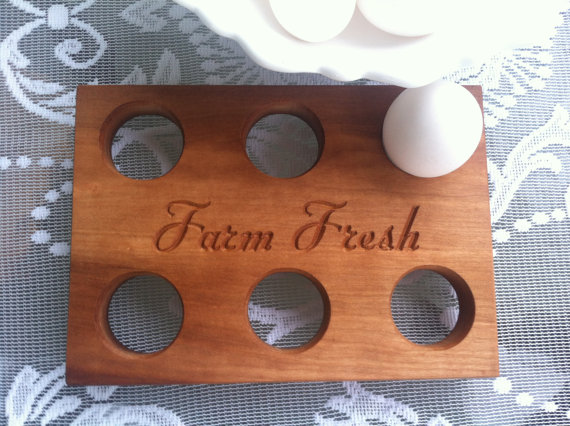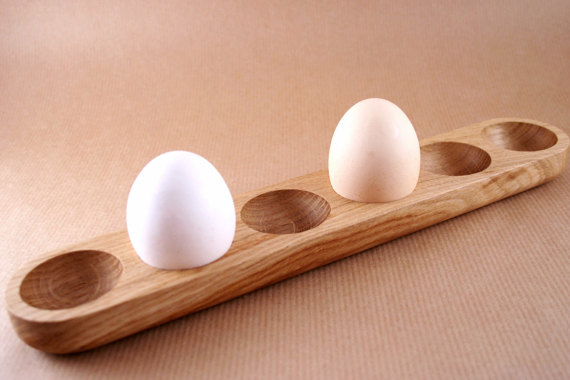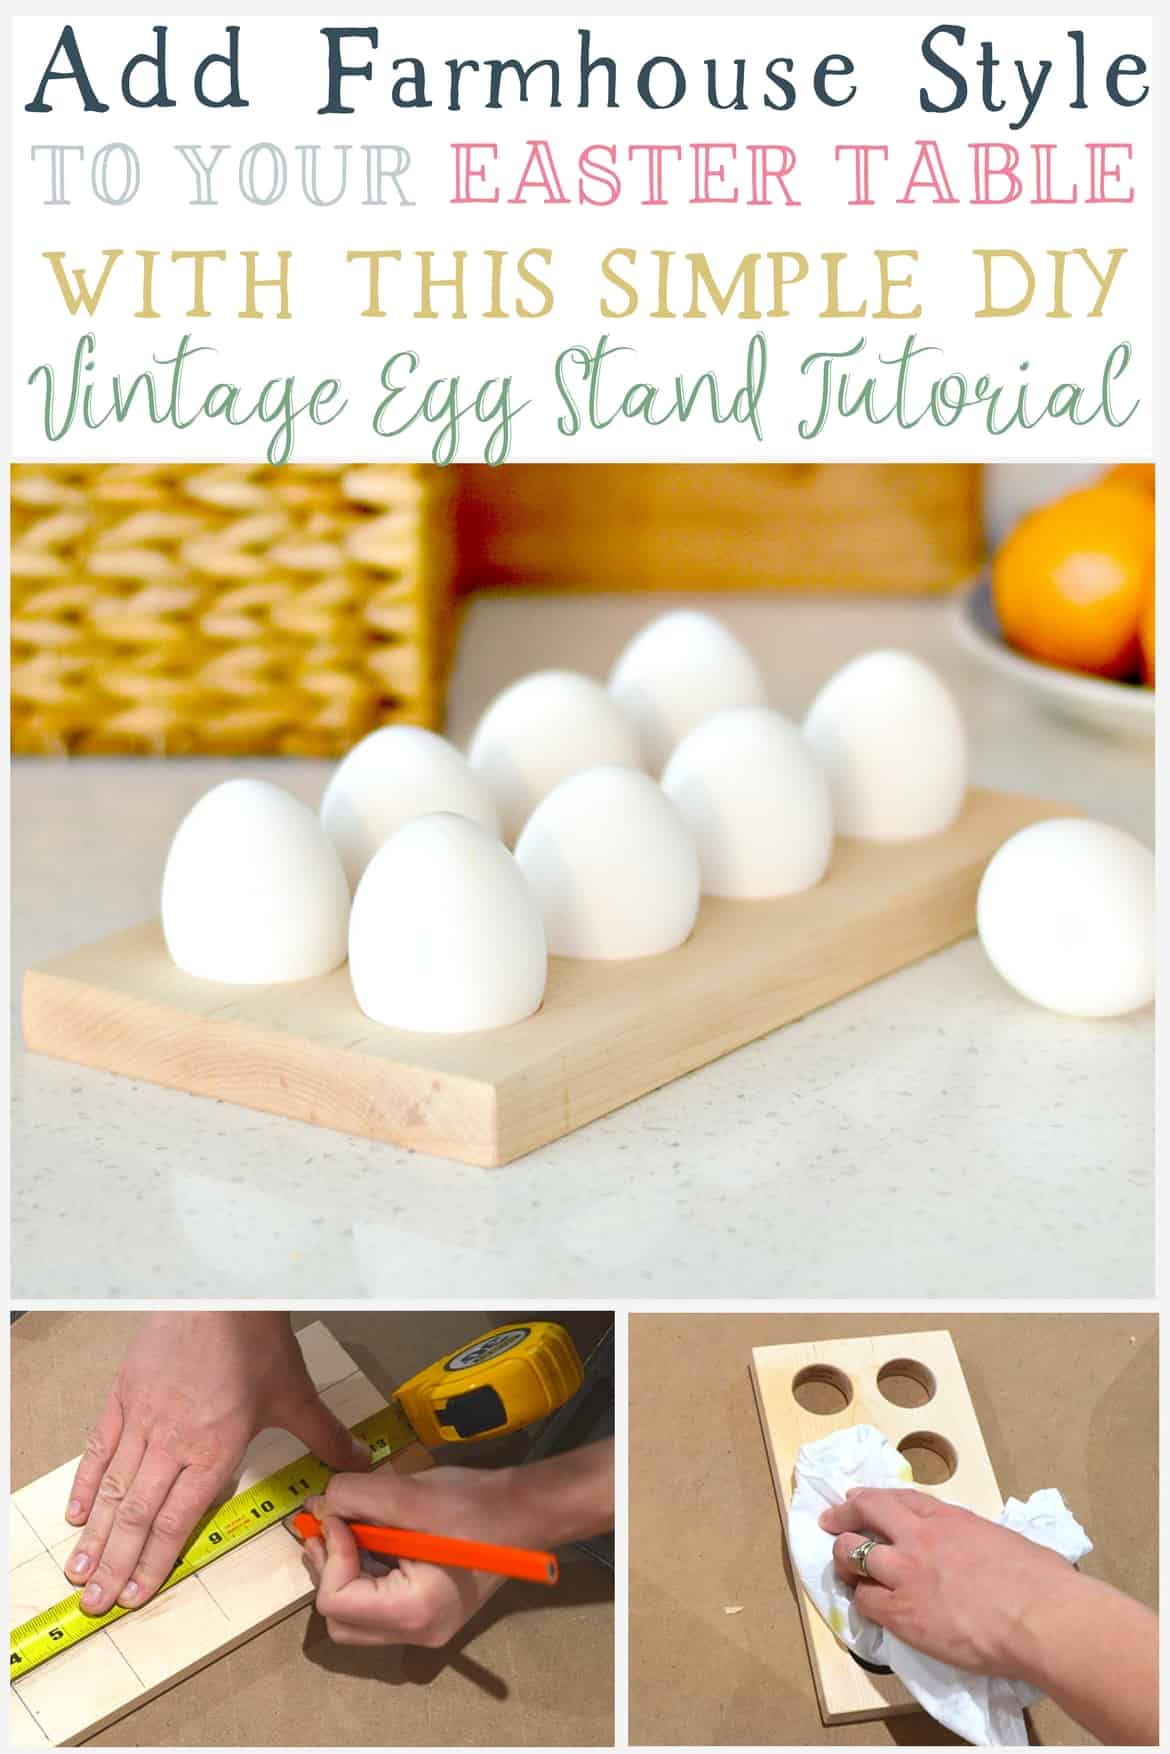
You know we’re always looking for a good & simple diy. This farmhouse style vintage egg stand checks off both of those items, and just in time to spruce up your Easter table or kitchen. When I first saw these egg stands, I pictured them holding beautifully crafted Easter eggs. But they look great holding plain eggs too! I love that this project can be done using some scrap wood, or even an old cutting board!
How to Make a Farmhouse Style Egg Stand
Hi guys! This is Jessica from The Vanderveen House here to show you how to make a farmhouse egg holder. I was browsing around Magnolia Market and I came across a cute and simple wooden egg holder. To be honest, I’ve never seen something like this before, but I really liked it. Now I’m the type of person that when I see something I like, I don’t always buy it. I try and figure out a way I can make it. I do this because it often saves me money, but it’s also satisfying to try something new and see what I can create with my own hands.
(This post contains affiliate links. This means I get commissions for purchases made through links in this post)
1. Cut a piece of wood
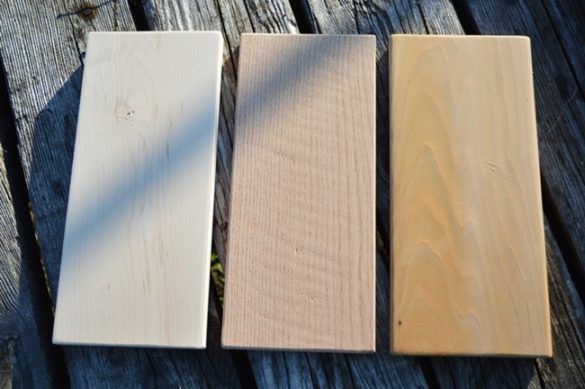
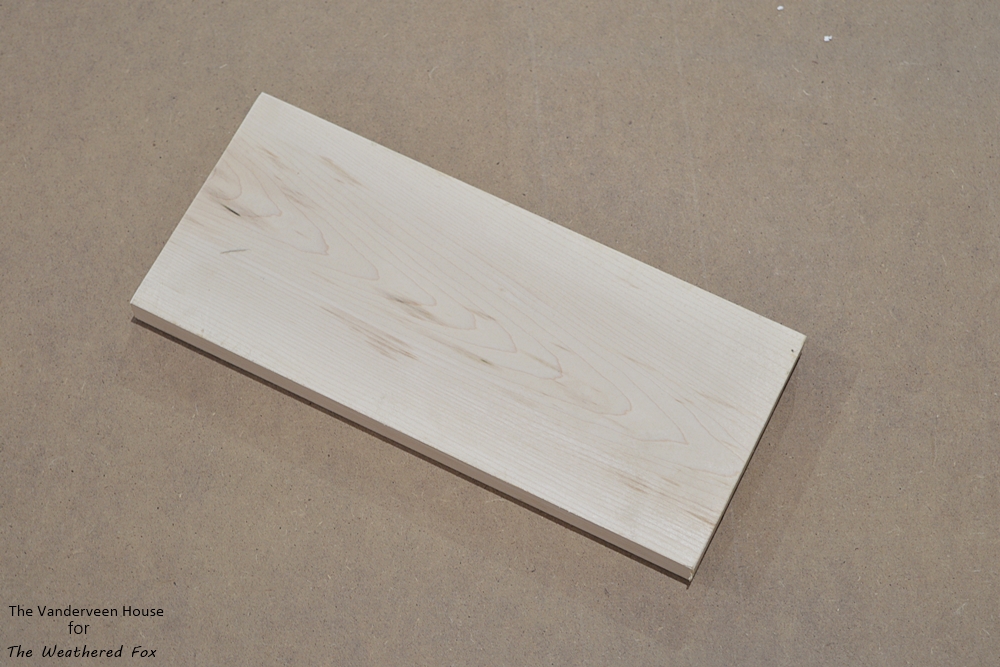
Start with a solid piece of maple wood. I had a few scraps of solid maple leftover from when I made some barbecue grilling planks and it ended up being the perfect size for an egg holder. I chose to make mine 9 3/4 inches long, 5 1/4 inches wide, and 3/4 inches tall.
2. Measure hole locations
Next I measured out the locations for the holes. We are a family of six people, so if I’m pulling out the fancy egg holder it’s probably because we have guests over. So I decided to make eight holes.
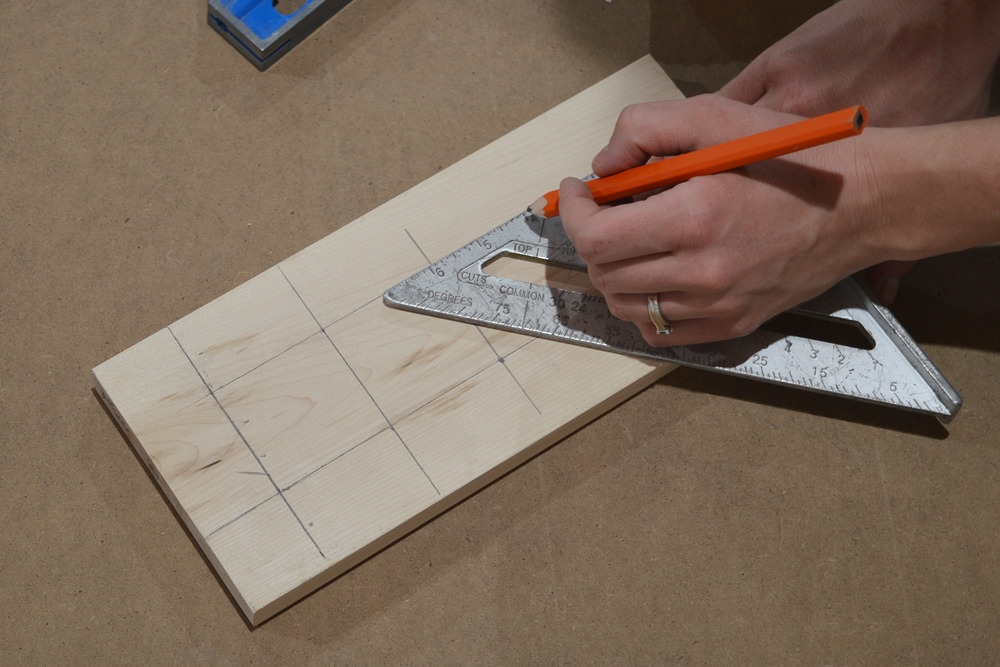
Using a square measuring tool, measure 1.5 inches from each side and create a grid pattern.
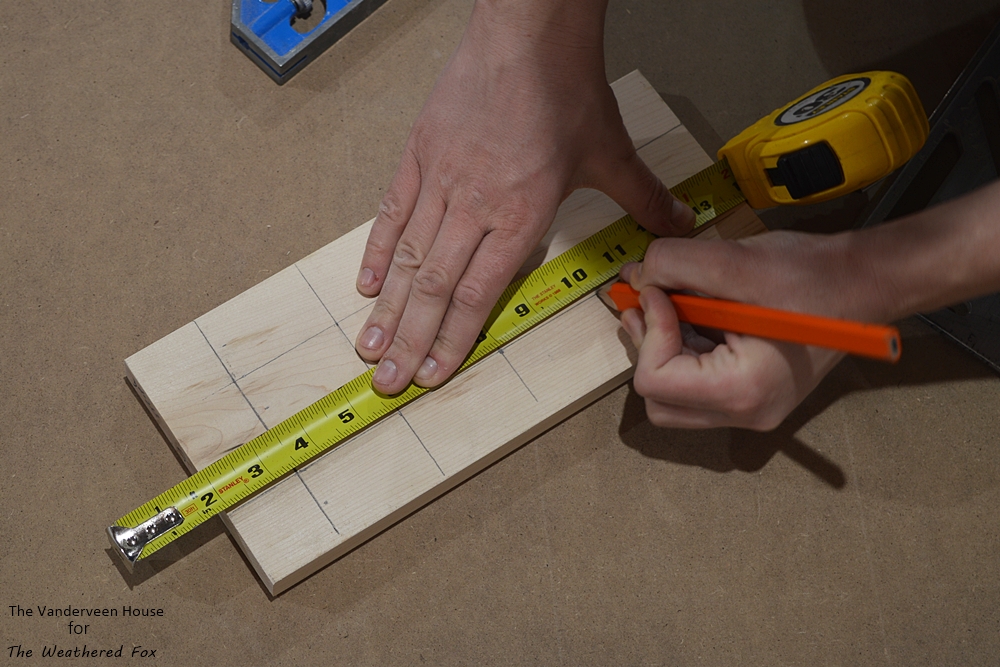
Using a measuring tape, I measured two inches between the centers of all the holes. With a one inch diameter hole, this left a half inch between all the holes.
3. Drill holes
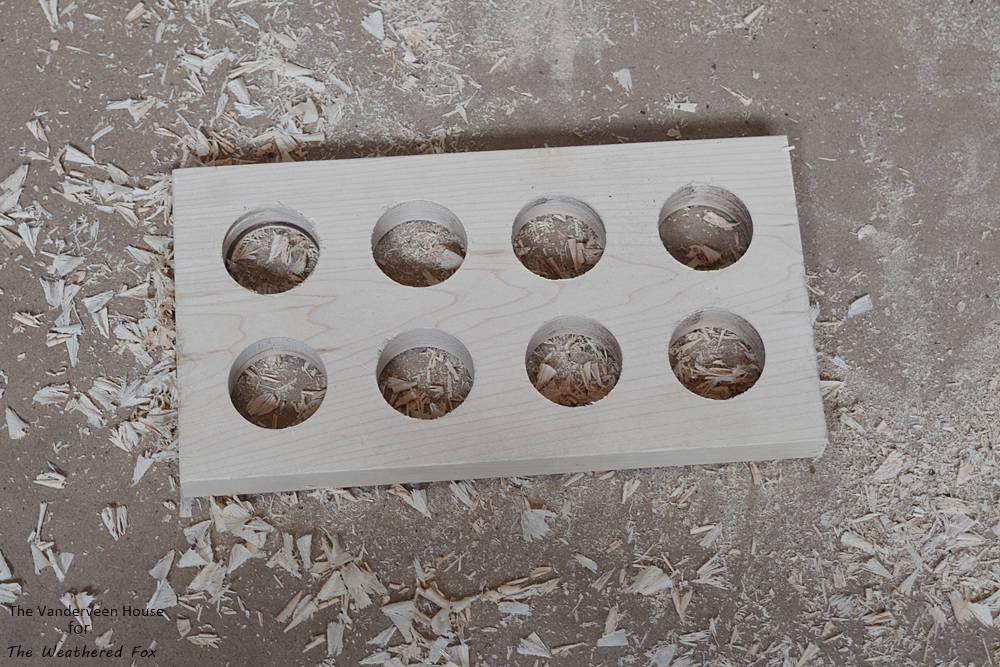
There are several ways you can cut the holes in your egg holder depending on the tools you have. You can use a power drill with a 1 inch spade bit to hollow out the hole from each side. You could also use a drill with a 1 inch Forstner bit. With this bit, you can drill right through from the top, just make sure you have a sacrificial piece of wood underneath. I ended up using a drill press with a 1 inch Forsnter bit.
3. Sand
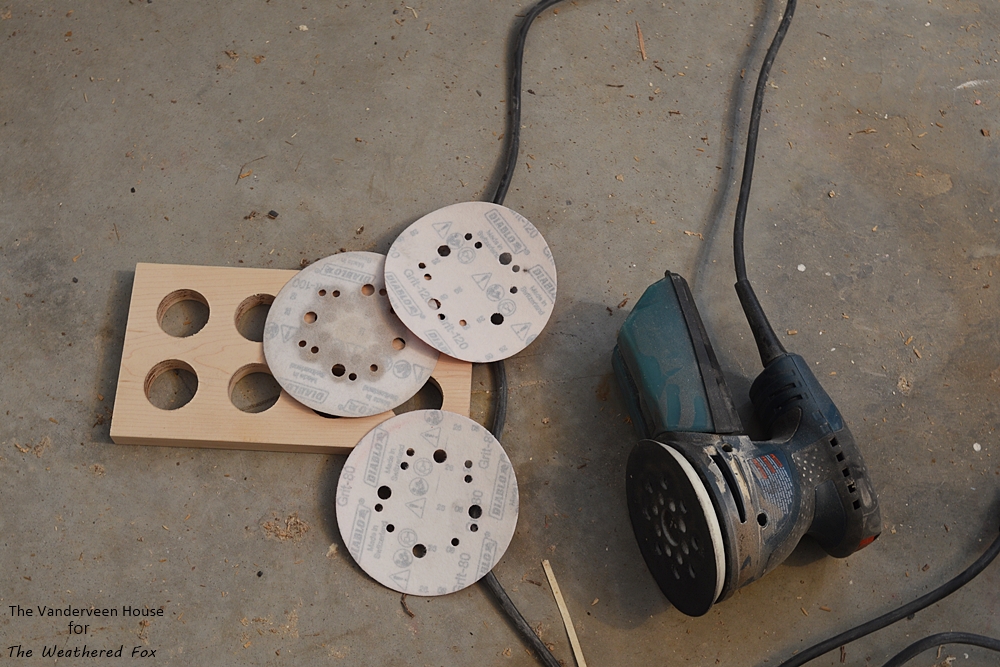
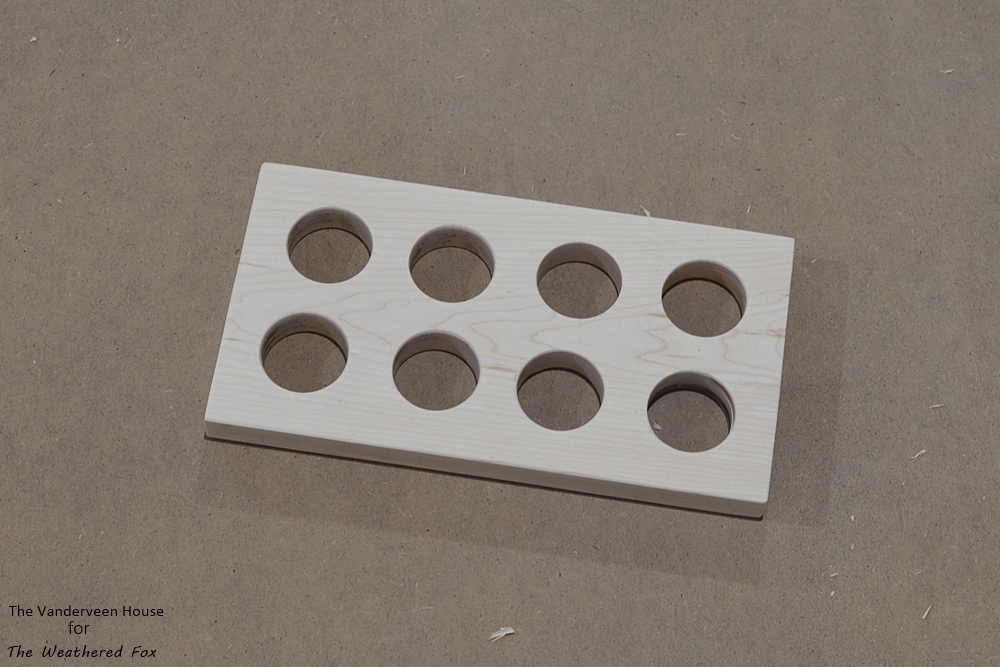
Use a palm sander and several different sandpaper grits to get a smooth finish. I started with 80, then 120, and finished with 240. By hand, I used sheets of sandpaper to sand the insides of the holes. Then I also lightly sanded all the corners to give it a smooth and finished look.
4. Apply the finish
I chose to use linseed oil for the finish. I wanted to keep the natural color of the maple, while also deepening and protecting the wood. 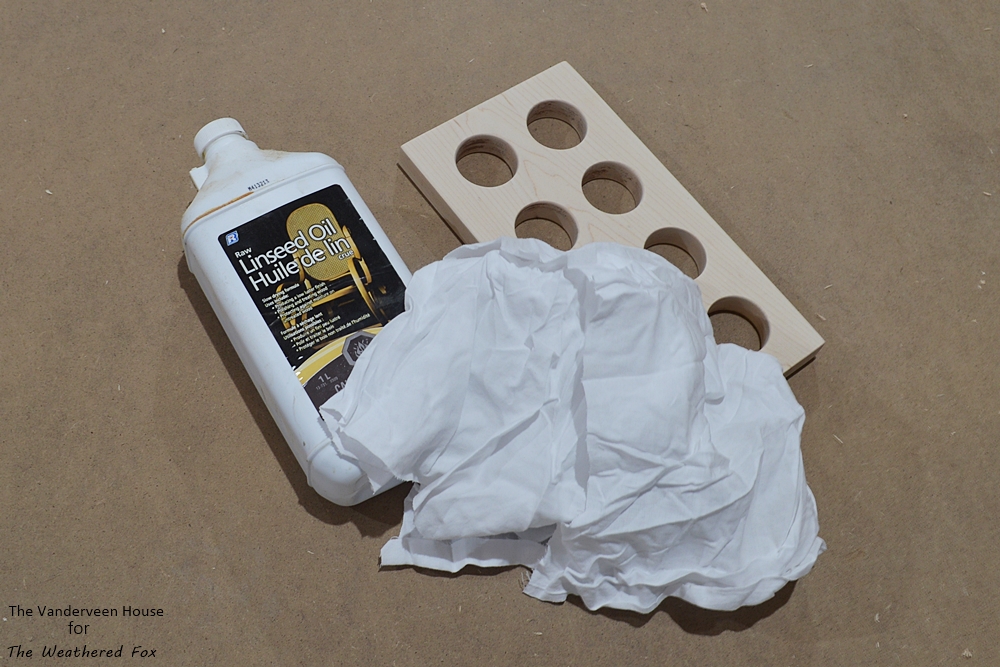
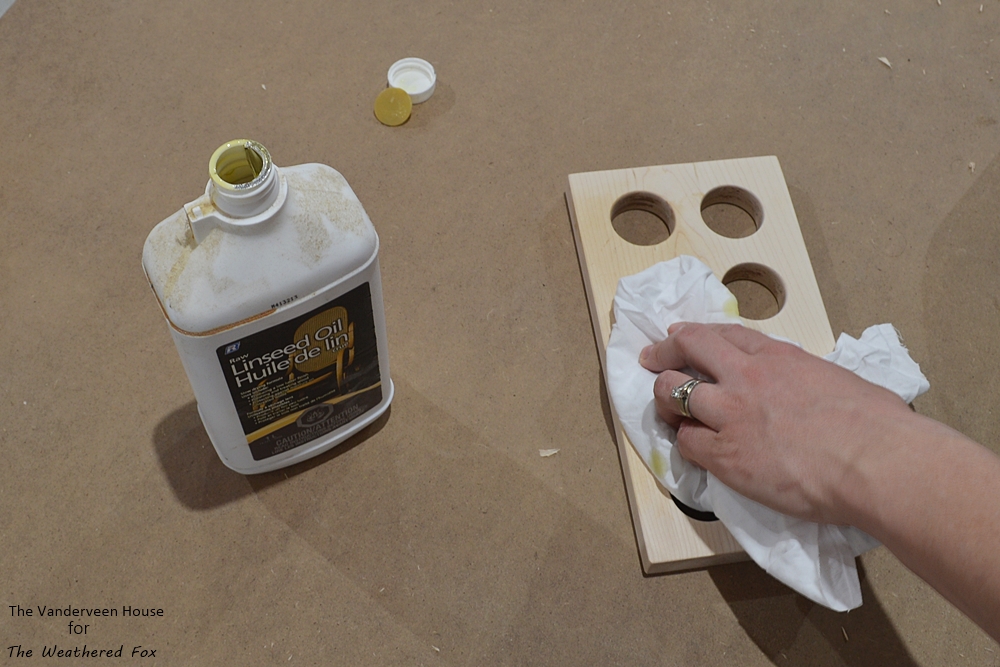
Using a clean white rag apply two coats of linseed oil, letting it dry for about an hour in between coats.
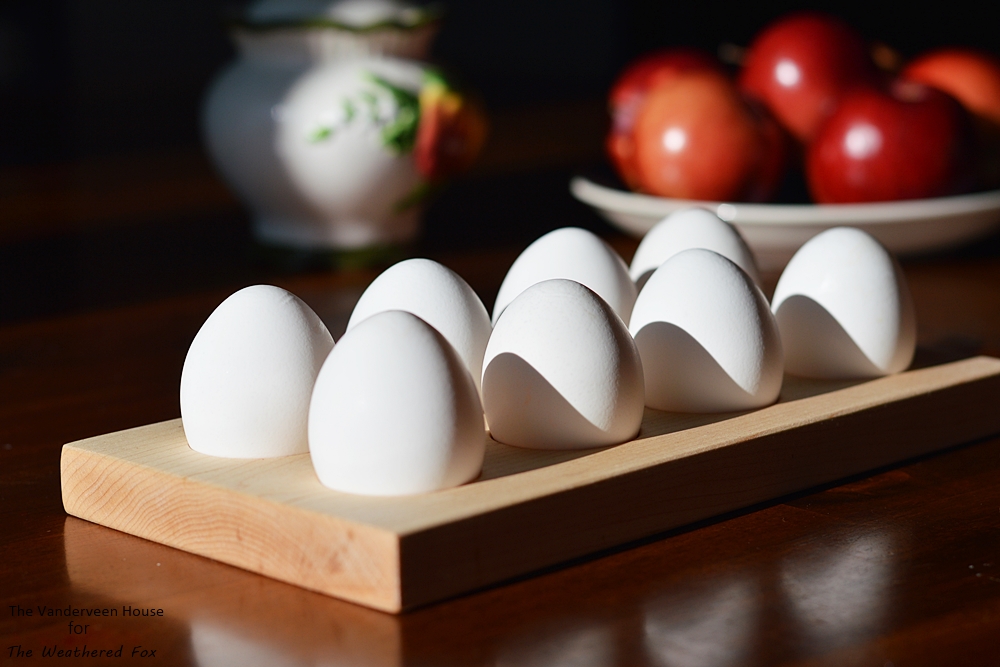
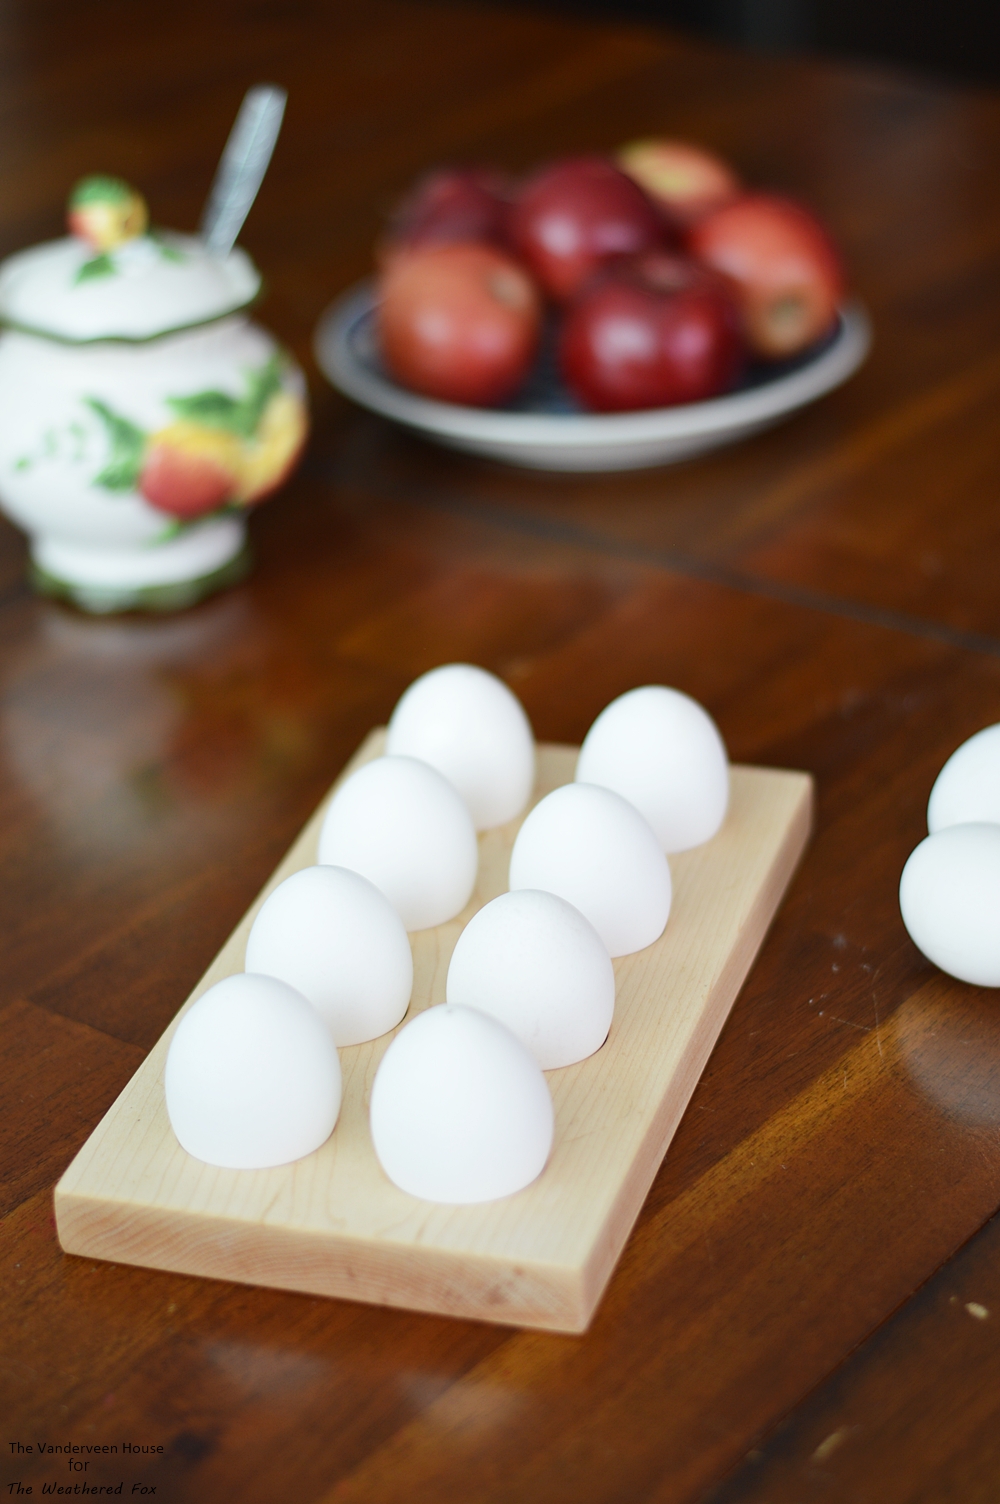
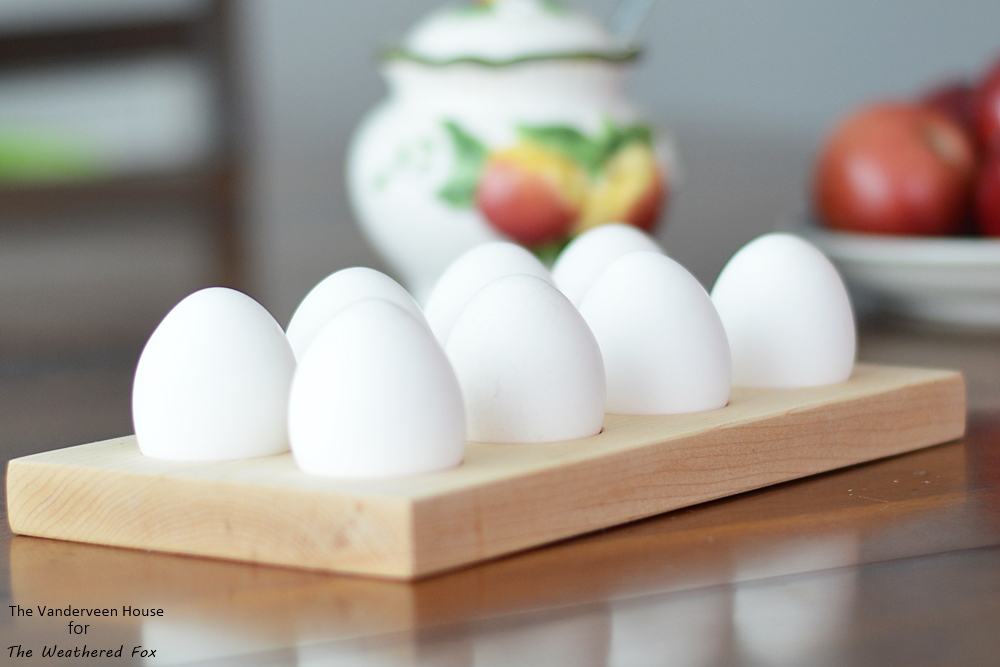
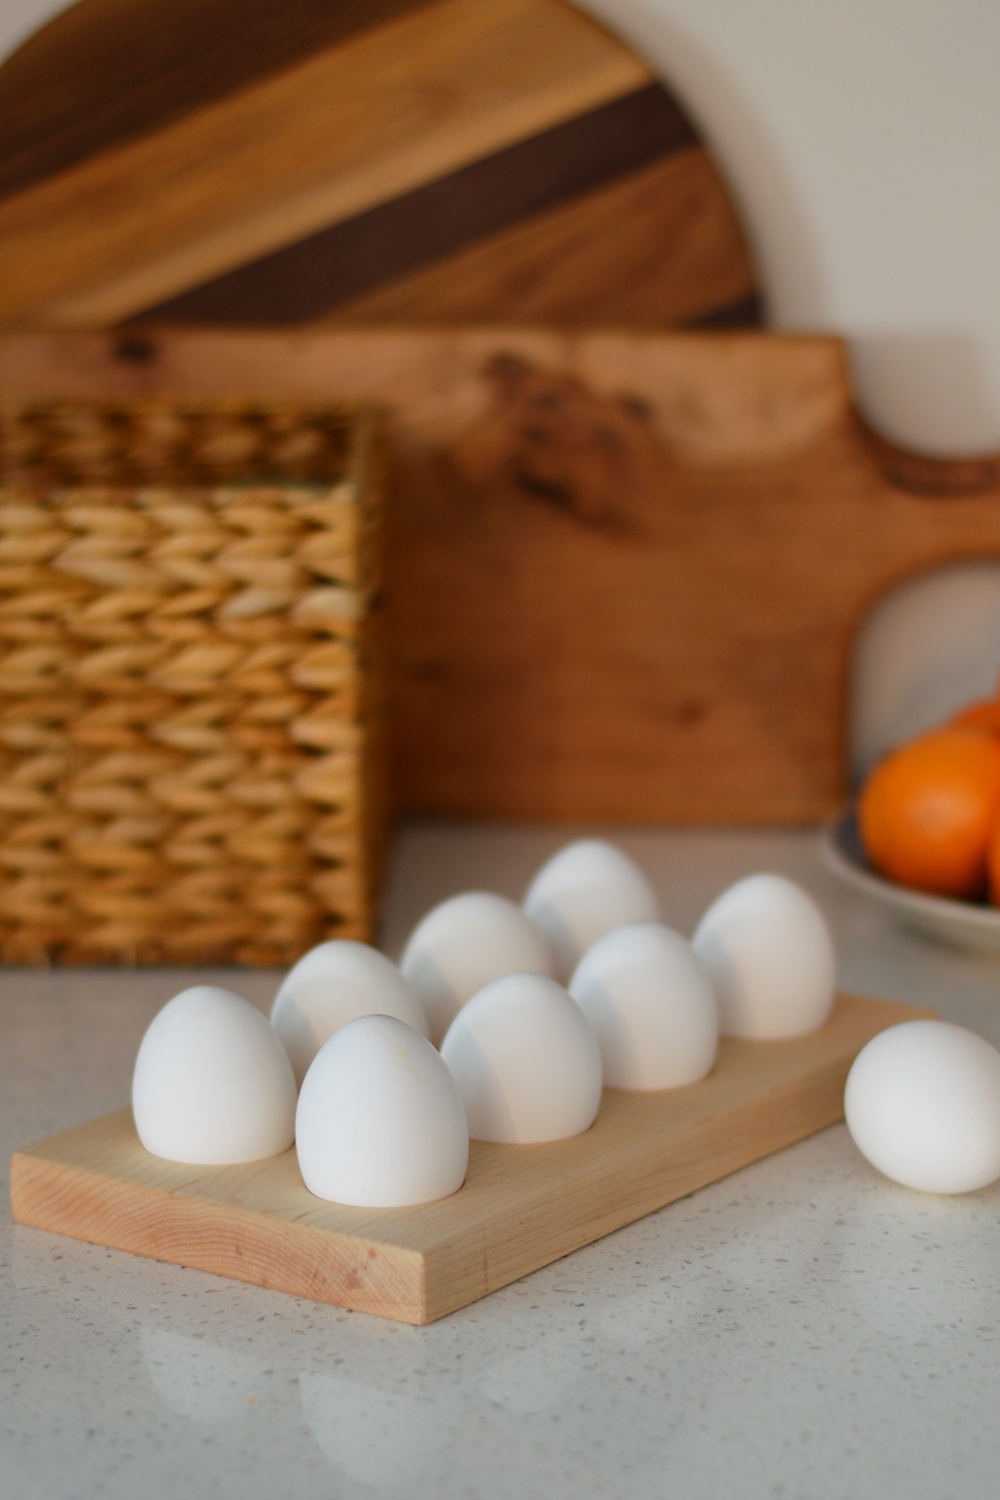
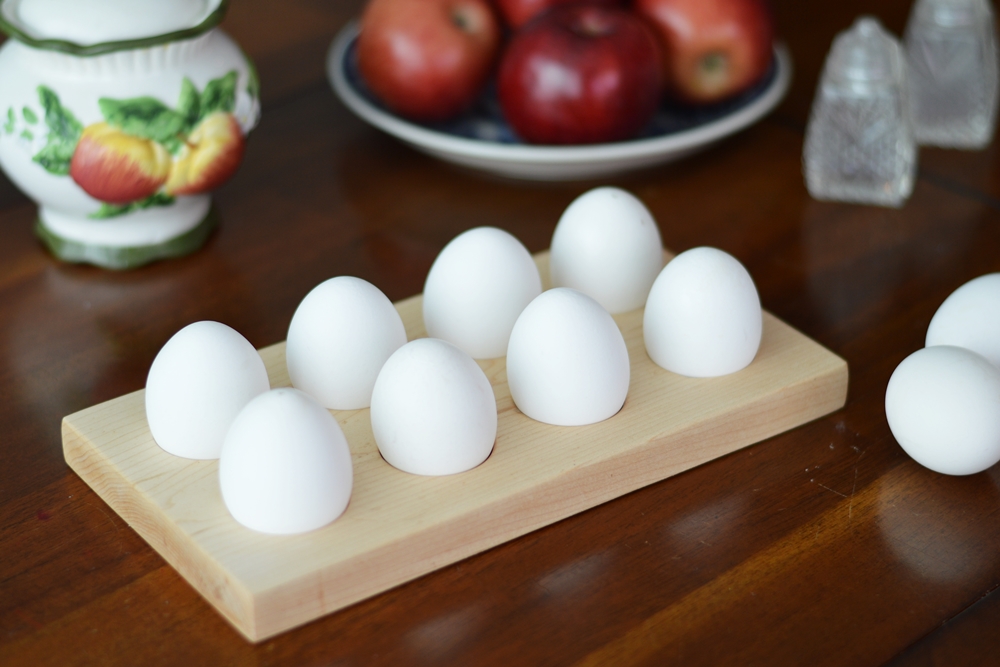
Completed farmhouse egg stand!
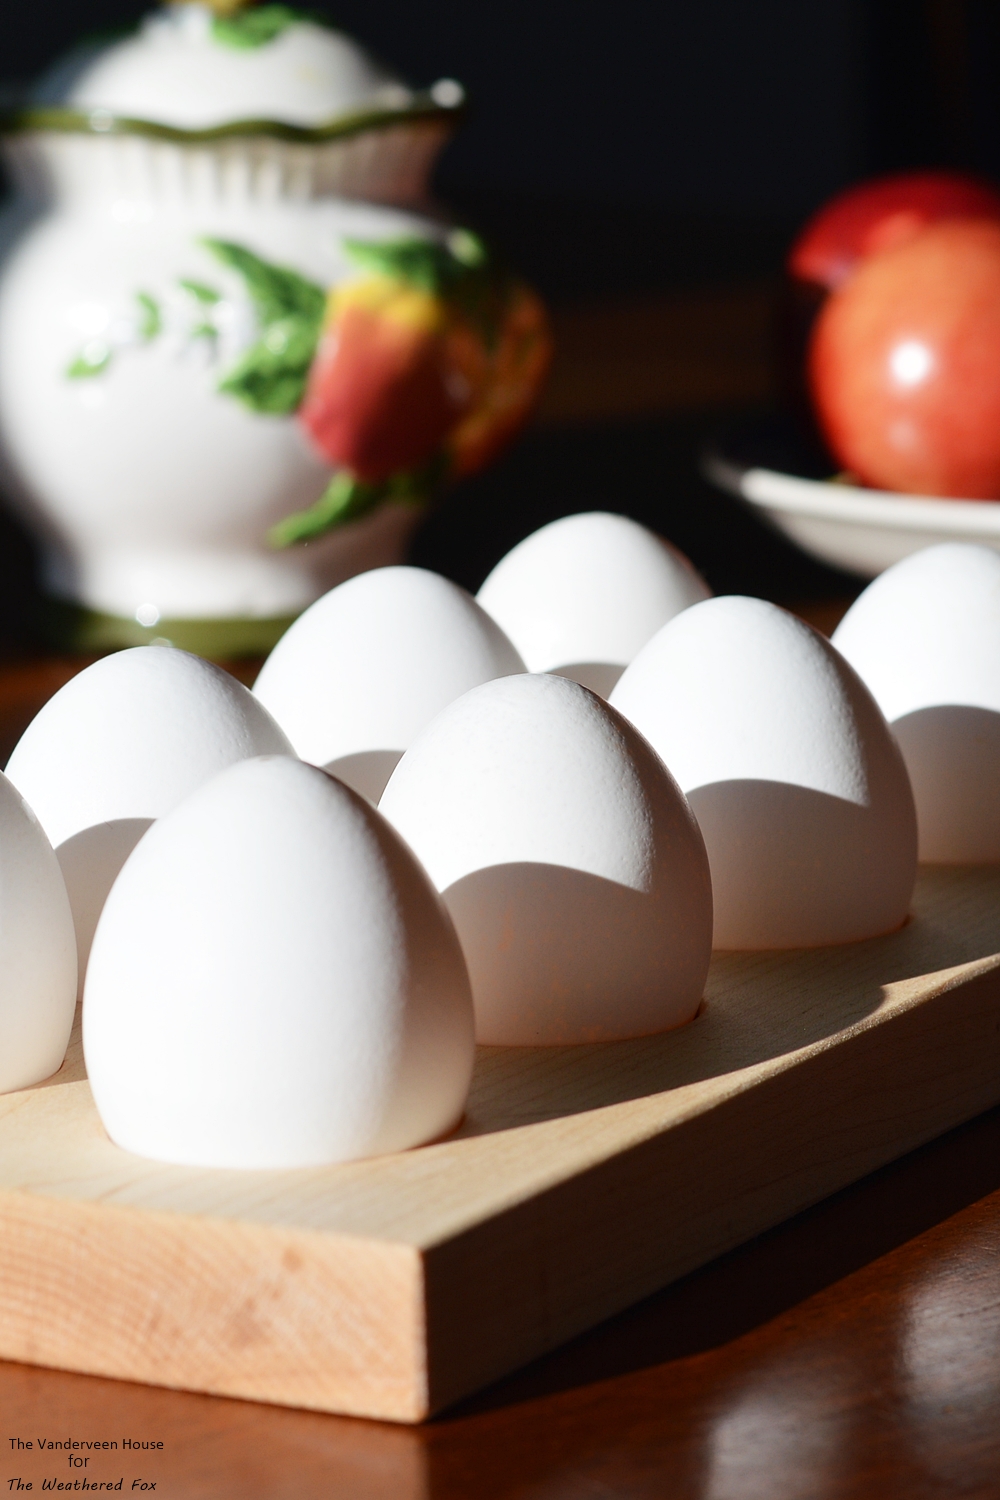
And there you have a simple and beautiful farmhouse style egg stand! This is perfect to pull out for Sunday brunch or to display your hand painted Easter eggs. These would also be great for storing eggs in the fridge.
Other options
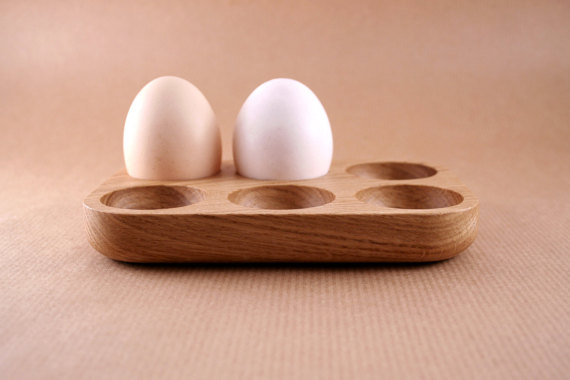
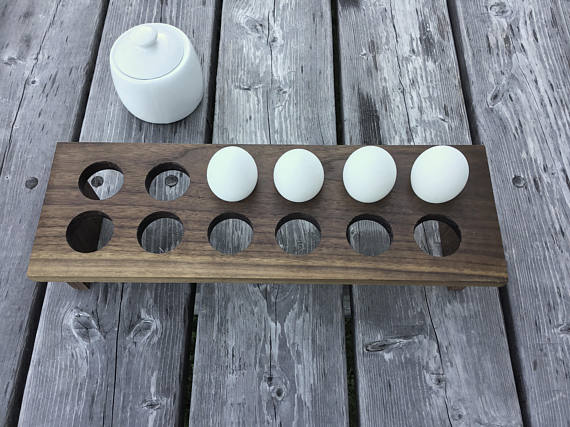
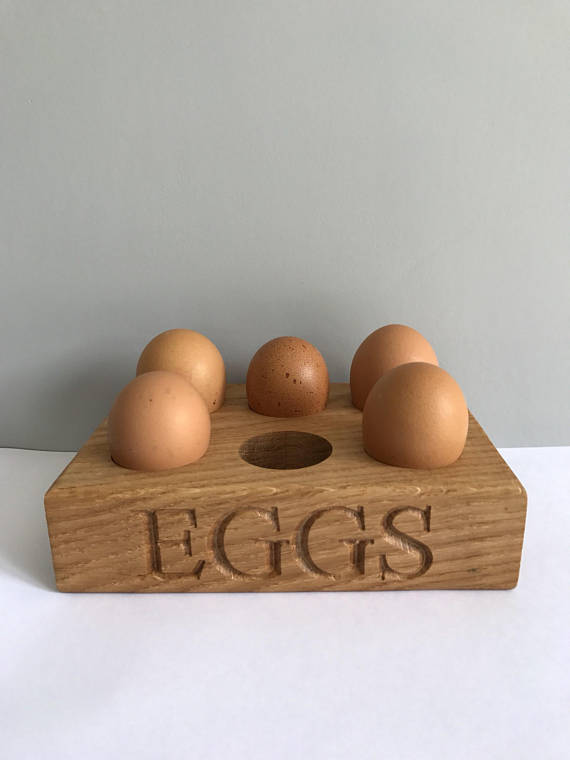
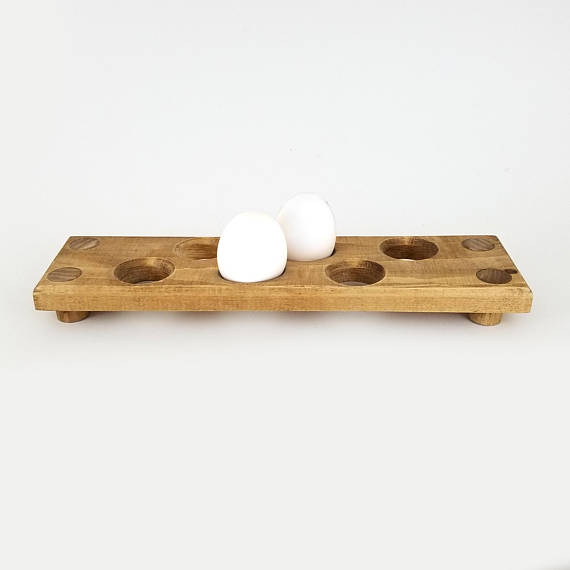
If you’re not the type of person to make your own egg holder, I’ve linked to a few other handmade options. I’d love to know if this is something you’d make, or how you would use it!
(This post contains affiliate links. This means I get commissions for purchases made through links in this post)


