Hello again! I’m glad to be back here at The Weathered Fox to share with you how I built a pair of large cedar planters from rough cut lumber.
My husband and I finished building our house around Christmas last year. This spring we have been working on landscaping and making the exterior of our house look less like a construction zone. Raking dirt and growing grass is not very exciting and takes a long time to see improvements. I like instant results, and there’s no better way to liven up the exterior of your home than with planters full of bright flowers. However, I didn’t have a large budget to buy new cedar planters, so I decided to make a pair with wood I already had on hand.
(This post contains affiliate links. This means I get commissions for purchases made through links in this post.)
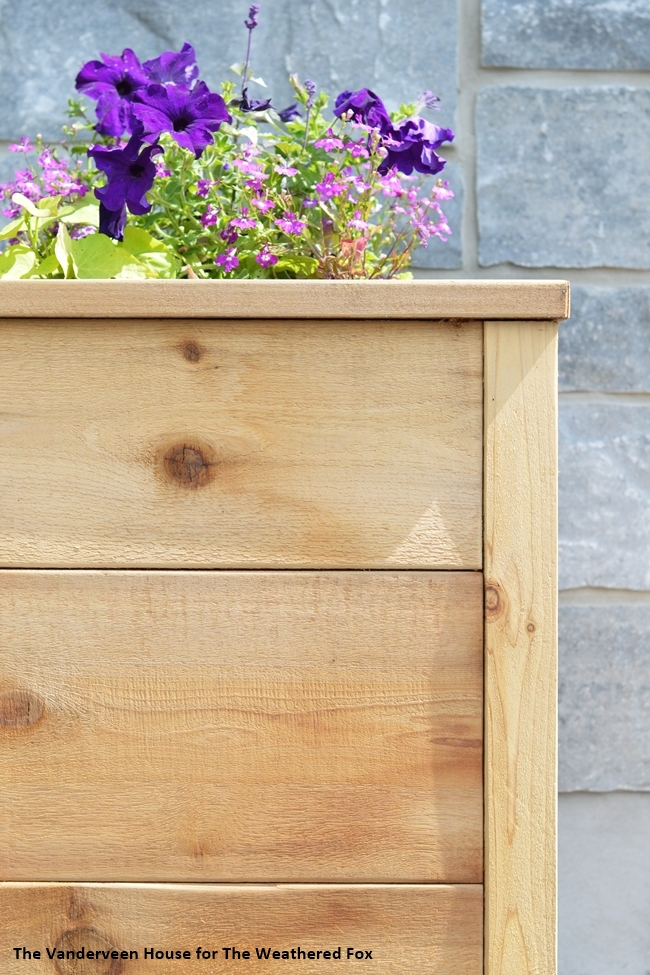
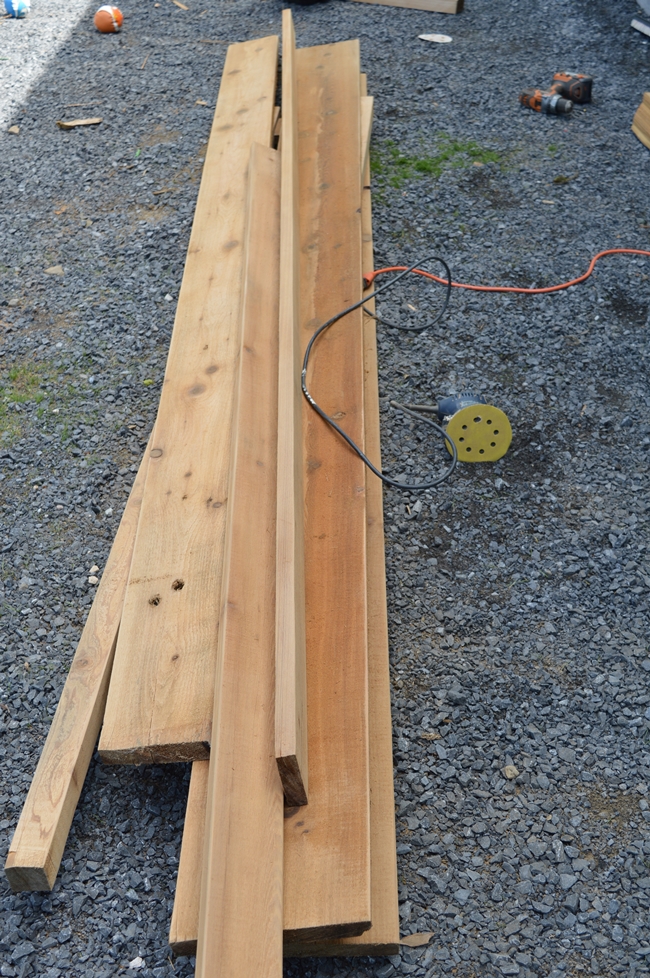
My husband Tony works for a Hydro company, and one of the perks is that he occasionally gets to take home used hydro poles. And did you know that hydro poles are made of red cedar? Tony also knows someone who has a saw mill and we got a stack of poles milled into rough cut cedar planks. I thought it would be perfect to use these cedar planks to make two large outdoor cedar planters.
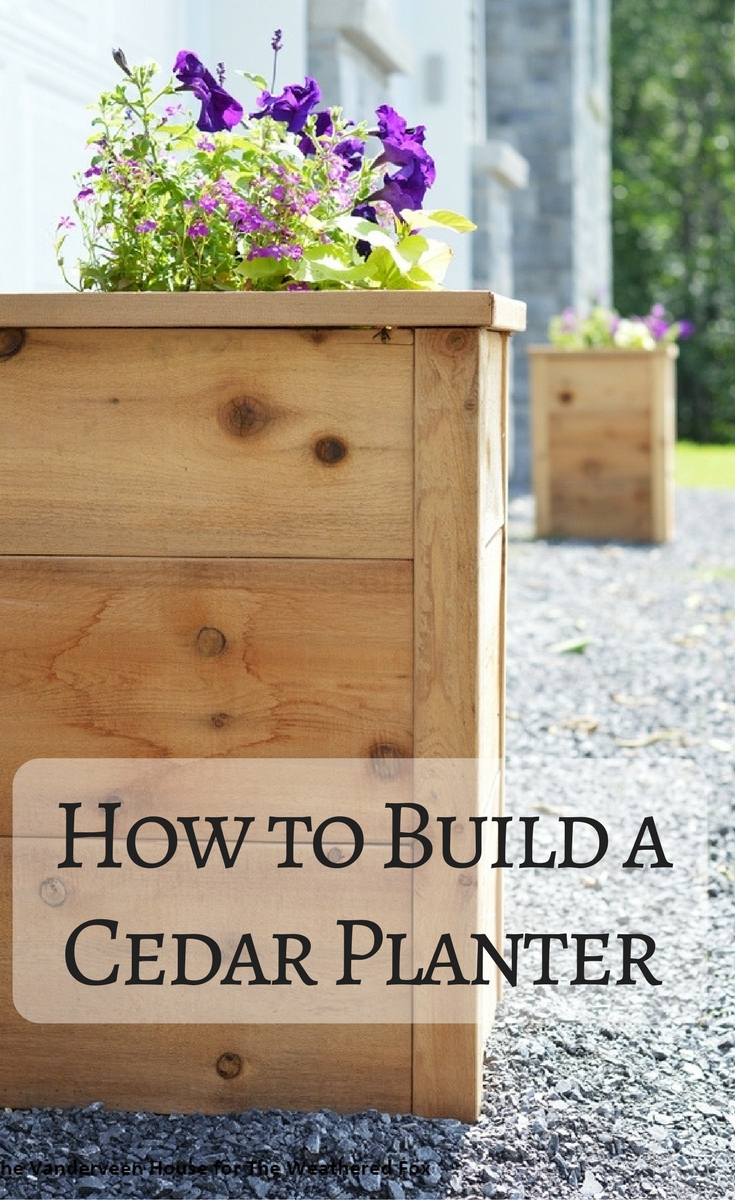
If you aren’t lucky enough to have hydro poles lying around, you can buy cedar from a lumber store. You can build this planter with any type of wood, but the nice part about cedar is that you don’t have to finish it. It’s naturally weather resistant, and has such a wonderful smell.
Tools and Supplies
These are the supplies you will need to make two planters the same dimension as mine (18″ by 18″ by 26″ tall). If you want a different size planter, you’ll have to adjust your material list accordingly. I’ve provided links to some great tool options, but there are many different options depending on your budget. If you’re just starting out in the DIY world, here is a great list of the best tools for beginners.
- 3 pieces of 12 foot long cedar plank (7″ to 9″ wide)
- ~14 feet of 3.5″ wide cedar board (for the top)
- ~18 feet of 2″ x 2″ cedar (corner posts)
- Miter saw
- Table saw
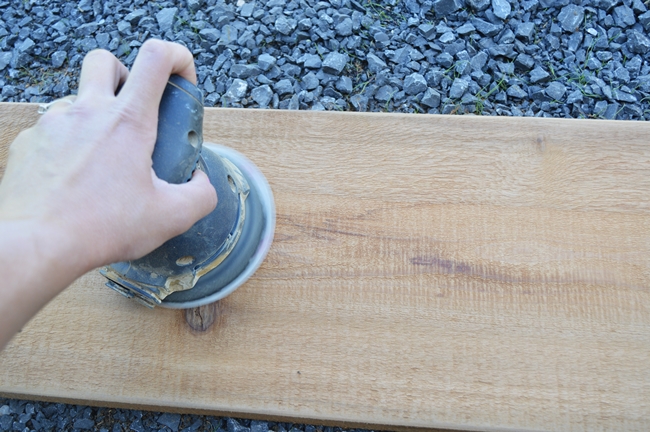
- Palm sander
- 100 grit sandpaper
- Pocket hole jig
- Cordless drill
- Deck screws
- Outdoor wood glue
- Plastic flower pot
Step 1: Prepare Cedar Boards
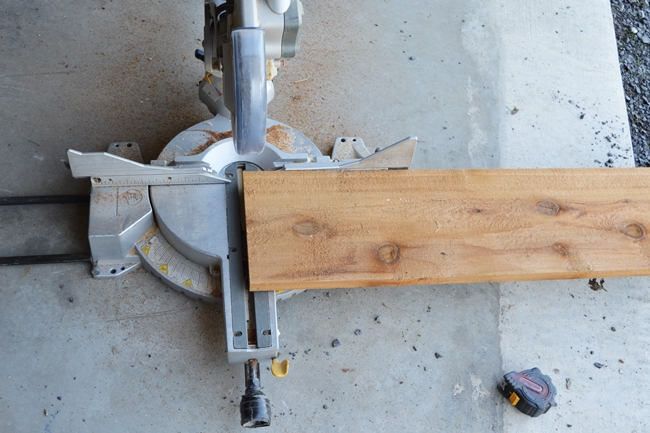
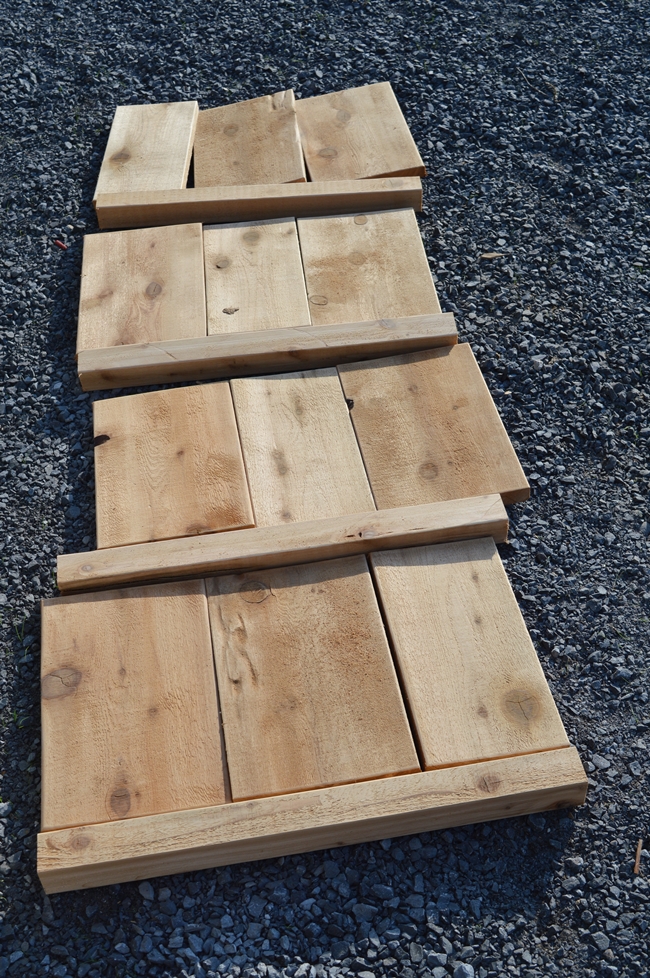
Step 2: Cut Planter Pieces
Step 3: Sand All Pieces
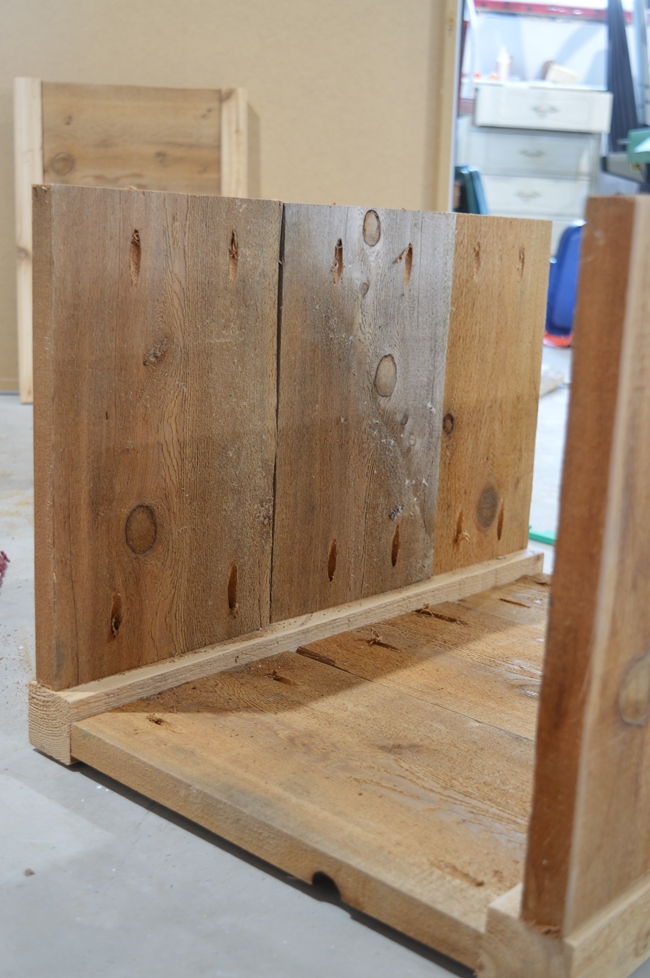
Step 4: Assemble the Planter Sides
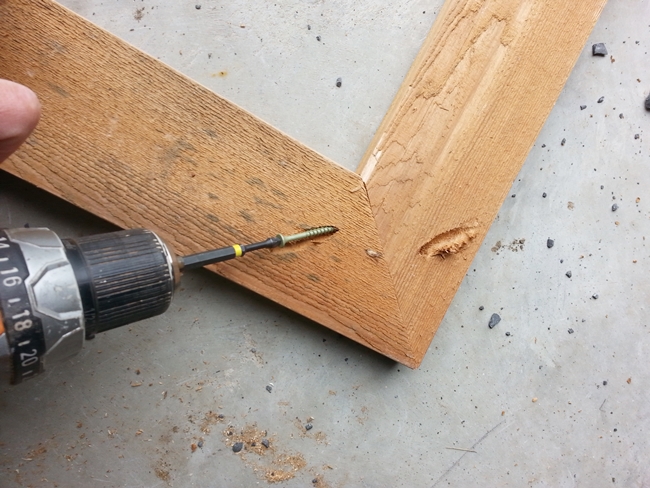
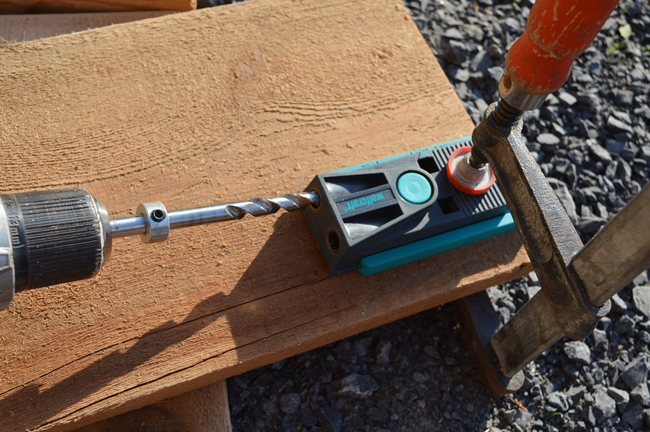
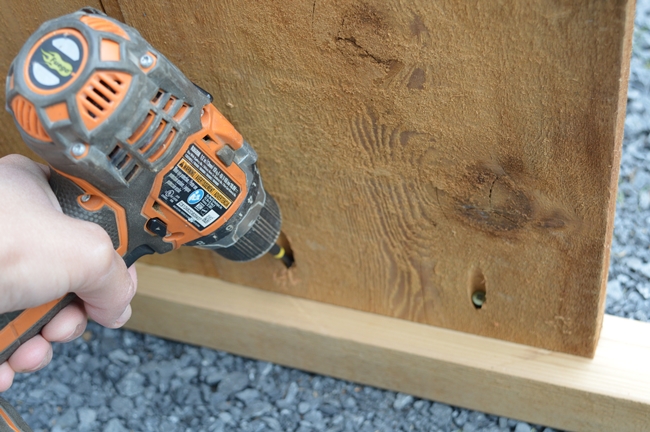
After drilling all the pocket holes with my cordless drill I used 1.5″ galvanized deck screws to put the planter together.
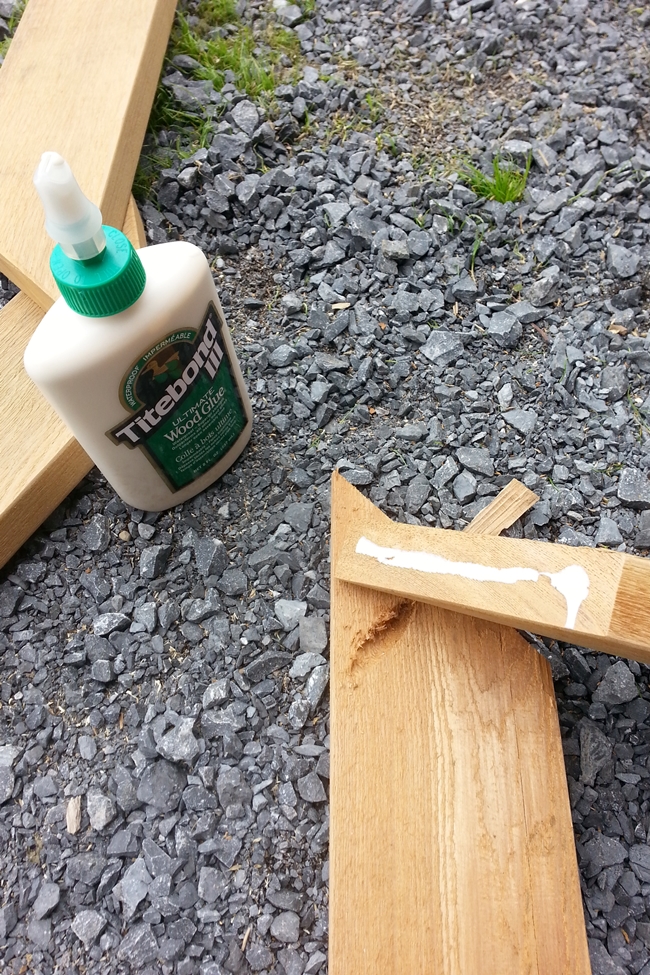
Step 5: Finish The Top
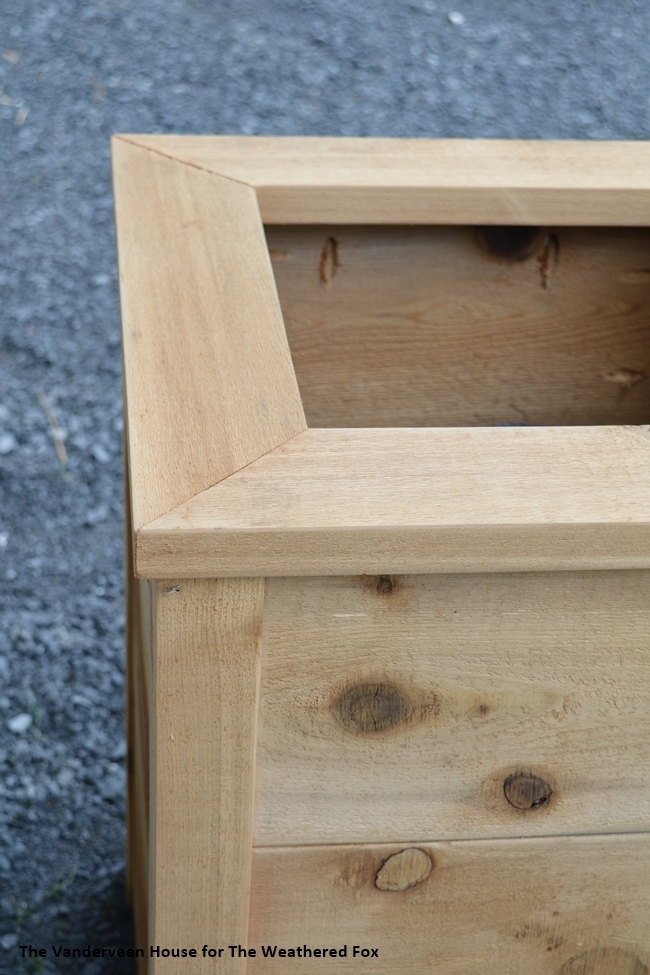
Step 6: Add Your Flowers!
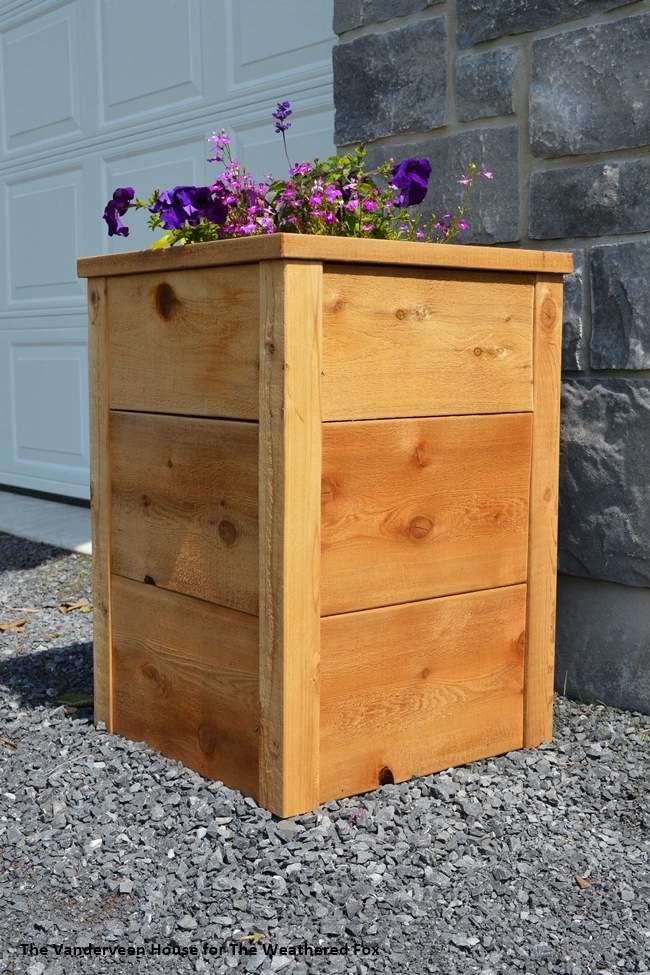
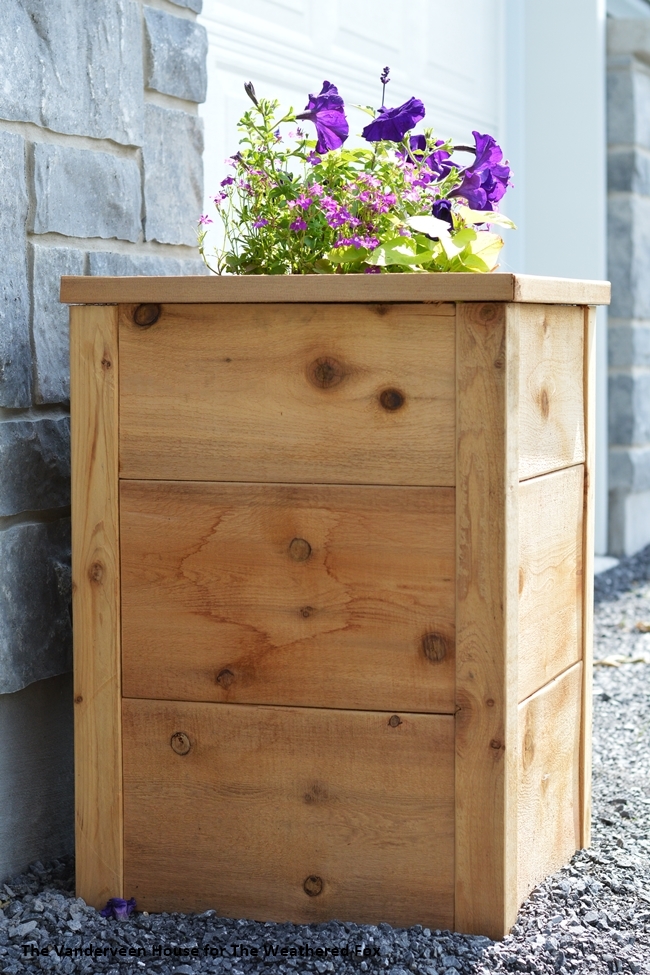
The nice part about this cedar planter is you can make it any dimension you want depending on where you want to use them. I wanted two substantial looking planters for in front of our garage, so these dimensions worked great for me.
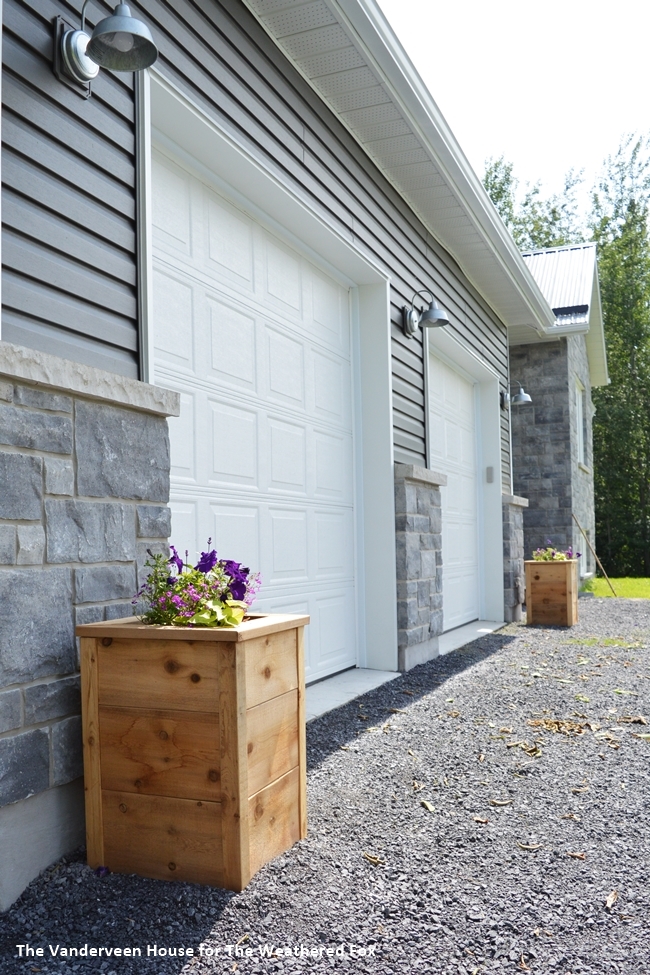
Then I filled up my pots with soil and planted a variety of green and purple annuals. I usually like to pick some trailing plants, some uprights, and then a few other fillers to make it look nice and full.
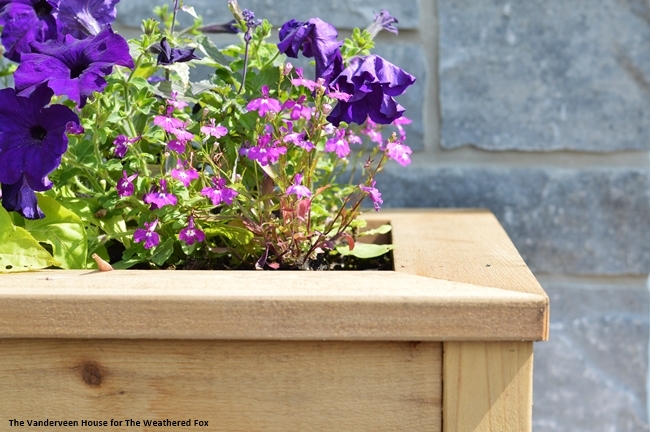
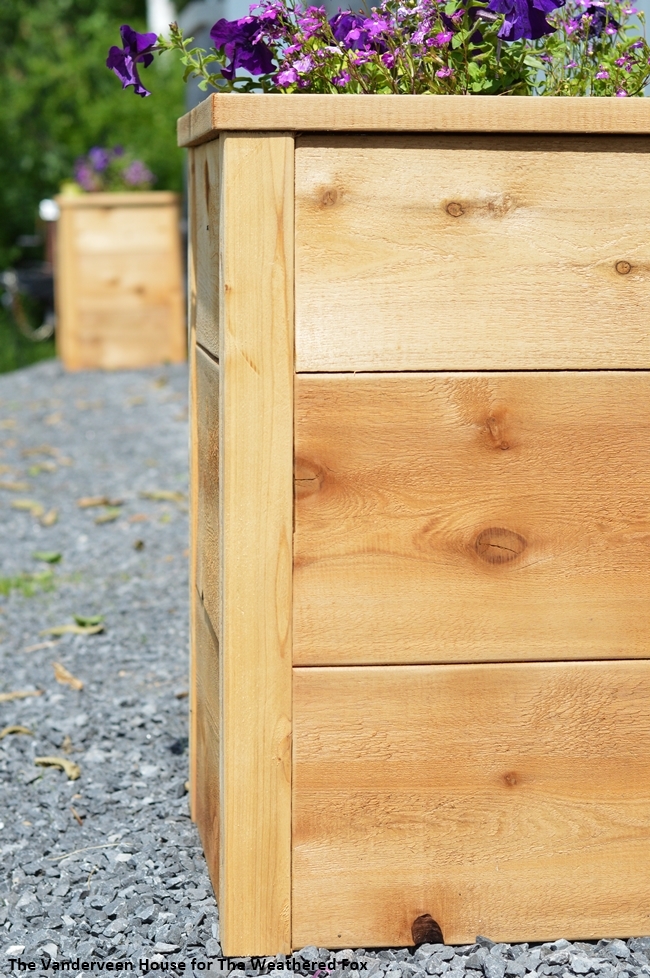
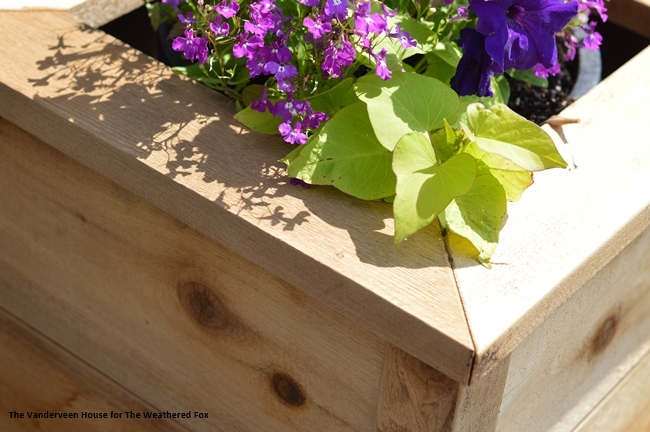
I love the look of the rough cut cedar boards for this planter. They look polished and professional, yet still somewhat rustic. I’d love to know your thoughts! Have you made a cedar planter “sleeve”? What would you change about these designs if you were to make this cedar planter?


3 comments
Hi Jessica, I love these planters and I even have a miter saw in the attic. My friend gave it to me when she moved back to the states. Only thing is I am a little scared of using it lol. But one day I’ll brave up and will make a lovely project with it!
Thanks Habiba! There’s a few tools I’m still afraid of using, but I find a miter saw is one of the easiest and safest to use. You can do it!
[…] are suited for window boxes, these are a great way to add some curb appeal. If not, you can buy or build some wood planter boxes. All you have to do is add some brightly colored flowers and an instant pop of color is […]