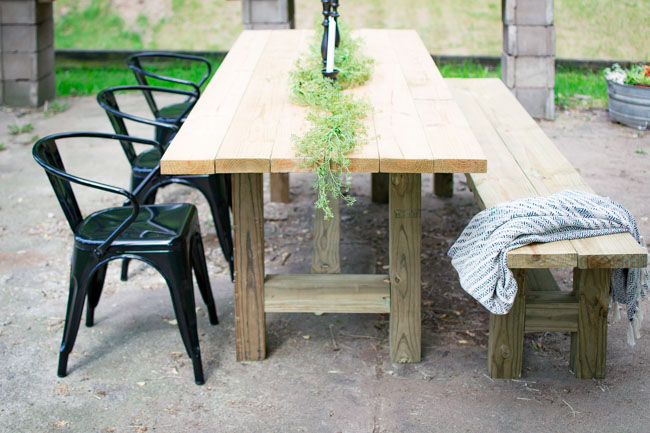
Hello! Kelly from North Country Nest, back for another woodworking project. In case you missd our first one, check out the DIY outdoor bench here.
Today I’m sharing with you the tutorial for an industrial style planter. It’s super easy – I was able to do this one all by myself! 🙂
(This post contains affiliate links. This means I get commissions for purchases made through links in this post.)
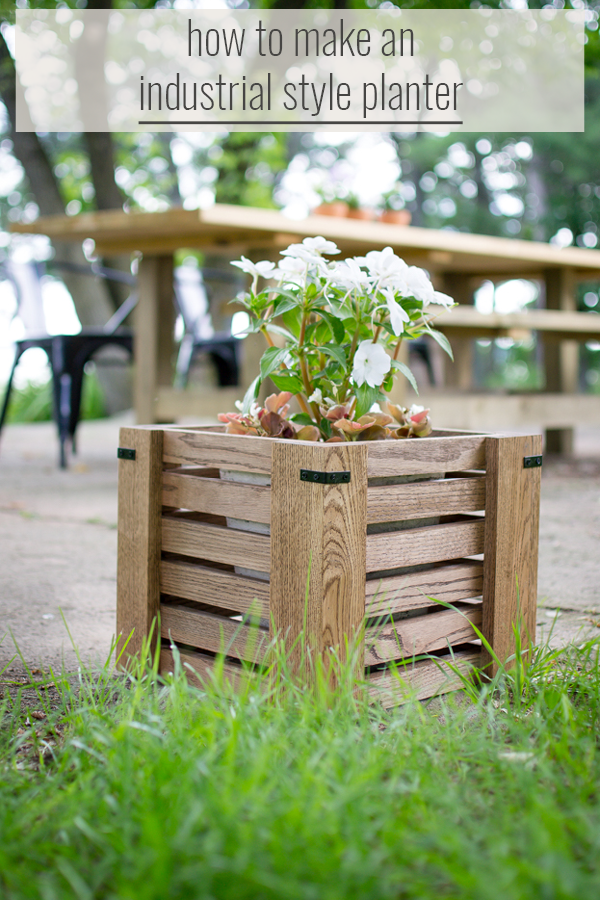
The Supplies
Two 1x4x8 oak boards
Four 1x2x8 oak boards
One four pack of black corner braces
Wood stain in Minwax Special Walnut
Cotton cloth
Rubber gloves
Industrial Style Planter How To
Step one. Cut the 1x2s into 24, one-foot pieces.
Step two. Cut the 1x4s into eight one-foot pieces.
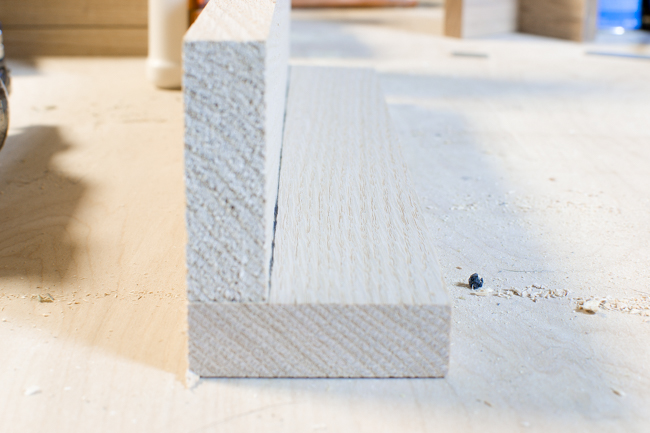
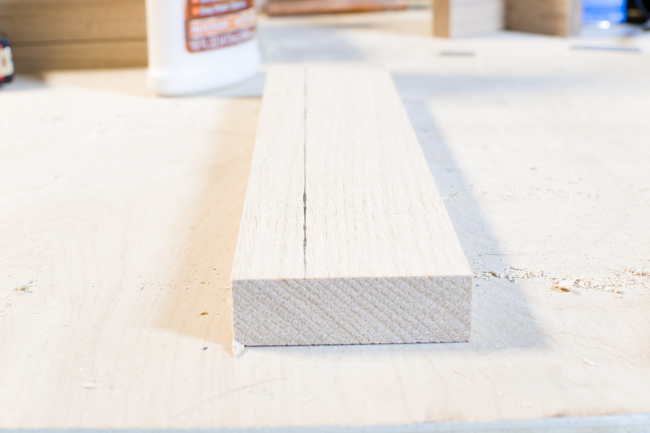
Step three. Grab two pieces (piece A and piece B) of the 1×4 and line up piece A along the edge and perpendicular to piece B. Trace a line on piece B of the edge of piece A. This is what you’ll use to line up the 1×2 pieces. Repeat this process on all 1x4s.
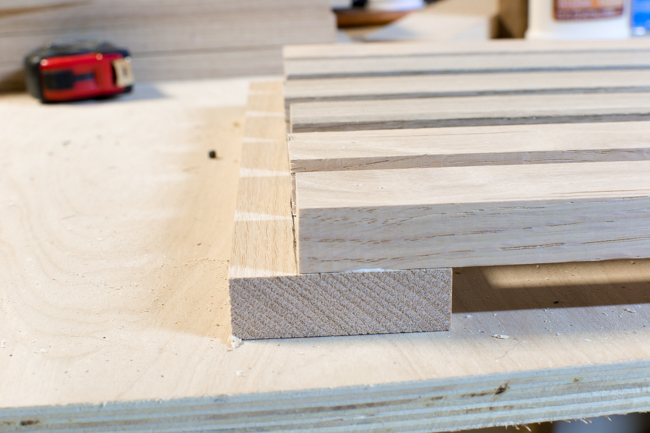
Step four. Grab six 1×2 pieces and line them up along the pencil line you just drew, evenly spaced along the 1×4, add wood glue and nail them down.
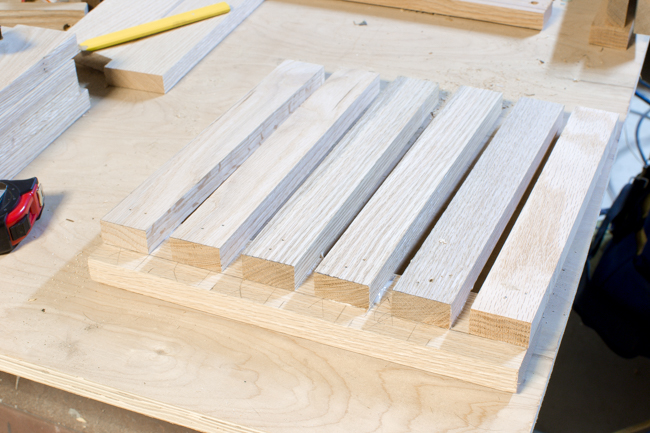
Step five. Nail a 1×4 to the other end of the six 1x2s so you have a side complete. Use the line as a guide and remember to use wood glue.
Step six. Repeast steps four and five three more times.
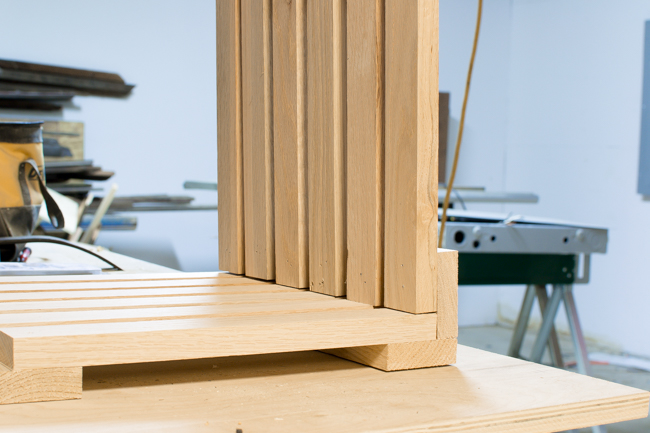
Step six. Nail the sides together [don’t forget the wood glue!] – they should ‘lock’ together if you lined up the 1x2s along the line you traced with the 1x4s.
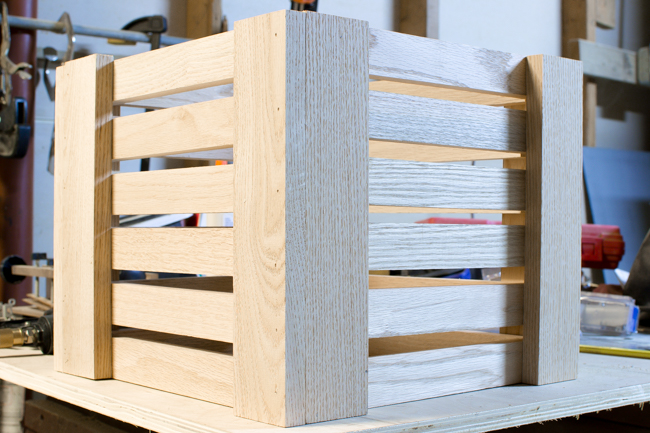
Step seven. Fill in the nail holes with wood filler and sand down with 120 grit sandpaper after drying.
Step eight. Stain the entire piece – we used Minwax Special Walnut.
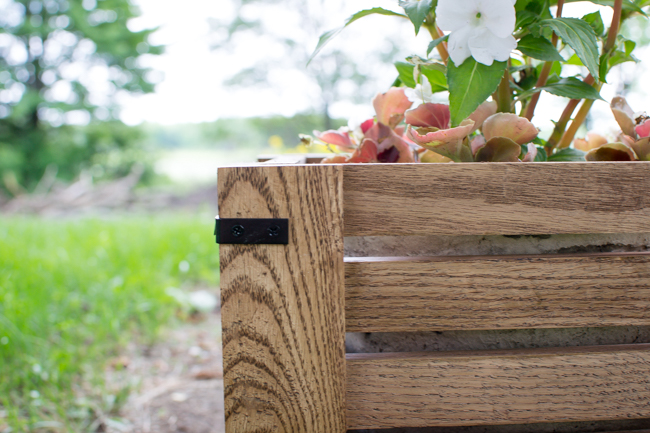
Step nine. Add the corner braces.
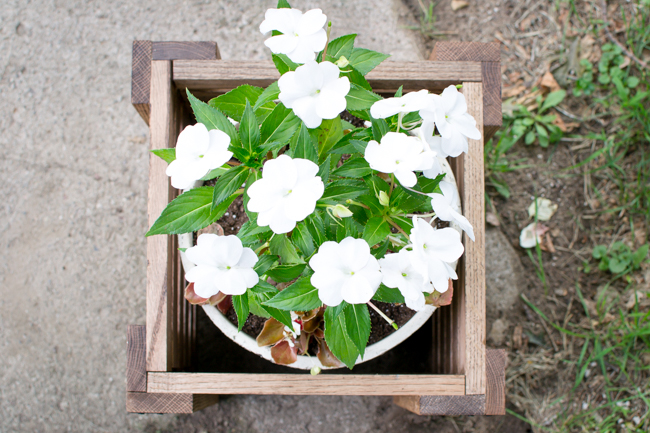
Step ten. Spray [or paint] the entire piece with an outdoor polyurethane varnish.
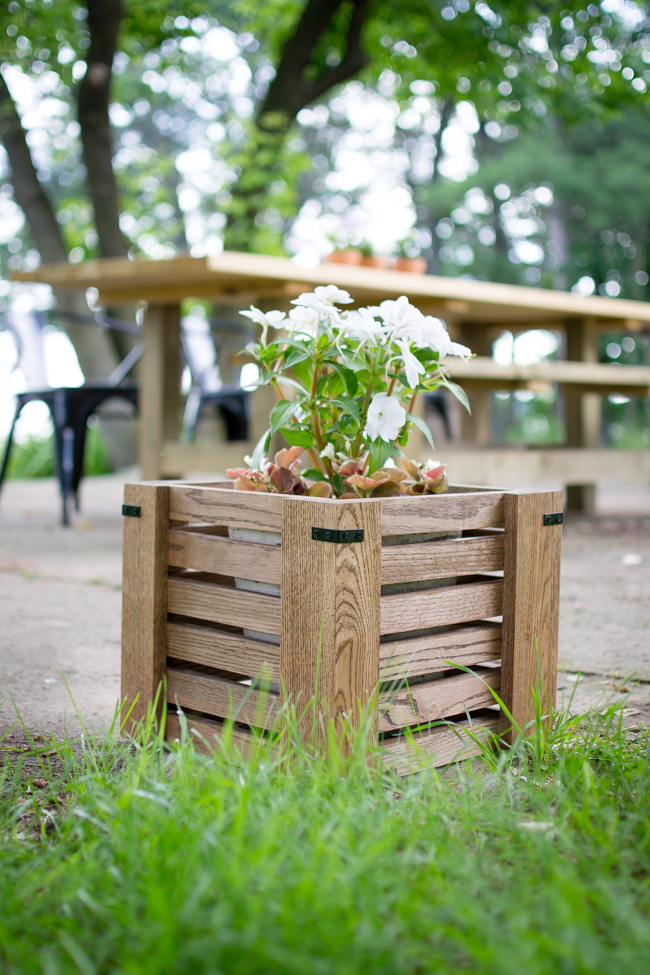
And that’s it, you’re all set!
All my best,


1 comment
It’s gorgeous Kelly! LOVE how quick and easy this was to put together!