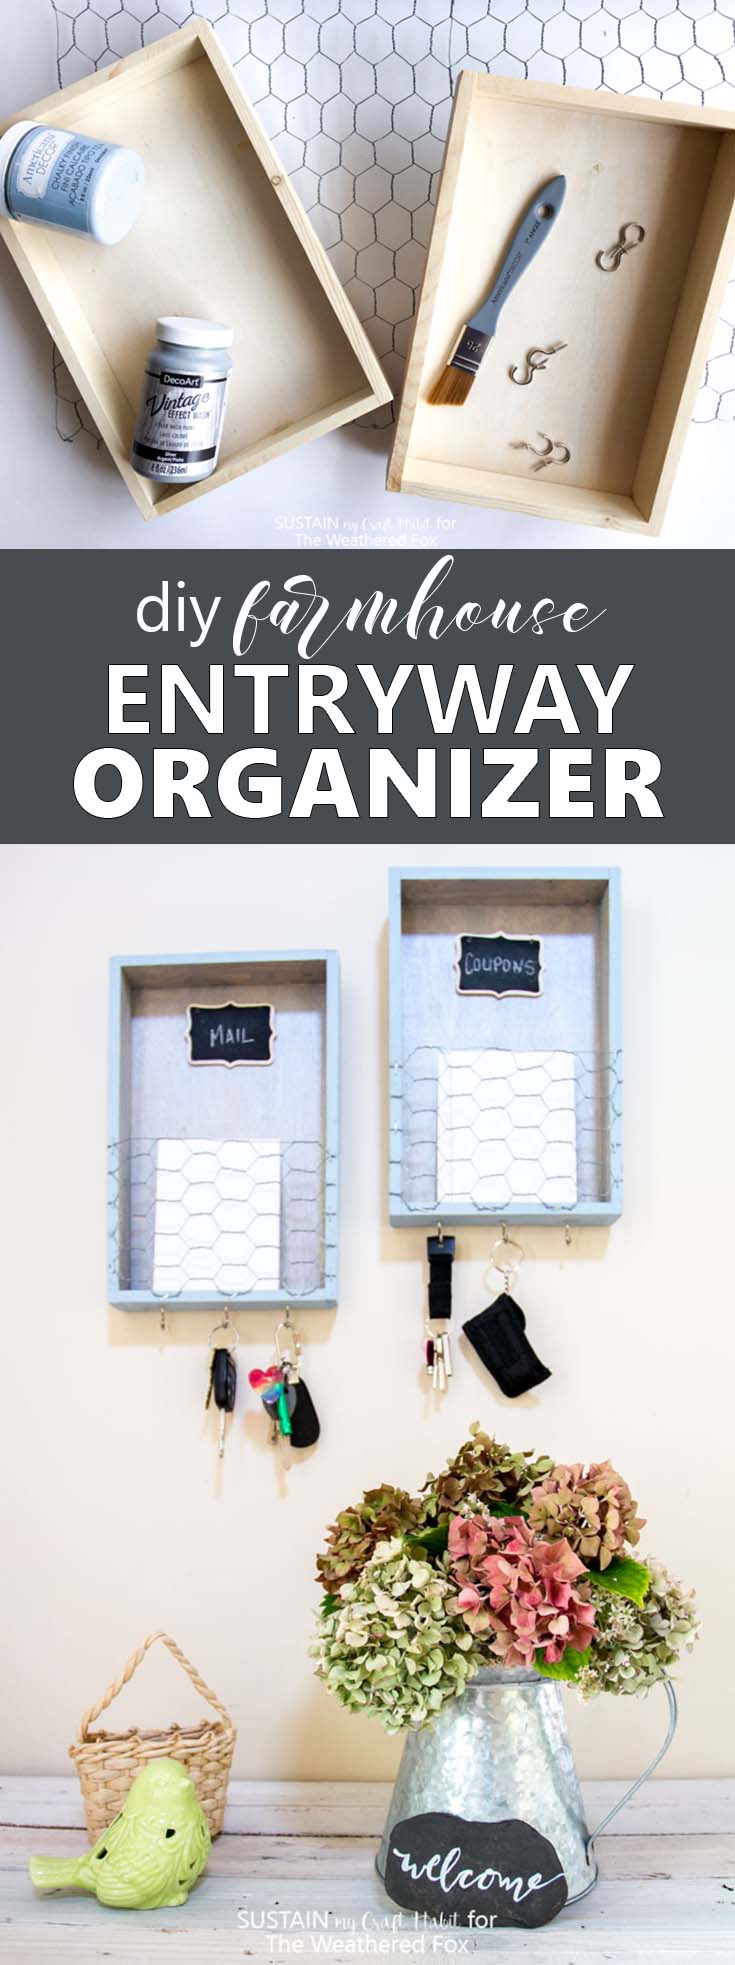
If your home is anything like mine and then your front area becomes the dumping ground for all the things that come into the house. Make this simple farmhouse style entryway organizer to hold your keys and the incoming and out-going mail.
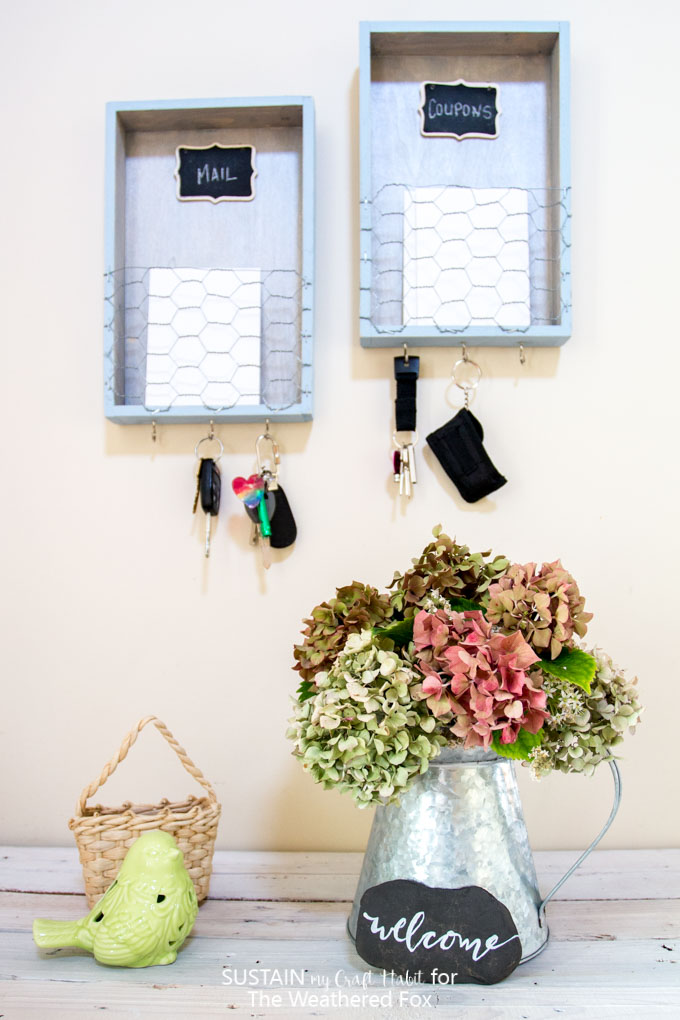
Hello! It’s Jane from Sustain My Craft Habit with a little storage DIY for your front entryway. In our home I have a small wicker storage dresser with multiple drawers by the front door. With four kids this dresser is super handy for organizing gloves and hats in the winter. Yet it doesn’t take long for the surface of it to get completely cluttered. On there we have a little catch-all tray to hold the keys, loose change and other bits and pieces that accumulate by the front door. Mail sometimes get scattered about and all the coupons and fliers we collect make the space look messy in no time!
I’ve been on the lookout for a little organizer unit to go by our front door for ages and never seem to find the right thing. So I thought I would try and DIY something to fit the bill. I basically needed something on which we could hang our keys, somewhere that we could put mail into, plus somewhere to keep all the coupons we collect. Hopefully we’ll then actually remember to take them with us to the store!
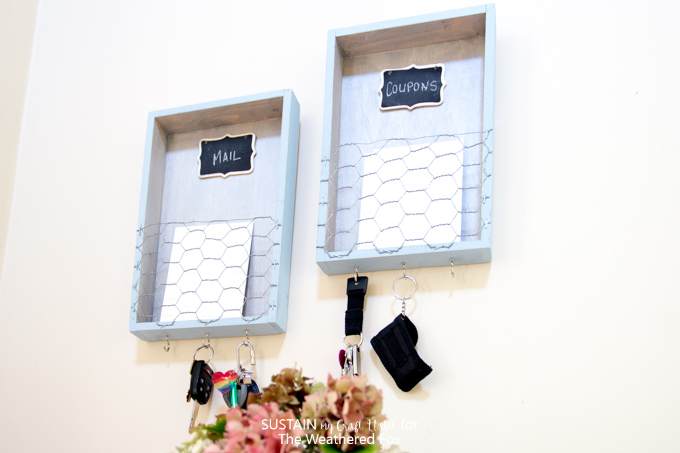
We have a few creative and inexpensive storage ideas over on Sustain My Craft Habit, such as decorative storage boxes made from tissue boxes and larger DIY storage boxes from cardboard. So here is how I made this cute farmhouse inspired front entryway organizer using wood shadow boxes from my local craft store, a little paint and some chicken wire.
Materials Needed to Make an Entryway Organizer
(This post contains affiliate links. This means I get commissions for purchases made through links in this post.)
- Two 8″x12″ wooden shadow boxes similar to these
- Paints in colors of your choice (we used DecoArt Vintage Effect Wash in Silver and Americana Decor Chalky Finish paint in Serene)
- Small paint brush
- Sandpaper (220 grit)
- Chicken wire
- Wire cutters
- Staple gun with staples
- Hammer
- Drill and small drill bit
- Six ⅞” cup hooks
- Sawtooth picture frame hangers
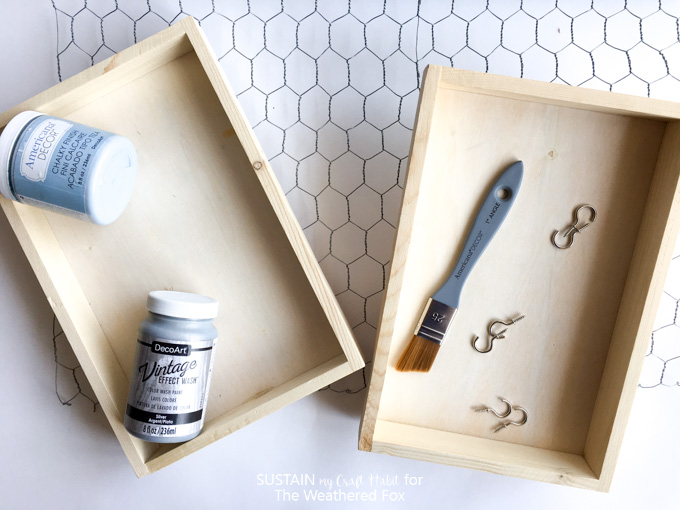
Instructions for a DIY Entryway Organizer
Starting with a clean surface paint the inside of the shadowbox using the Vintage Effect Wash.
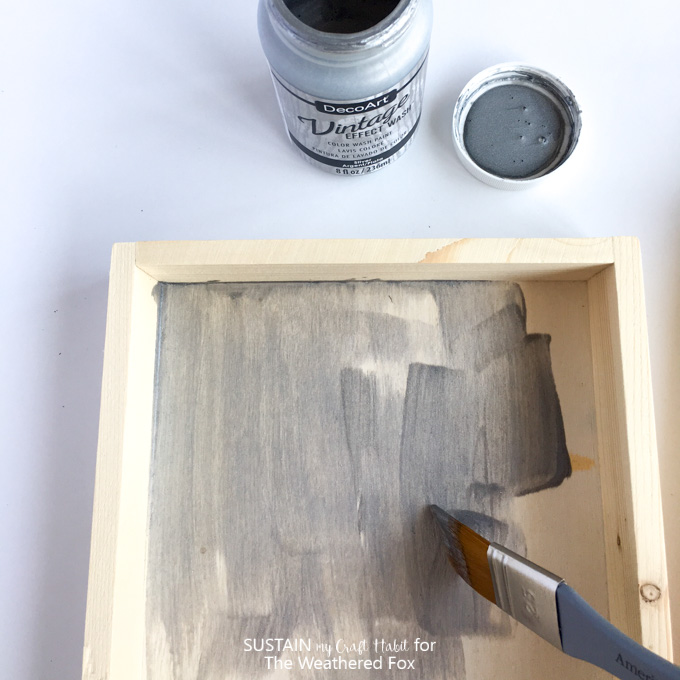
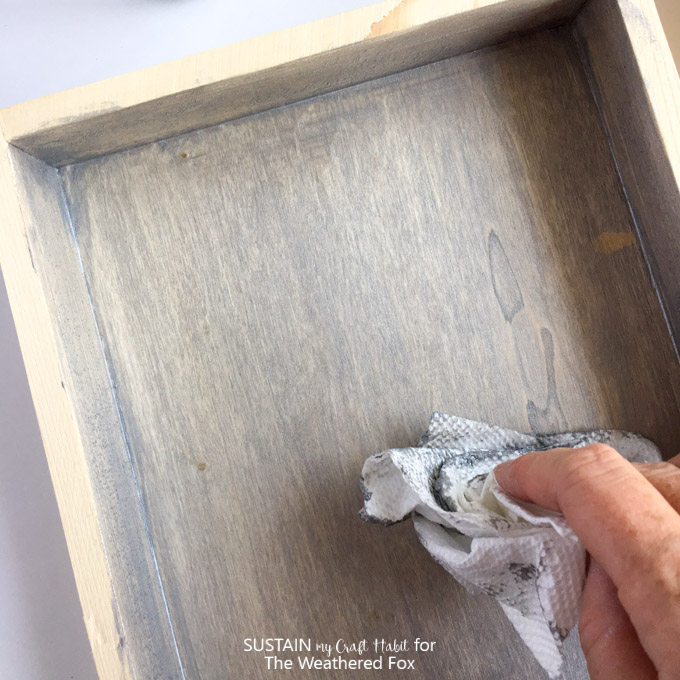
Apply a light coat and then wipe away any excess. This really helps to accentuate the grain of the wood. If desired, add a little more paint and then wipe away the excess. Let dry completely.
Next, paint the sides and outside rim of each box with Serene. Let dry completely.
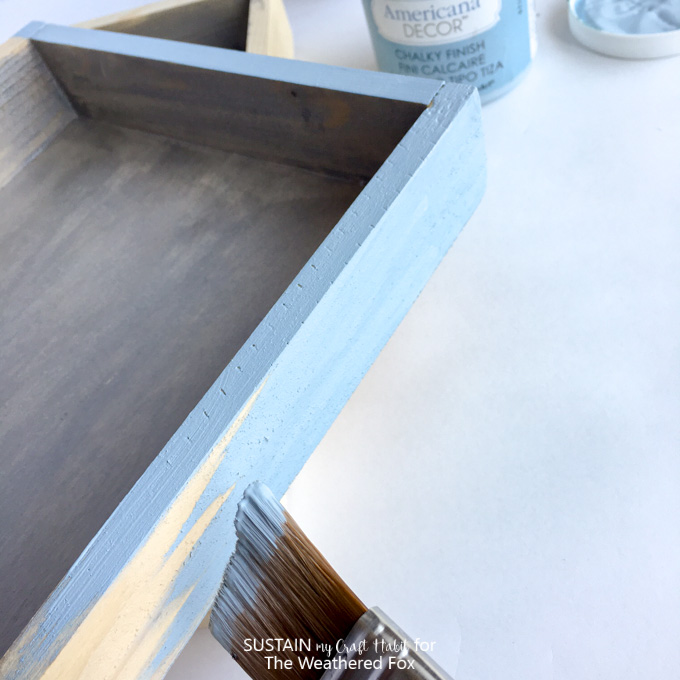
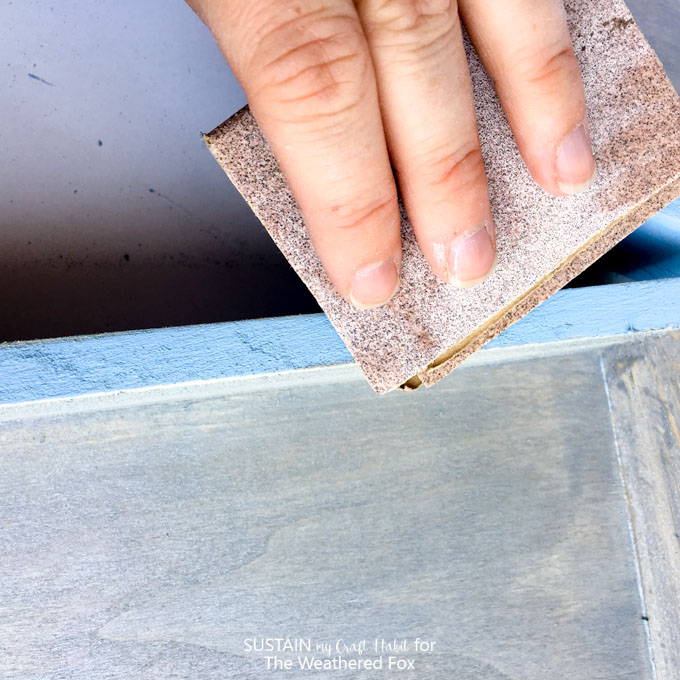
For a lightly distressed appearance sand the edges of the boxes.
Using wire cutters, snip the chicken wire to be just larger than the bottom half of the box. I used the outer edges of the chicken wire to be the top part of the net for a cleaner finish.
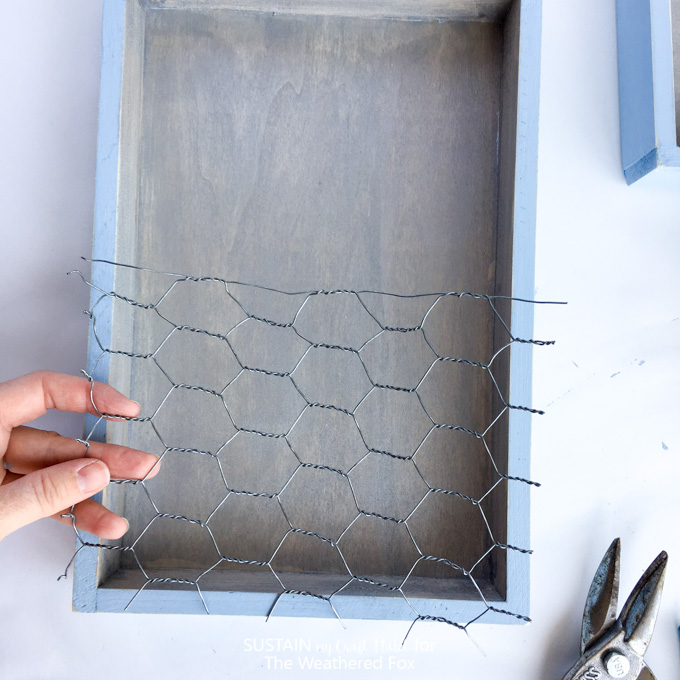
Wrap any loose wires to keep them out of the way.
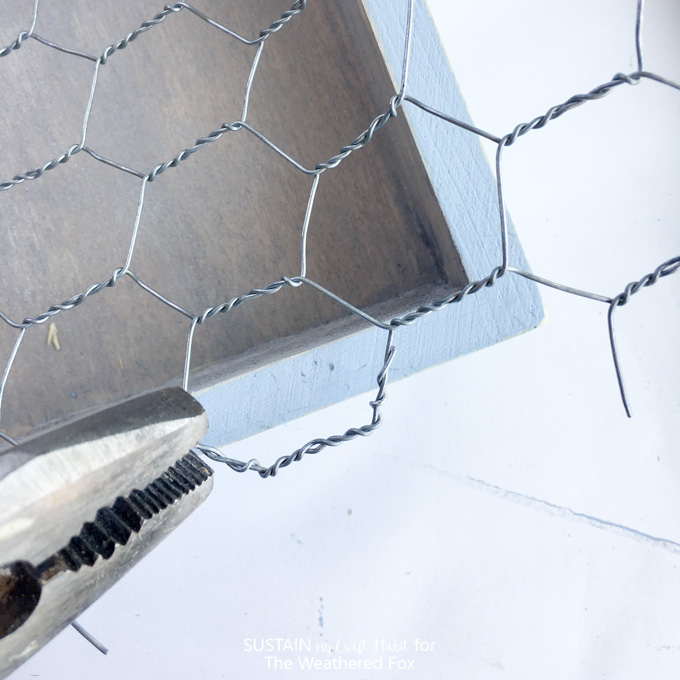
With a staple gun, affix the chicken wire around three sides to the bottom half of each box.
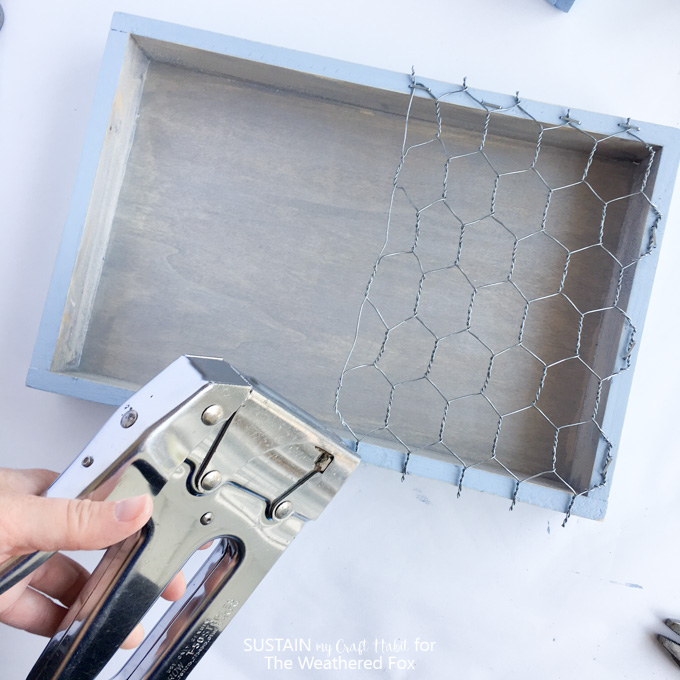
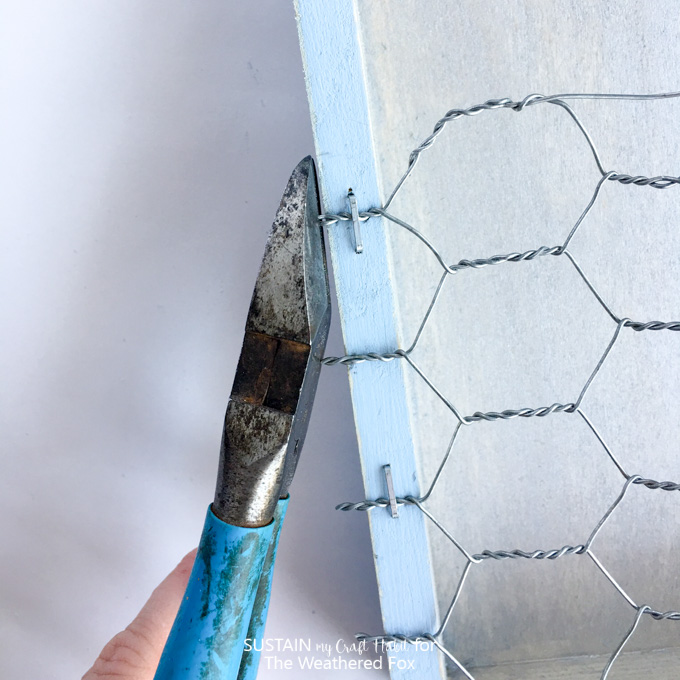
Then, snip off any wires extending beyond the sides of the boxes. If needed, hammer down the staples and any sharp wire edges.
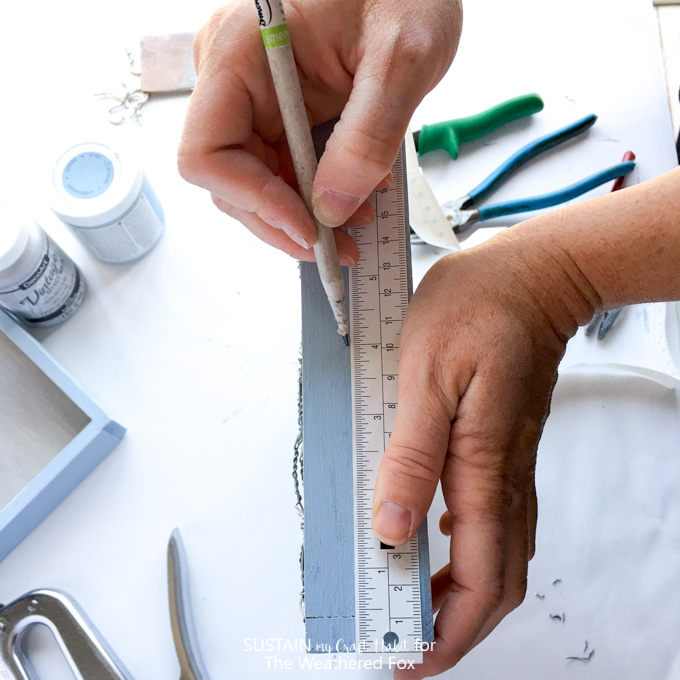
Measure and mark three spots on the bottom of each box for the hooks at even distances apart.
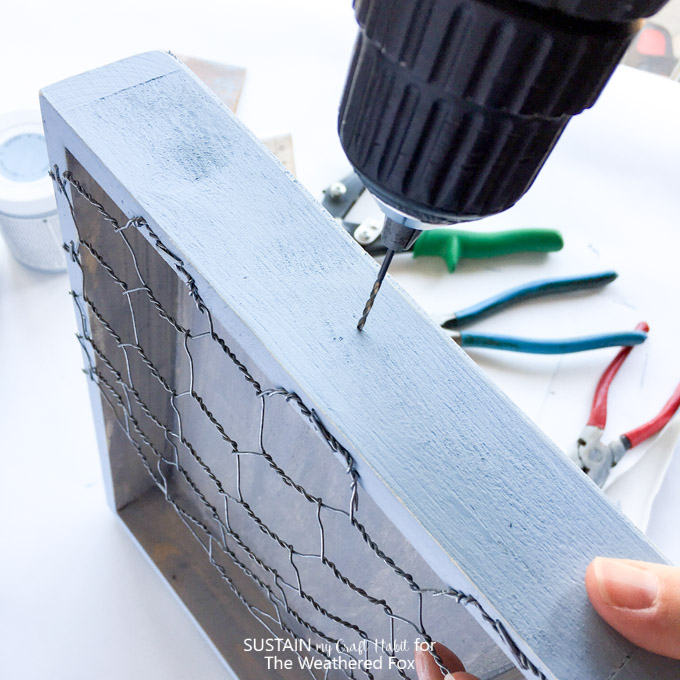
Using a small drill bit, drill pilot holes into the marks.
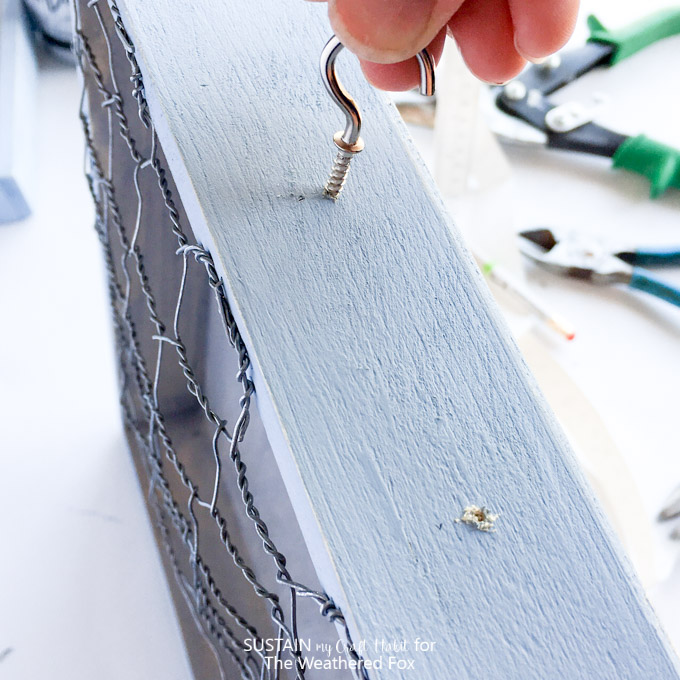
Screw the cup hooks into each hole.
Finally, attach hanging hardware to the back of each box.
You’re all done! Just hang and enjoy.
I also added small chalkboard signs to the top of each box on which I can change the labels as needed.
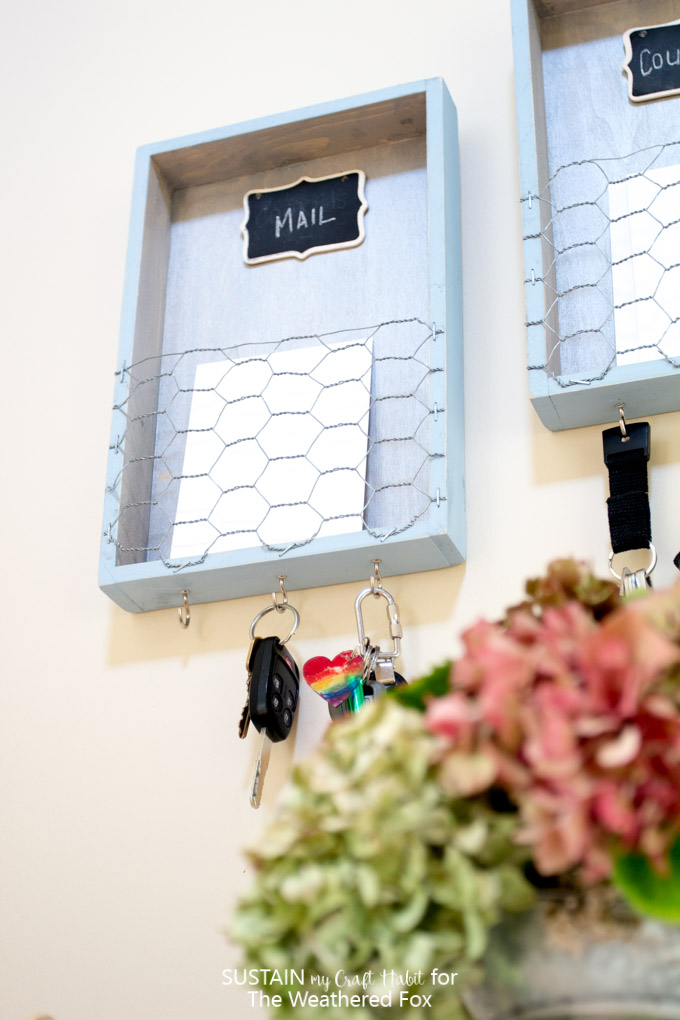
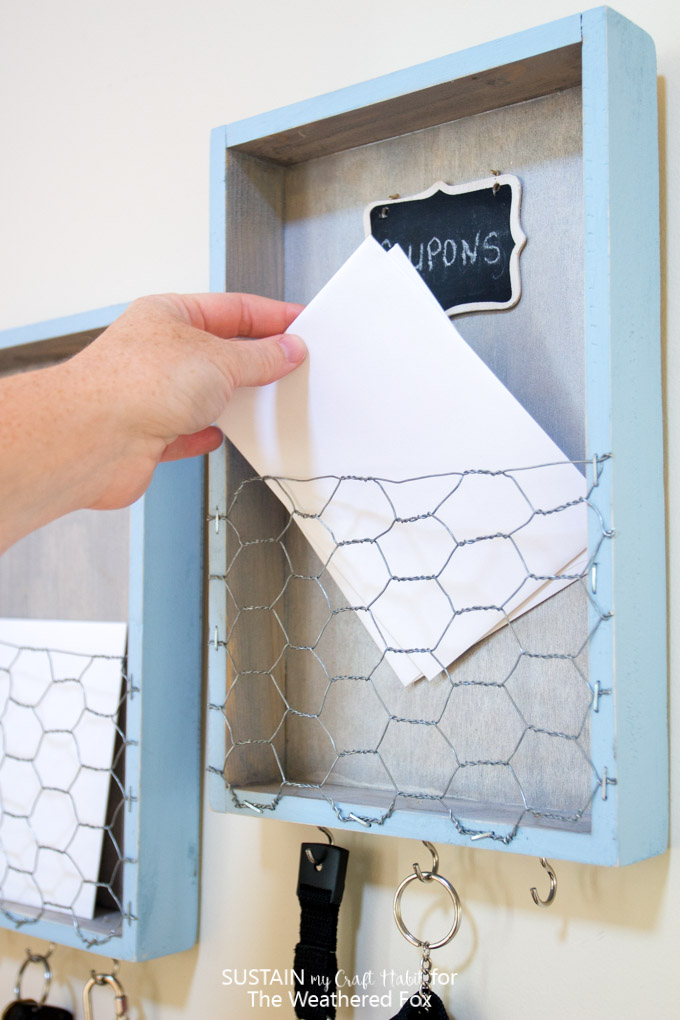
These little boxes are already so handy and have helped to make our front entryway more organized and tidy. You could make just one entryway organizer or more. We use one box to corral all the coupons that we plan to use, and the other for any mail that comes in. We may just make one more for outgoing mail as well! It’s also really handy to see the keys all in their spot from afar.
That’s it for now! We hope you enjoyed this DIY entryway organizer idea.


We invite you to stop by Sustain My Craft Habit for more nature-inspired DIY, craft and home decor ideas such as this rustic DIY shelf we built for our family cottage.
