DIY Dog Crate Cover
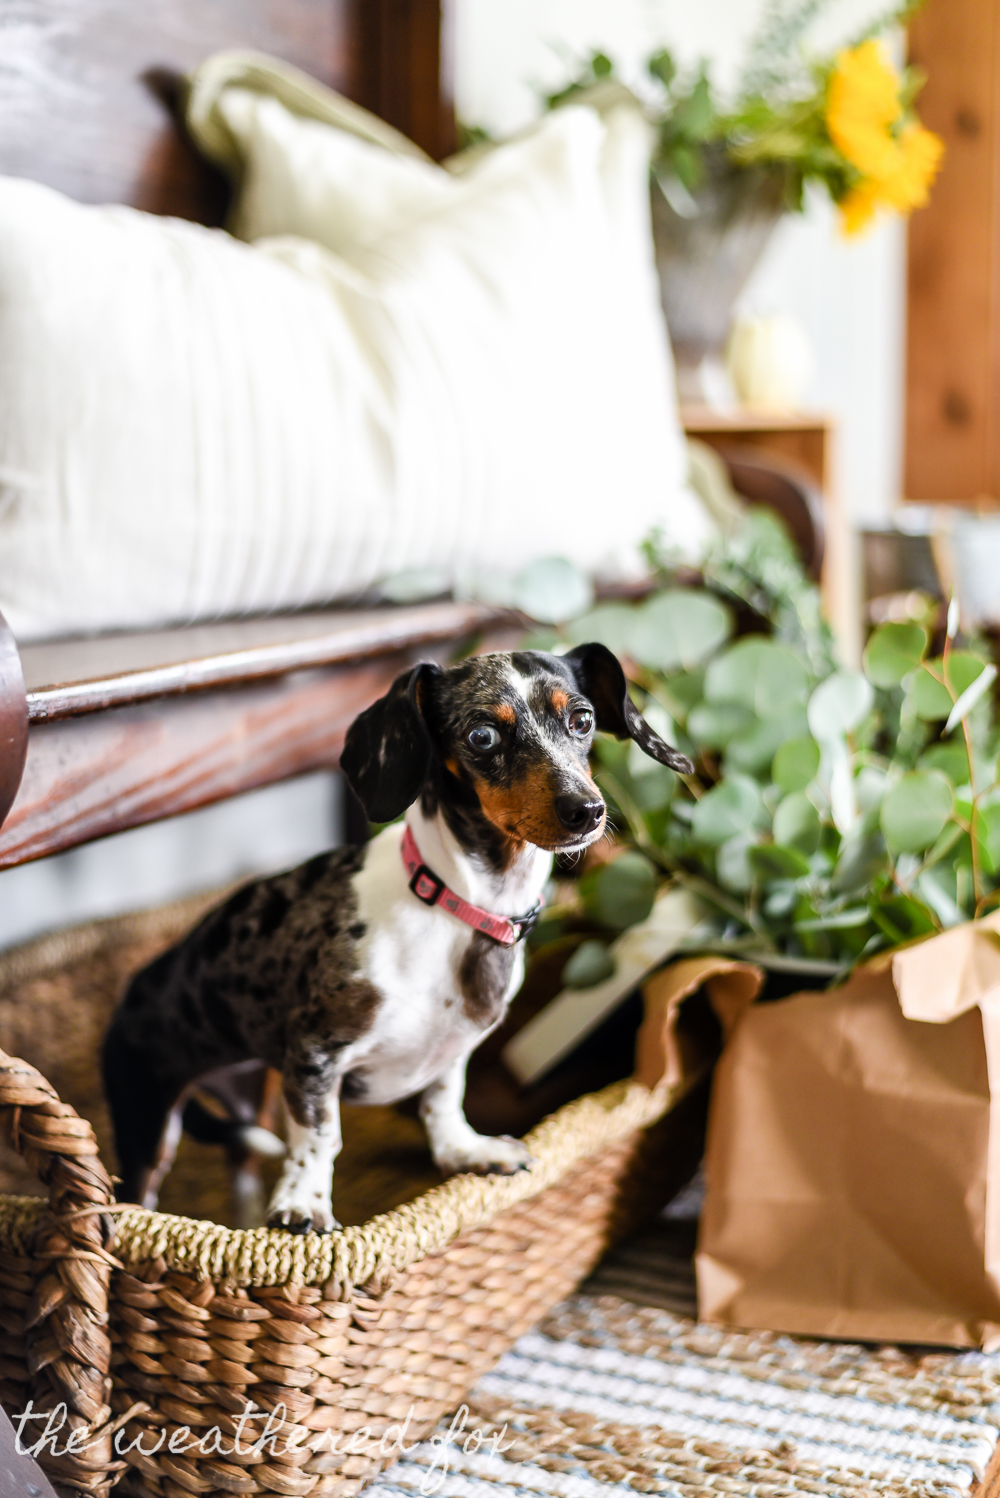
If you’ve been keeping up with my home life, you already know the dog that runs (and often steals) the show, Lucinda. Her sweet little face literally stops traffic any time we go out. She’s an absolute joy, and I think our entire family secretly likes her more than us. But since we’ve moved to a smaller house, we really didn’t have a spot for her crate that was out of sight. So I decided to make her little crate less conspicuous with a DIY dog crate cover that fits my farmhouse style.
—-> HEY, YOU! I use affiliate links in my blog posts to supplement my income. How does that work? Well, in this case I share a super cool idea with you and sometimes link to products that I’ve used. You click on the link and buy something from that site. I get paid a commission for sending them your way, which in turn funds my blog so that I can continue sharing super cool ideas with you. The good news is that there is no extra cost to you! So you’re supporting me by shopping! How fun. Thanks a lot! <—-
I really want a bigger dog crate for Lucinda, but to be honest I don’t even know where it would go in this house. And since her two episodes of herniated disks, coupled with her separation anxiety, the option of no crate is just not possible.
She would either injure herself jumping on furniture or running up the stairs, or she would destroy our house from the stress of being alone. She still has some anxiety in her crate, but now I actually think she does better in a crate than she does just being alone in the house. It used to be the opposite effect.
We used to allow her to be alone in the house without a crate because her crate anxiety was so bad that she was in severe distress any time she was in there. I think having to spend months at a time strictly confined to her crate as part of her recovery from her injuries has actually helped her calm down a bit while she’s crated.
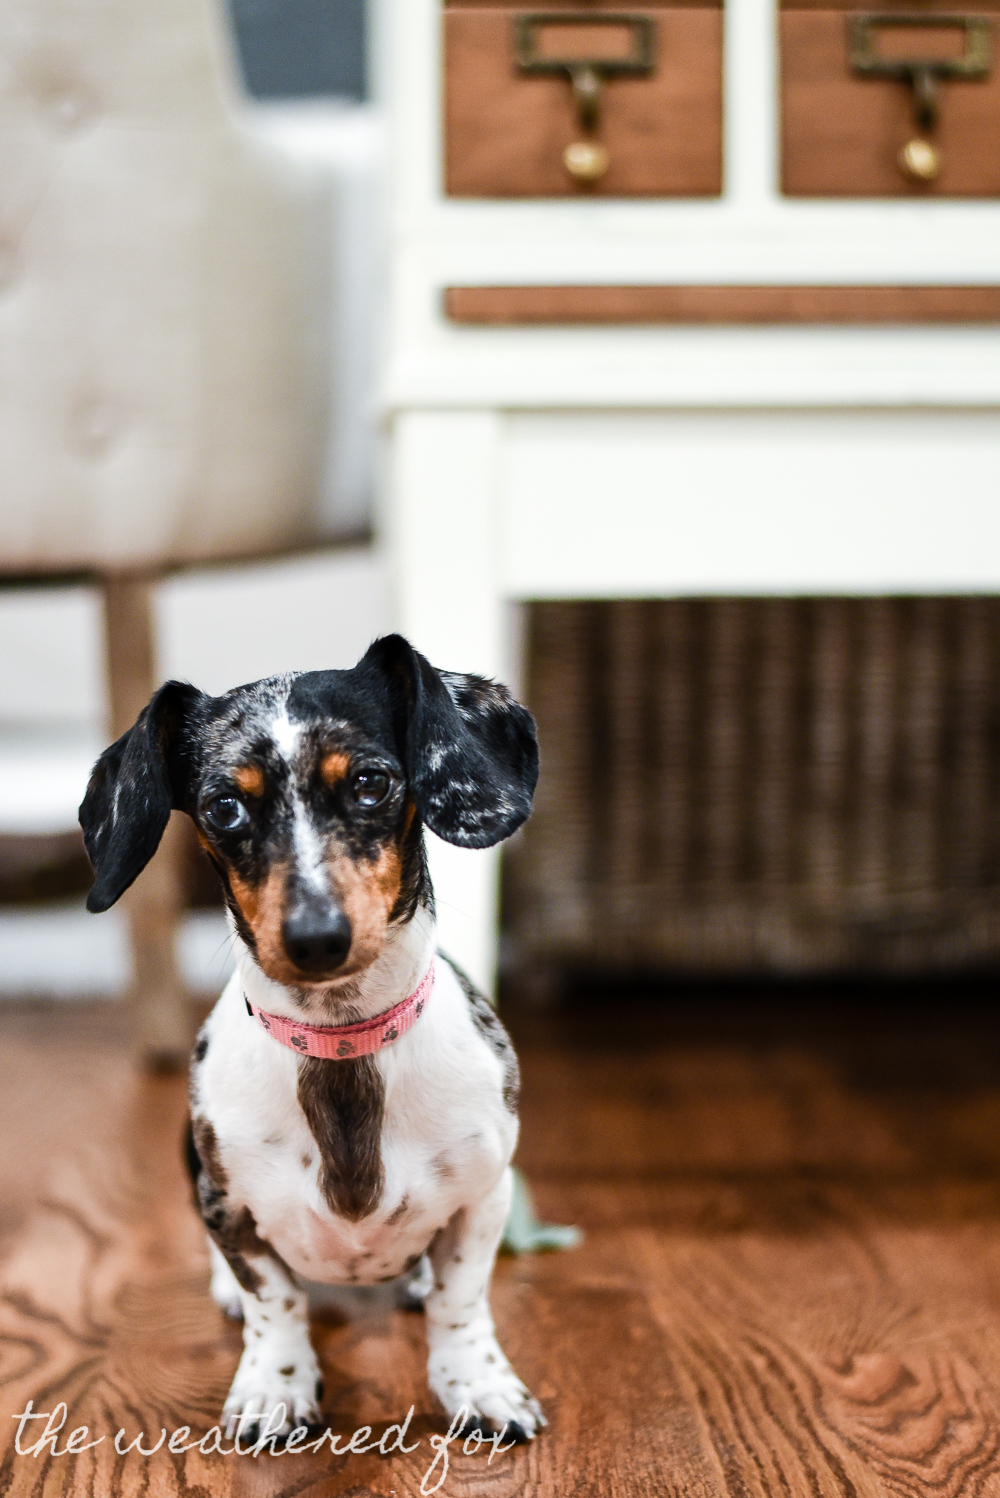
My ultimate goal would be to be able to gate off one part of the main floor and let her be there while we’re gone. But at the moment it’s just not possible. And with her Houdini-like escapes she’s made when we’ve attempted that before, we really don’t want to take any chances. So, alas, we are stuck with the crate being our only option for now.
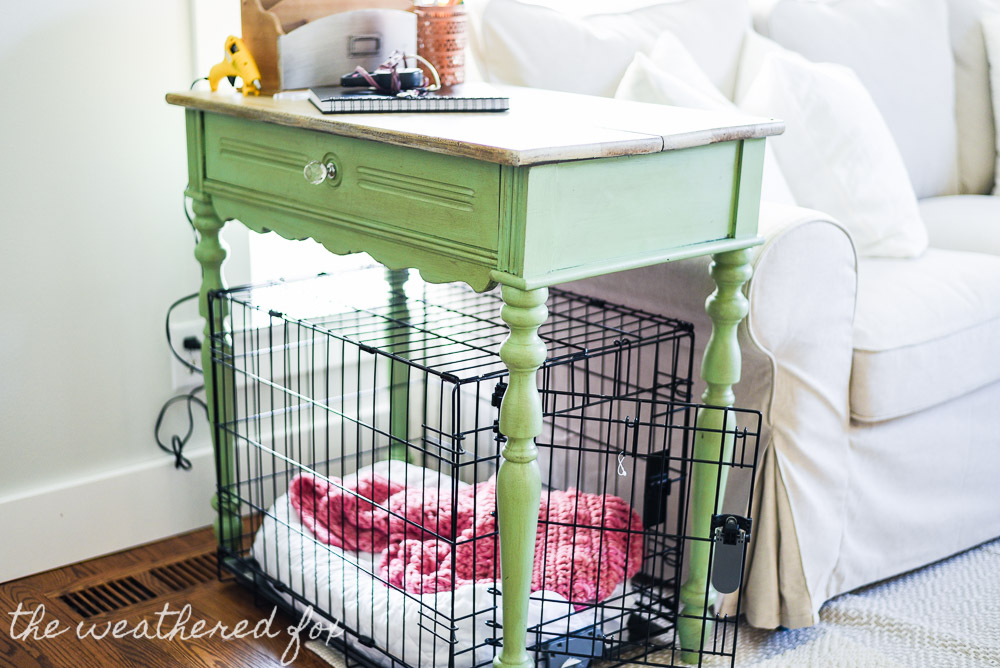
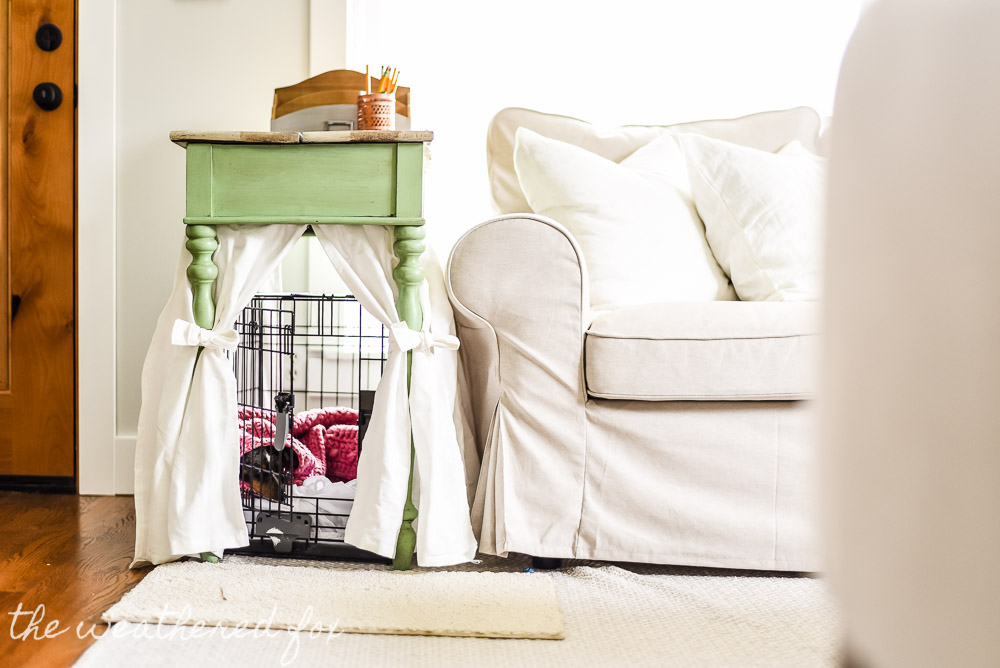
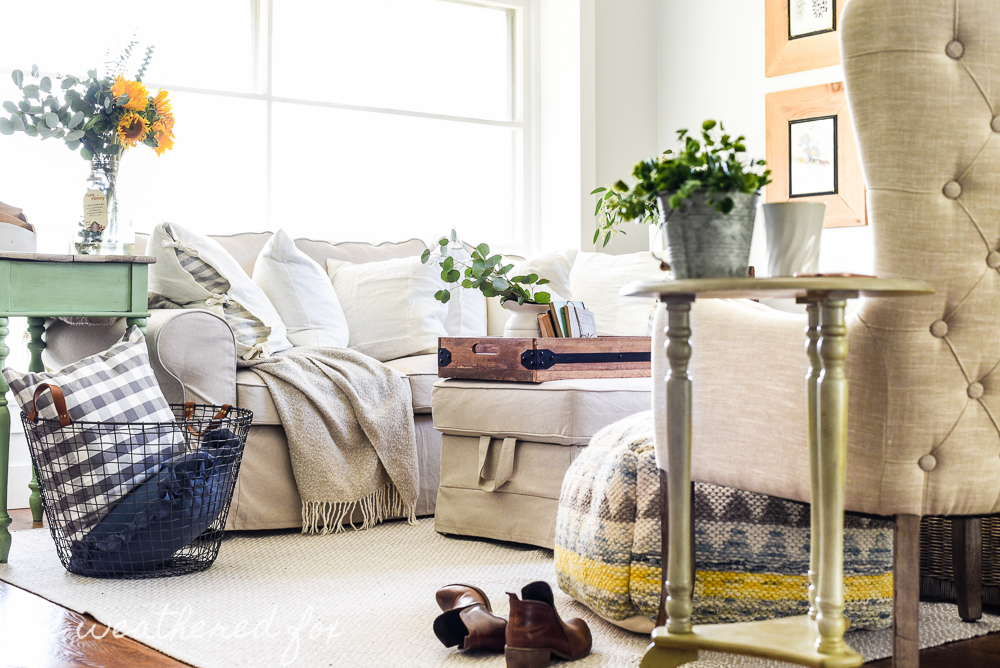
Amazingly, her crate actually fits under the desk that we use as an end table in our living room. So that table serves four functions: end table, crate shelter?, mail/stationary organization, and my work desk. I actually move this desk to the couch or one of the chairs while I’m working. I’m typing at it right now!
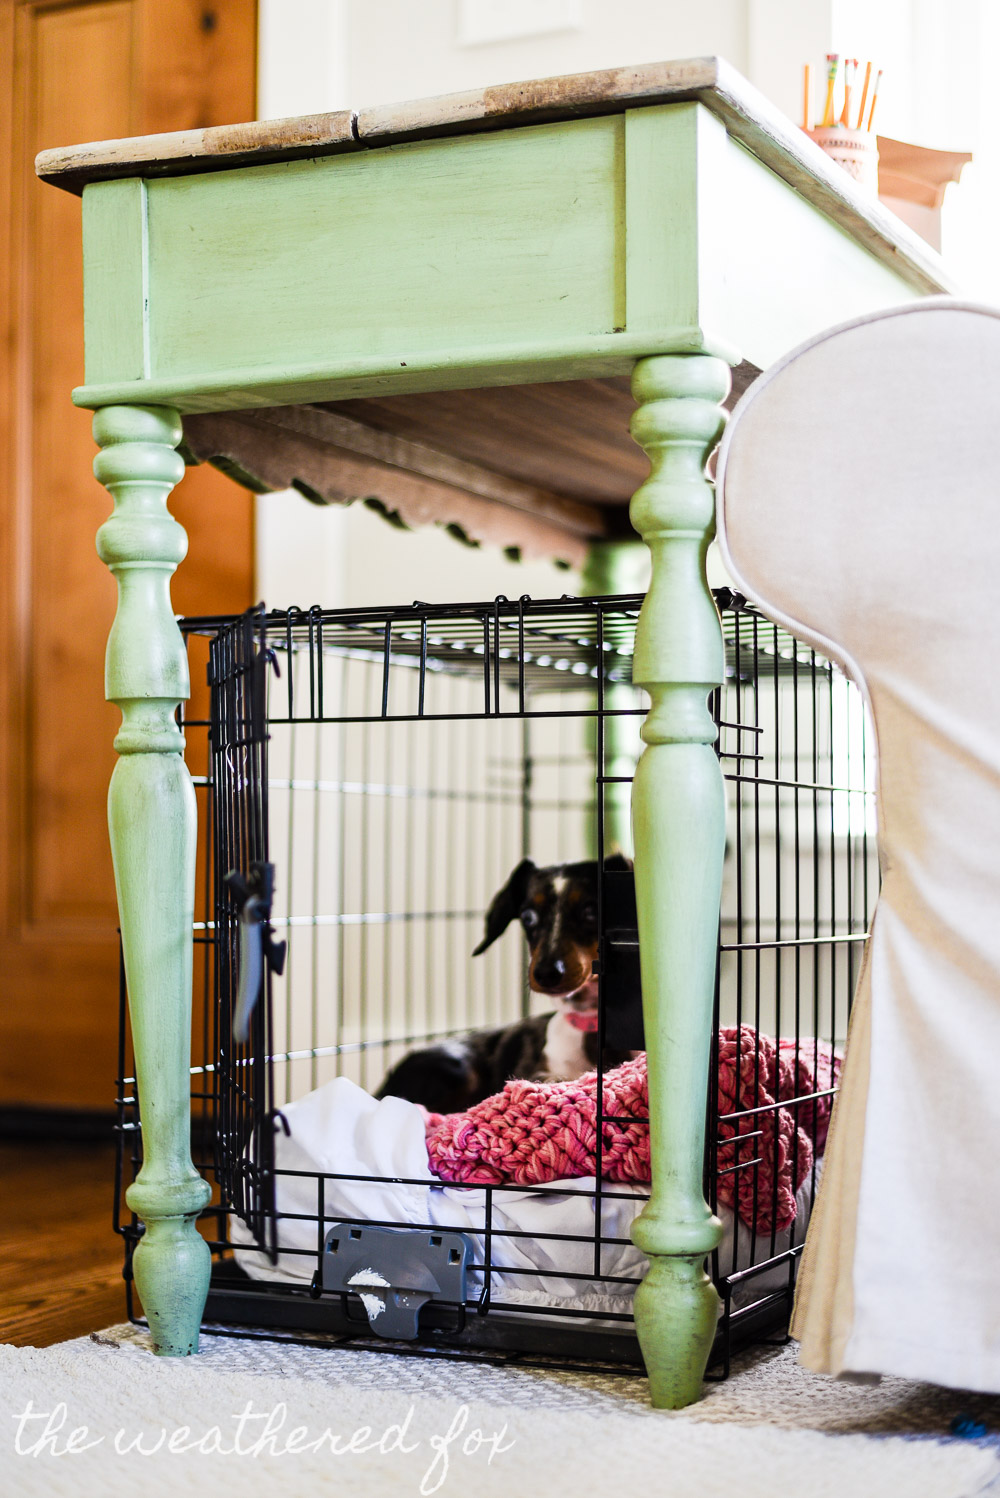
I love that I can just tuck her crate right under the desk when it’s not in use and the crate almost disappears. But I wanted to disguise it a bit more, and kind of blend the crate more into the style of the room. So I began to think about a diy dog crate cover.
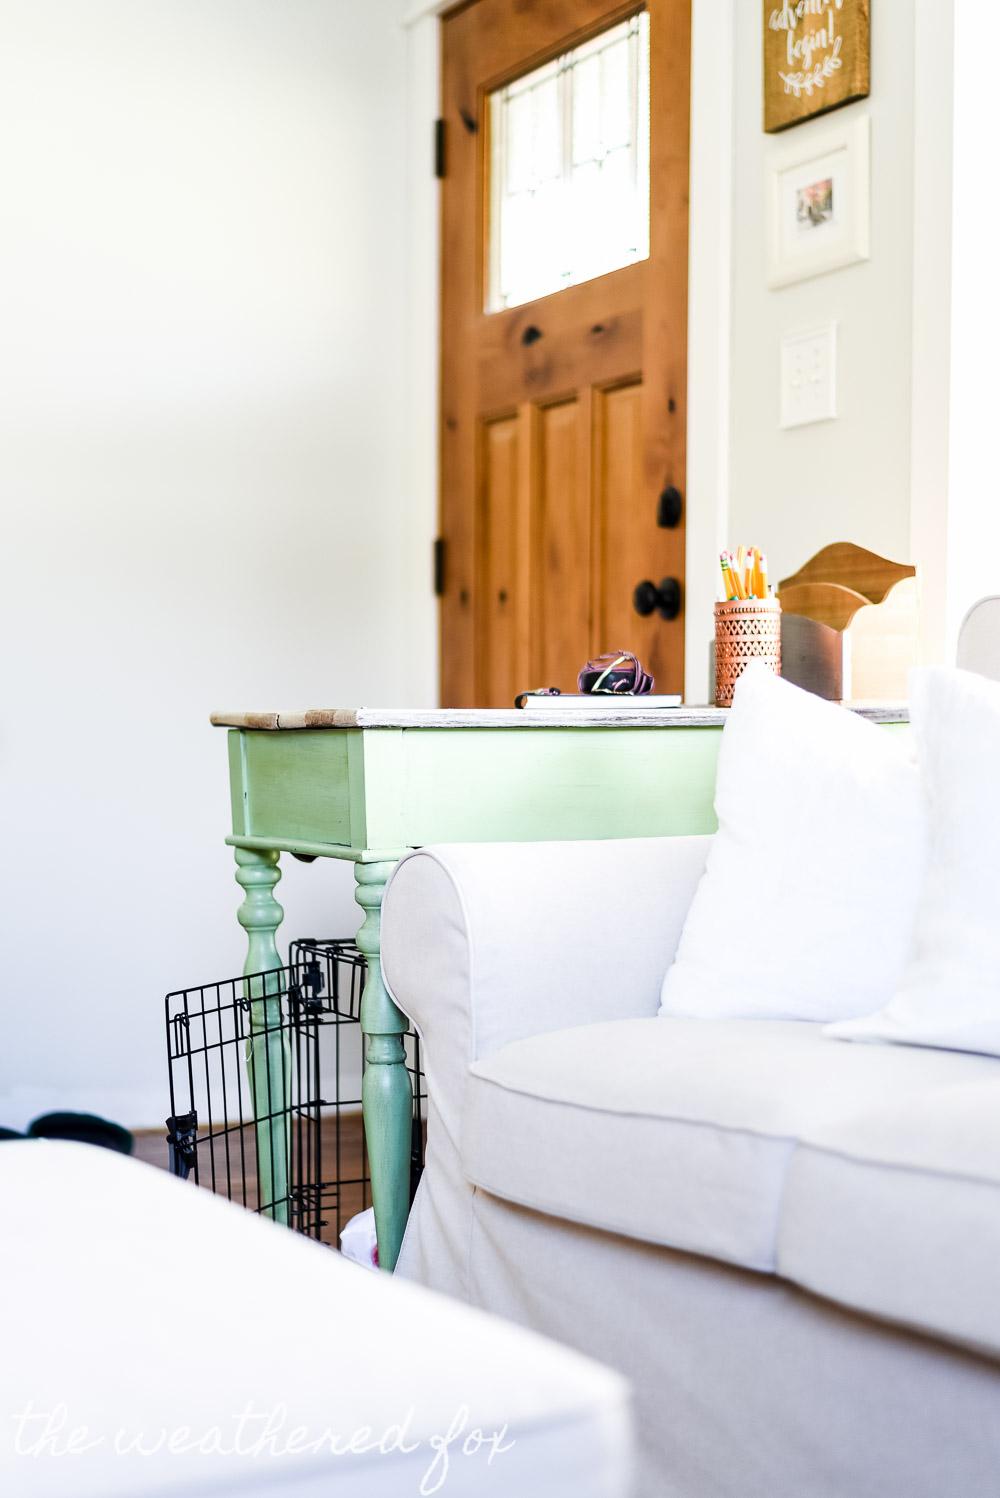
I was considering buying a crate cover for her dog crate actually, but two things stopped me. One is that Lucinda always tends to pull in fabric that is near her crate if she can reach it. It’s part of the anxiety thing. And two, I didn’t want to spend money on something I thought I could easily make with items laying around the house!
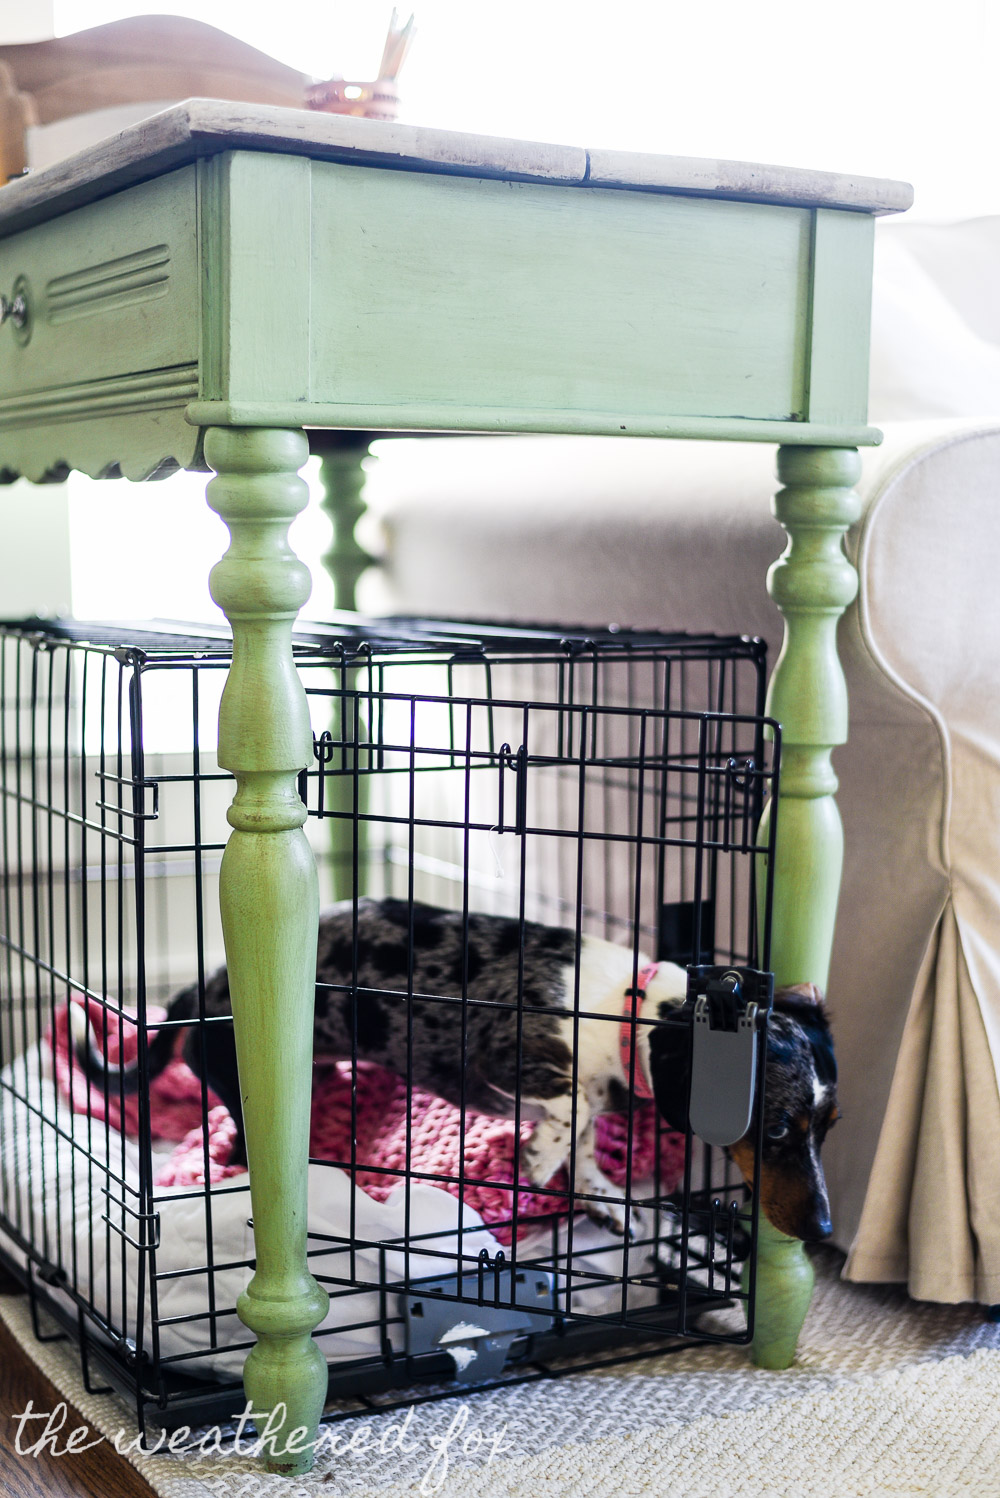
And I did actually have all the items laying around the house. I used extra fabric from the super long Ikea curtains that are in our master bedroom, the ties that came with the curtains, and a hot glue gun. That’s it. Absolutely free for me, and it only took about 10 minutes and two burn blisters. 🙂
(This post contains affiliate links. This means I get commissions for purchases made through links in this post.)
DIY Dog Crate Cover
Here are the materials you will need in order to complete this diy dog crate cover yourself:
Your choice of fabric (I used these curtains)
Dog Crate (obviously)
Some furniture your crate can fit under.
Short list, right?
All I did the make this farmhouse style dog crate covers was cut the extra fabric from my ikea curtains. I was able to cut about two feet of fabric from each curtain since our ceilings are pretty average in this house.
On the long ends of the desk, I started on one end and hot glued a little bit to the underside of the desk then pushed the fabric in. I would scrunch the fabric a little to give it a pleated skirt look and glue a little more. I did this to both long sides of the desk. The trick is to used the factory finished edges to get a clean look, and glue to cut ends at the top, out of sight!
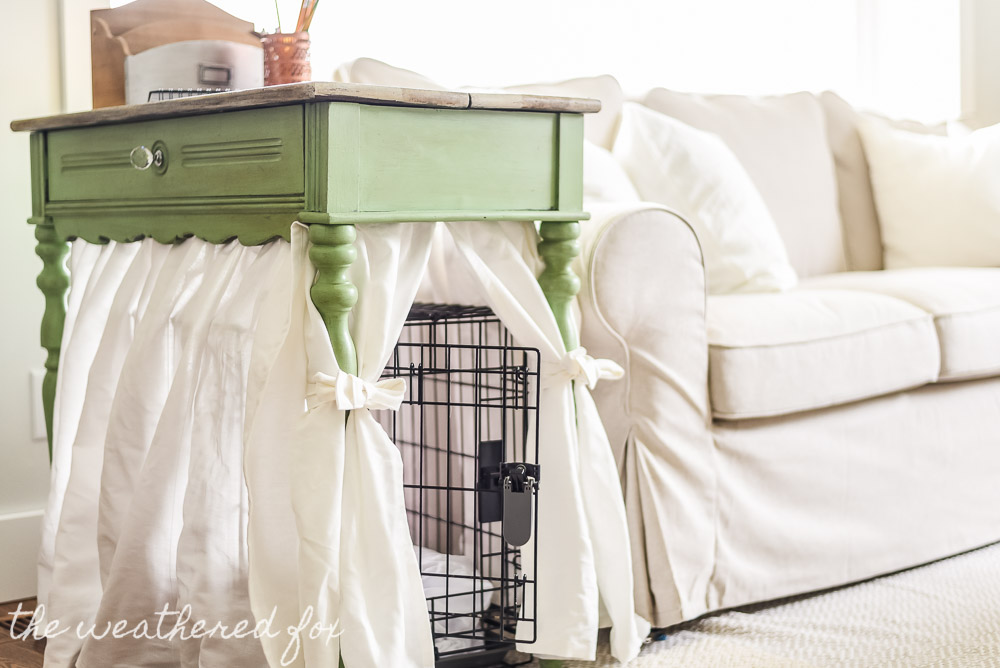
For the front, I cut a piece of fabric in half, and used the finished edge ends in the center and did the same pinch and glue through to the ends.
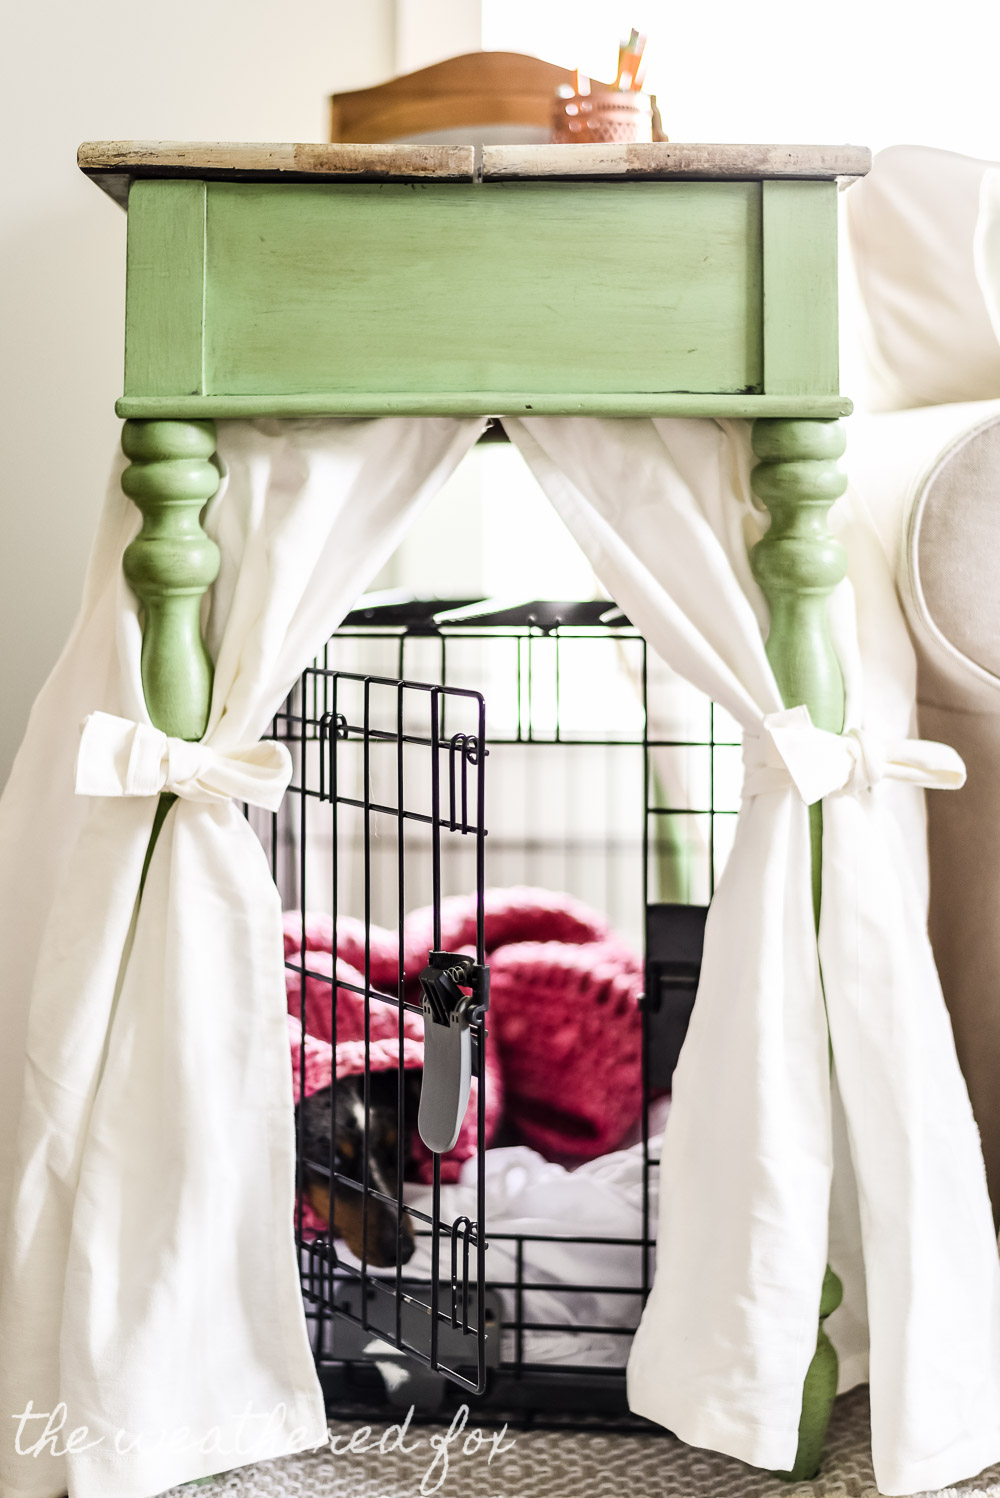
Then I just tied the front two curtains around the legs of the desk with the curtains ties that came with the curtains.
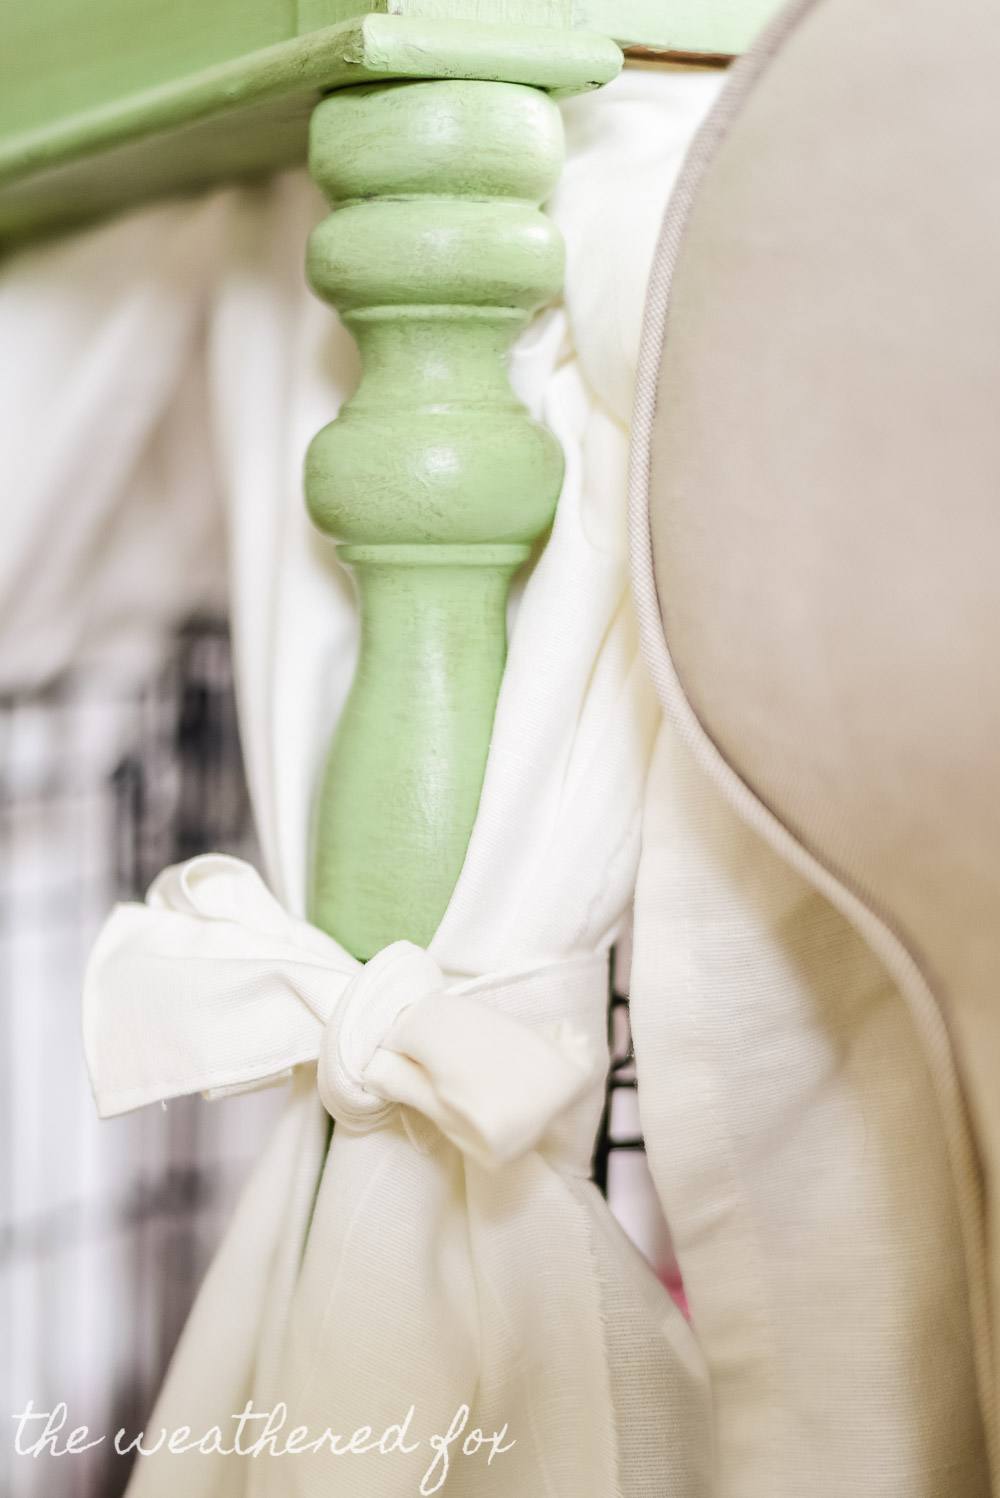
That’s it! 10 minutes and I have a cute little canopy look for my little princess dog. I’ve already gotten compliments from guests! They can’t believe it’s just curtains and glue!

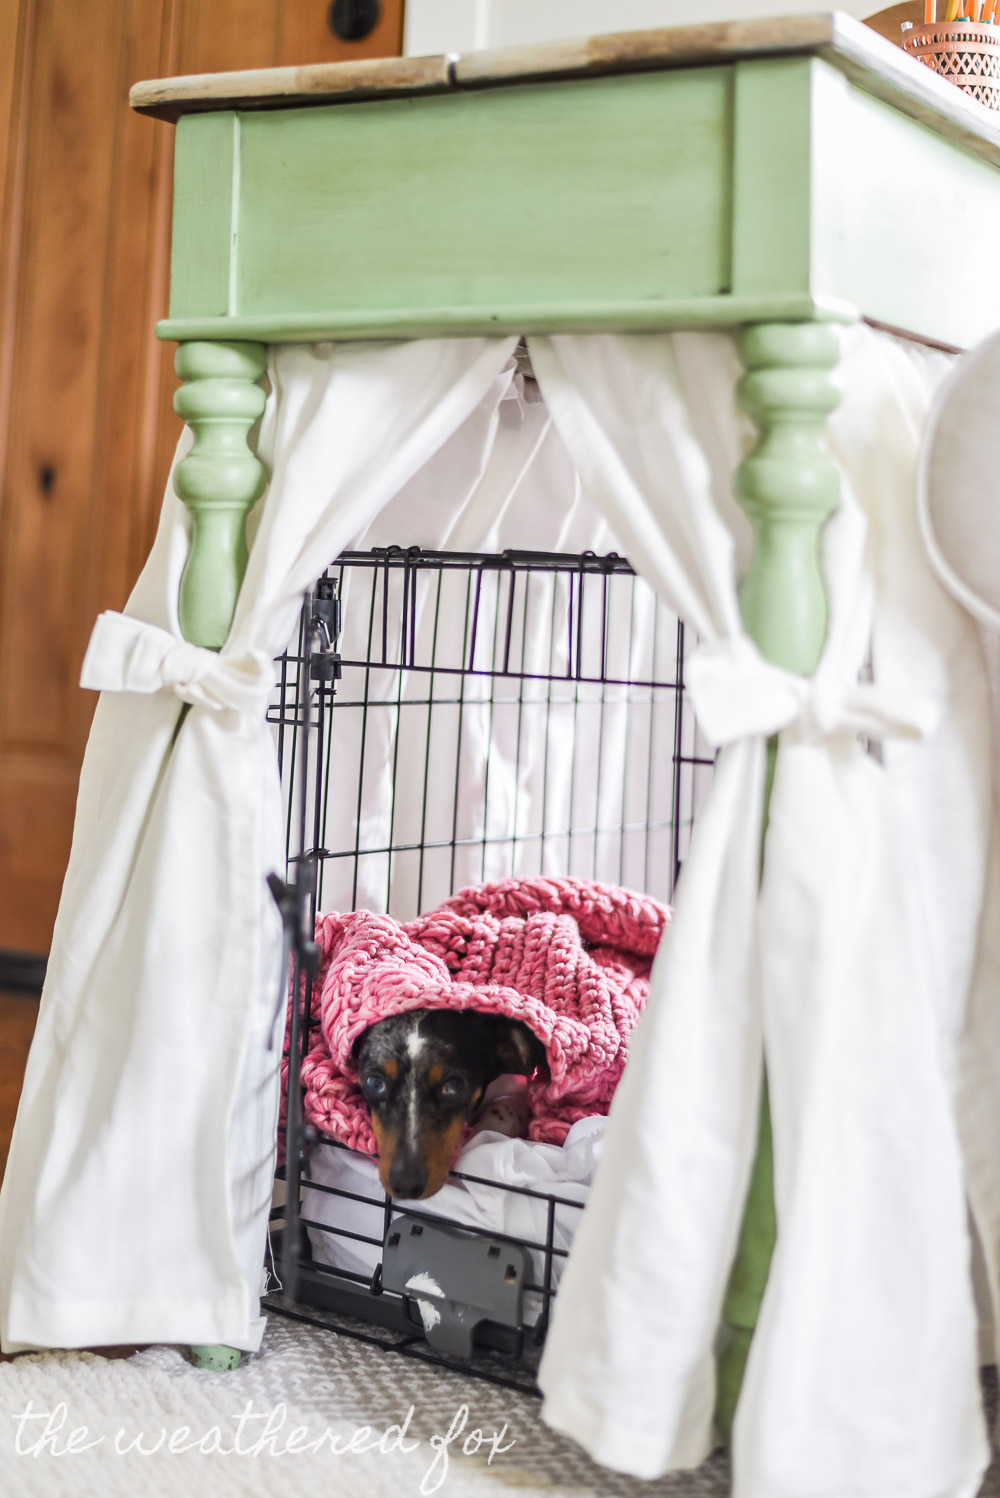
For such an easy project, it really does make a big difference in this little living room.

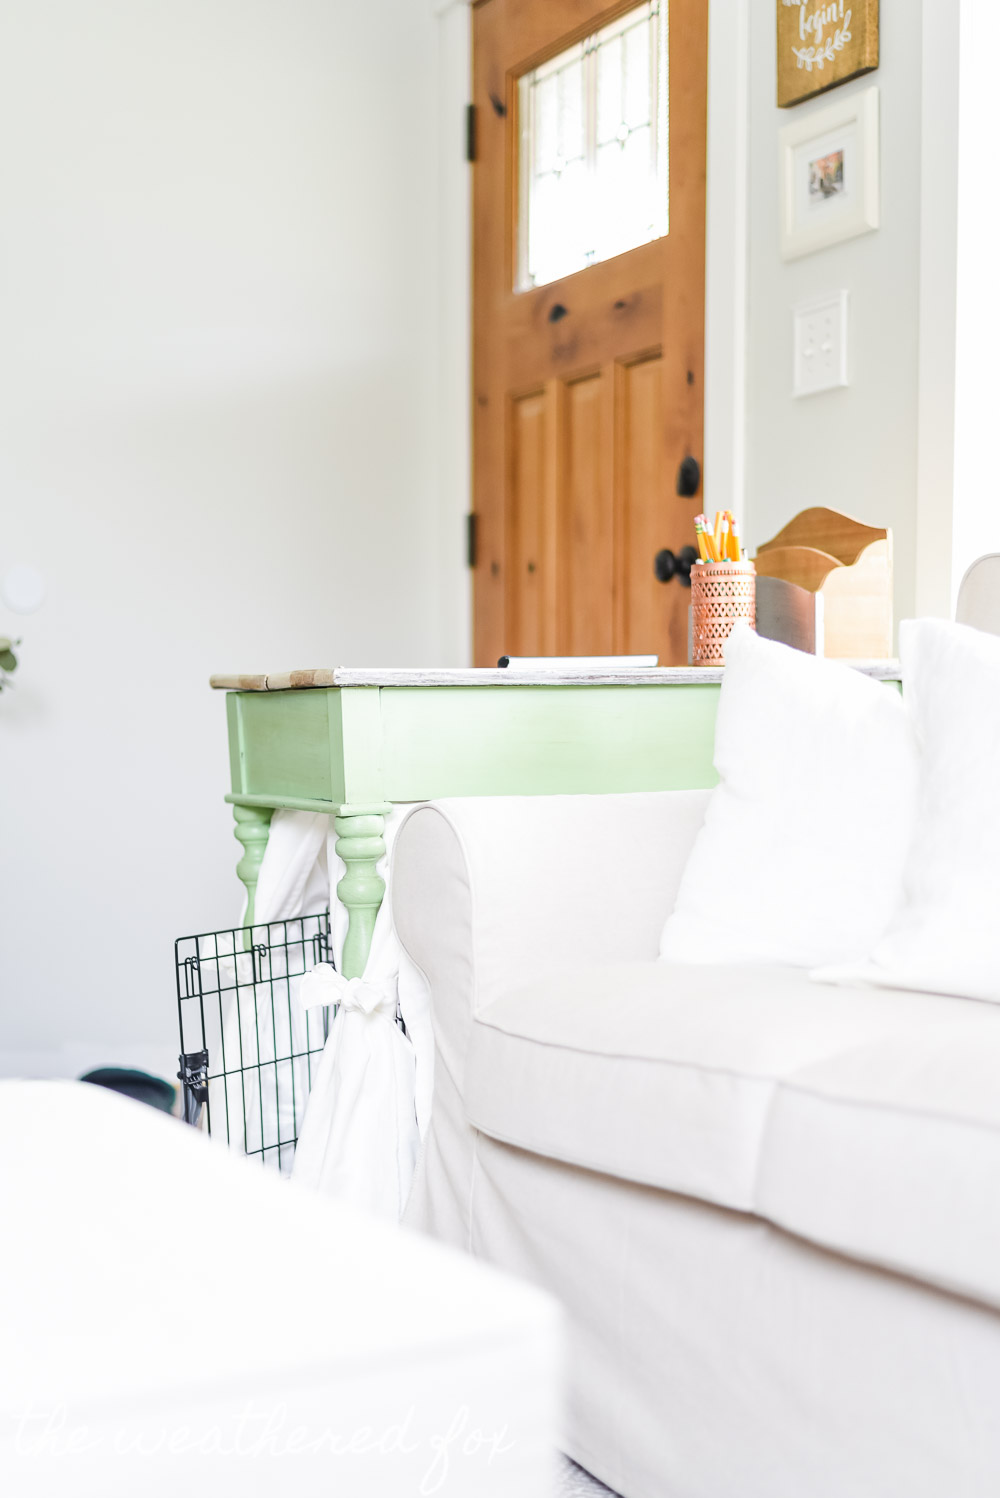
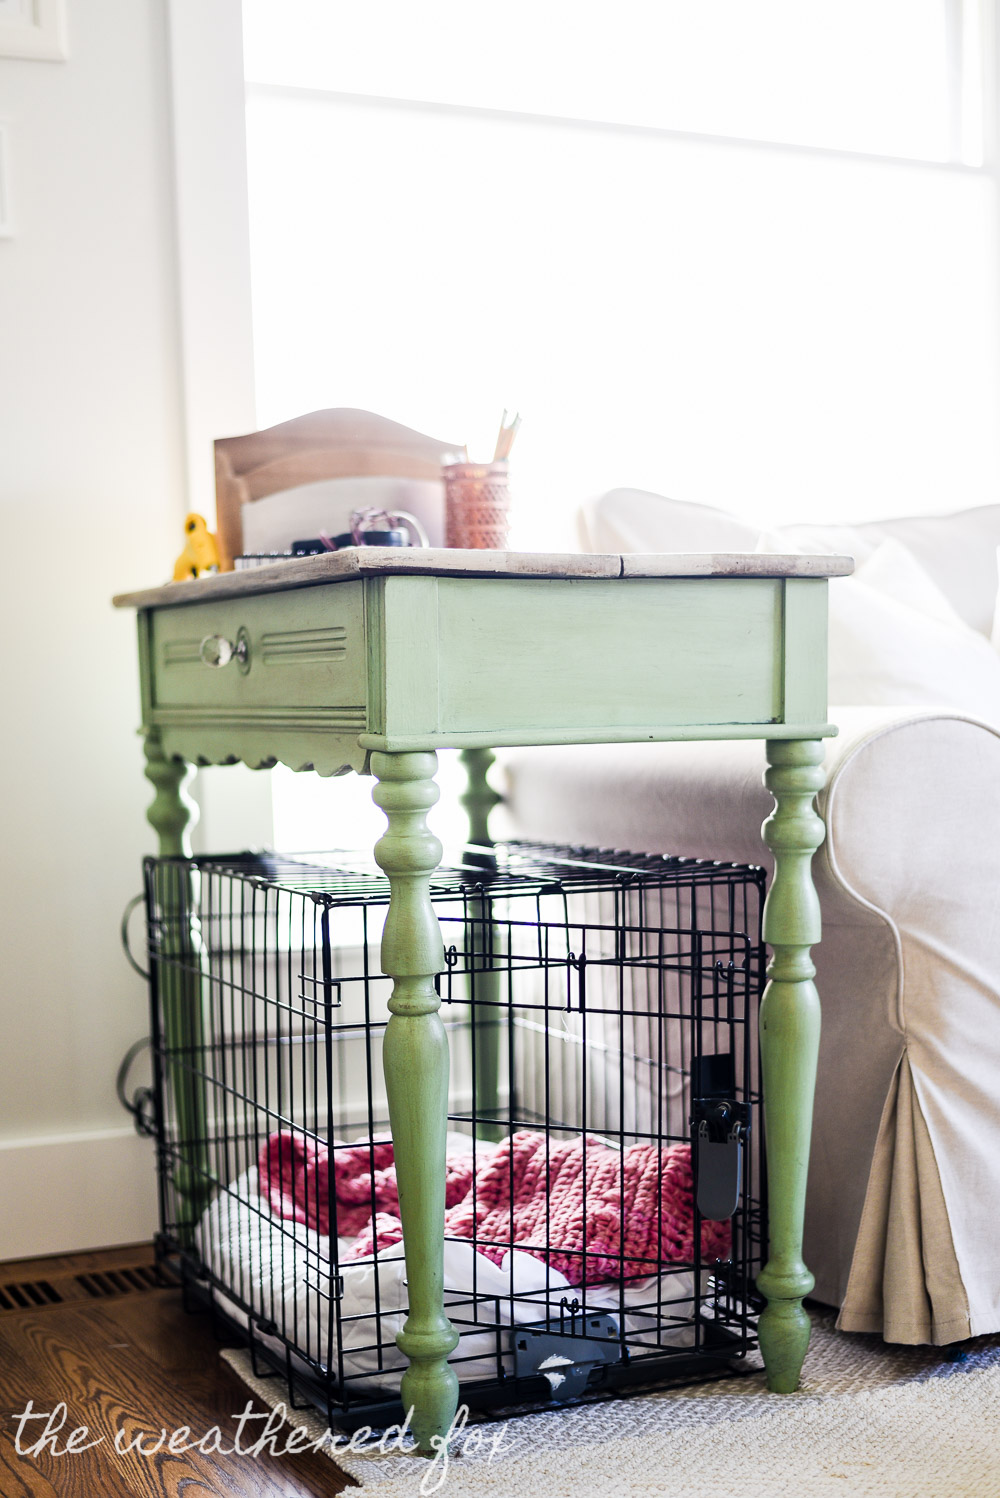
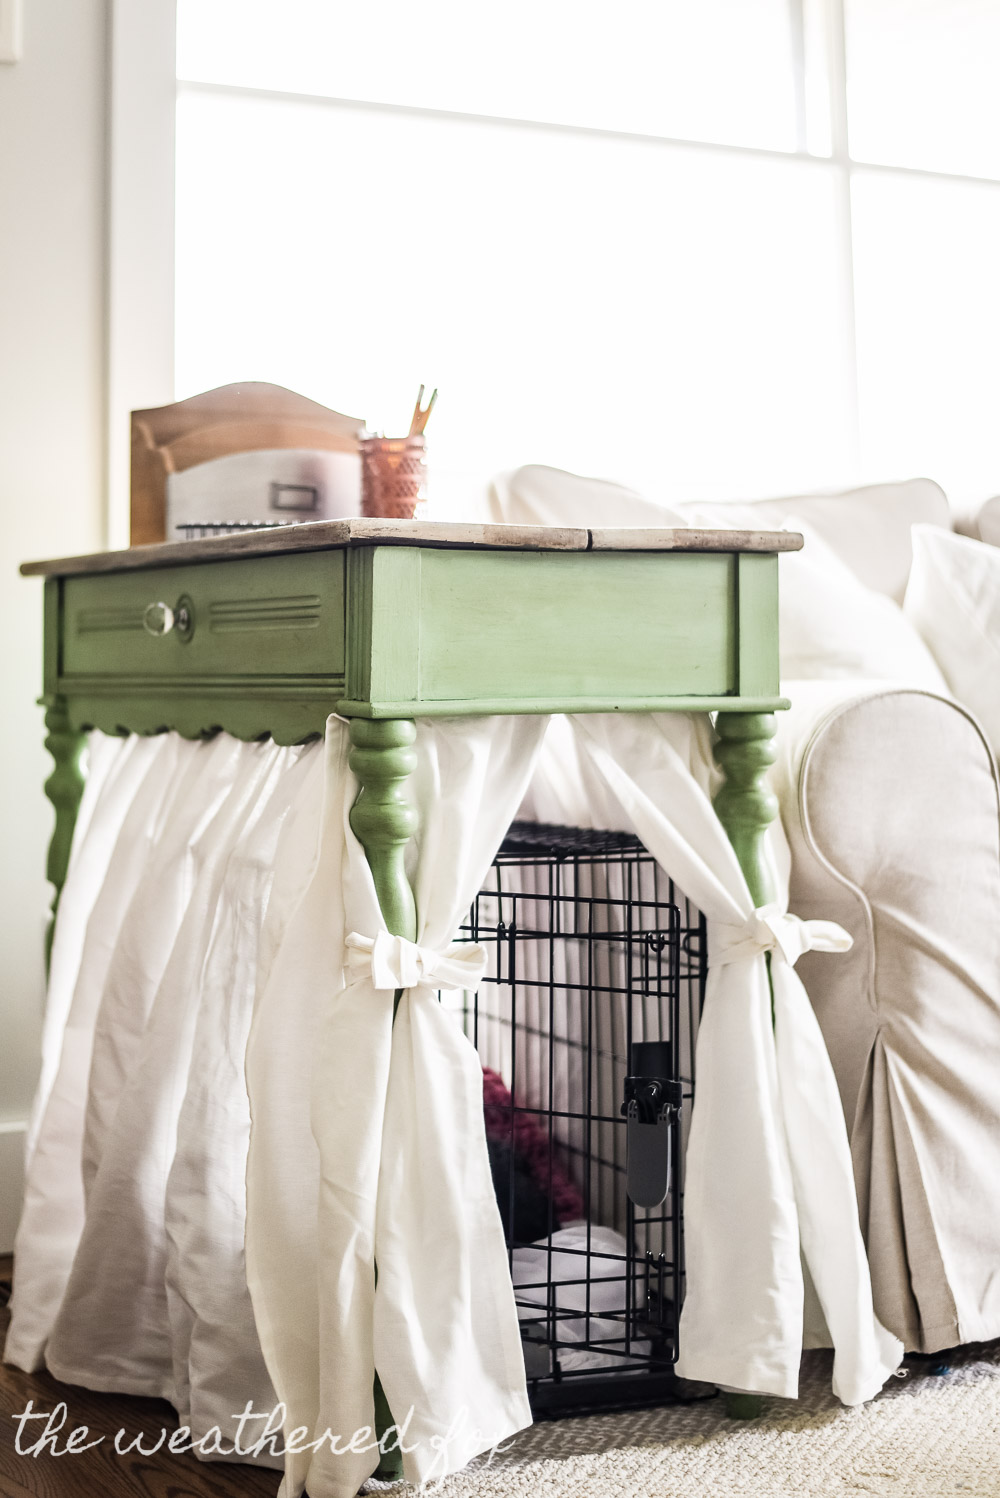
The bonus is she really seems to like it. I think it makes her feel even cozier. She’s a snuggler at heart, so that doesn’t surprise me at all.

I think next I’ll be pulling out my paint sprayer and maybe give the crate a coat of white paint.
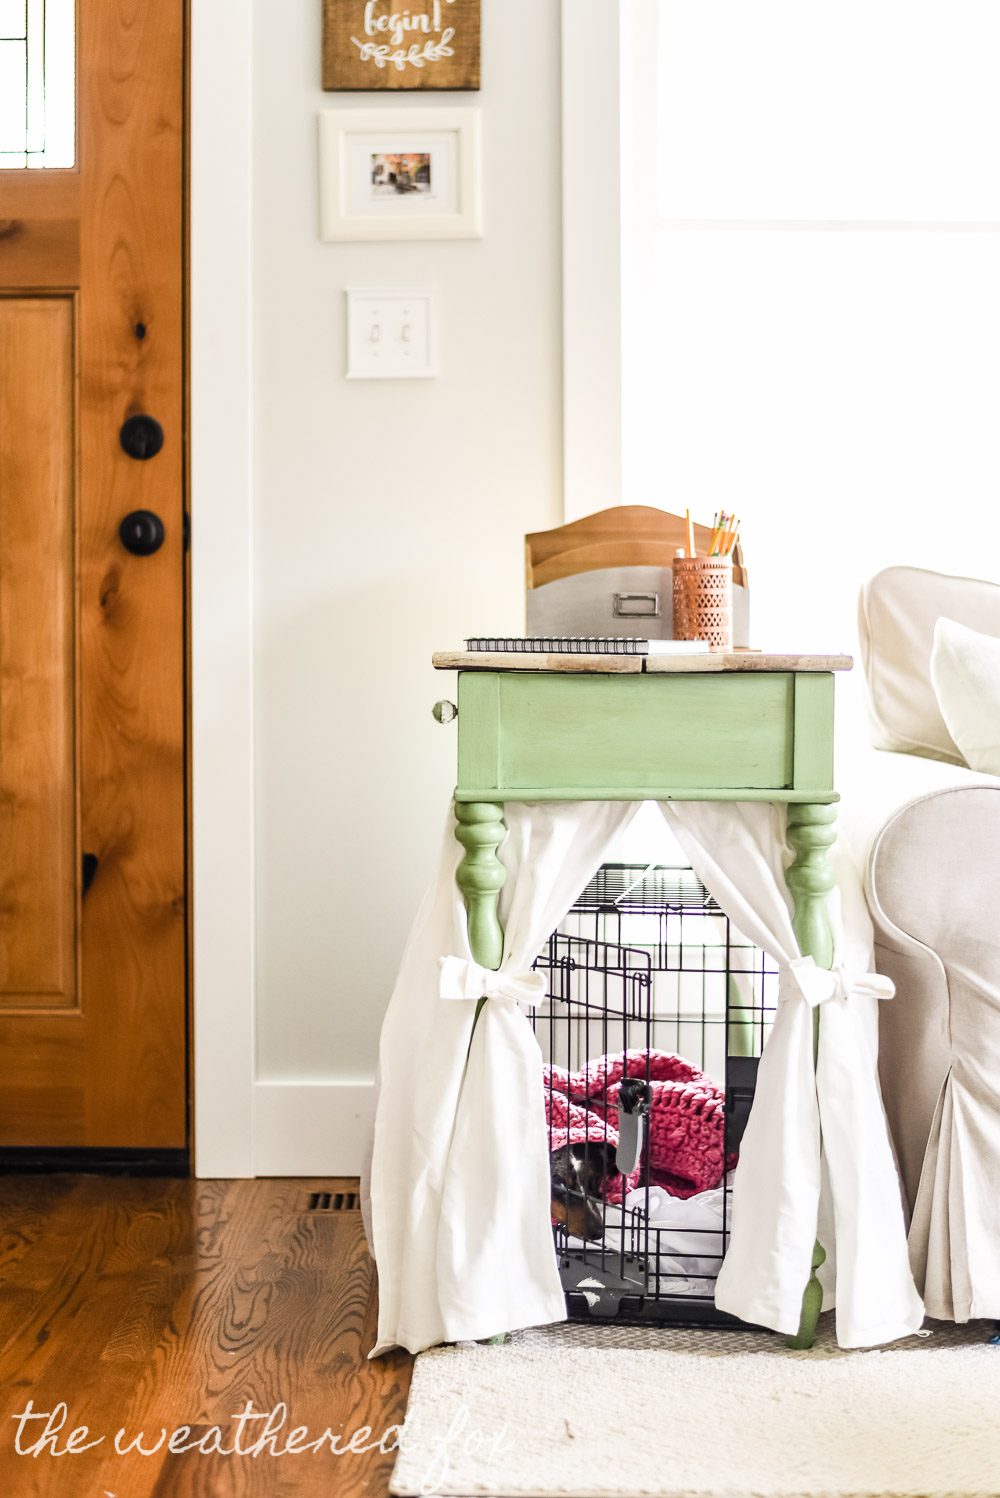
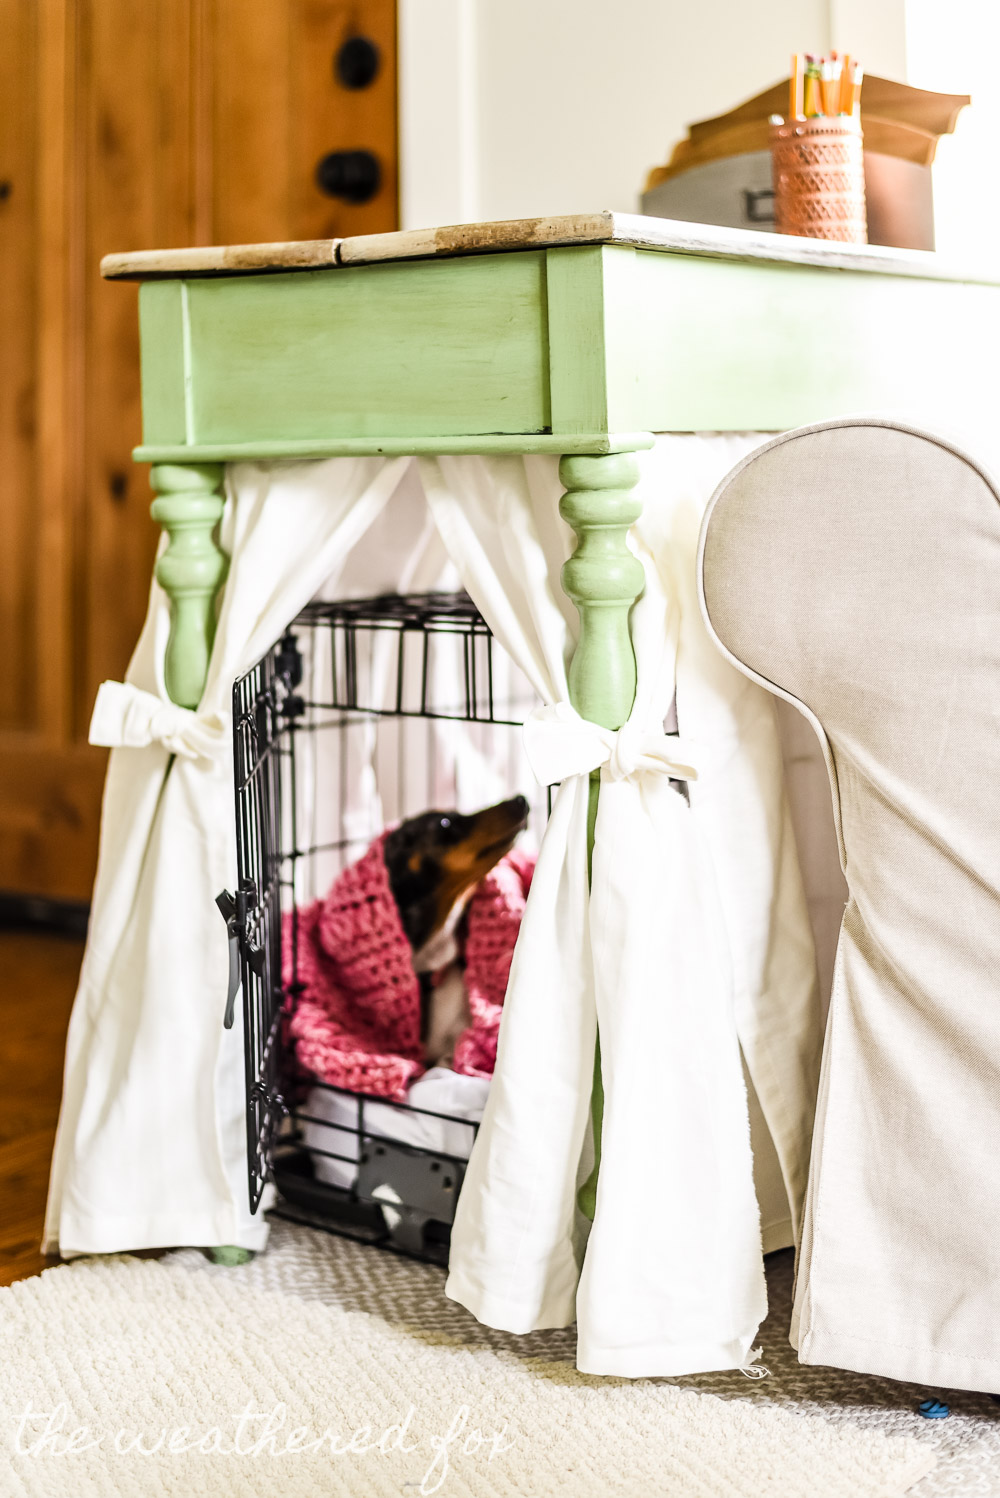
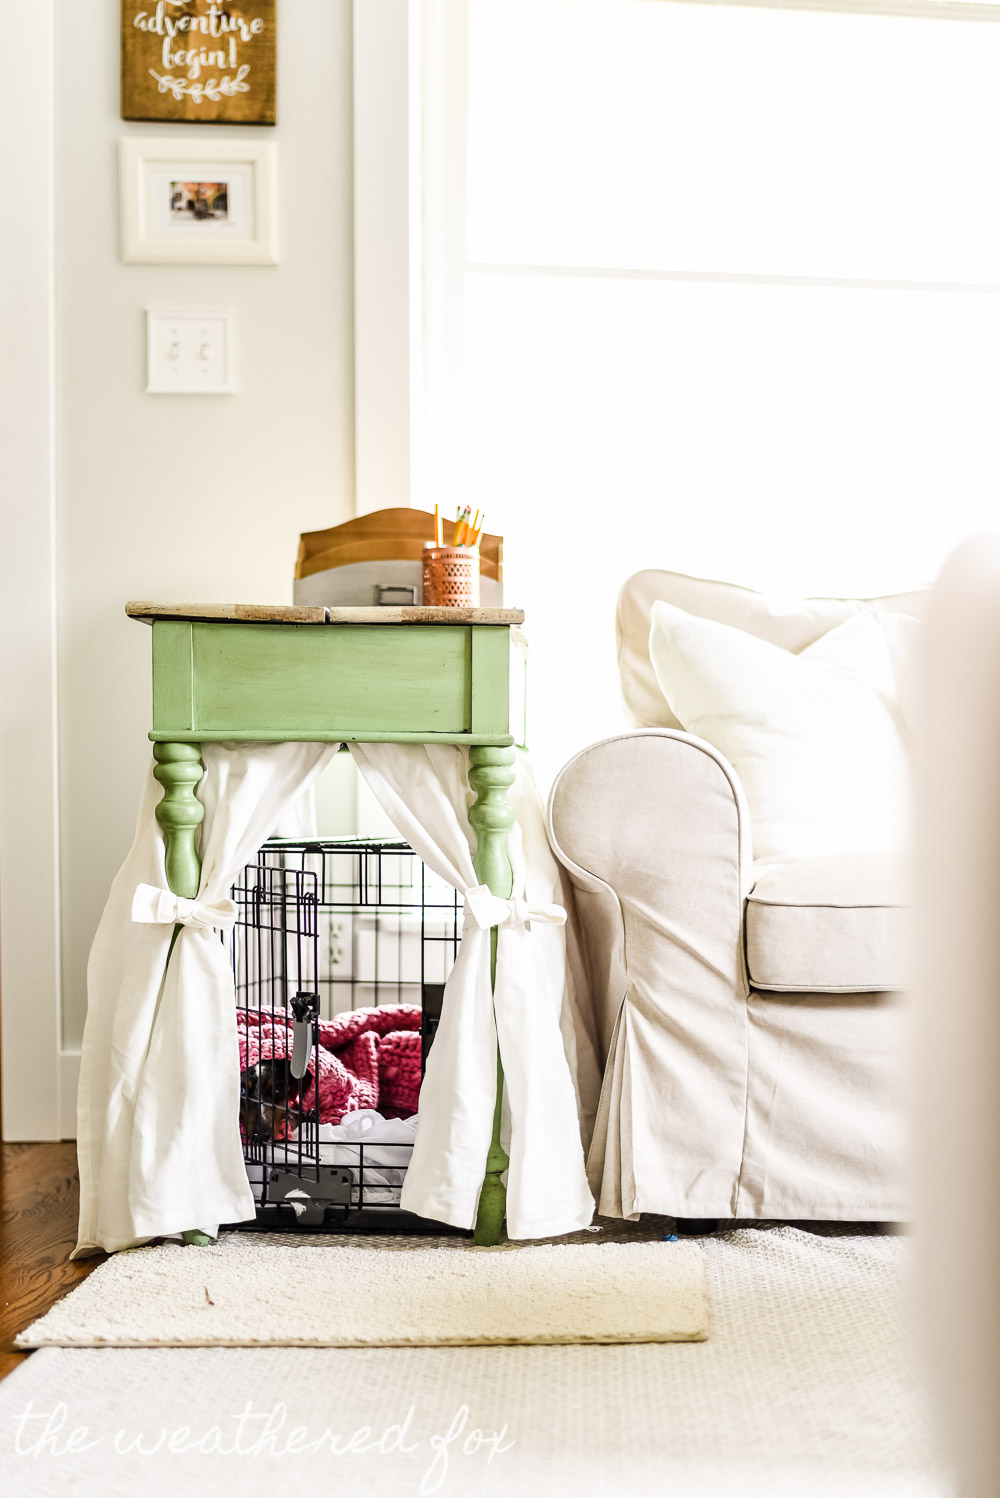
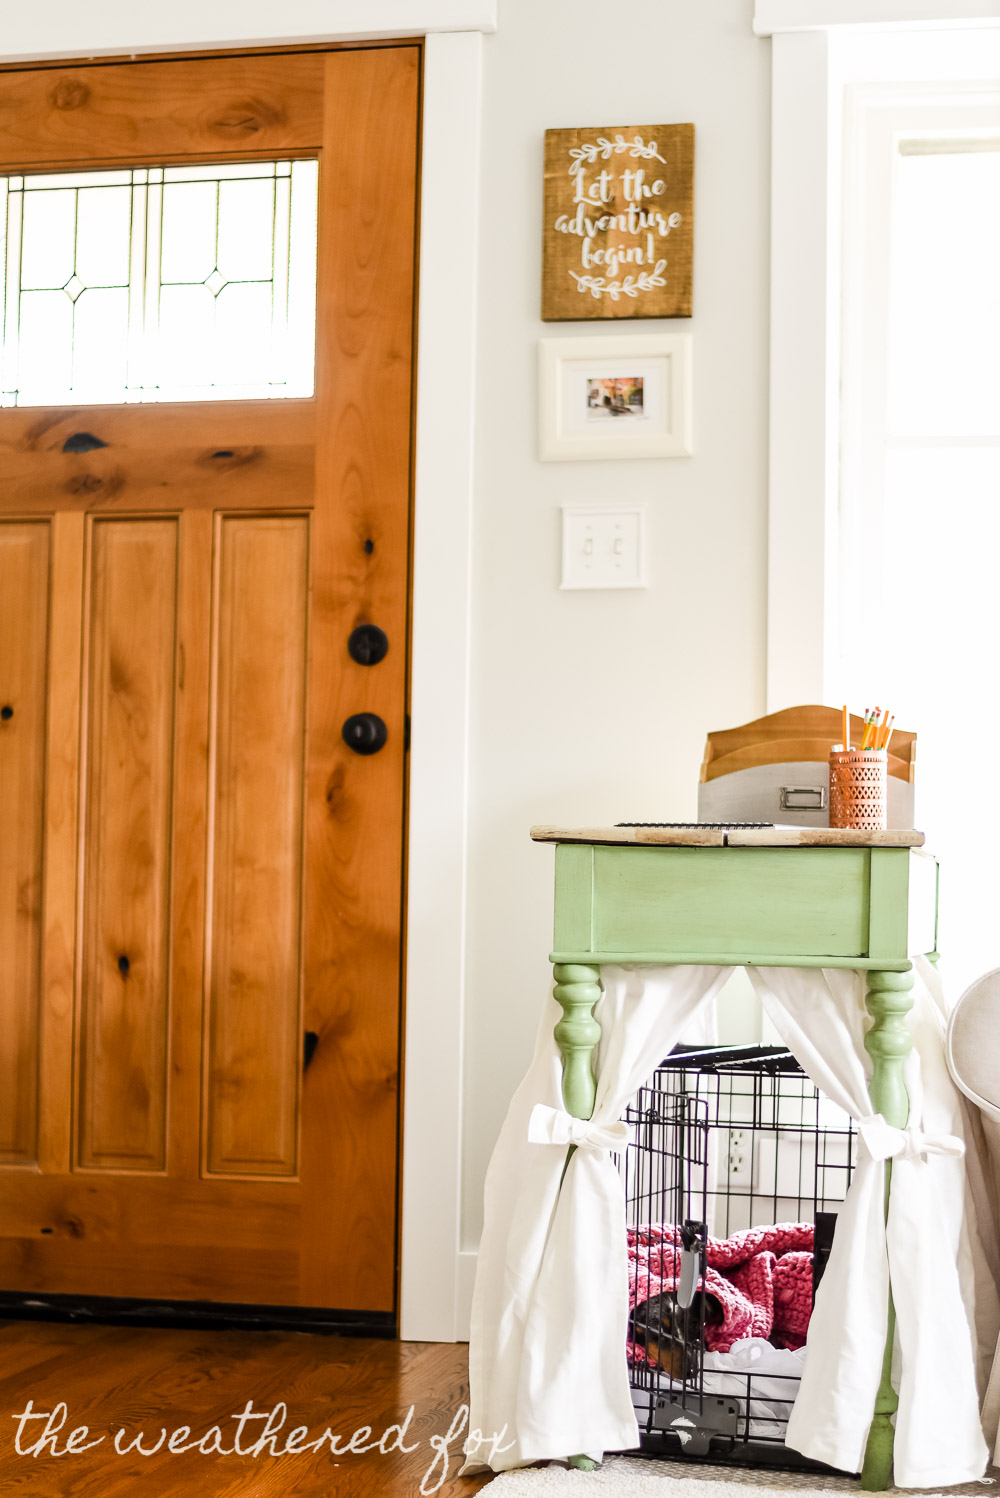
The big question remains. Will she try to pull the cover in like she does with other fabric? So far she has not. I think the fabric is a little too far from the crate walls because it’s glued to the desk, and not directly hanging on the crate. So fingers crossed it stays that way!
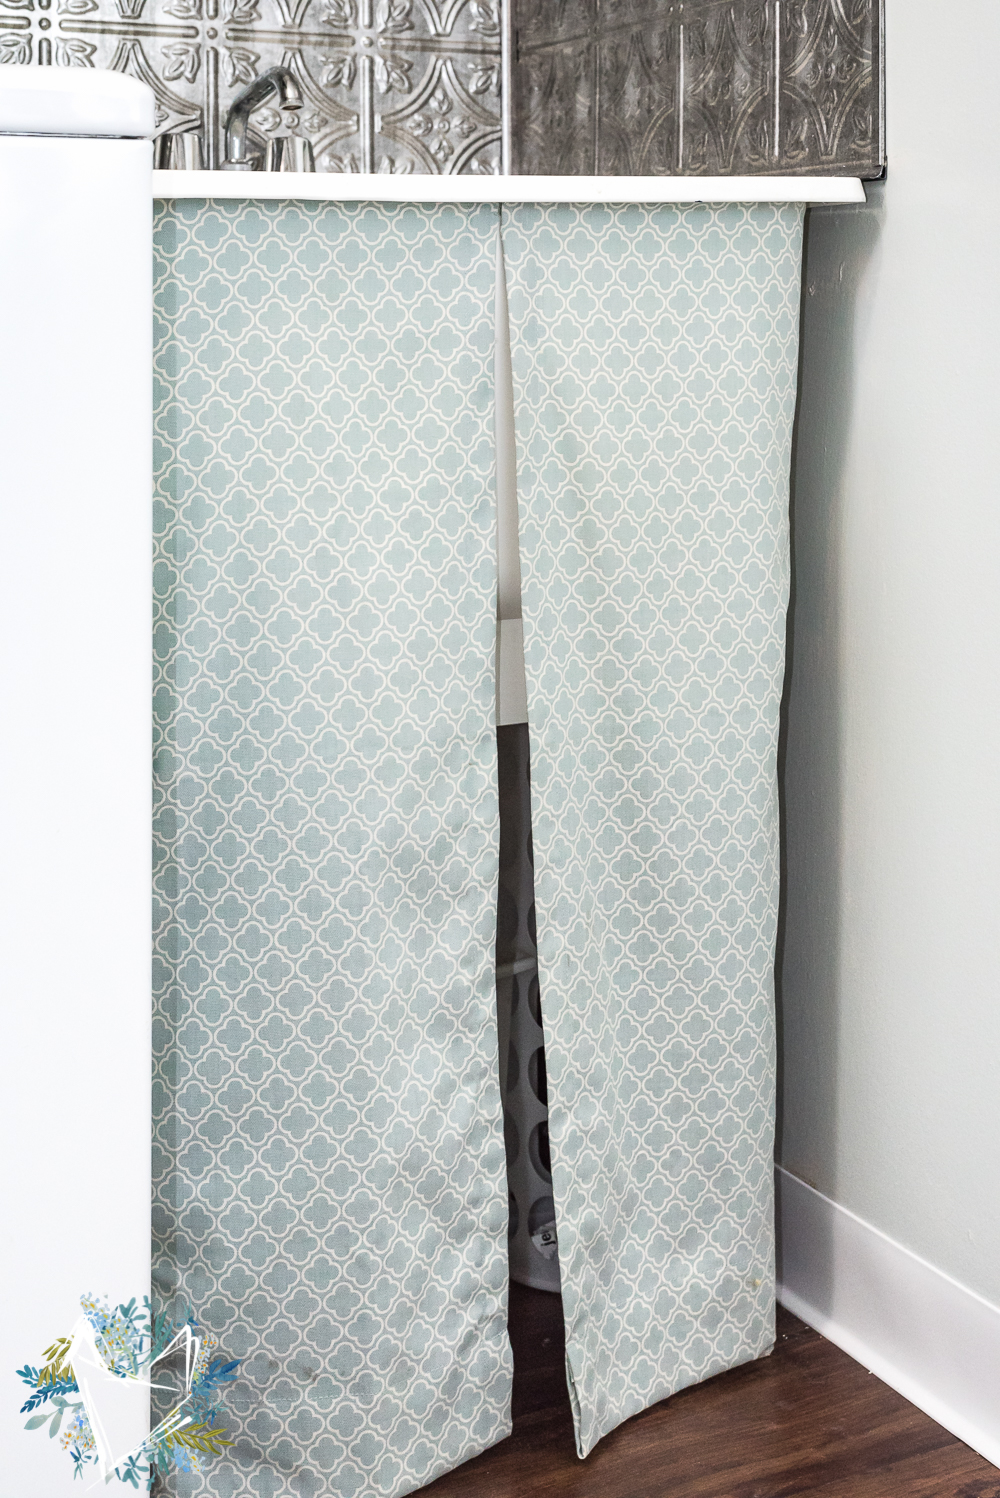
I also did this in our last house to spruce up our laundry room utility sink!


