Hey again!! It’s Shara from Woodshop Diaries and I’m excited to show you all a really fun scrap wood DIY. It’s a cake box!! Or a pie box, or a cupcake box, or a whatever-you-wanna-carry-in-here box 🙂
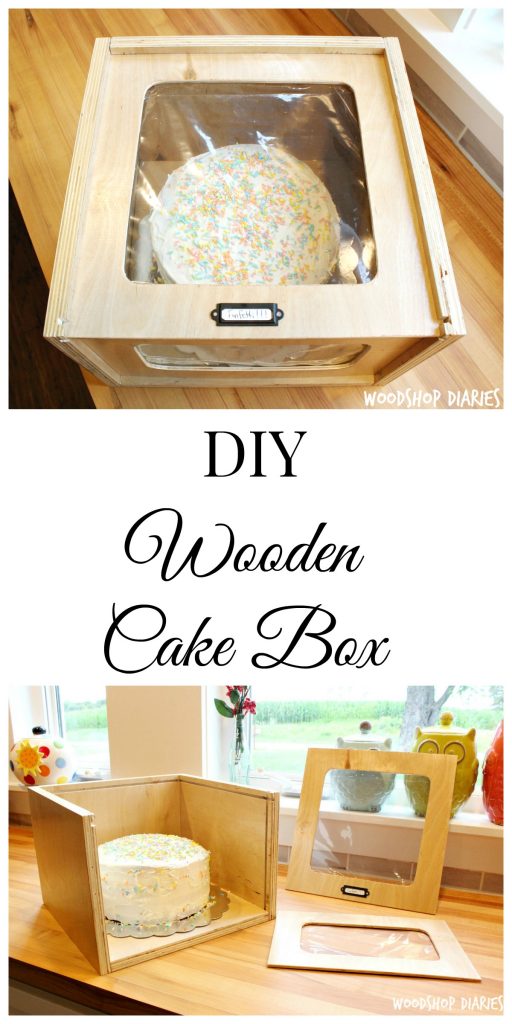
I’m one of those people who always brings desserts to the family get togethers. And I’m also one of those people who needs a good outlet for all my scrap wood. So I decided to put the two together and make a wooden cake box with “windows” so you could see what kind of cake you are about to get a piece of.
But, just in case you can’t tell from looking, I added a label holder so you can tell everyone what kind of awesome cake/dessert you just brought to the party 😉
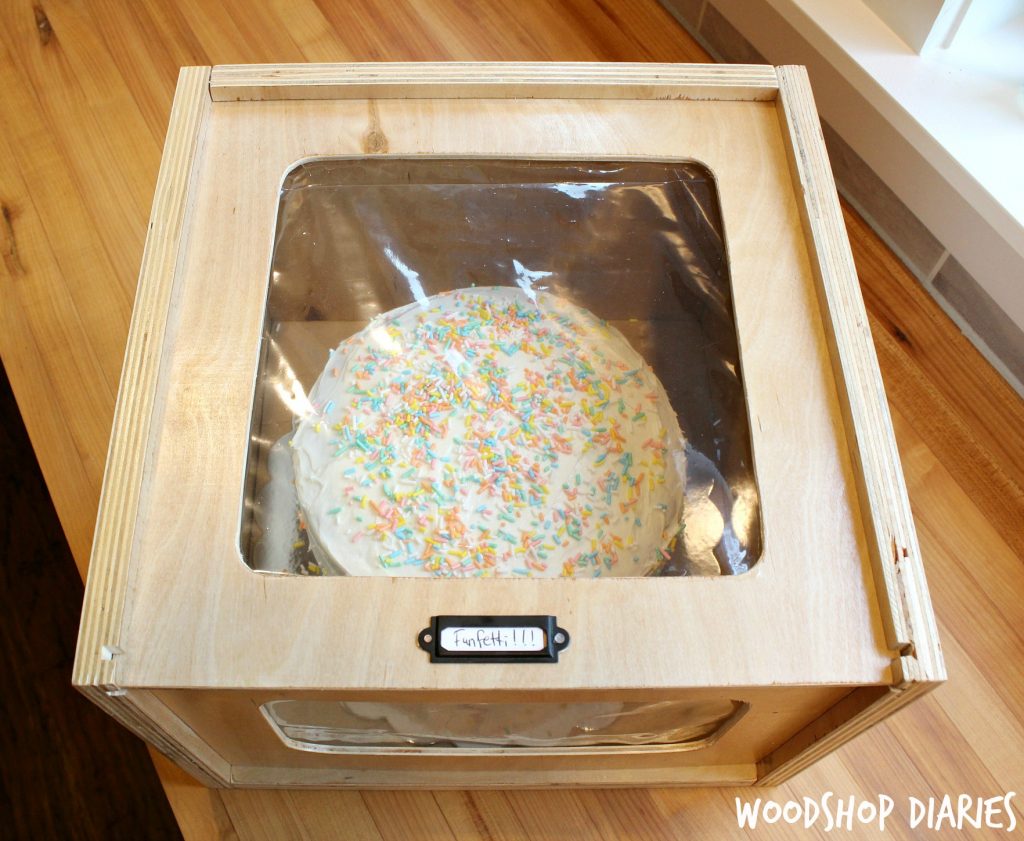
The box was made entirely from scrap wood (which I have a ton of!!), and who doesn’t love a good scrap wood project??
For more scrap wood project ideas, you can check out this multipurpose carrying caddy made from plywood scraps, this lazy susan made from 2x scraps, and this floating mirror shelf made from a scrap 2×4.
(This post contains affiliate links. This means I get commissions for purchases made through links in this post.)
So if you’re ready for the tutorial, here’s what you’ll need:
Materials & Tools:
¾” plywood scraps (or ¼ sheet if you don’t have scraps)
¼” plywood scraps (or a 2ftx2ft sheet if you don’t have scraps)
Plastic Paper Protector Sleeve
Clear Tape
Scissors
Hammer and nails or nail gun
Wood Finish (I just used Polycrylic)
Step 1: Cut Pieces to Size
First, cut your ¾” scrap plywood pieces as shown in the picture below. The bottom piece is 12”x12 ¾”, two side pieces are 9 3/8”x 13 ¼”, and the back piece is 9 3/8”x12”.
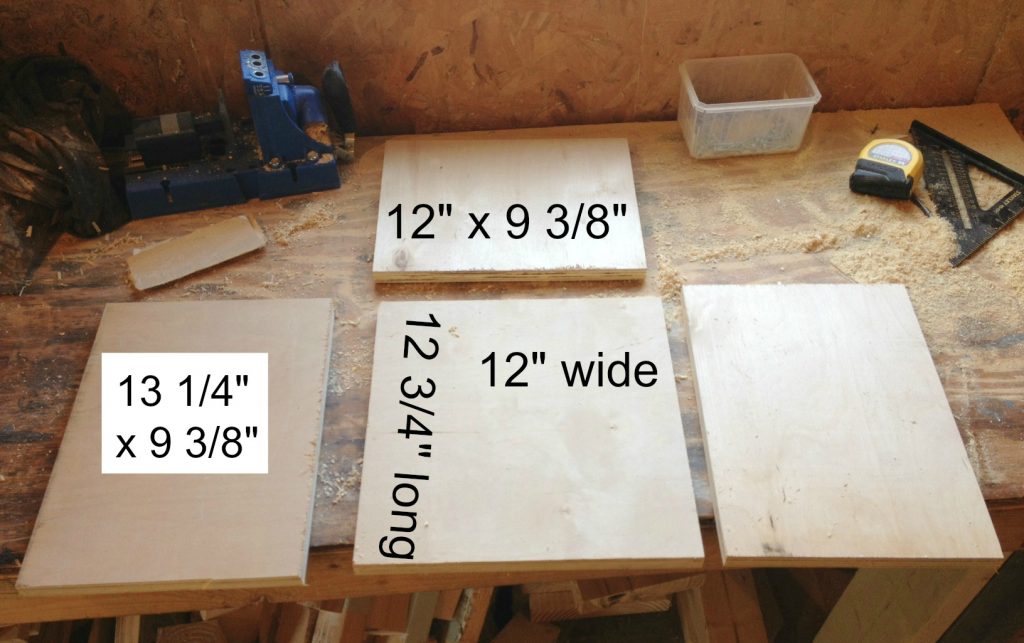
These pieces will “fold up” to make the box.
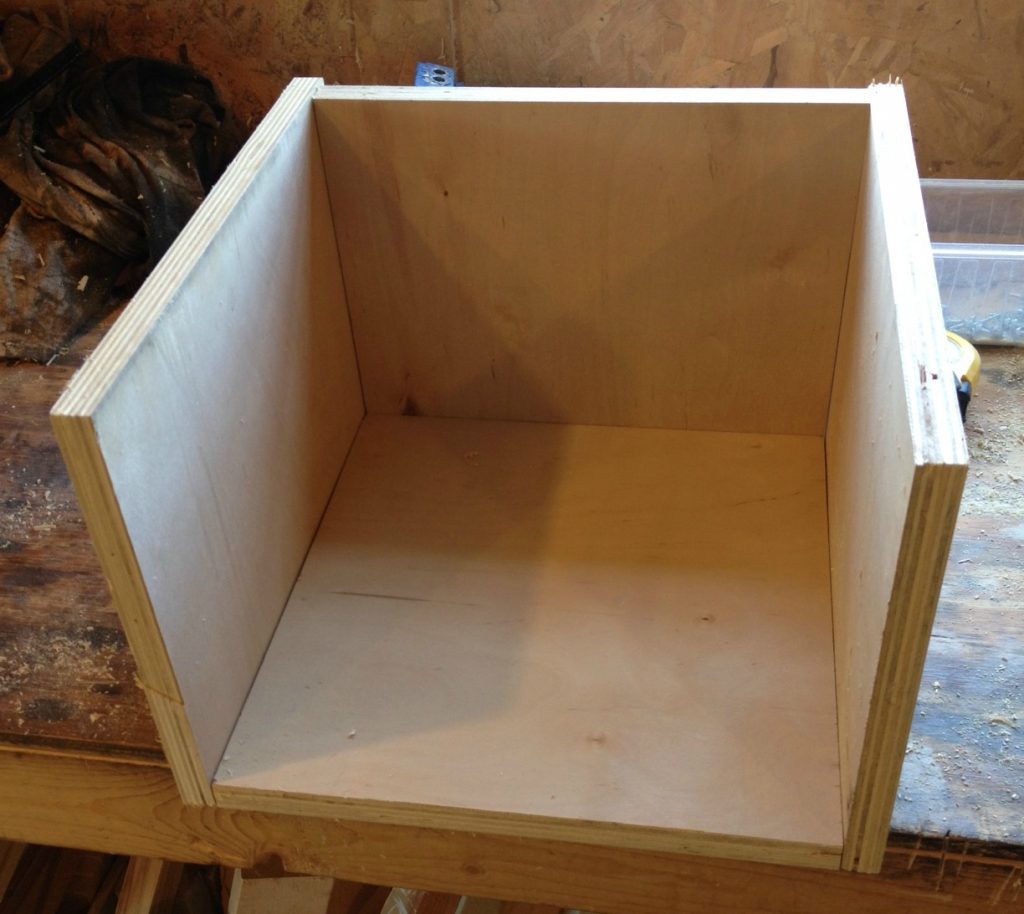
Step 2: Cut Grooves for the “Windows”
You can use a table saw or router for this, but I used a table saw. Set the blade only ¼” tall and set the rip fence ½” away from the blade edge.
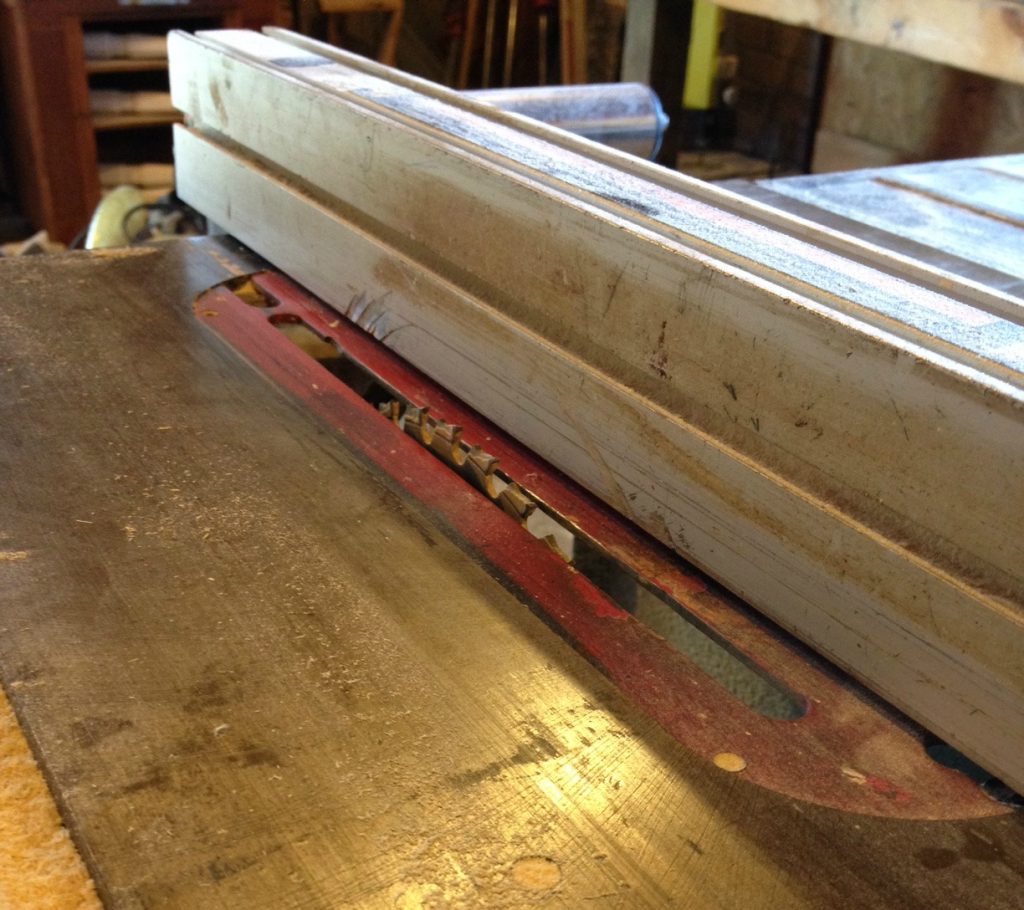
Run your boards through the blade to cut small grooves like shown in the picture. It’s helpful to mark these before you go over to the table saw so you know where to cut.
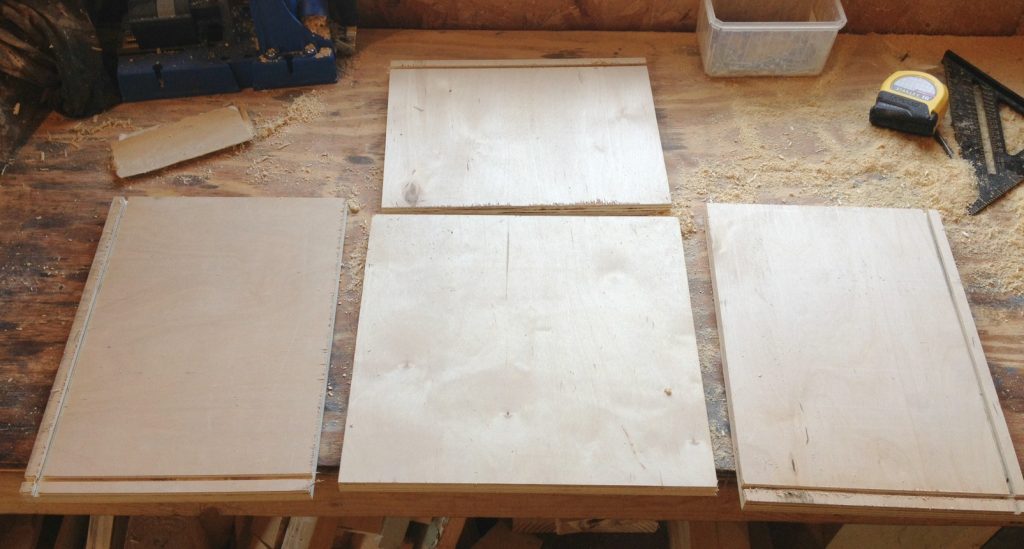
If you have a dado blade that will cut ¼” on one pass, that’s great. But if you’re like me and you just have a single blade, then once you run them all through once, adjust the rip fence again so that it is about 1/8” further from the blade than it was on your first pass. This will make the groove wider and you should have a ¼” groove after the second pass on the table saw. Make sure your ¼” plywood fits in the grooves. If it doesn’t, you will need to adjust the rip fence again and make your groove even wider.
Step 3: Assemble the Box
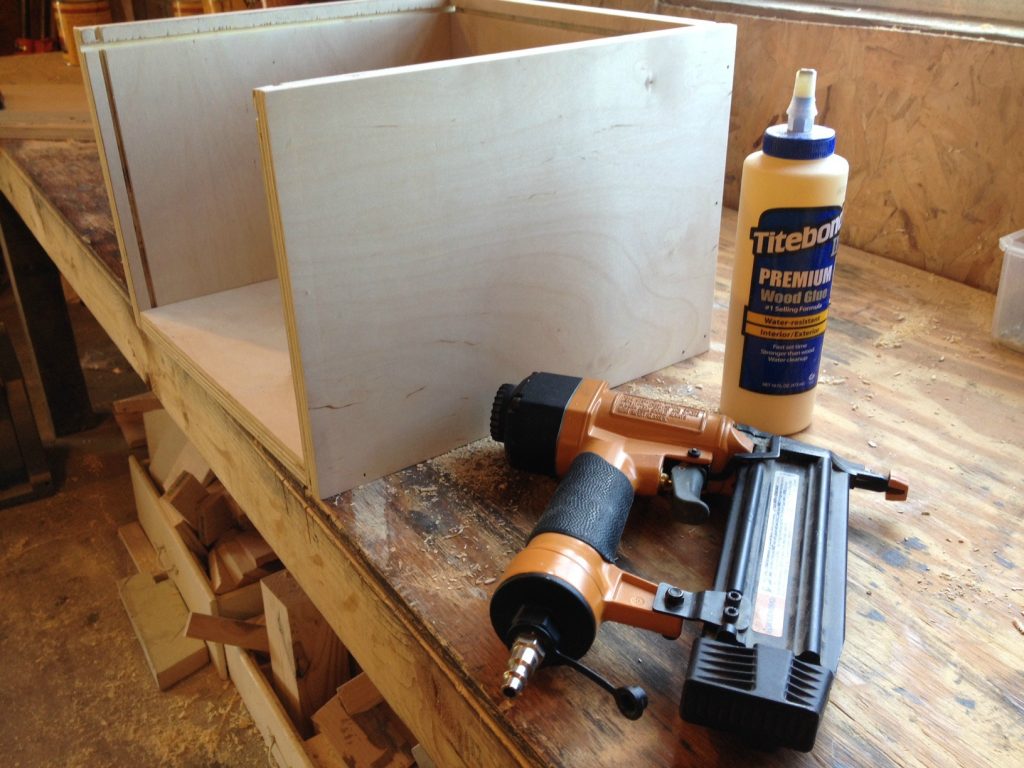
Using wood glue and a nail gun (or hammer and nails if you wish), assemble the box making sure the grooves are going the right direction.
Step 4: Cut the Window Pieces
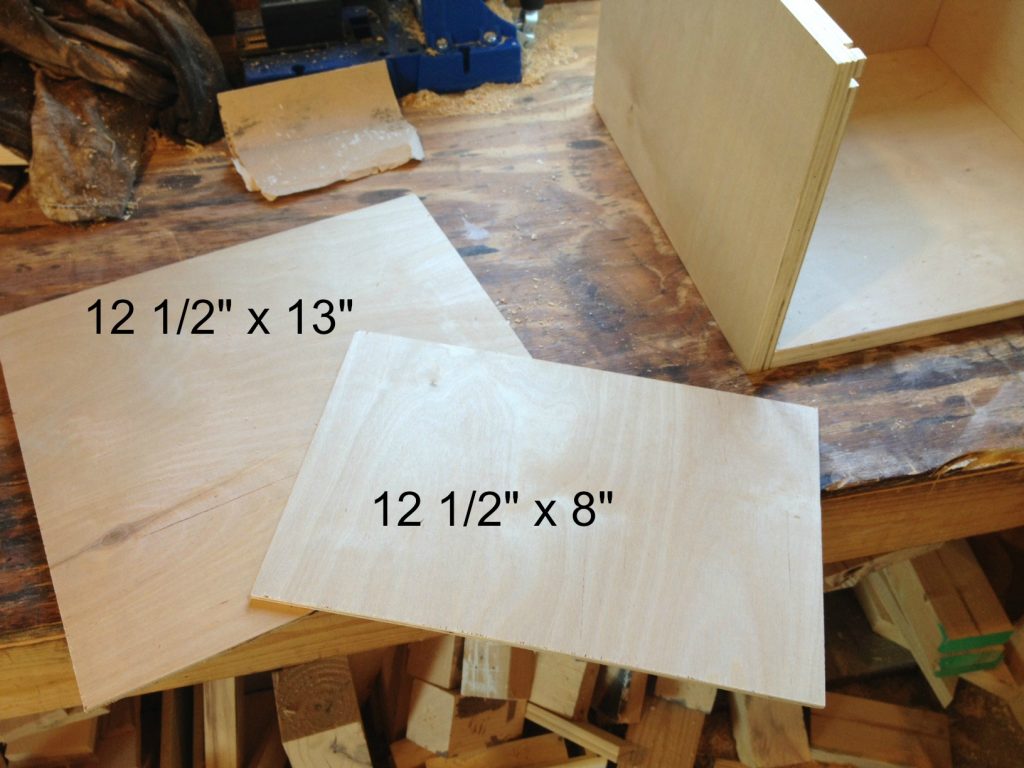
Cut a piece of ¼” plywood at 12 ½”x13” and another at 8”x12 ½”. Make sure they slide in the grooves in your box.
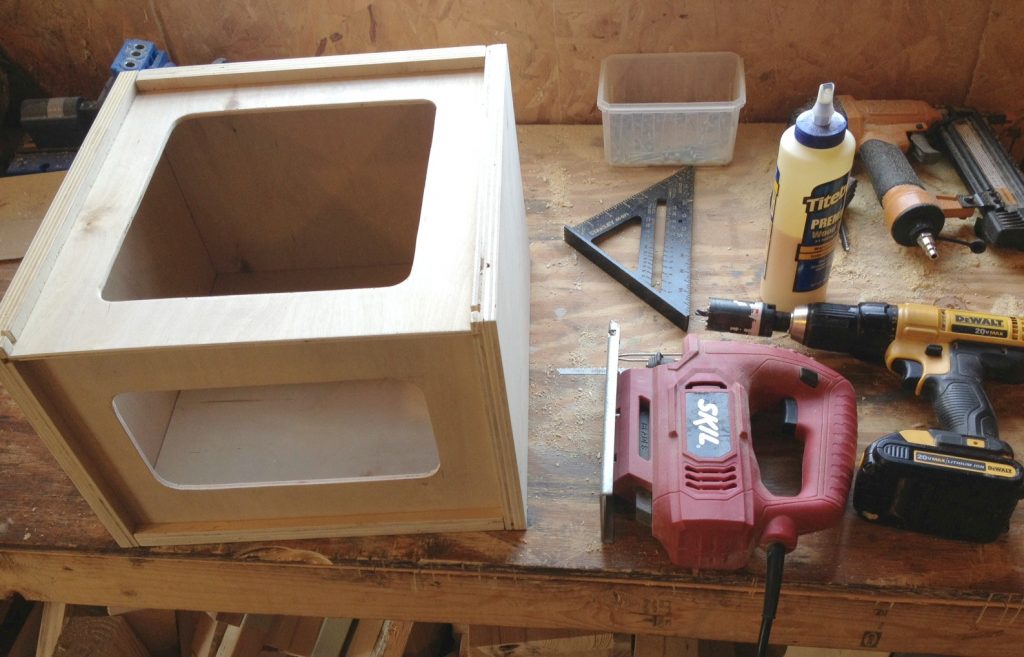
Then, using a jig saw, cut out the windows. I used a hole saw to help make the rounded edges on the corners and allow me to get my jig saw blade started. You don’t have to do this. You could just drill a hole big enough for your blade to fit and cut the rounded corners using your jig saw. Either way works fine.
Step 5: Add the Plastic and Finish
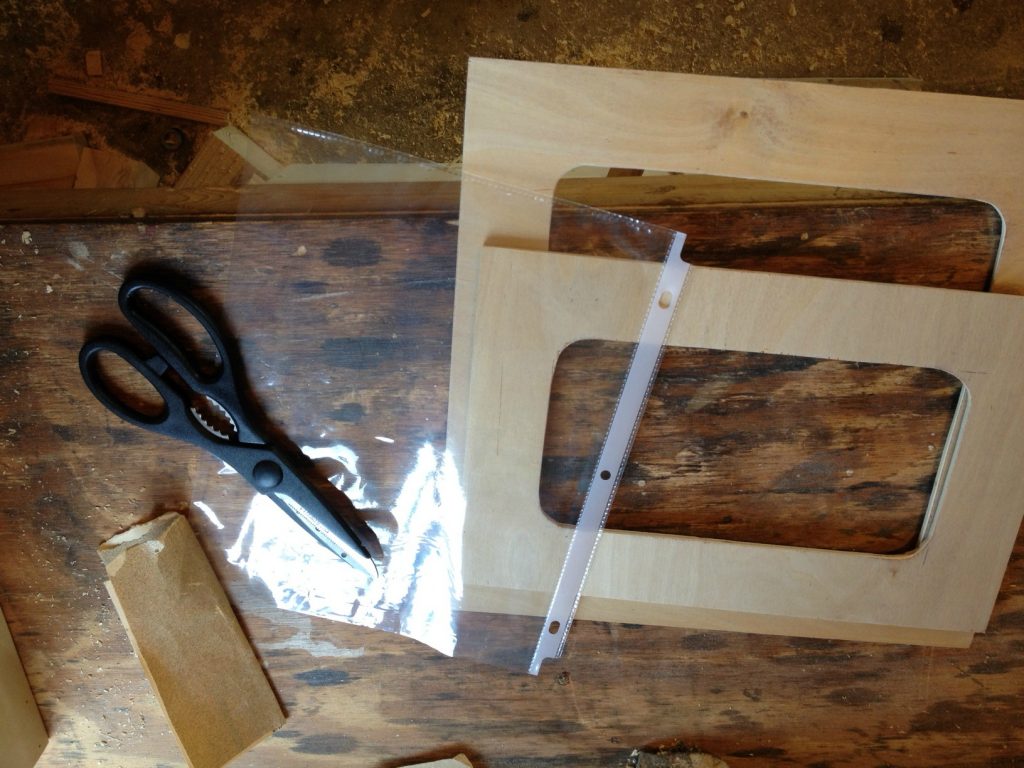
For the plastic on the windows, simply cut apart a plastic paper protector sleeve in pieces large enough to cover the windows. I used clear tape on the back side to secure it in place. But, you could also use super glue.
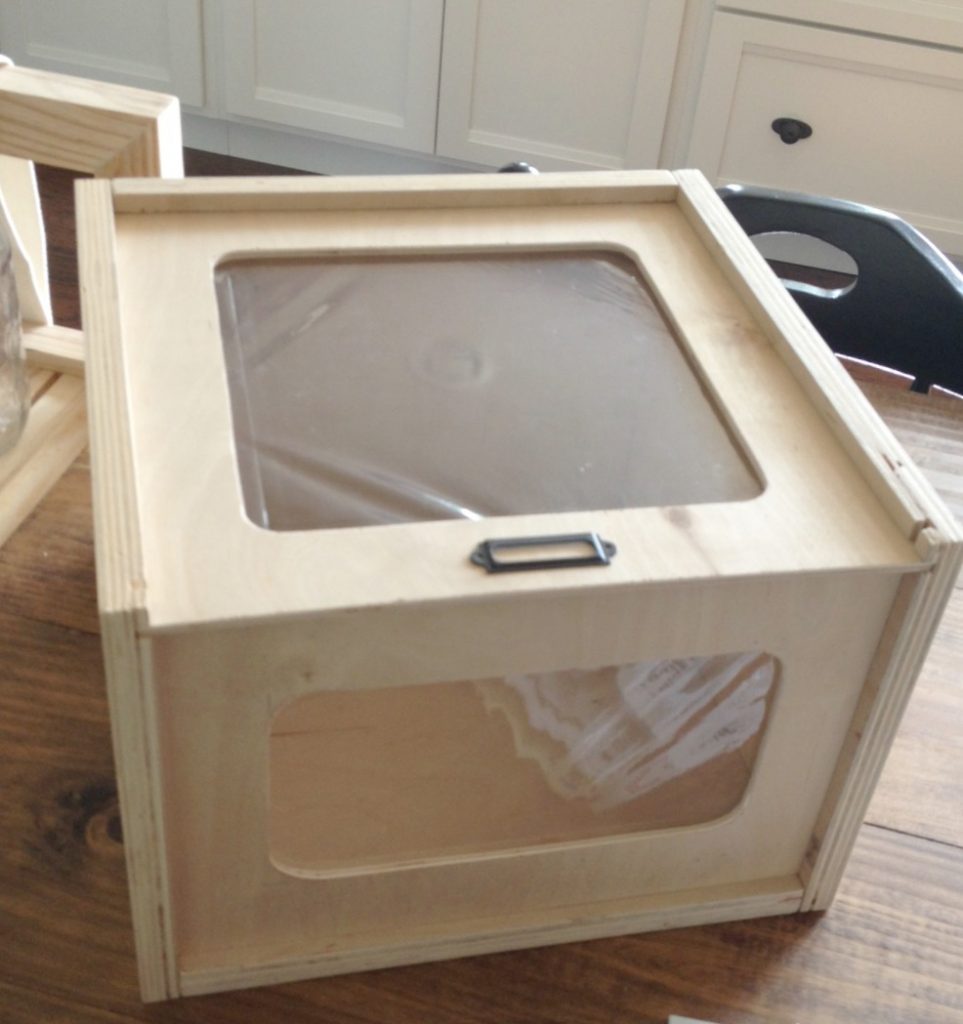
Then, just finish the box however you wish. I liked the natural color, so I just put a few coats of Minwax Polycrylic on mine.
When it was dry, I hot glued a small label holder in place and it was finished!
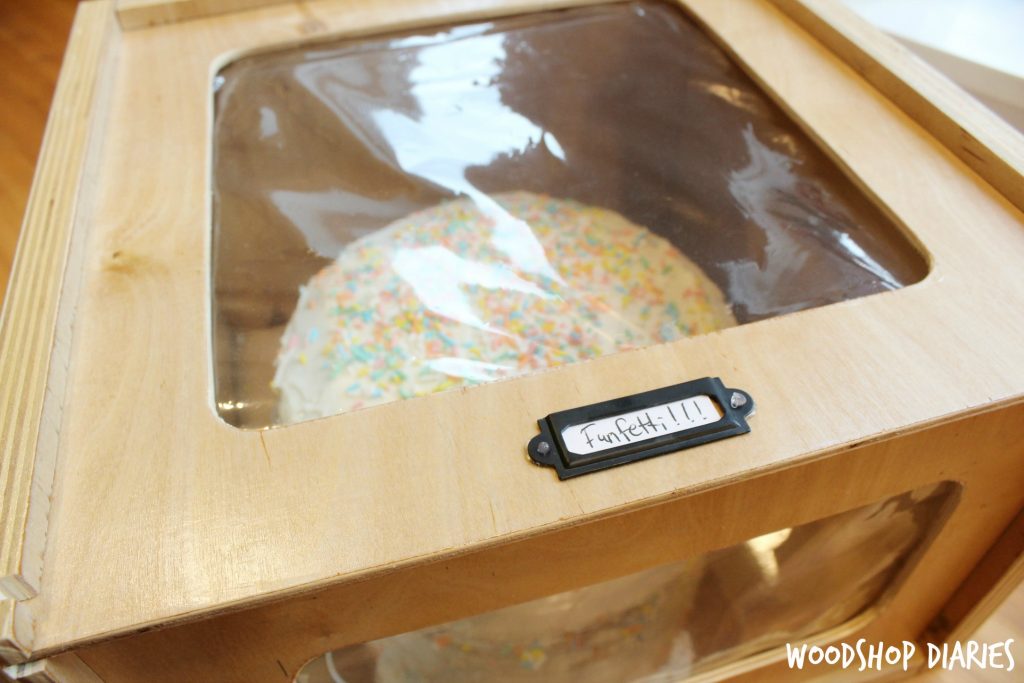
Except for the cake…
So I whipped up a Funfetti cake and snapped a few pictures before digging in 🙂
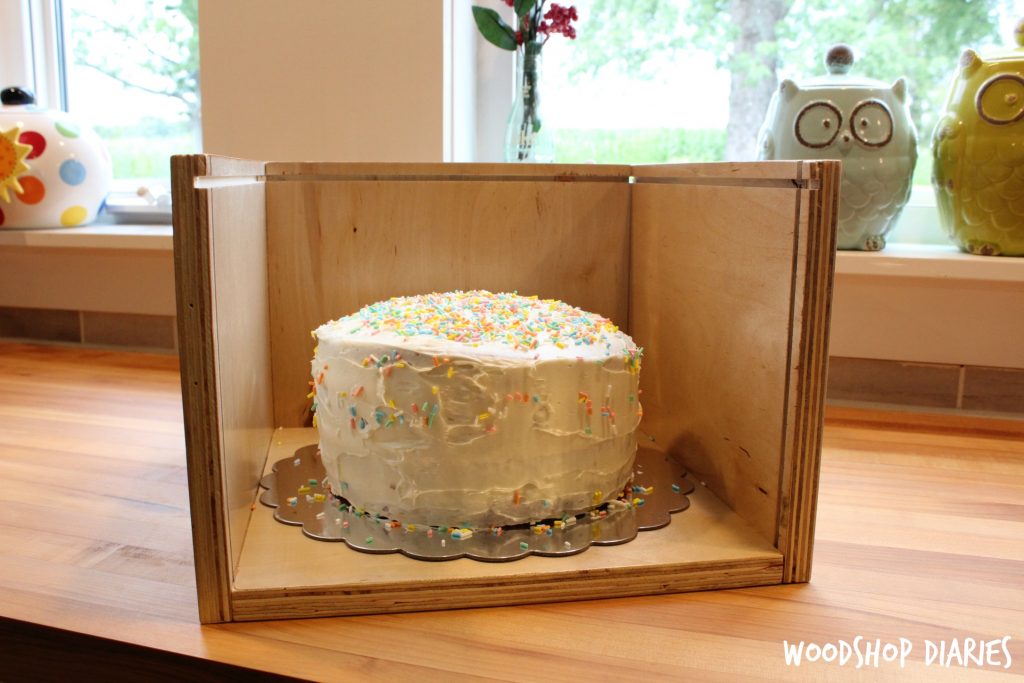
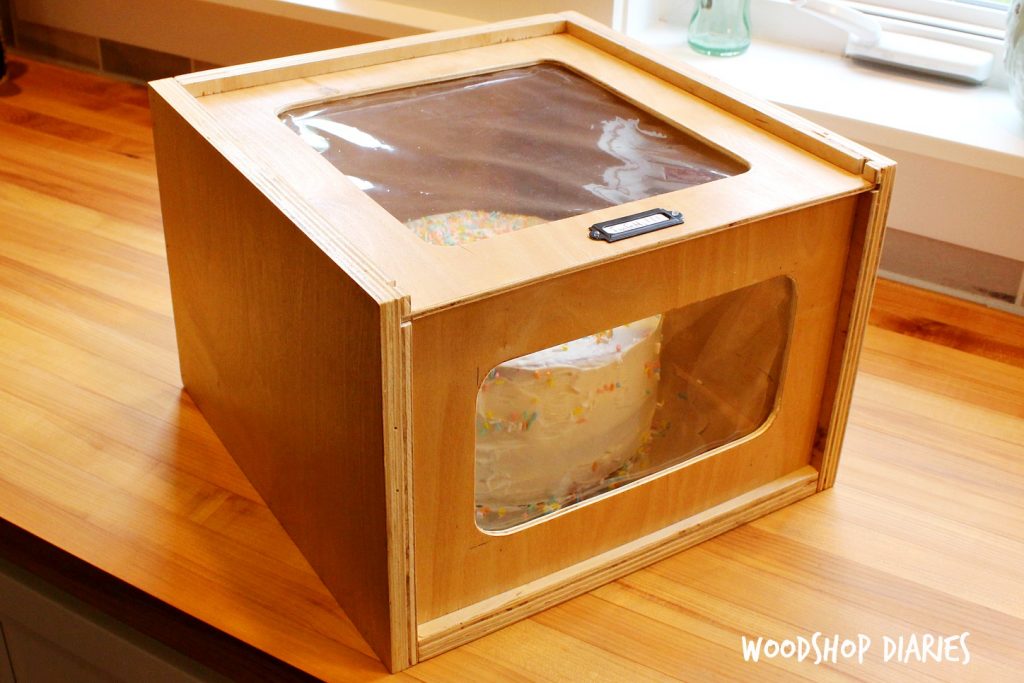
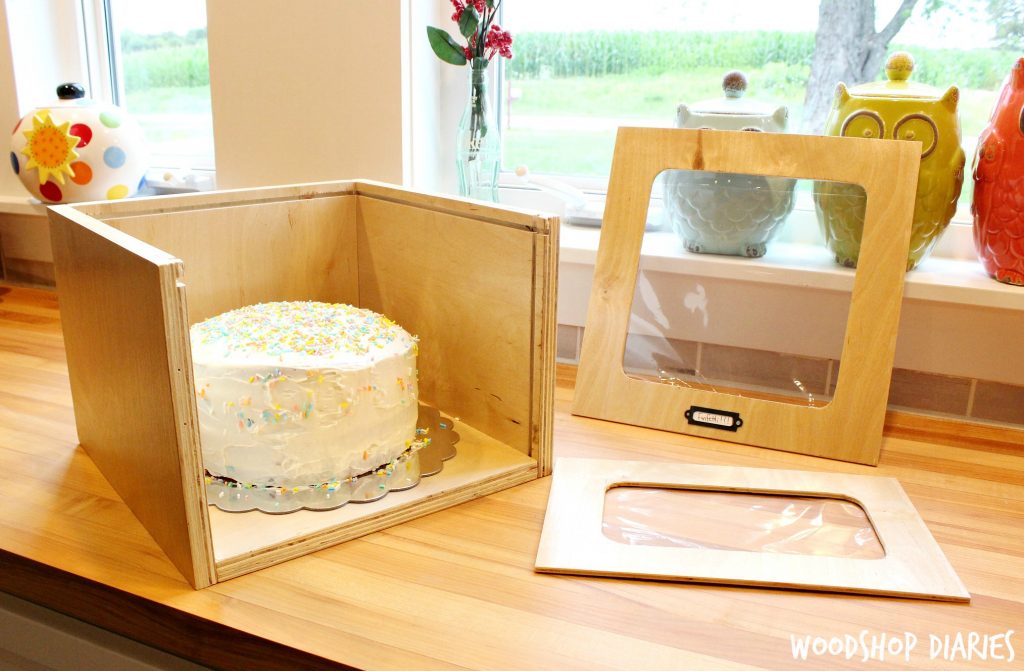
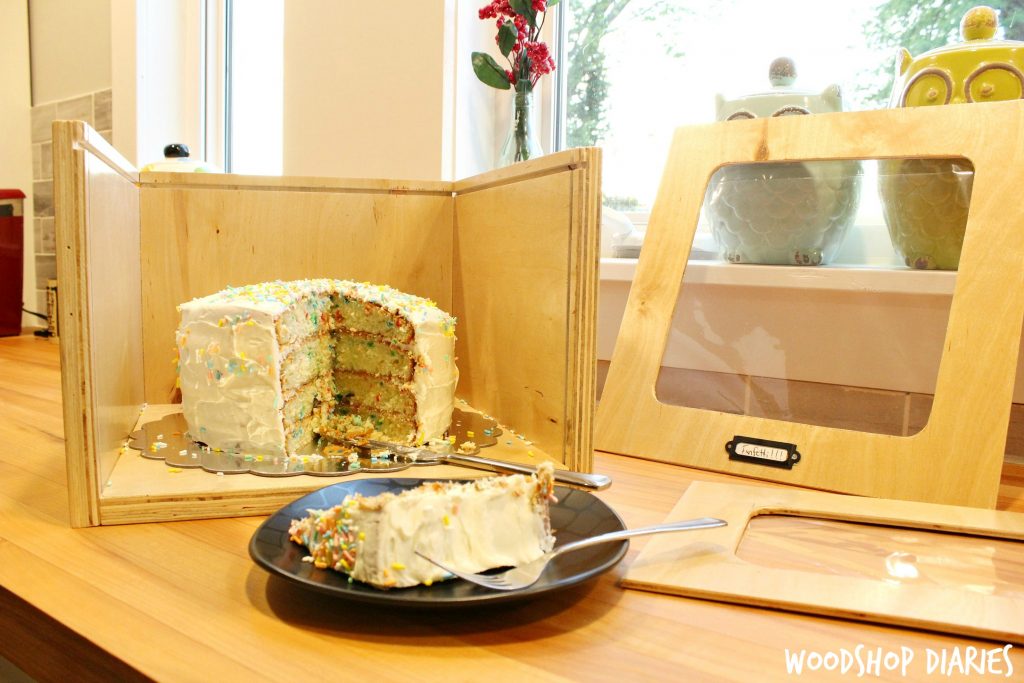
But, you don’t have to carry a cake in here, you can use it for cupcakes, cookies, or whatever else you can think of. But be sure that whenever you bring it to the party, everyone will be super impressed that you made it yourself no matter what’s hiding inside…trust me 😉
Hope you enjoyed this fun scrap wood project. Until next time, happy building 🙂

2 comments
Great way to use up scrap pieces of wood!
[…] got the tutorial for you over on The Weathered Fox today, so be sure to click on over and check it […]