Hey there again! It’s Kala, blogger at My Breezy Room. You may remember I was here about a month ago sharing a modern farmhouse patio shopping guide. I’m here today with a little more outdoor inspiration for you with this DIY Geometric Planter Design.
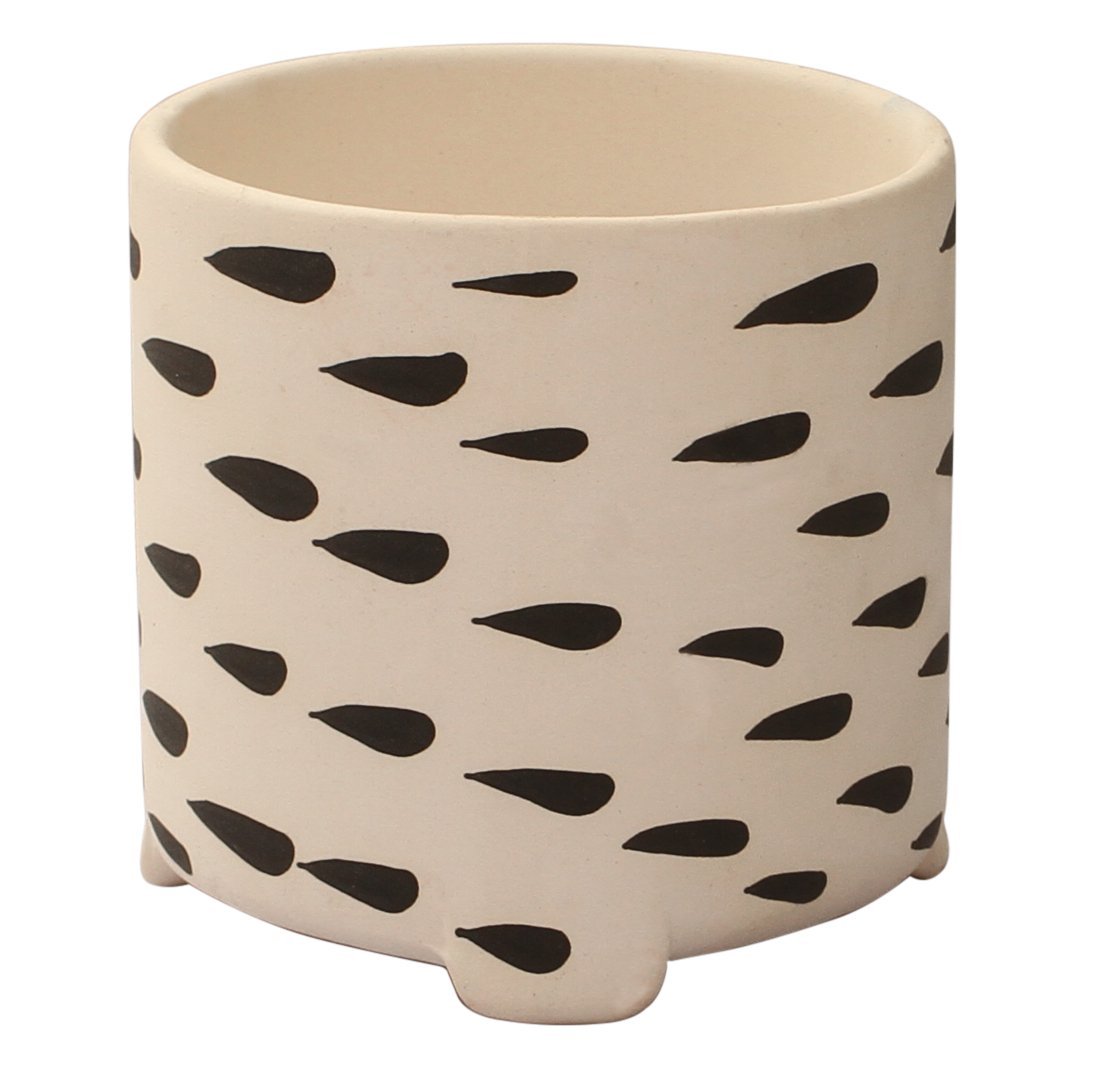
If DIY isn’t your style or if you don’t have any extra planters to paint, I found a ton of adorable geometric planters on Amazon and have them linked at the bottom of this post!
(This post contains affiliate links. This means I get commissions for purchases made through links in this post.)
DIY Geometric Planter
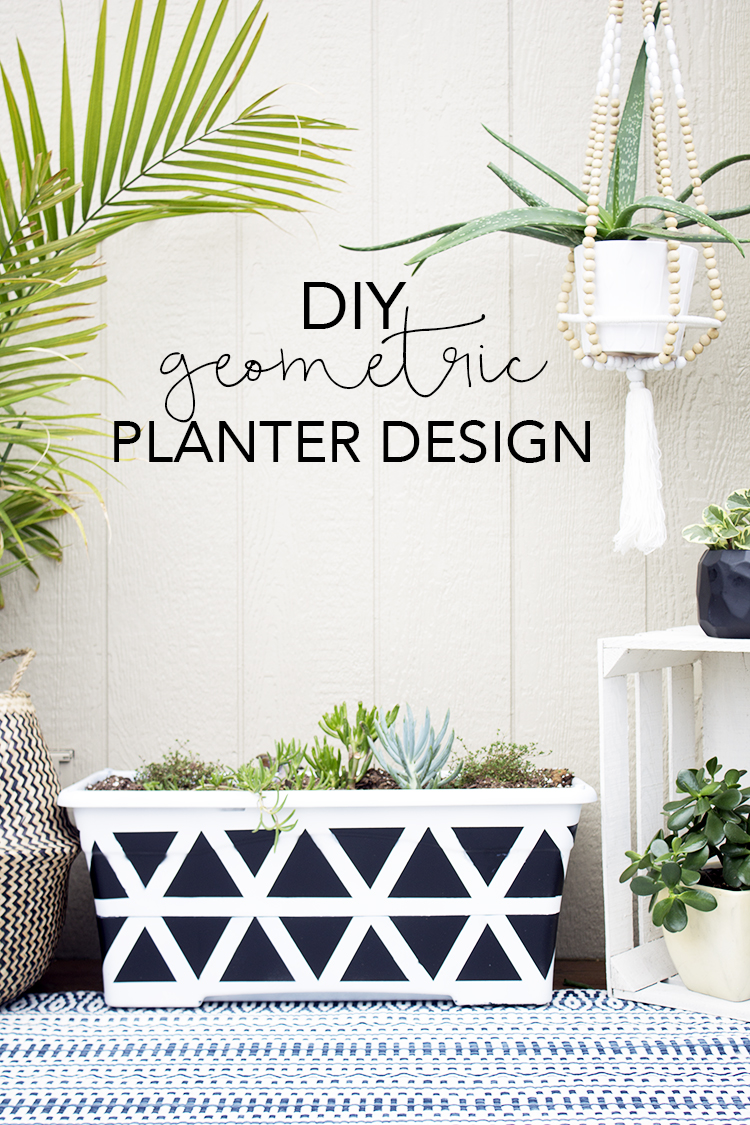
I am so determined this year to make our outdoor spaces just as homey as our indoor spaces, and I’ve found one great way to do that is through plants and planters. Last summer I found that succulents do well outside in a Missouri summer, so I wanted to bring a few more of those into my plant family this year.
I had this planter left over from tomatoes last year (that did not do so swell) and decided it had the potential to be so much cuter this year. And while I would love to grow fresh tomatoes, I just know I have better luck with succulents.
I love planters with texture or interesting designs on them, so this geometric pattern was super fun to make. This DIY geometric planter is an easy way to revamp an old planter and works well with any shape.
And you only need 2 supplies besides an old planter.
Black and white spray paint
Thin painters tape
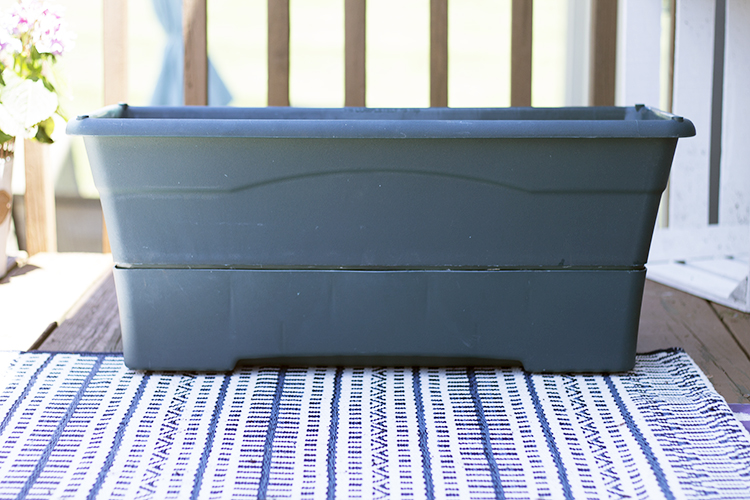
First spray paint your planter white.
Start with a clean dry planter, then make sure to completely cover it with two thin coats of white spray paint.
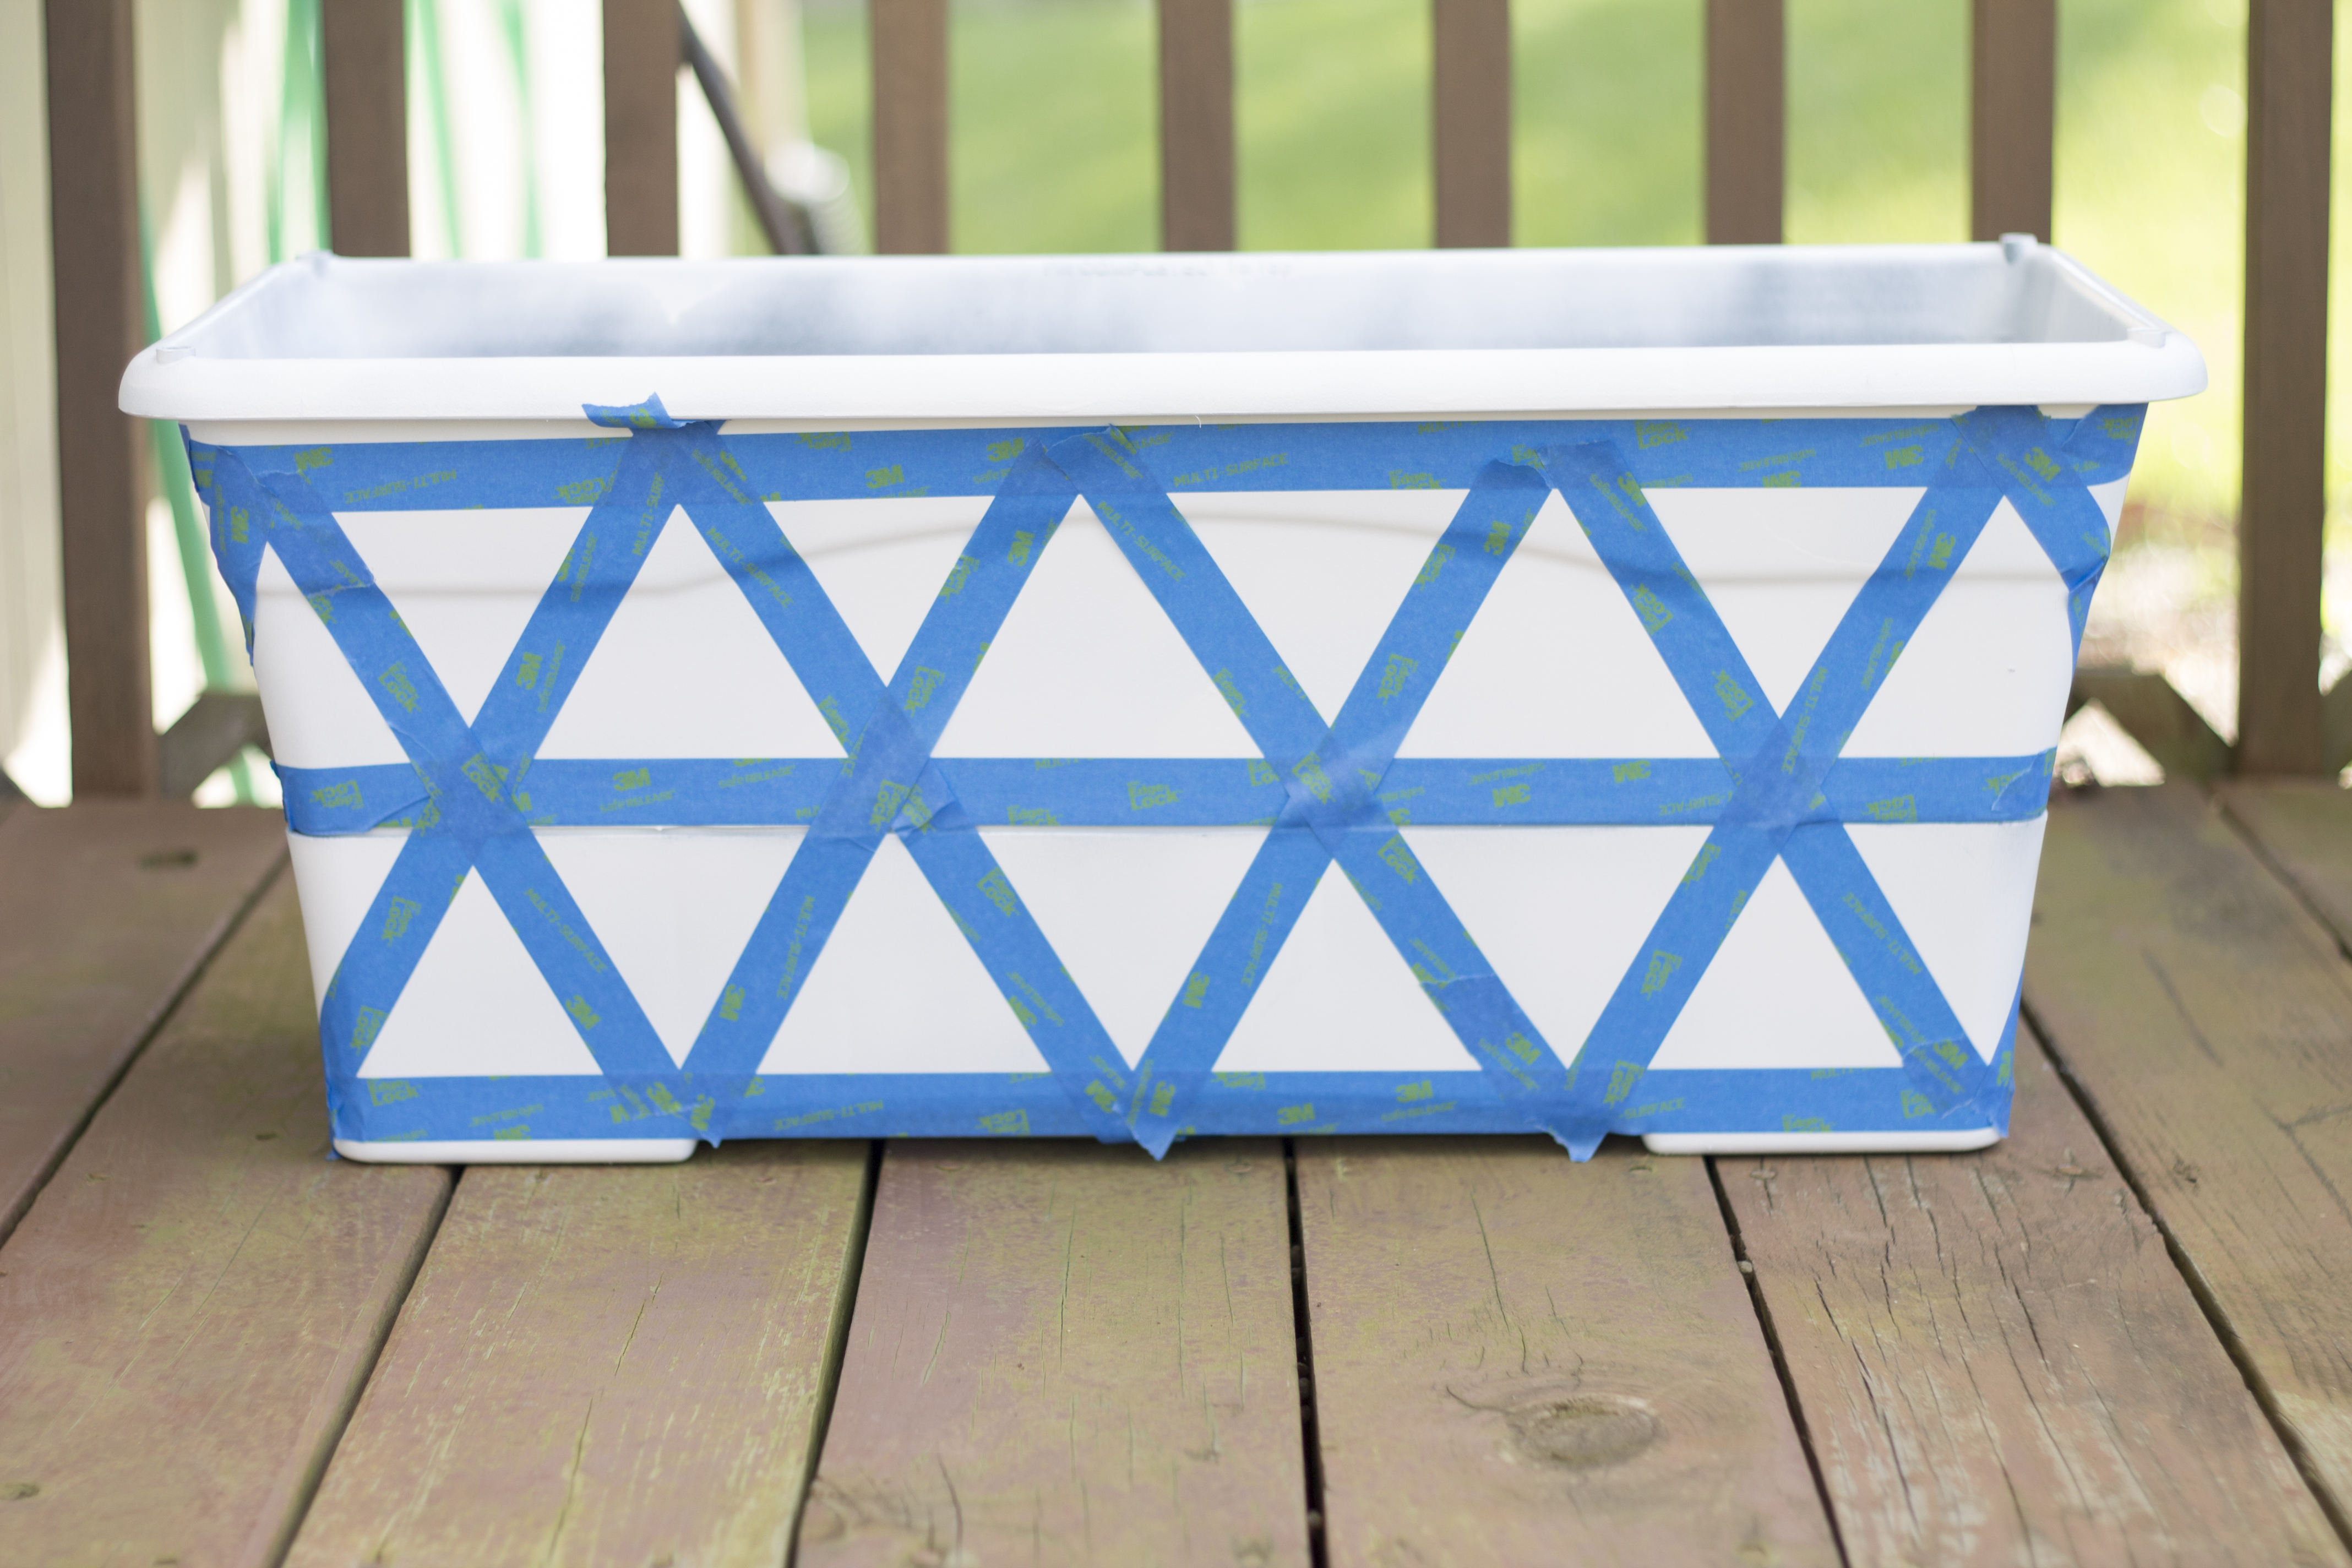
Apply painters tape to create geometric pattern.
I promise this picture makes this step look far more complicated than it actually is. Just follow the 3 steps below and you’ll be done taping in no time.
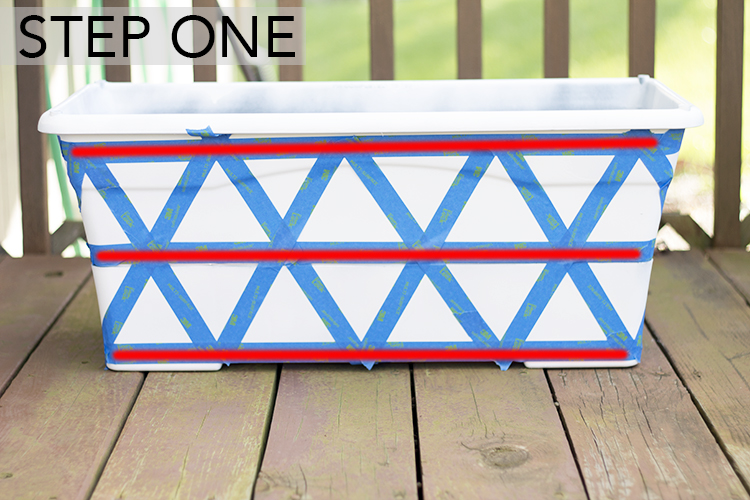
First tape 3 horizontal lines. These will be your top, middle and bottom white spaces. You’ll want these pretty evenly spaced out, but if I’m being honest, I didn’t do any measuring for this project. When it comes to this style, I think the imperfections give it more character. If you’re a perfectionist, get out a tape measure, it’ll just take a minute or two!
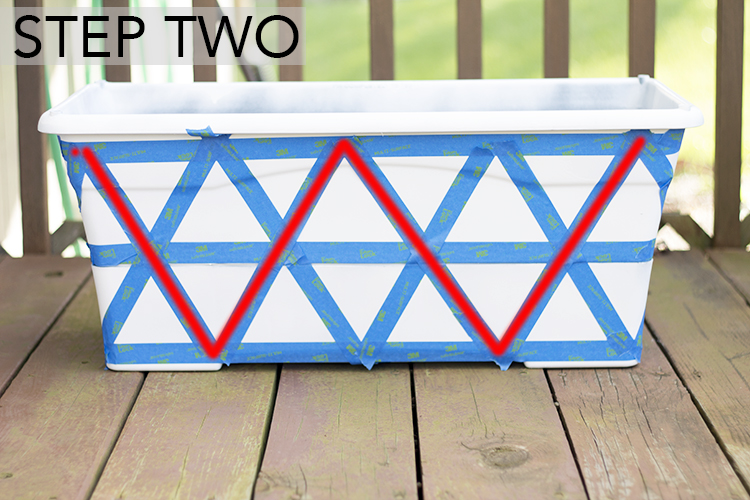
Next tape a zig zag pattern from your top piece of tape all the way to the bottom. You’ll want these to be fairly wide so you have room for the opposite zigzag. Again, I didn’t measure. If you’re doing a rectangular planter like me, the corners get a bit tricky. Just do your best to make them line up. Once it’s done you won’t even notice the corners are a bit off.
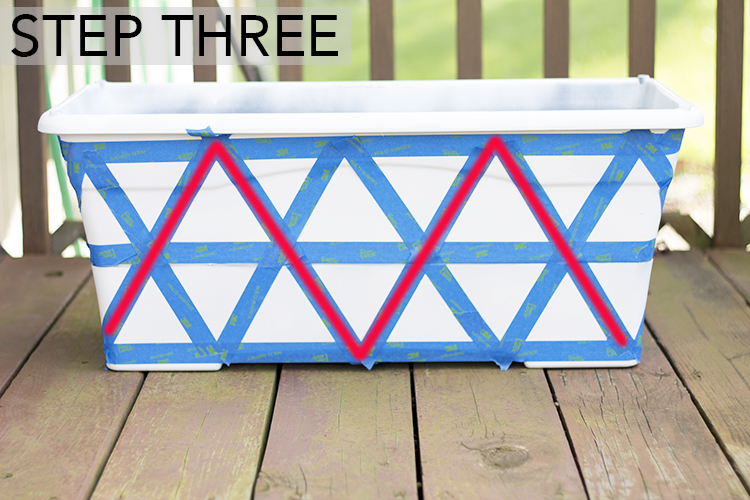
Now do the opposite and start at the bottom line and go up to the top and continue the zigzag pattern. I concentrated on intersecting the original zigzag and the middle horizontal line as exactly as possible to help keep my triangles even.
The corners were even more wonky at this stage. For this step I did the straight parts first and then went back and connected the corners the best I could, using a separate piece of tape for the top half and bottom half of the line to help it match up better.
Tape off the rest of your white space above and below your pattern and spray paint the triangles black.
After you spray paint, slowly remove the tape piece by piece and try to avoid tearing it all off at once so it doesn’t pull the first coat of paint off with it.
Now admire your handy work and pick out your favorite plants!
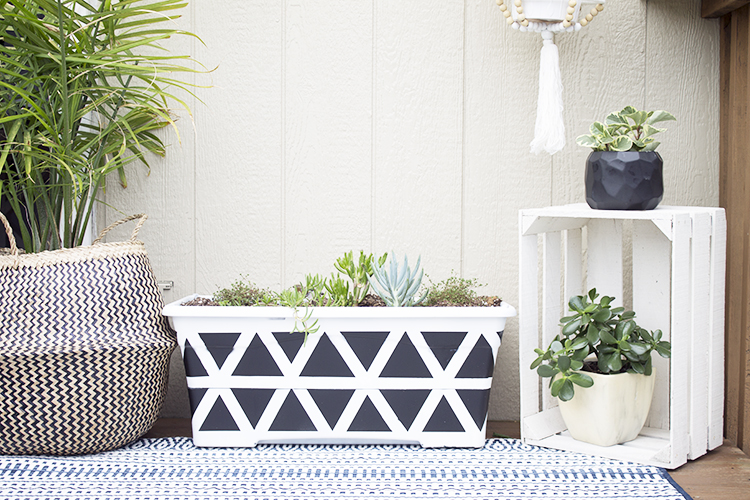
How to plant succulents in your planter.
In my planter, the bottom half catches water. For the original tomato plants, the roots would hang down and could “drink” constantly. Since succulents don’t need continuous water, I placed coco fiber liner in the bottom of mine for drainage and to keep the soil and roots from getting into the bottom half.
If you’re planting succulents outside you will definitely want some way for your plants to drain. For inside succulents, rocks in the bottom of a container work fine, but when they’re outdoors I recommend holes in the bottom of your container. When it rains you want it to be able to drain quickly.
I also used succulent soil to help with drainage.
The succulents I have in my planter are Pink Chintz Thyme, Trumpet Jade (Crassula Gollum), Blue Senecio, and an Ice Plant.
Guys I just love this DIY geometric planter. It’s so nice to take something that wasn’t doing anything for me and turn it into a statement piece. I hope you love it too and can apply this to your outdoor decor!
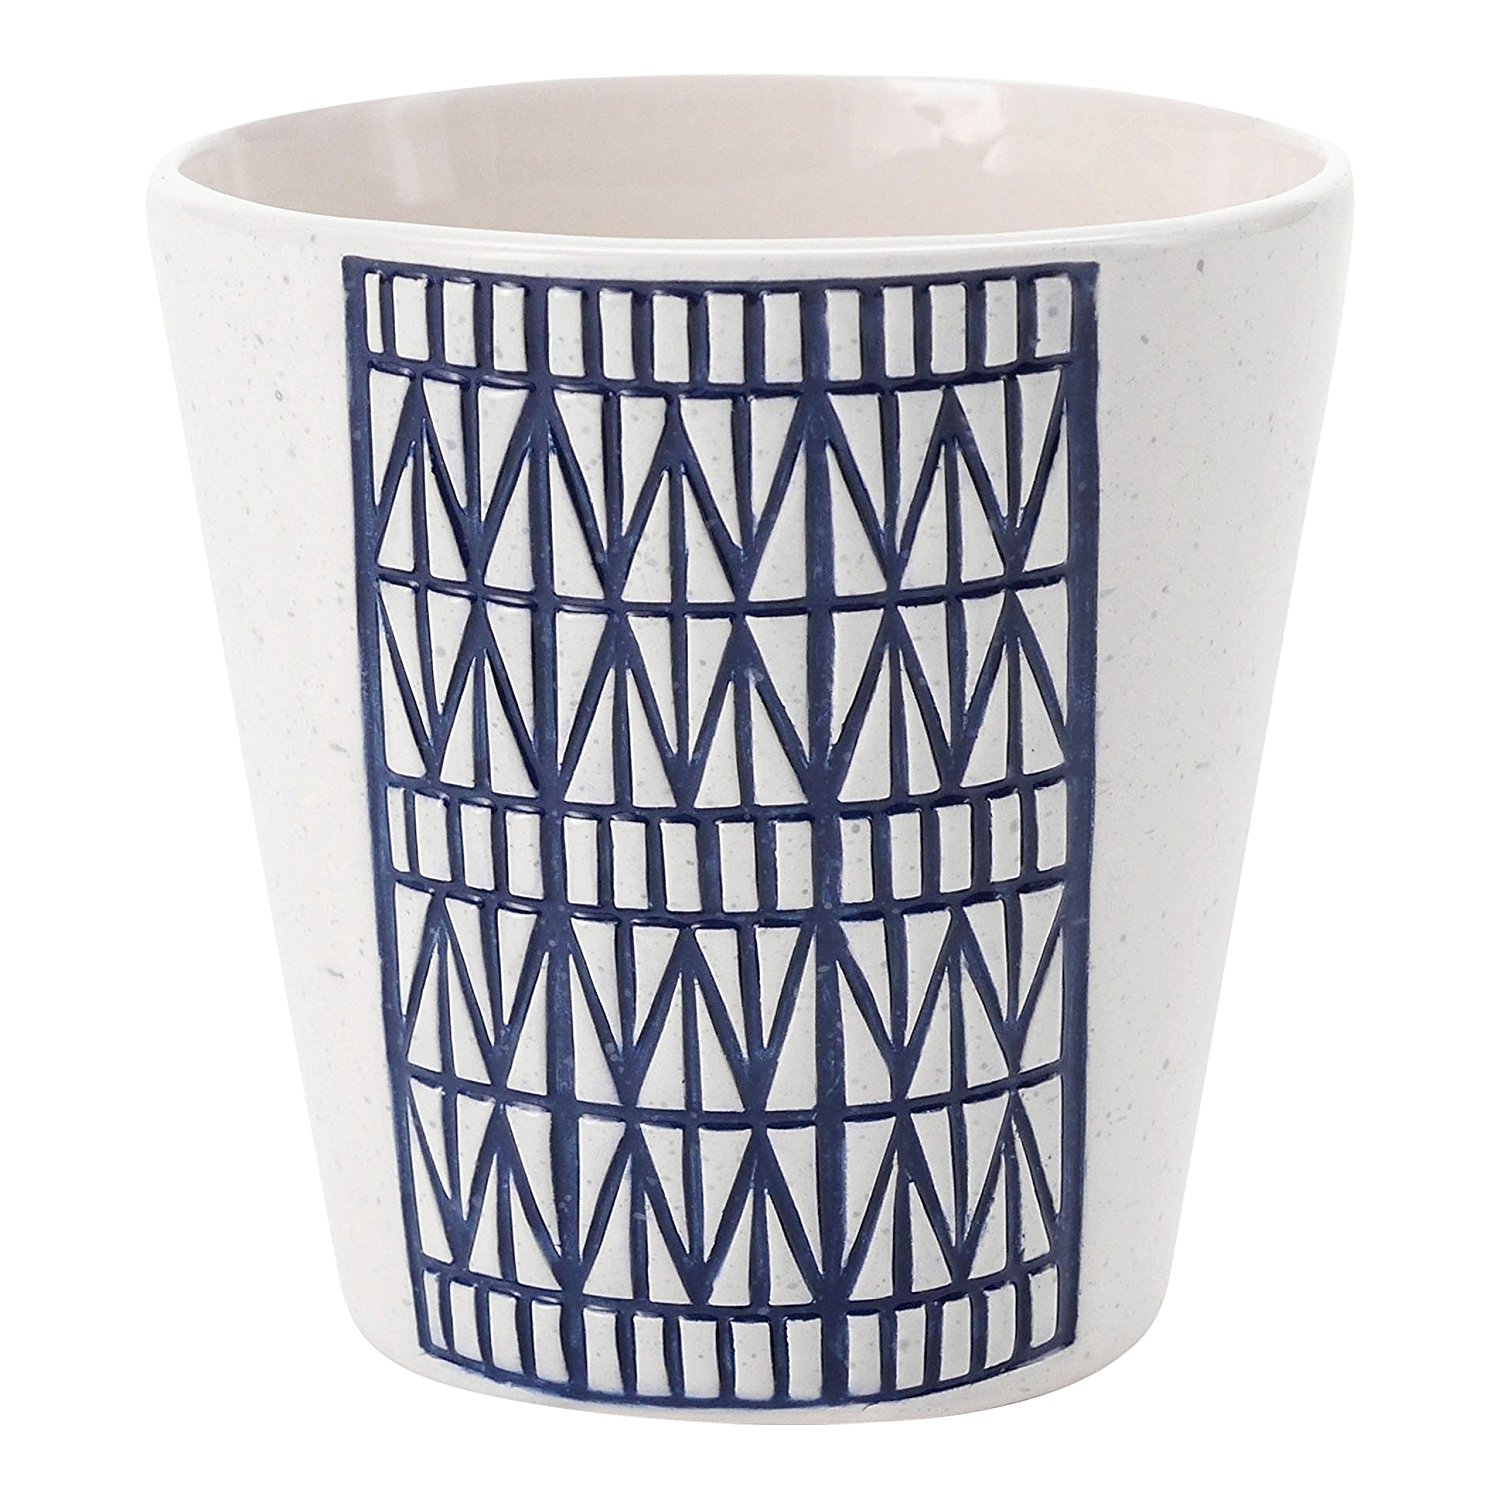
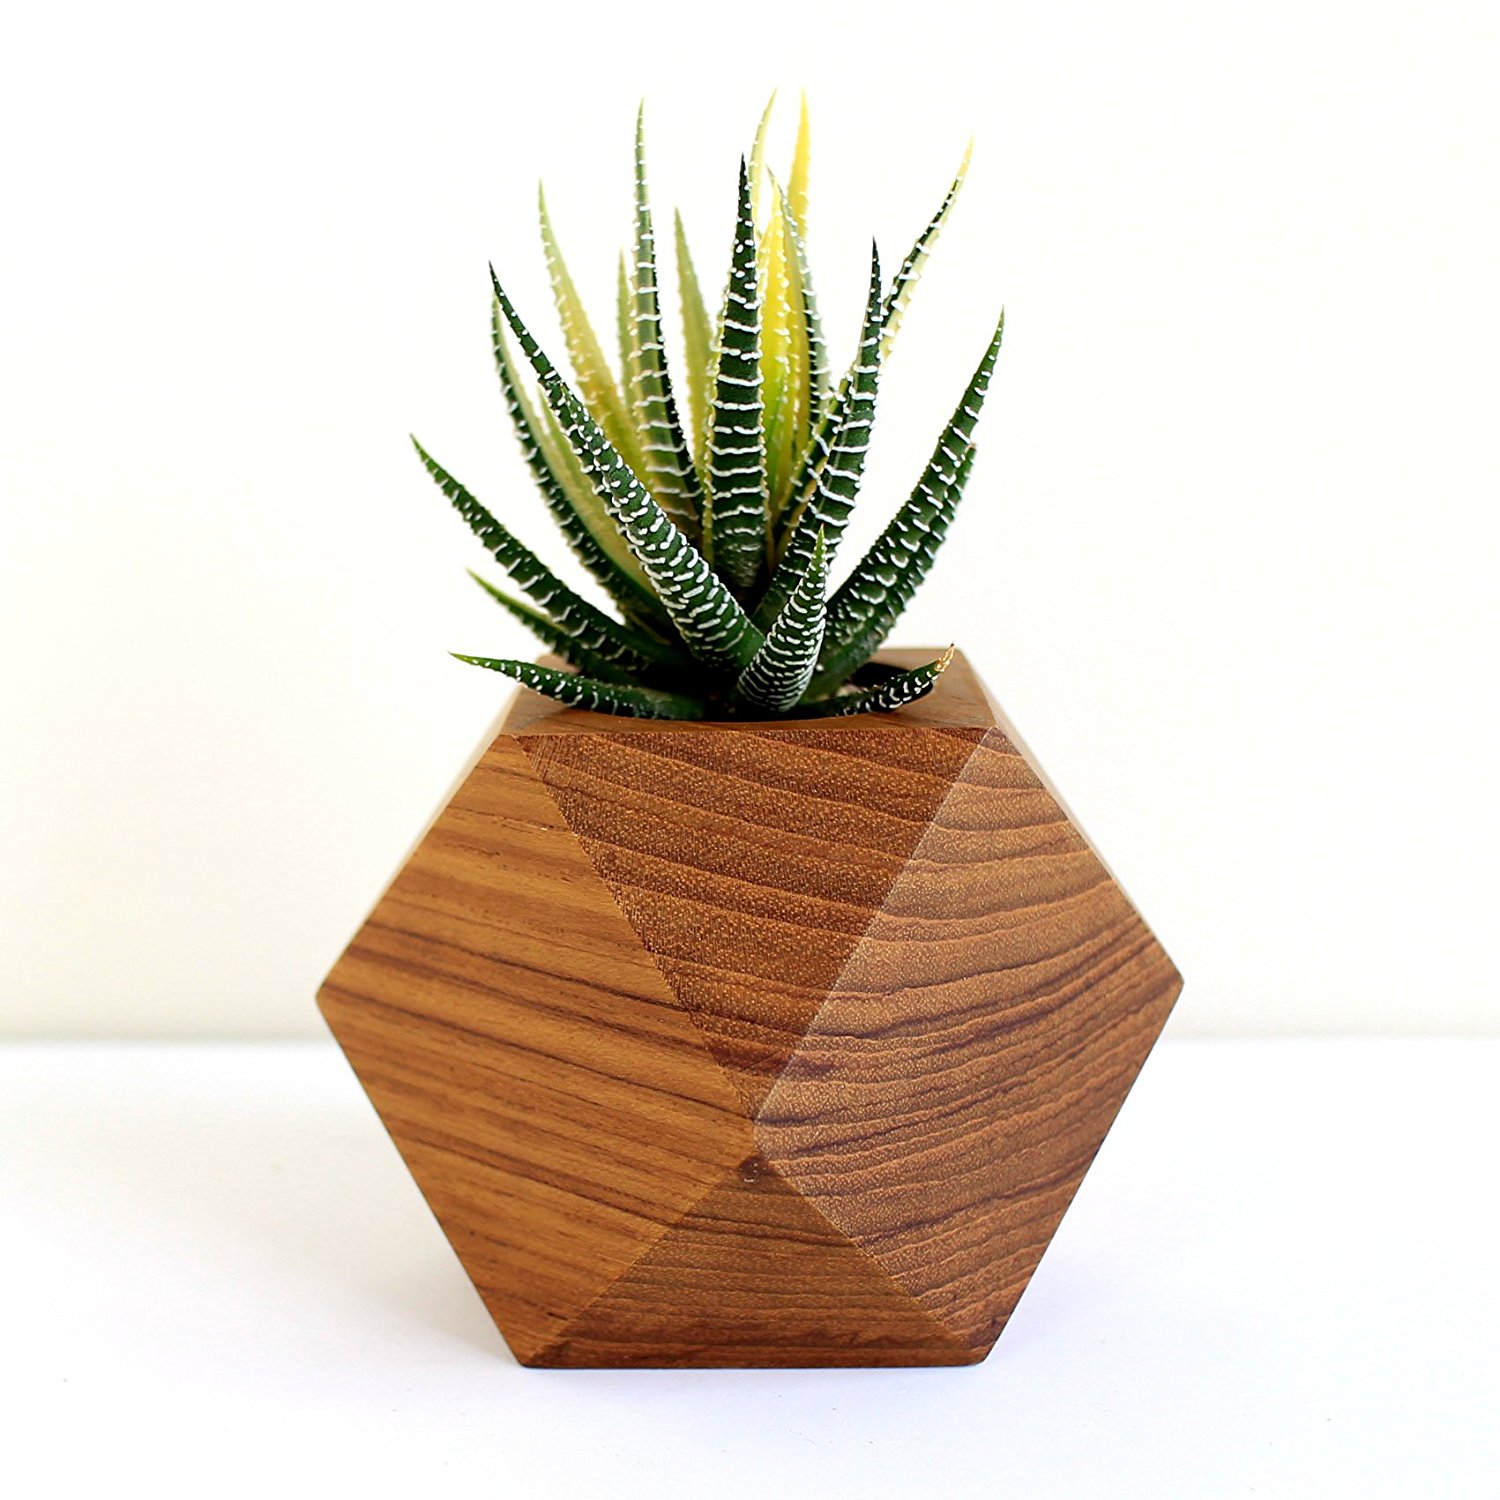
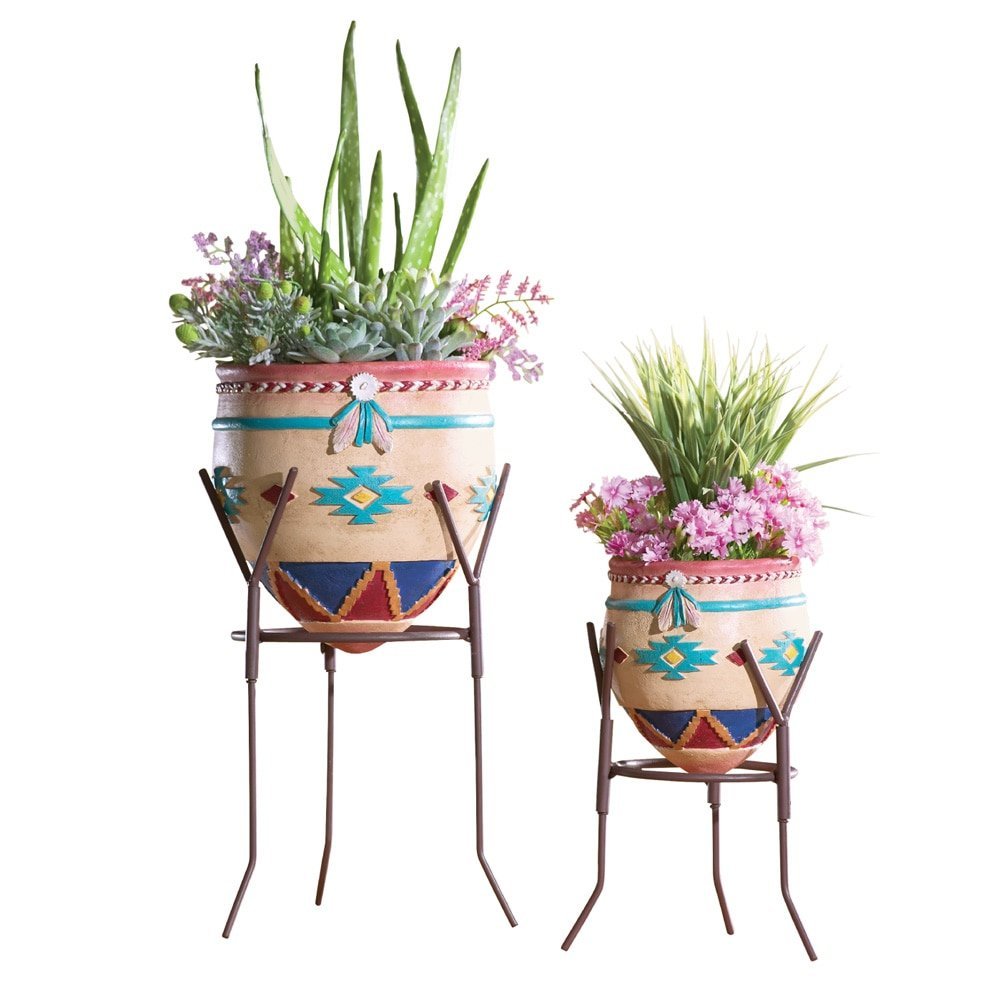
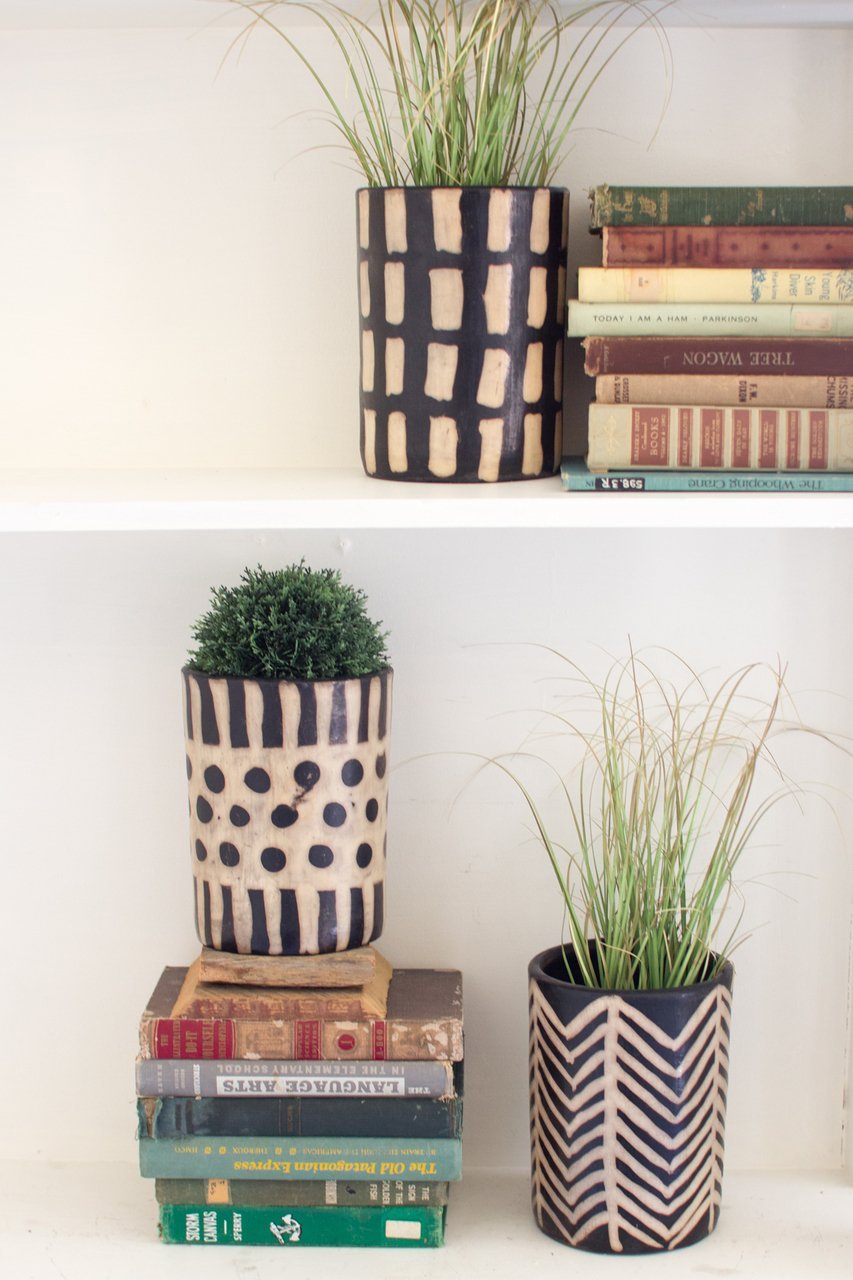
Geometric Planters from Amazon
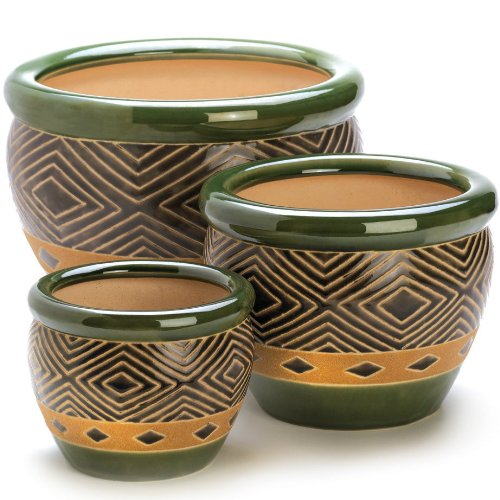
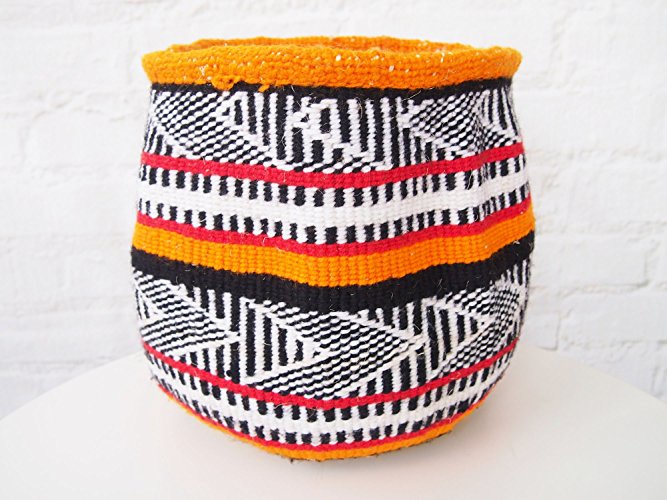
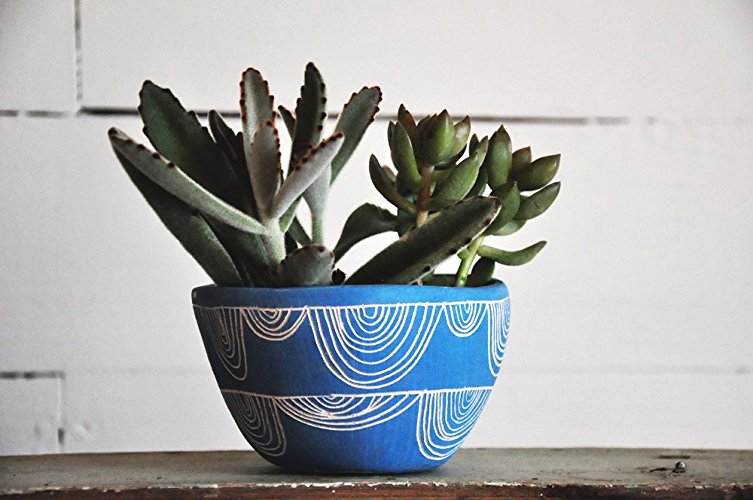
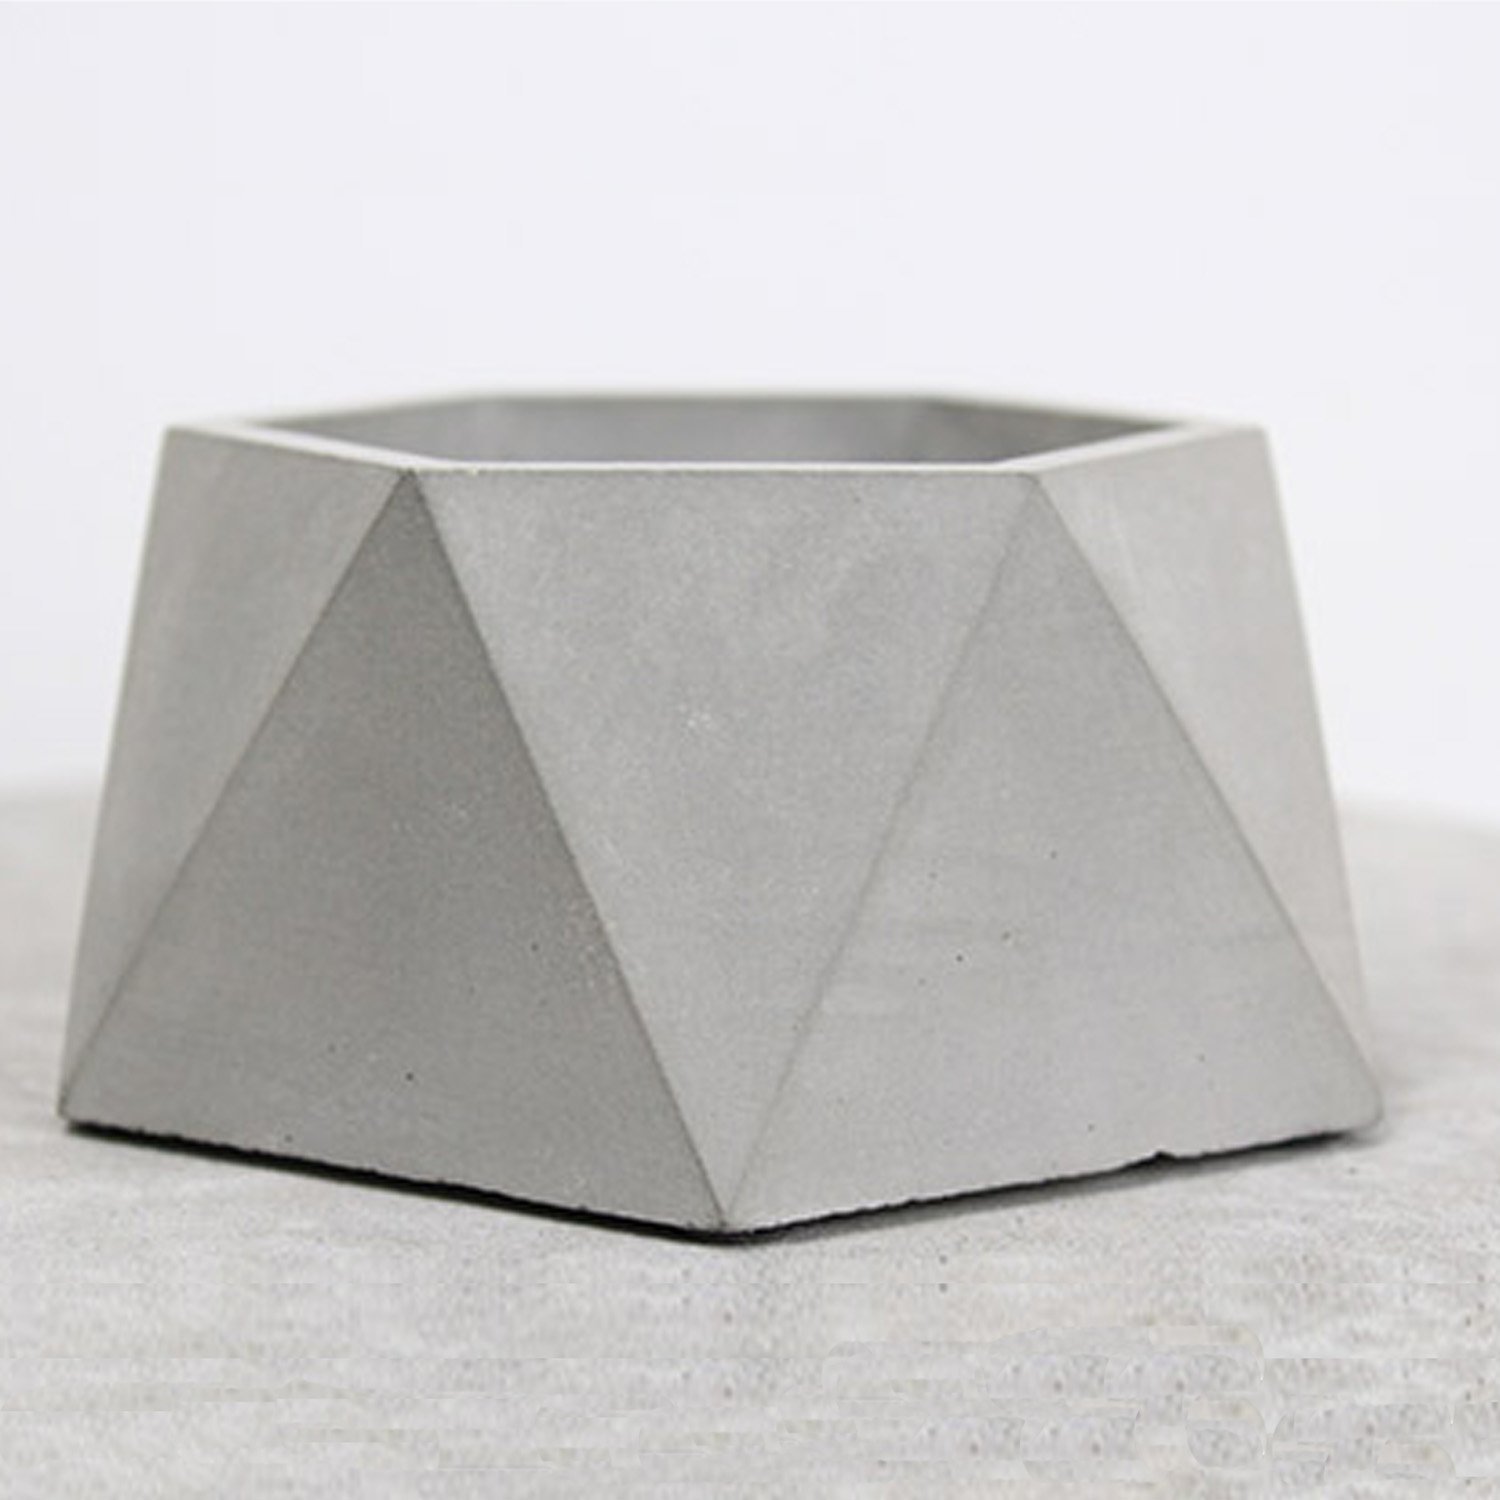
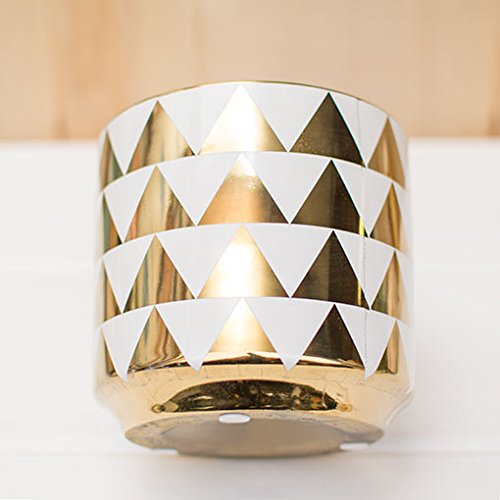
And as promised, how cute are all these planters? They’re all from Amazon – just click the photo to get to the product!
Click on the images to be taken to the products (affiliate links).
Ahhhh I just love a good planter and a good pattern!


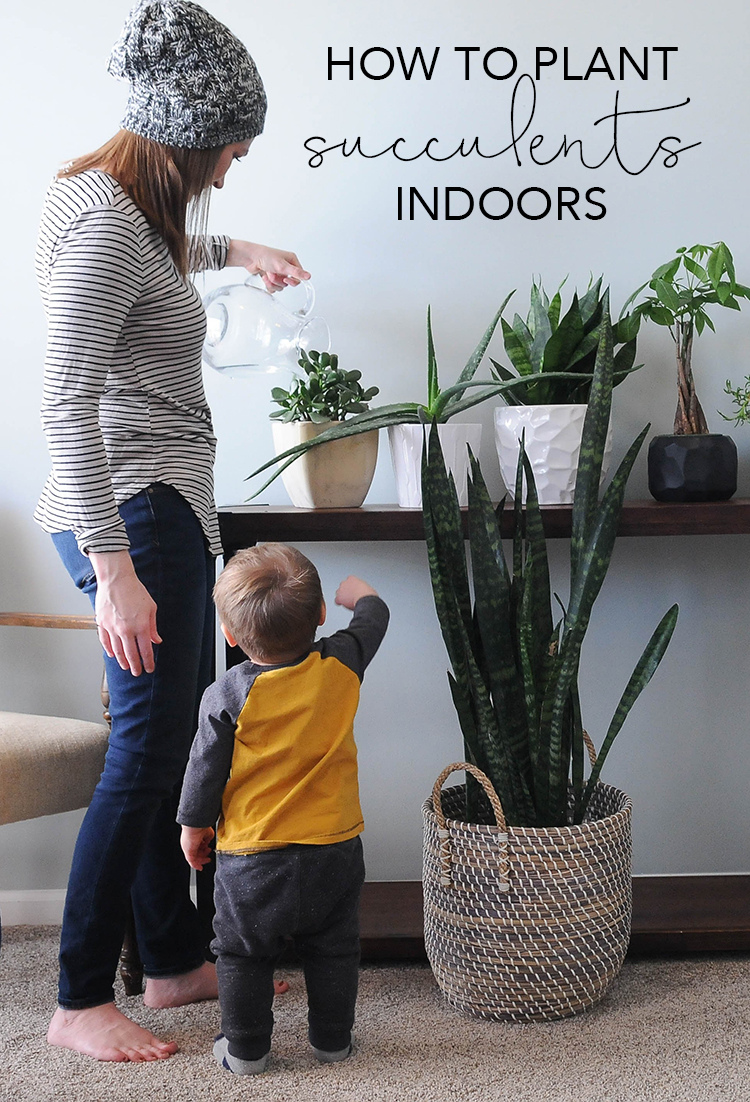
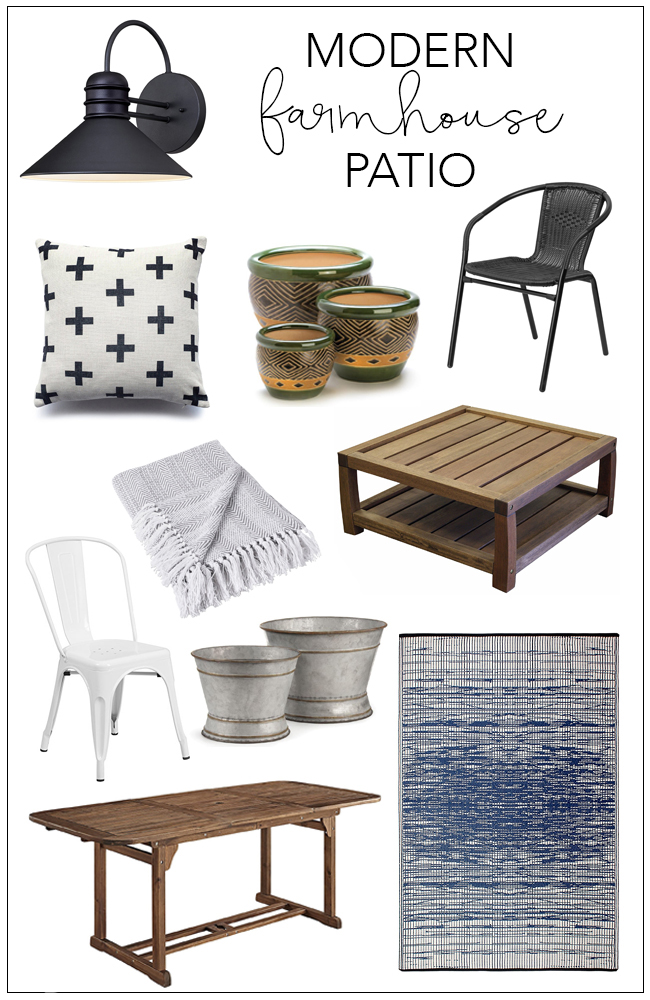
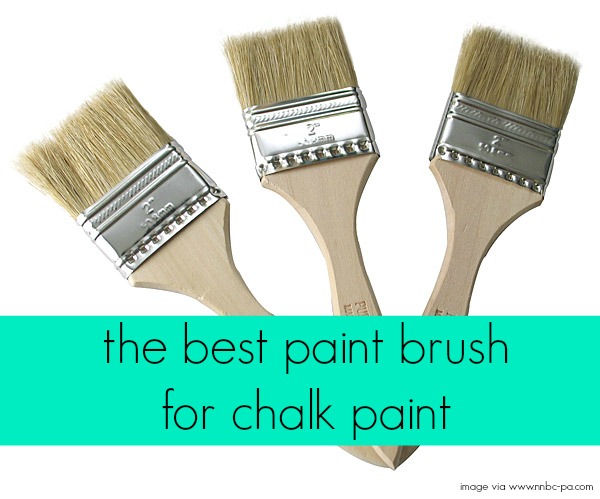
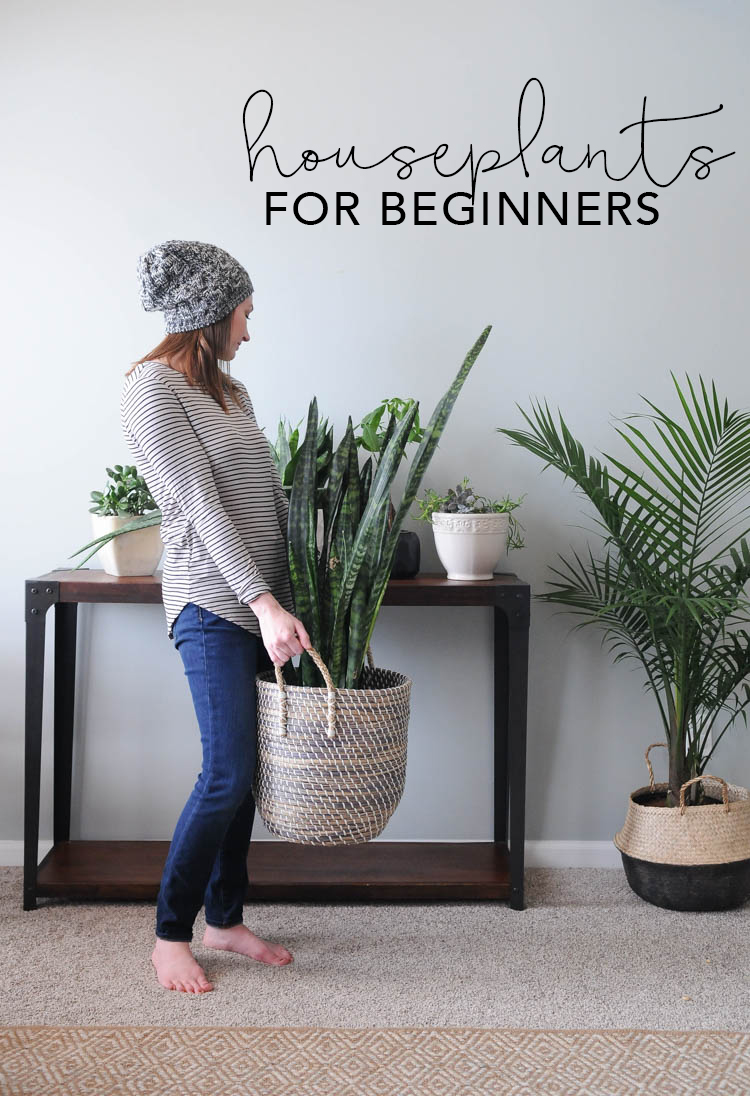
If you liked this post, please check out some of my other posts. I cover more about plants in my Houseplants for Beginners and How to Plant Succulents Indoors posts. You can find more outdoor decorating inspo in my Modern Farmhouse Patio shopping guide. And one of my most popular posts ever is the Best Paint Brush for Chalk Paint!


1 comment
[…] For detailed instructions, head to The Weathered Fox and read my entire post about creating a DIY Geometric Planter design. […]