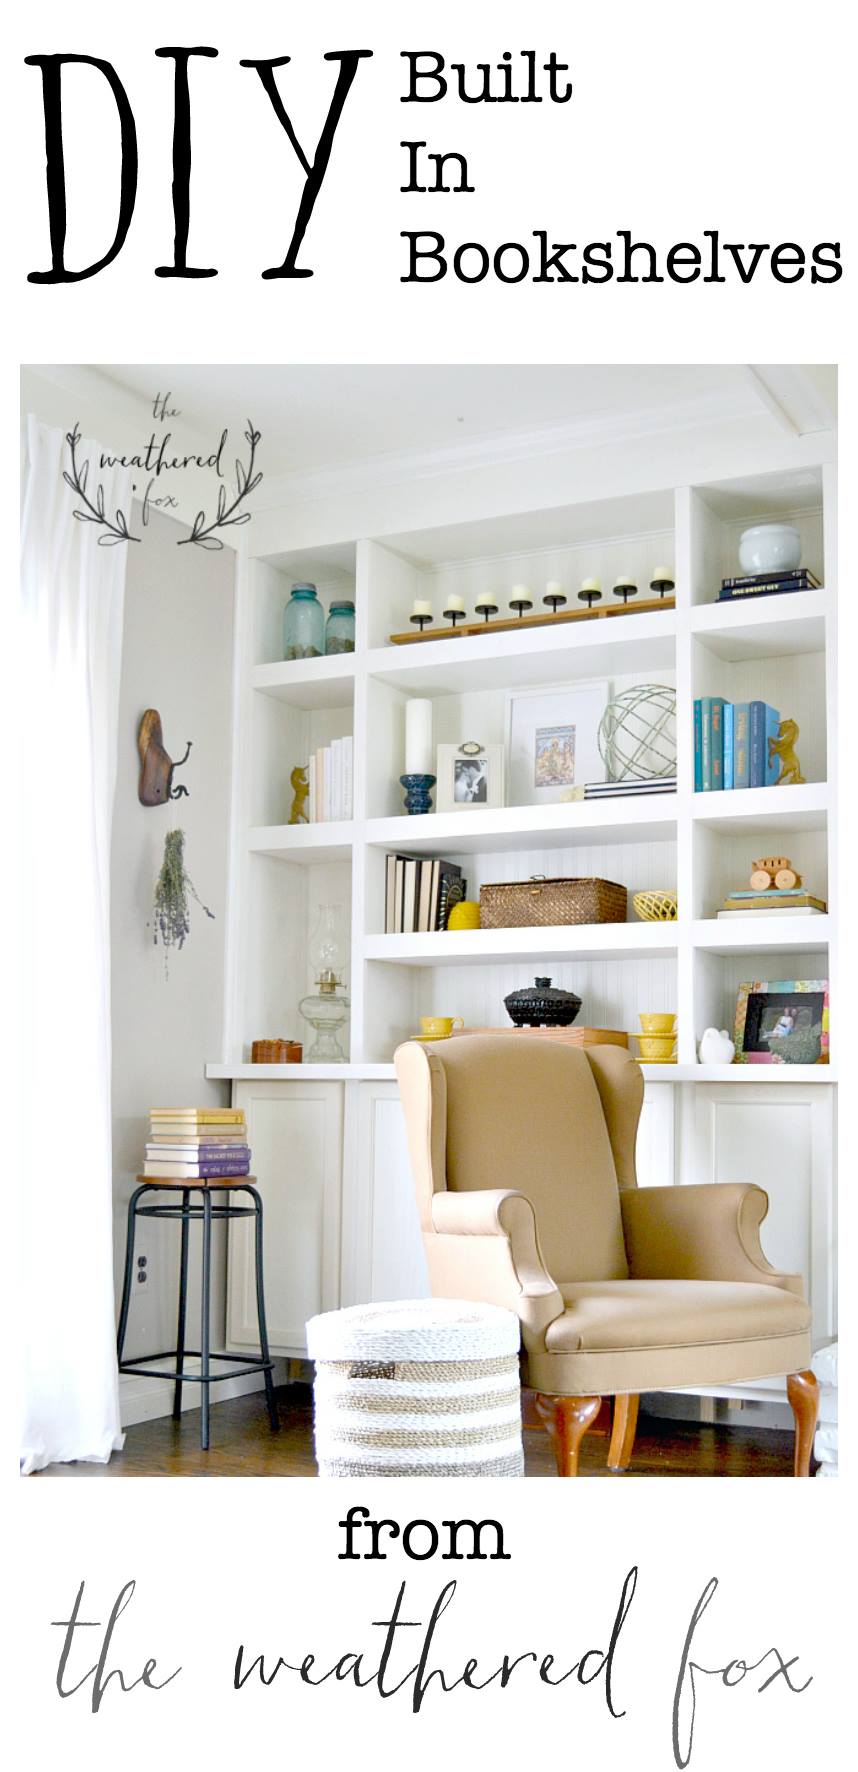
You know how I promised in my New Year’s Resolution Post to finish my projects? And how I promised to share them? Well, here I am making good on my promise. 🙂 Starting with the built ins we’re working on in the family room! I’m happy you’re here, because I’m FINALLY going to share with you how we built are building our bookshelves around the fireplace!
(This post contains affiliate links. This means I get commissions for purchases made through links in this post.)
Here’s an old photo of our family room before we had any built ins… or furniture apparently. 
I always knew that I wanted to eventually do built ins around the fireplace, but I didn’t want to do an ikea hack or spend a ton to have someone else do it. Finally I found a tutorial that I liked.
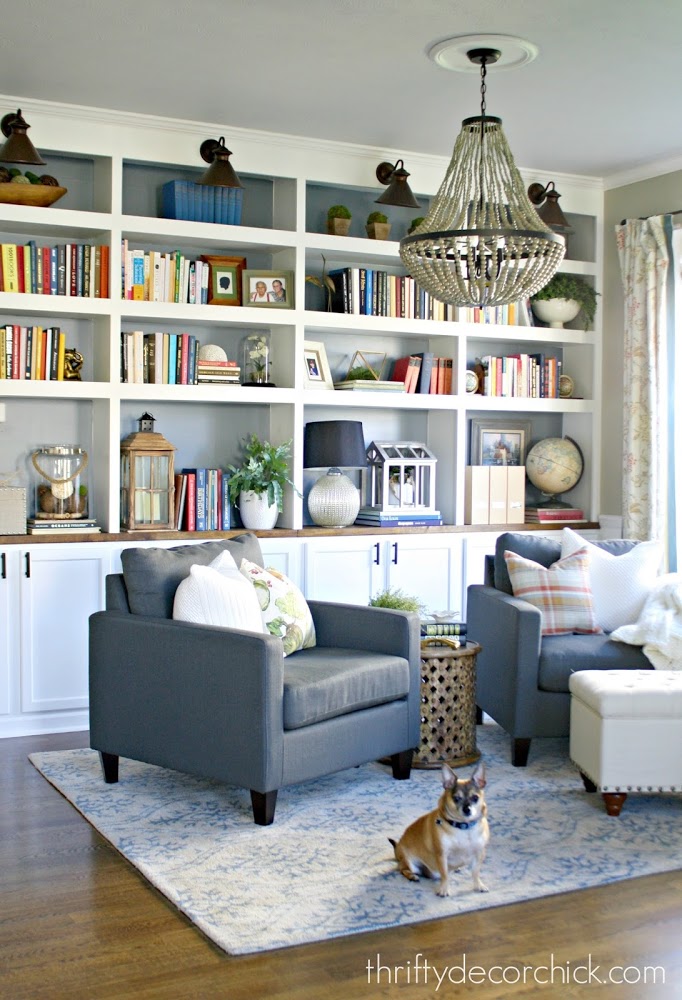
I’m gonna be honest with you here. A LOT of my inspiration and the actual follow through for these built ins came from Sarah at Thrifty Decor Chic. She’s a fellow DIY/Home Decor blogger & her built ins that she built in her dining room-turned-library stopped me in my tracks.
So, this isn’t as much a built in tutorial as it is a ‘here’s what she did’ and ‘here’s the little changes I made to fit my space’
I began working on these built in cabinets last year, with plans to finish them within weeks, but after dealing with some medical issues, I had a minor set back. But this is what one side of the built in looks like. This side isn’t even completely done, it still needs to be trimmed out and I only primed it so far, but it’s already gorgeous.
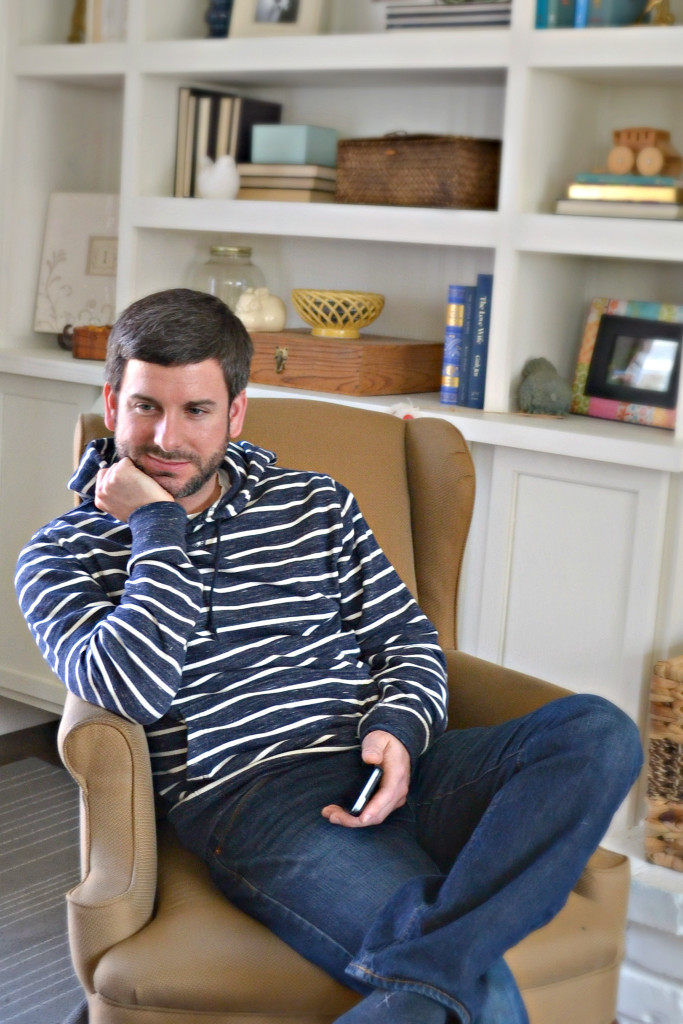
who’s that handsome guy?
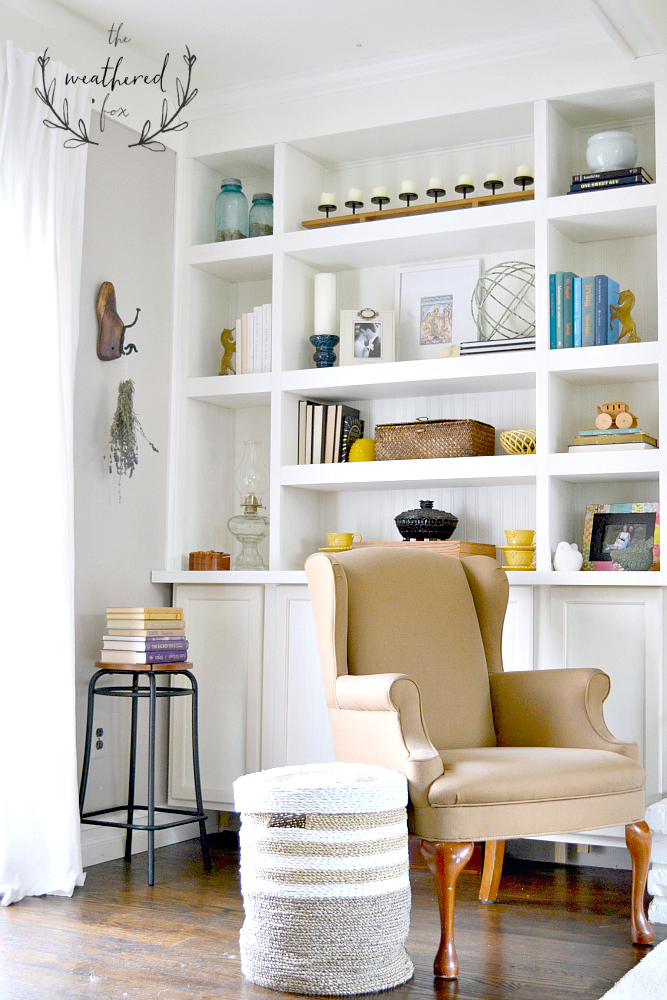
Can anyone spot the shims? 🙂
So here’s how we mounted the built ins!
Supply List
Here’s what I used (affiliates):
Drill and Bit set
3 inch wood screws
beadboard wallpaper
spray bottle
scissors
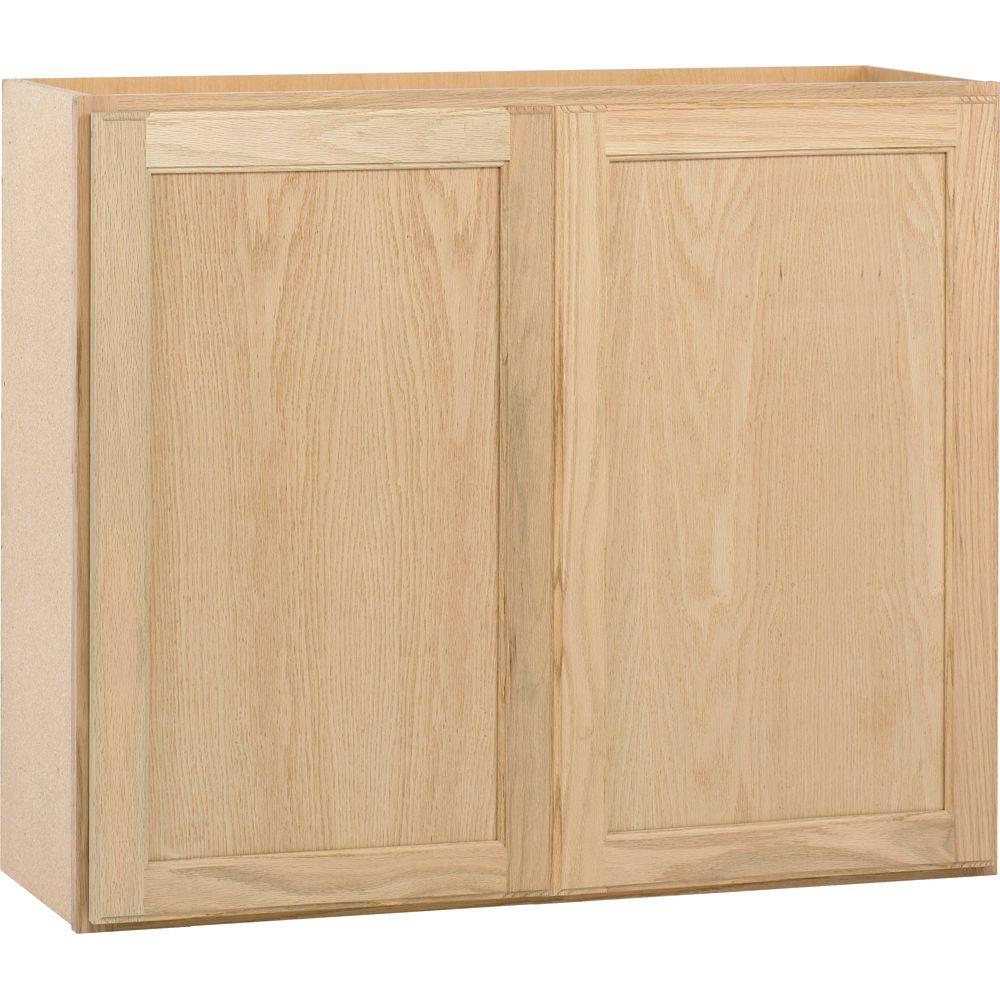
unfinished cabinets
shims
Level
liquid nails
Pine board for countertop
Starting with the base cabinets, I searched my area, checked out all the hardware stores, and did my research. I’m going for cheap. I don’t want cabinets that are so expensive I might as well have paid a pro to build the bookshelves for me. I watched craigslist for a while hoping to find some old kitchen cabinets I could reuse, and I even found comparable cabinets at Home Depot that were a decent price.
But I ended up going with Menards. The ONLY reason that beat out Home Depot was that they happened to have a 20% storewide sale, so it made the cabinets just that much less expensive. So keep an eye out for sales at both Home Depot and Menards!
I needed to build my built ins at each side of the fireplace, in a space that is a wonky 69 inches long.
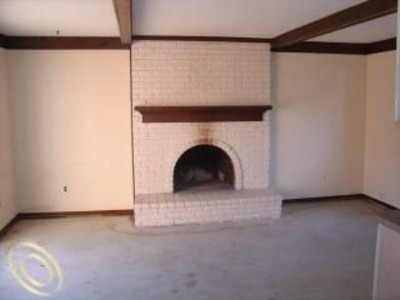
By the way, that photo is a complete before. This is how we found the family room when we first walked into the sad foreclosed home. I think it’s come a long way!
I couldn’t use two 36’s side by side, because that would be too long, and two 30s would be far to short and i wouldn’t get that built in look. What I ended up doing was using a 36 in the center, and two 15s on each end.
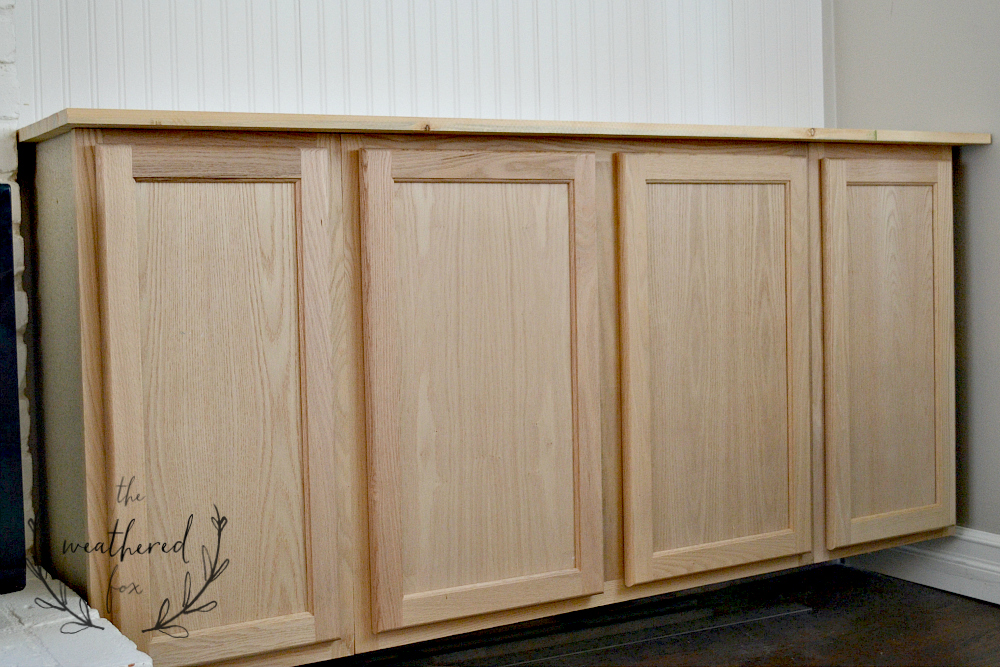
The nice part about the cabinets I bought is that there really is no top or bottom, so flipping it on it’s head makes the doors swing the other way, and solves the problem of the doors opening in a weird way. boom.
OK, so there’s a part here that I completed, took photos and even a video and I have no idea what happened to that sd card. It’s the part of applying the beadboard. Luckily it’s pretty simple to complete.
I chose to add beadboard wallpaper to the walls to act as ‘the back of the bookshelves’ . I use the Allen and Roth wallpaper from Lowes. I’ve used it all over my house, so let me give you a few tips really quick:
- you don’t have to soak the wallpaper in the tub. I use a squirt bottle. I roll it out on my kitchen island, cut it to size, and squirt the wallpaper down til it’s good and soaked.
- If you want it to be seamless, cut off the seams on either side. Because this wallpaper is so stinkin cheap, it’s not seamless. In fact, the seam is right smack in the middle of one of the raised panels and is pretty obvious. To fix that, I always cut the paper to create a new seam in one of the ‘grooves’ of the beadboard. And you have to do it to both sides of the pattern. It honestly doesn’t take that long and it makes a huge difference when you get it on the walls. So because I cut each side at the ‘groove’ or the ‘indent’ of each piece, the seams always line up perfectly. you can see in the photo below. And once the wallpaper is painted, those disappear completely.
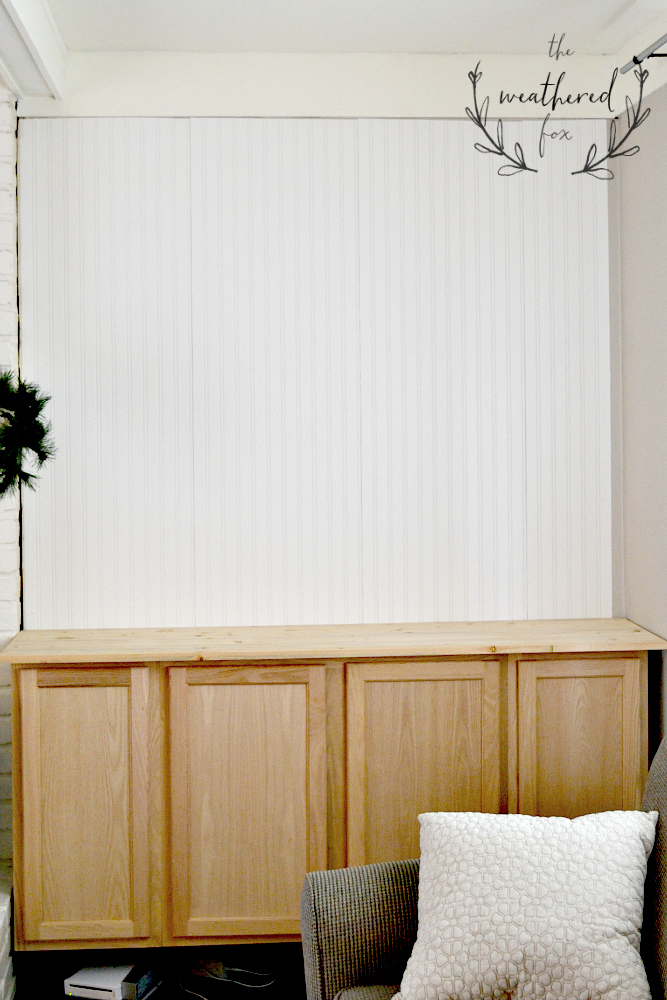
***I can post a beadboard tutorial if this was confusing, just leave a comment below!***
OK, back to the cabinets. You can see in Sarah’s tutorial, she created bases for her cabinets to sit on so that she could tack her baseboards to the base of the cabinet.
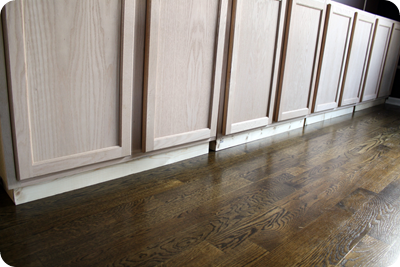
Thirfty Decor Chick
I did not do that, I mounted the cabinets directly to the wall. And the reason behind this is that my baseboards are almost 6 inches high. I didn’t want to lose out on all that space. Instead, I mounted mine to the wall and plan to build slide out drawers for the space at the bottom.
Only thing you need to worry about is leveling your cabinets, since the walls may not be level. So you’ll need a few shims and a level.
Last thing you may notice is that I did not use butcherblock countertop. I’m planning to paint it all white anyway, so I just went to Lowes and picked up a board wide enough to cover the top of the cabinets and a bit more.
I ended up with this pine panel. It’s 16 inches wide, and 72 inches long. Perfect.
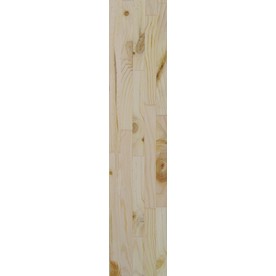 White I was there, I had them cut it to size, then I just glued it on top of my cabinets with Liquid Nails.
And here we are at the end of our first day.

Come see how we built the frame here
Like this post? Please pin the love!

2 comments
[…] by building our own built in bookshelves flanking out fireplace. You can check out that series [here] These farmhouse style bookshelves are a super fast way to add the same functional storage space […]
[…] Built in Bookshelf Series […]