Hi friends!
Today I want to share with you a super quick and easy (and inexpensive) dollar store Christmas decor idea! I’ve been obsessed with the dollar stare lately, maybe it’s because I want to decorate, but am just not interested in spending a ton of money on decoration that only stay up for a couple weeks. Anyone else? I’ve been getting a lot of inspiration from places like Pottery Barn and Pier One, and just creating decor from dollar store items. This week I shared a Facebook Live tutorial on how to make these adorable Pottery Barn inspired DIY Mini Tabletop Christmas Trees. I’m just in love with them and they only cost a couple dollars to create!
(This post contains affiliate links. This means I get commissions for purchases made through links in this post.)
DIY Mini Tabletop Christmas Tree
Here is the prerecorded live tutorial that I shared in our Farmhouse Decorating 101 group. Please ignore the constant focus brackets on my face. I was testing out a new video set up and didn’t realize they would show! (By the way if you’re not a part of the group yet, you need to be! We have giveaways and live tutorials every week!) And if you don’t feel like watching, keep scrolling for the pictures.
Clicking below will open the video in a new tab on Facebook.
What you’ll need to make your DIY Mini Tabletop Christmas Tree
Drill & bit
dark wax ( I used this) or stain
paper towel
raffia or ribbon of choice
mini ornaments
dollar store christmas tree
hot glue gun
DIY Mini Tabletop Christmas Tree Steps
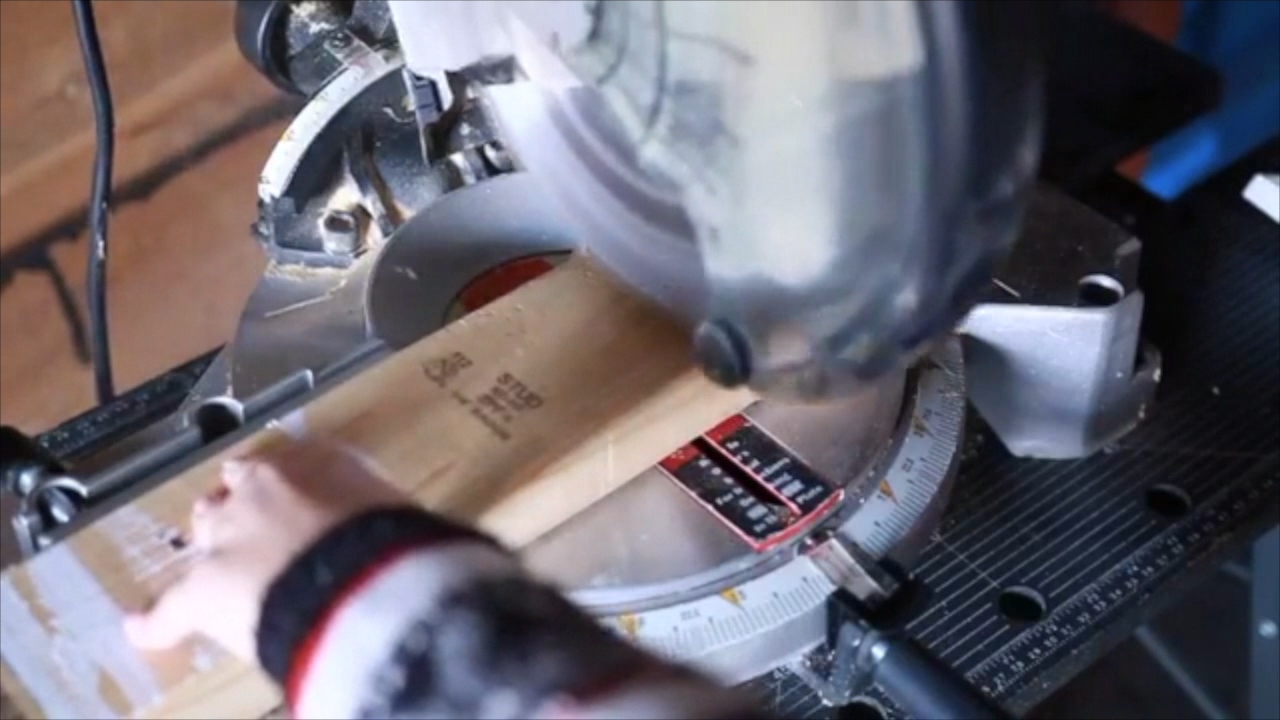
The first this I did was take my spare 2×4 and cut it into small section using a miter saw. You can also go to your local hardware store and ask them to cut it for you there. Which is pretty convenient, especially if you don’t have a saw, or uncomfortable using one.
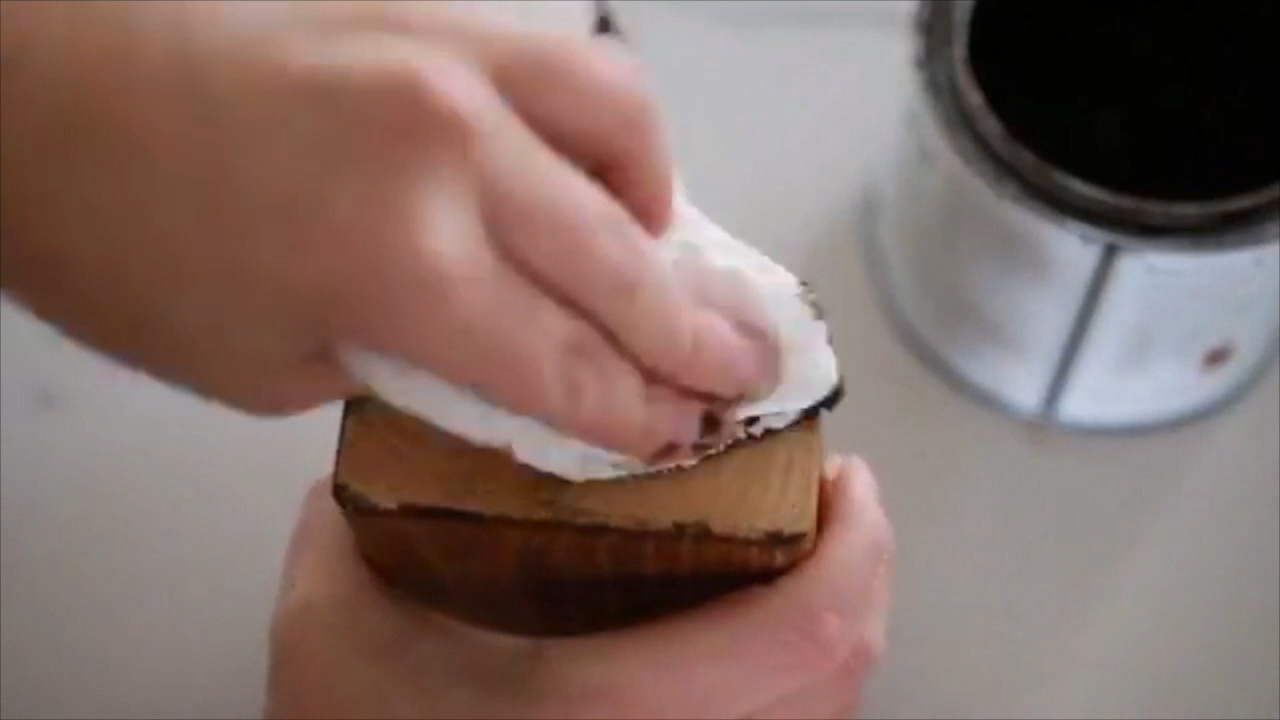
I rubbed some dark wax ( I used this) on the pieces to give it a rustic kind of color. You can also use a dark stain.
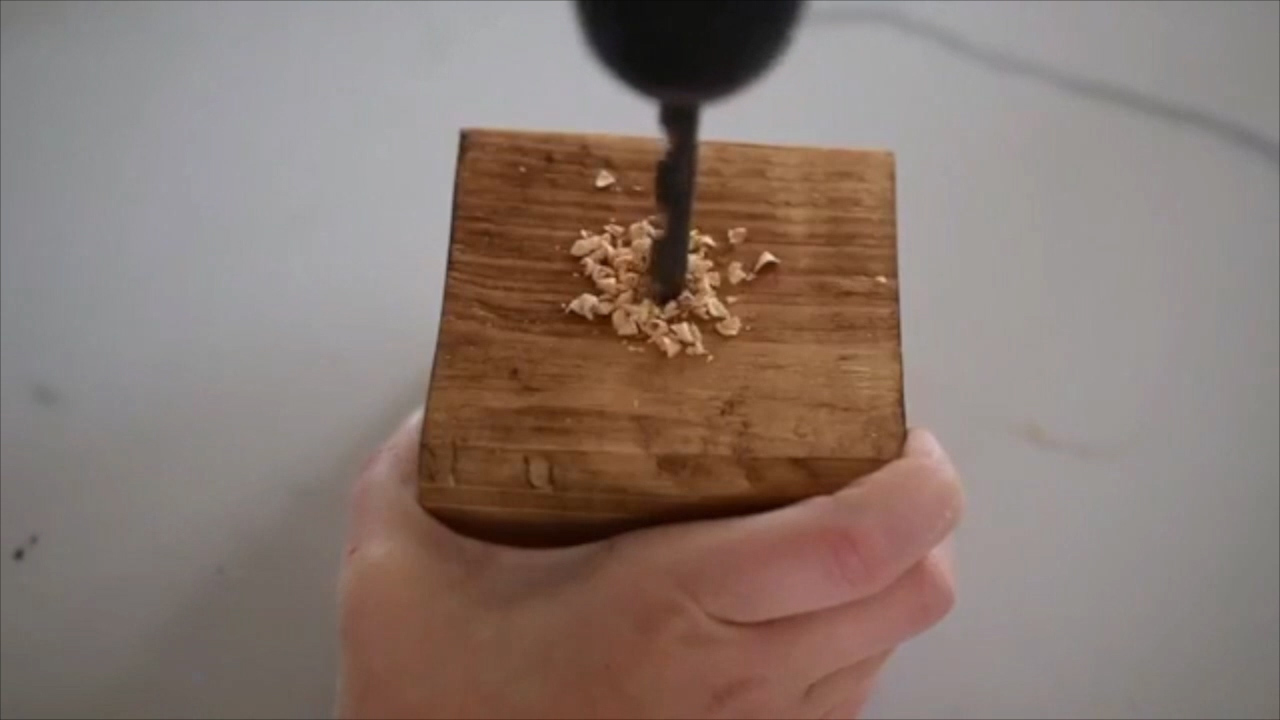
You’ll also want to drill a hole in the base about the same size as the stem of the tree. If you’re drilling on your pretty countertop, be sure you have extra wood under your base piece so you don’t accidentally do any damage to your counters!
Once the base is stained and the hole is drilled for the tree, grab your raffia or ribbon and start the wrap it around the stem of the tree, covering all the green stuff. To start, add a little hot glue and attach the end of your raffia. Once the glue is dry, just wrap the raffia all the way up the section of the tree.
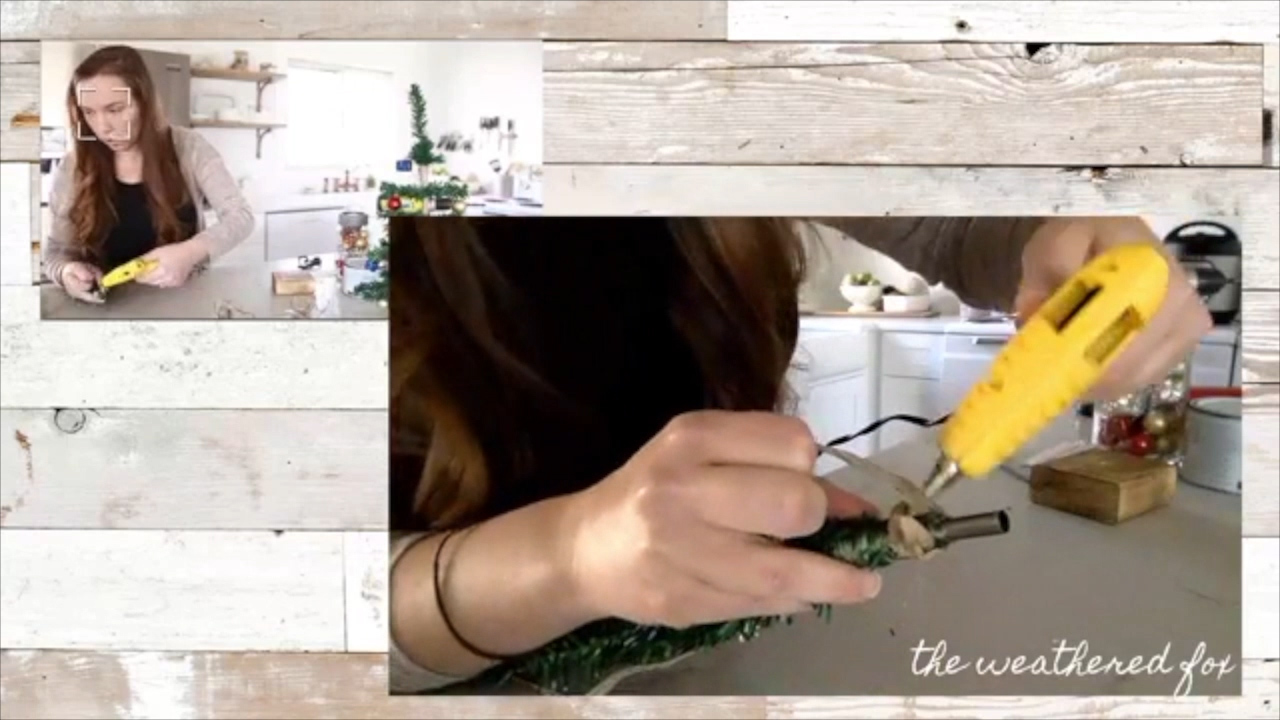
One thing I found helpful when working with raffia is to try to find the widest pieces, which makes it a lot easier to wrap it around your tree.
At the end of a section, simply glue the raffia in place and cut off the excess. Continue wrapping each section until you get to the top! After that, just fluff each section, add your tree to the base, and add your ornaments!
I had some fun moving them in different parts of our home. These are so adorable and small enough to even decorate in a small kitchen like mine.
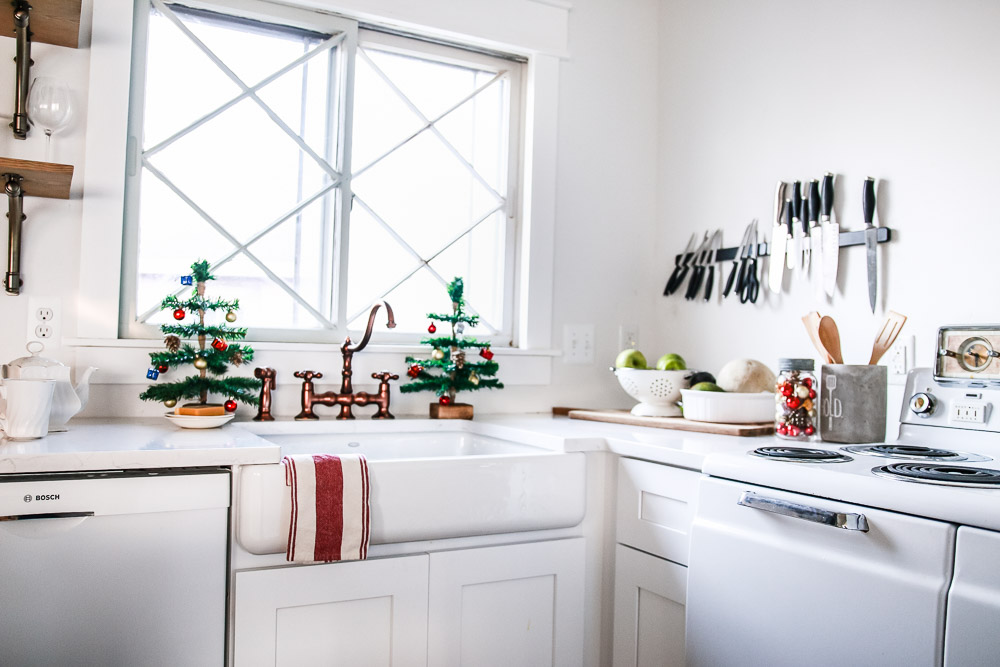

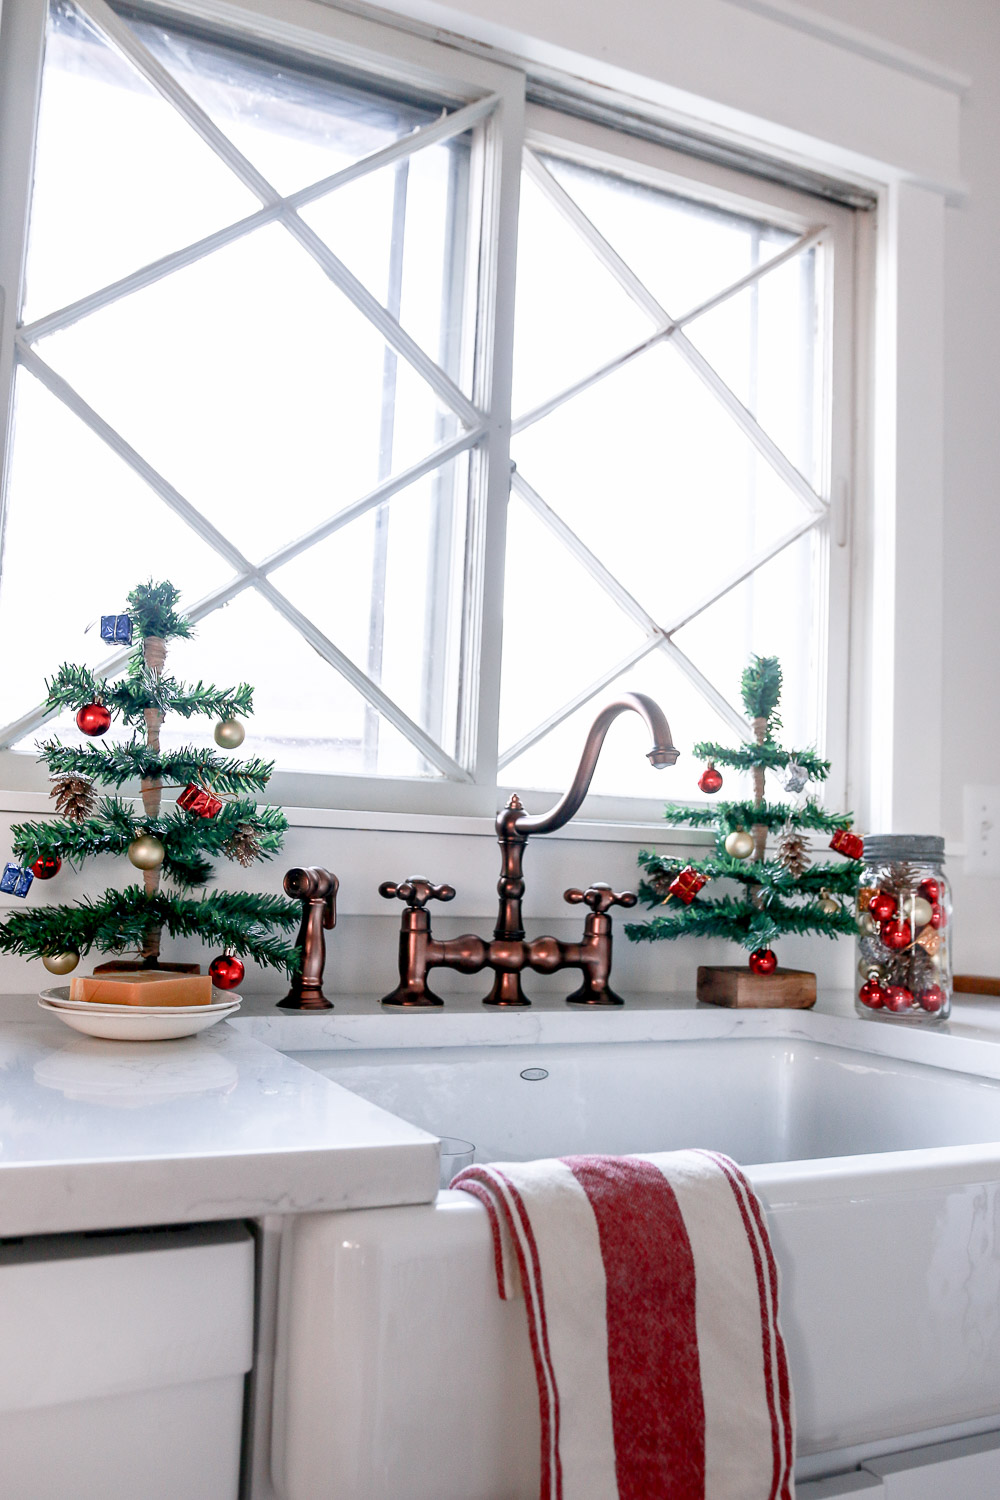
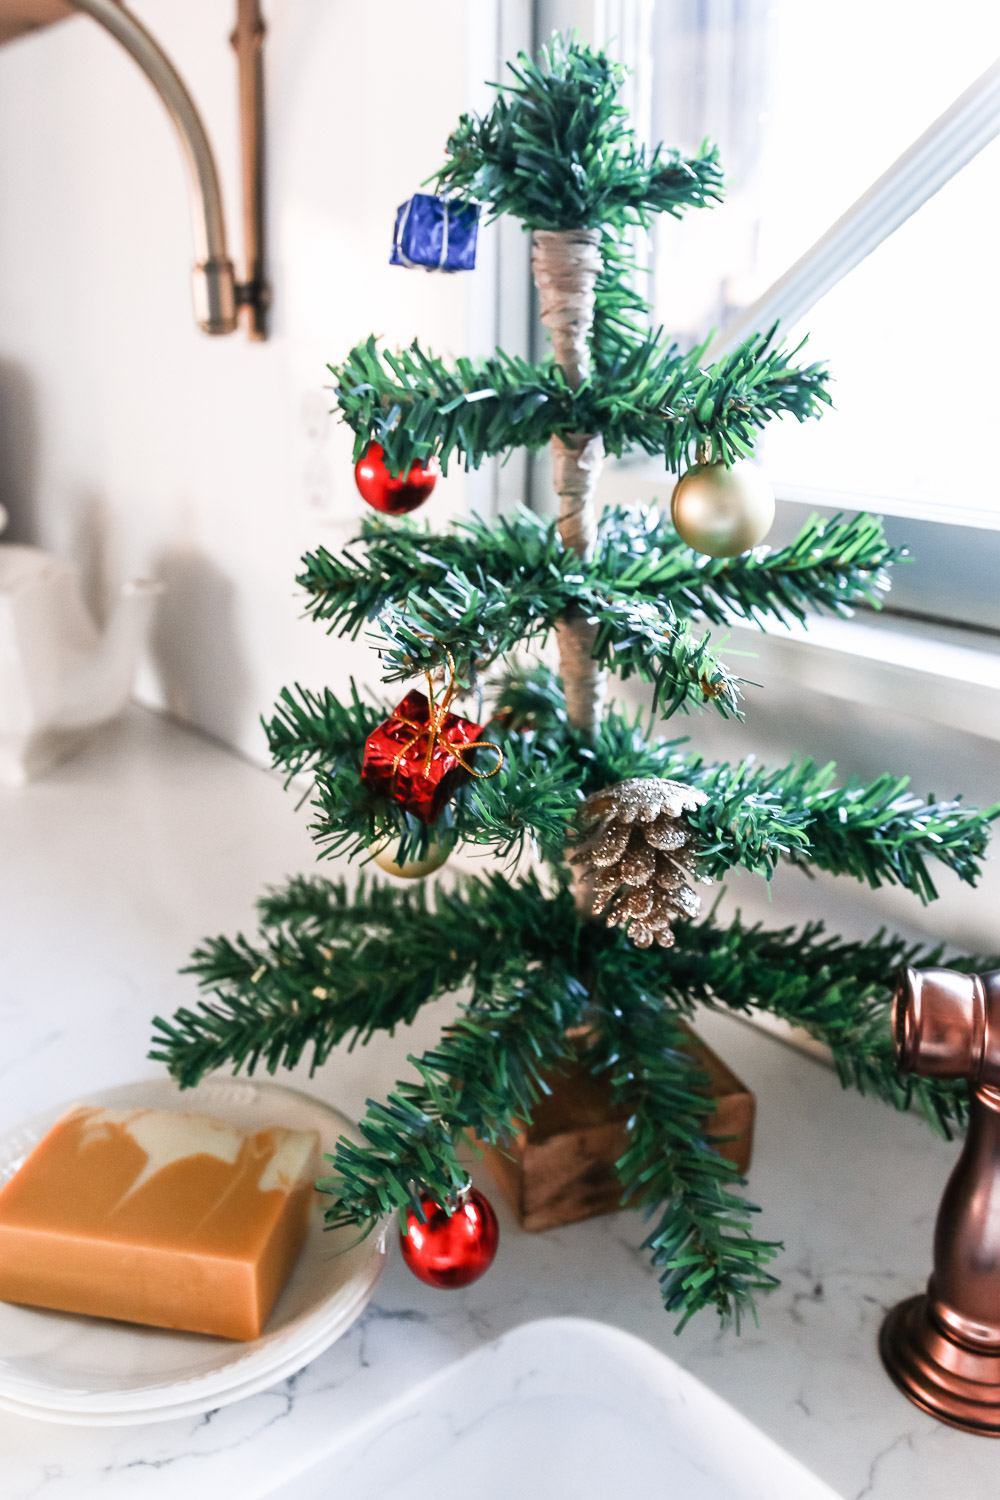
I also stacked them on top of a couple books on our coffee table. They would be a welcomed addition to a holiday get together, or just a little extra Christmas spirit to set your warm mug of hot cocoa next to.


For only maybe $6 to make the pair of trees, I’d say this was a Christmas decor idea that’s high style – low budget approved!
Have you done any Christmas decorating with dollar store items? I’d love to hear about them in the comments below!



1 comment
[…] shared how I turned a dollar store tree into a mini tabletop christmas tree inspired by Pottery Barn. I love how these little trees turned […]