
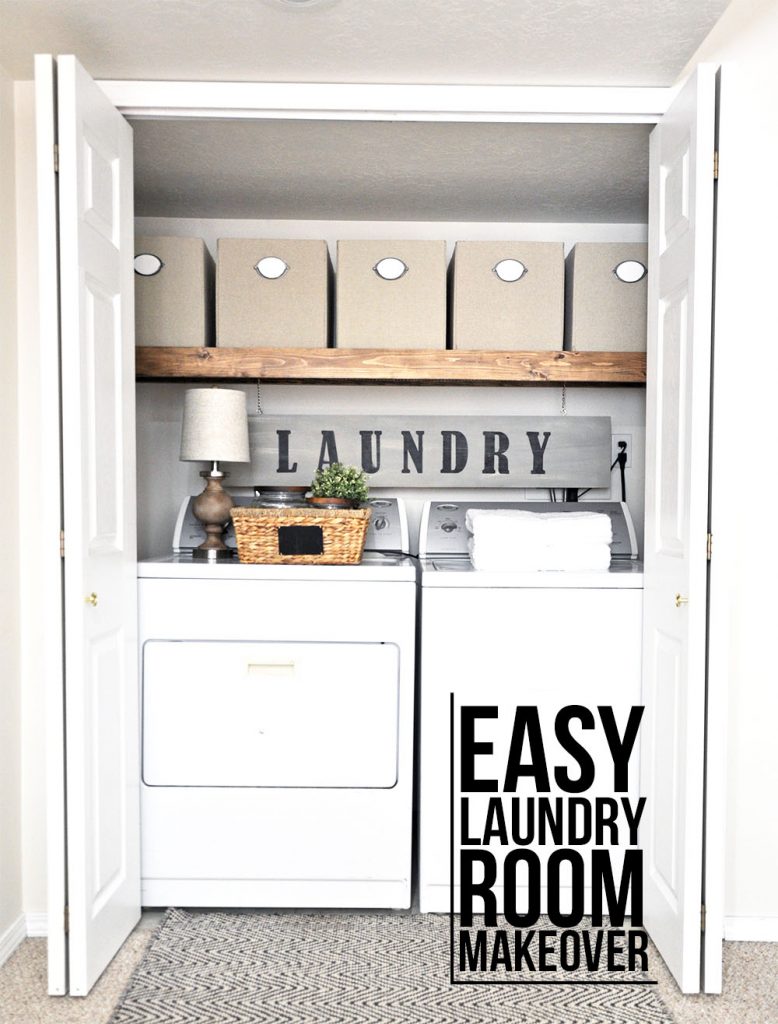
How We Managed a Laundry Room Makeover in Three Days for Under $300!
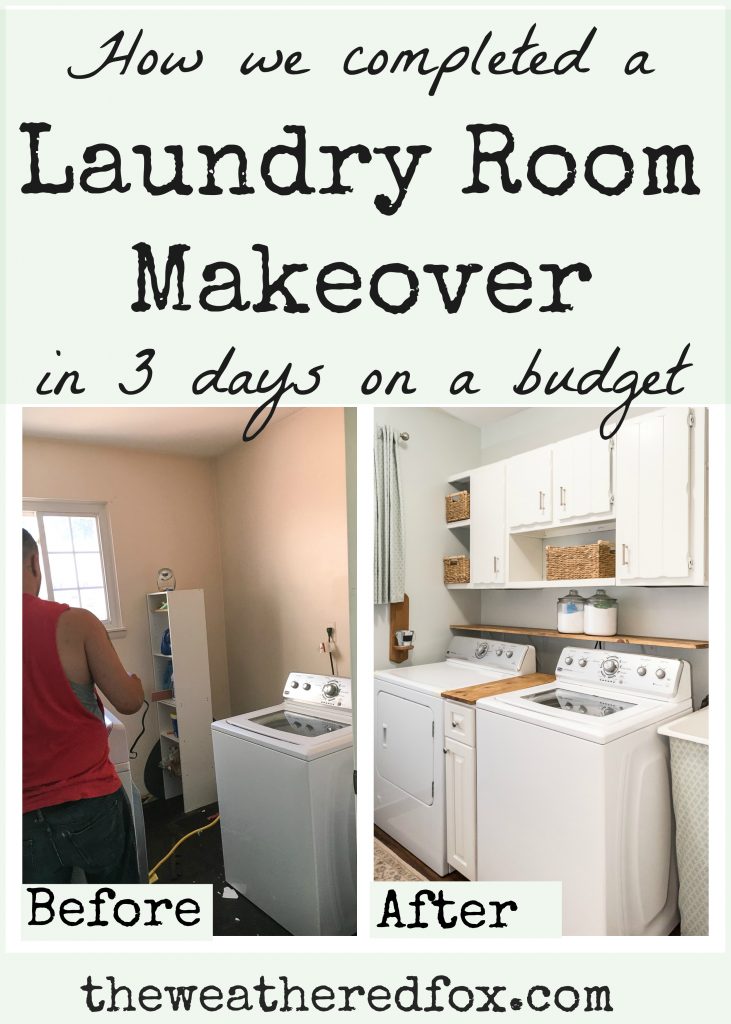
Yea. You read that right! I flipped my laundry room around in 3 days for under $300. And I wish I would have done it so much sooner!
**Update** Check out the rest of the Laundry Room Series:
Day 1: Reusing the old cabinets and building more storage
Day 2: Utility Sink Makeover and Backsplash Goes Up
Day 3: Putting in new Vinyl Floors and Base Molding
You may know by now that we’re selling our house. And you know that well known truth? That you never have the house finished until you sell it? Well, its true. We used our laundry room for four years, and disliked it.
This post was made in collaboration with HomeRight. I was happy to partner with them because I value their products and wanted to share them with you! All opinions are my own.
(This post contains affiliate links. This means I get commissions for purchases made through links in this post.)
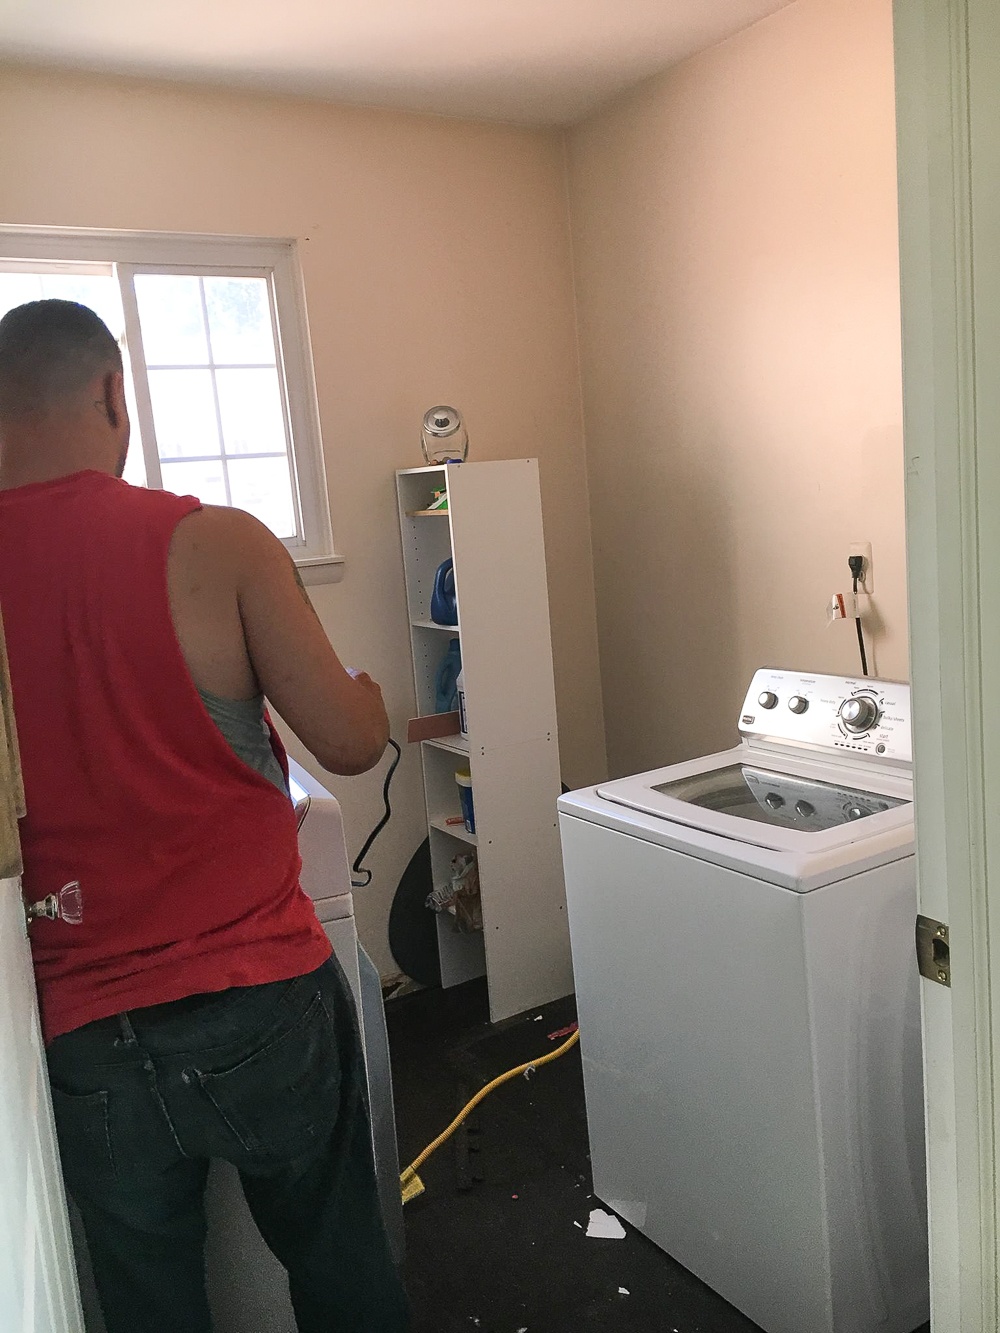
There was very little storage, the cabinets were in the wrong place preventing the door from ever fully opening, and limiting usable square footage, the tub was disgusting, and the washer/dryer are so far away from the wall that you can fit a whole person behind them. No joke.
The cabinet was on the left wall, I took this picture after we took them down. 🙁

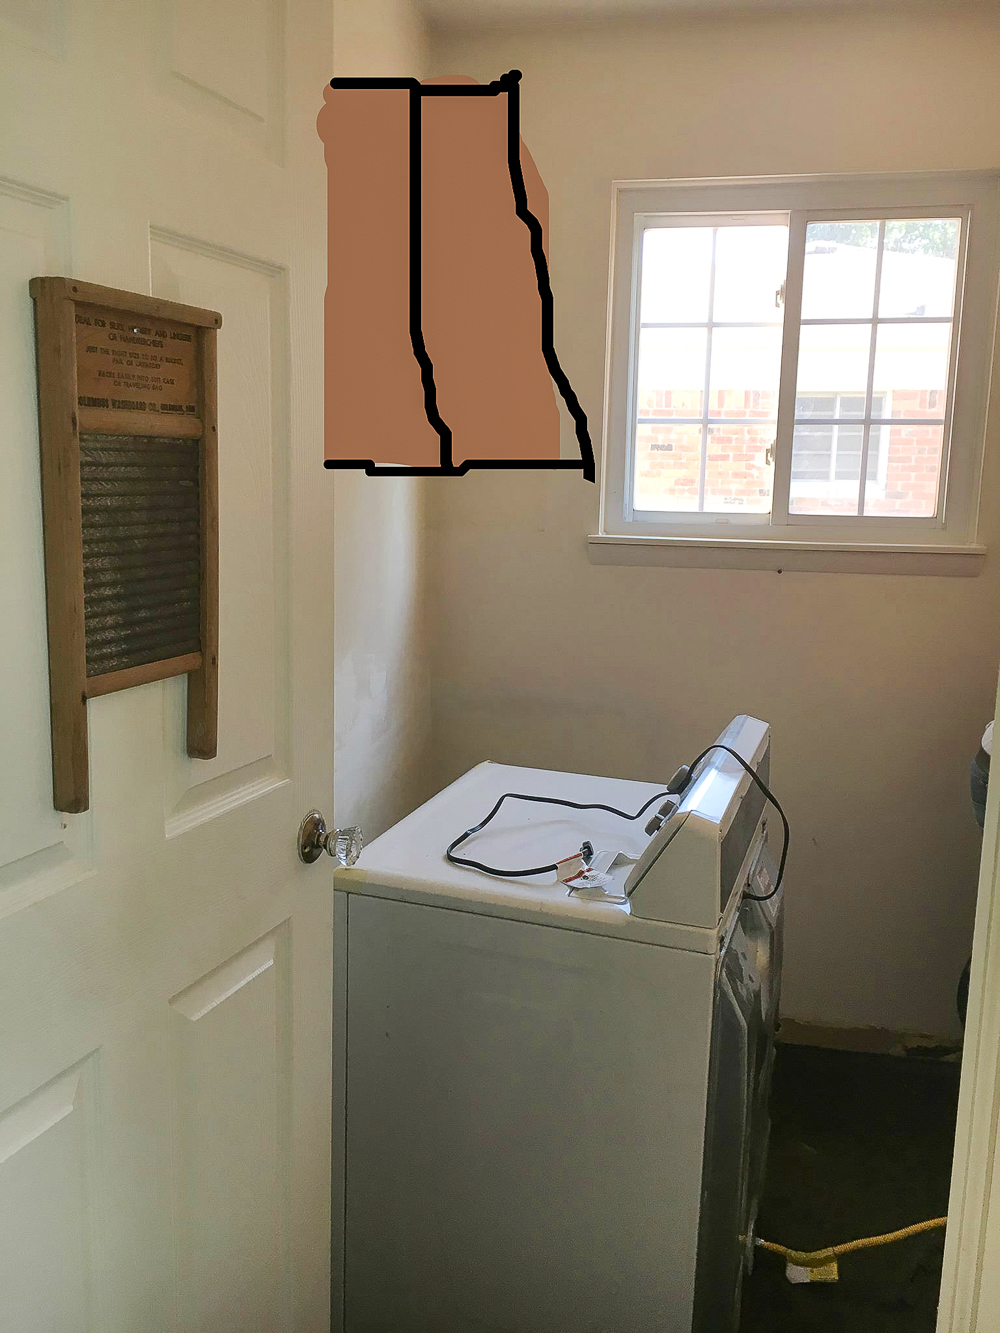
So I made a realistic digital recreation of the room with the cabinets in. Notice how they’re way too high, they take up all the walking space, and the door cant open all the way?
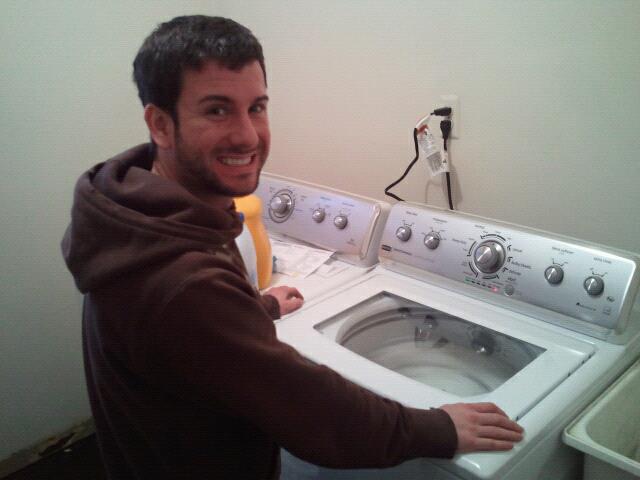
The only saving grace for this room was the new appliances we bought when we bought the house, and also that we actually had a laundry room at all.
Here is Brian all cheesed out the day we got our appliances December 27th, 2012. Ahh what happy homeowners we were!
Having a dedicated laundry room, and one on the first floor nonetheless is a huge plus when it comes to selling your house, so we wanted to make this space functional and pretty for the next home owners without spending a lot of money or time.
So, here’s what we did to makeover a laundry room in 3 days and less than $300!
Laundry Room Makeover Day 1
Tools we used for Day 1 of our Laundry Room Makeover
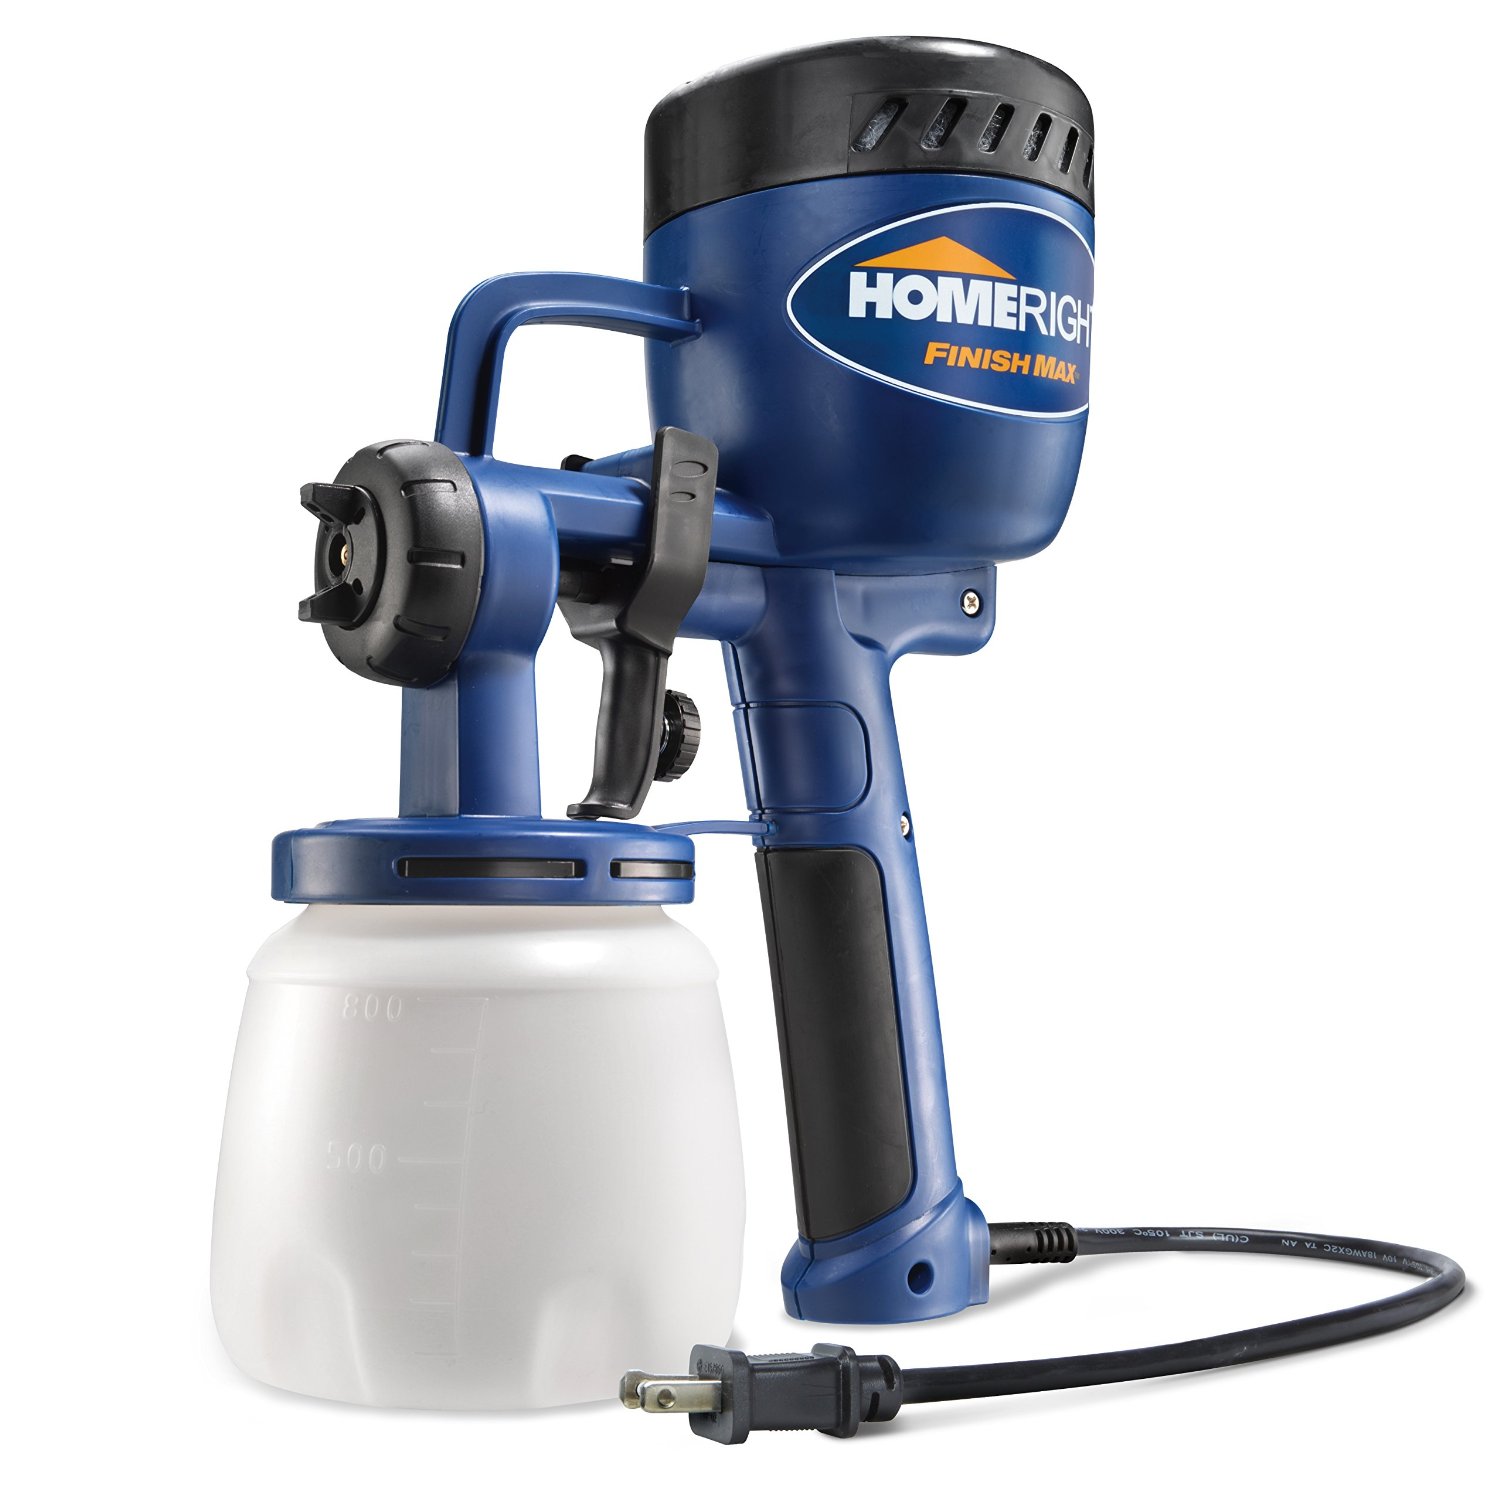
HomeRight Paint Sprayer
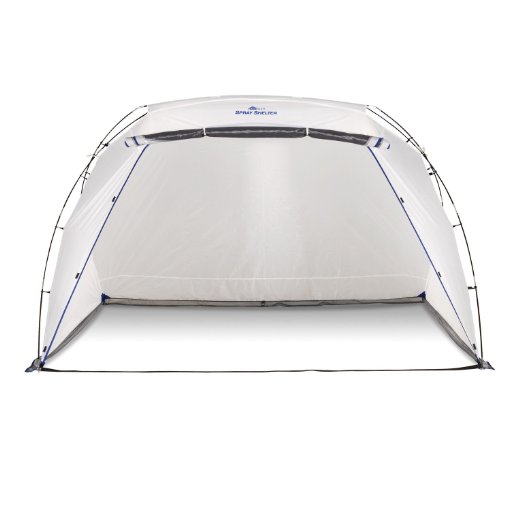
HomeRight Spray Shelter
Drill and Bit Set
Paint Roller Set
Foam Cabinet Paint Roller
Level
Measuring Tape
Sander
Jig Saw
Finish Nail Gun
Materials we used for Day 1 of our Laundry Room Makeover
Semi-Gloss Wall Paint in Sherwin Williams Sea Salt
1x8x6 whiteboard
1x12x8 whiteboard
1x12x6 whiteboard
1×2 whiteboard for cabinet trim
4 Satin Nickel Wall Hooks
Wood Filler
60 grit sandpaper
Heavy Duty White Brackets
Heavy Duty Screws
Regular screws in various lengths
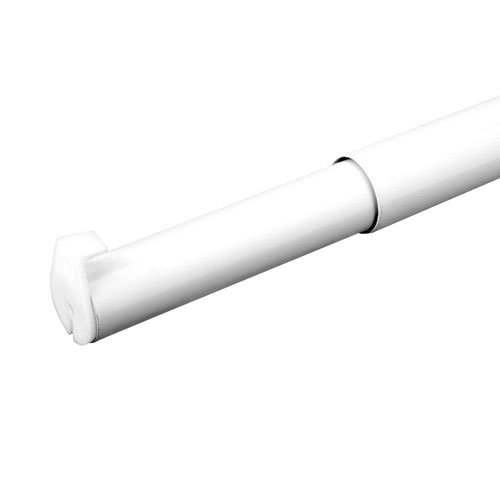
Mounting closet rod
L brackets
Budget Laundry Room Makeover Day 1
First thing we did was clear out the entire room, clean the walls, and paint. The paint color is Sherwin Williams Sea Salt in a semi-gloss finish.
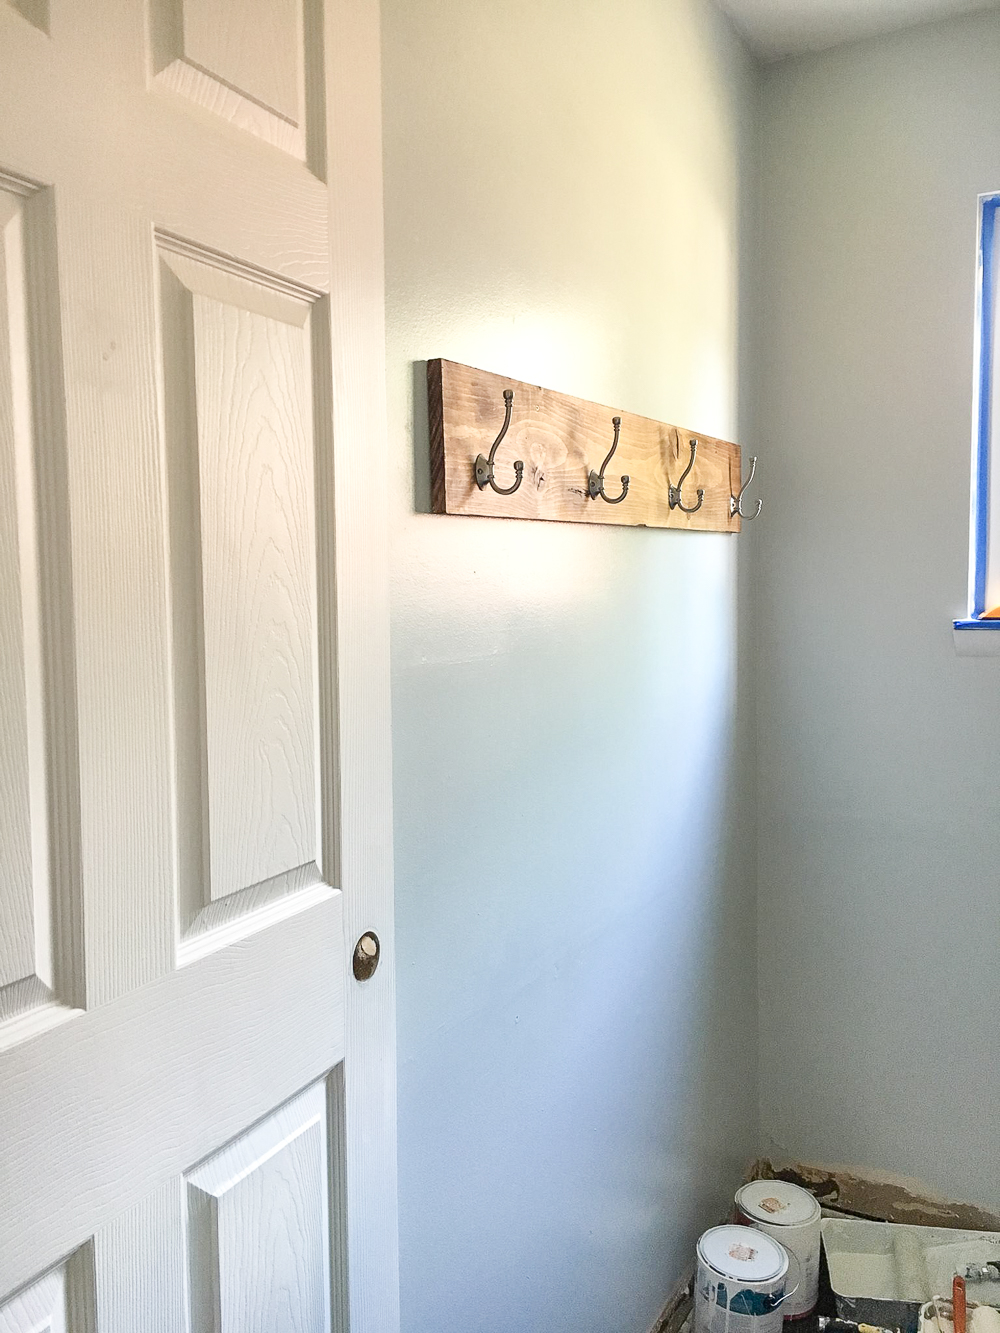
I grabbed a scrap piece of 1×8 and these decorative hooks to make that simple wall rack for the left side of the wall. This still adds storage without taking up usable floor/walking space.
The biggest saving grace in this budget makeover was the ability to reuse the existing cabinets that were in the laundry room. With a little modification, the cabinets are now a great asset to the laundry room.

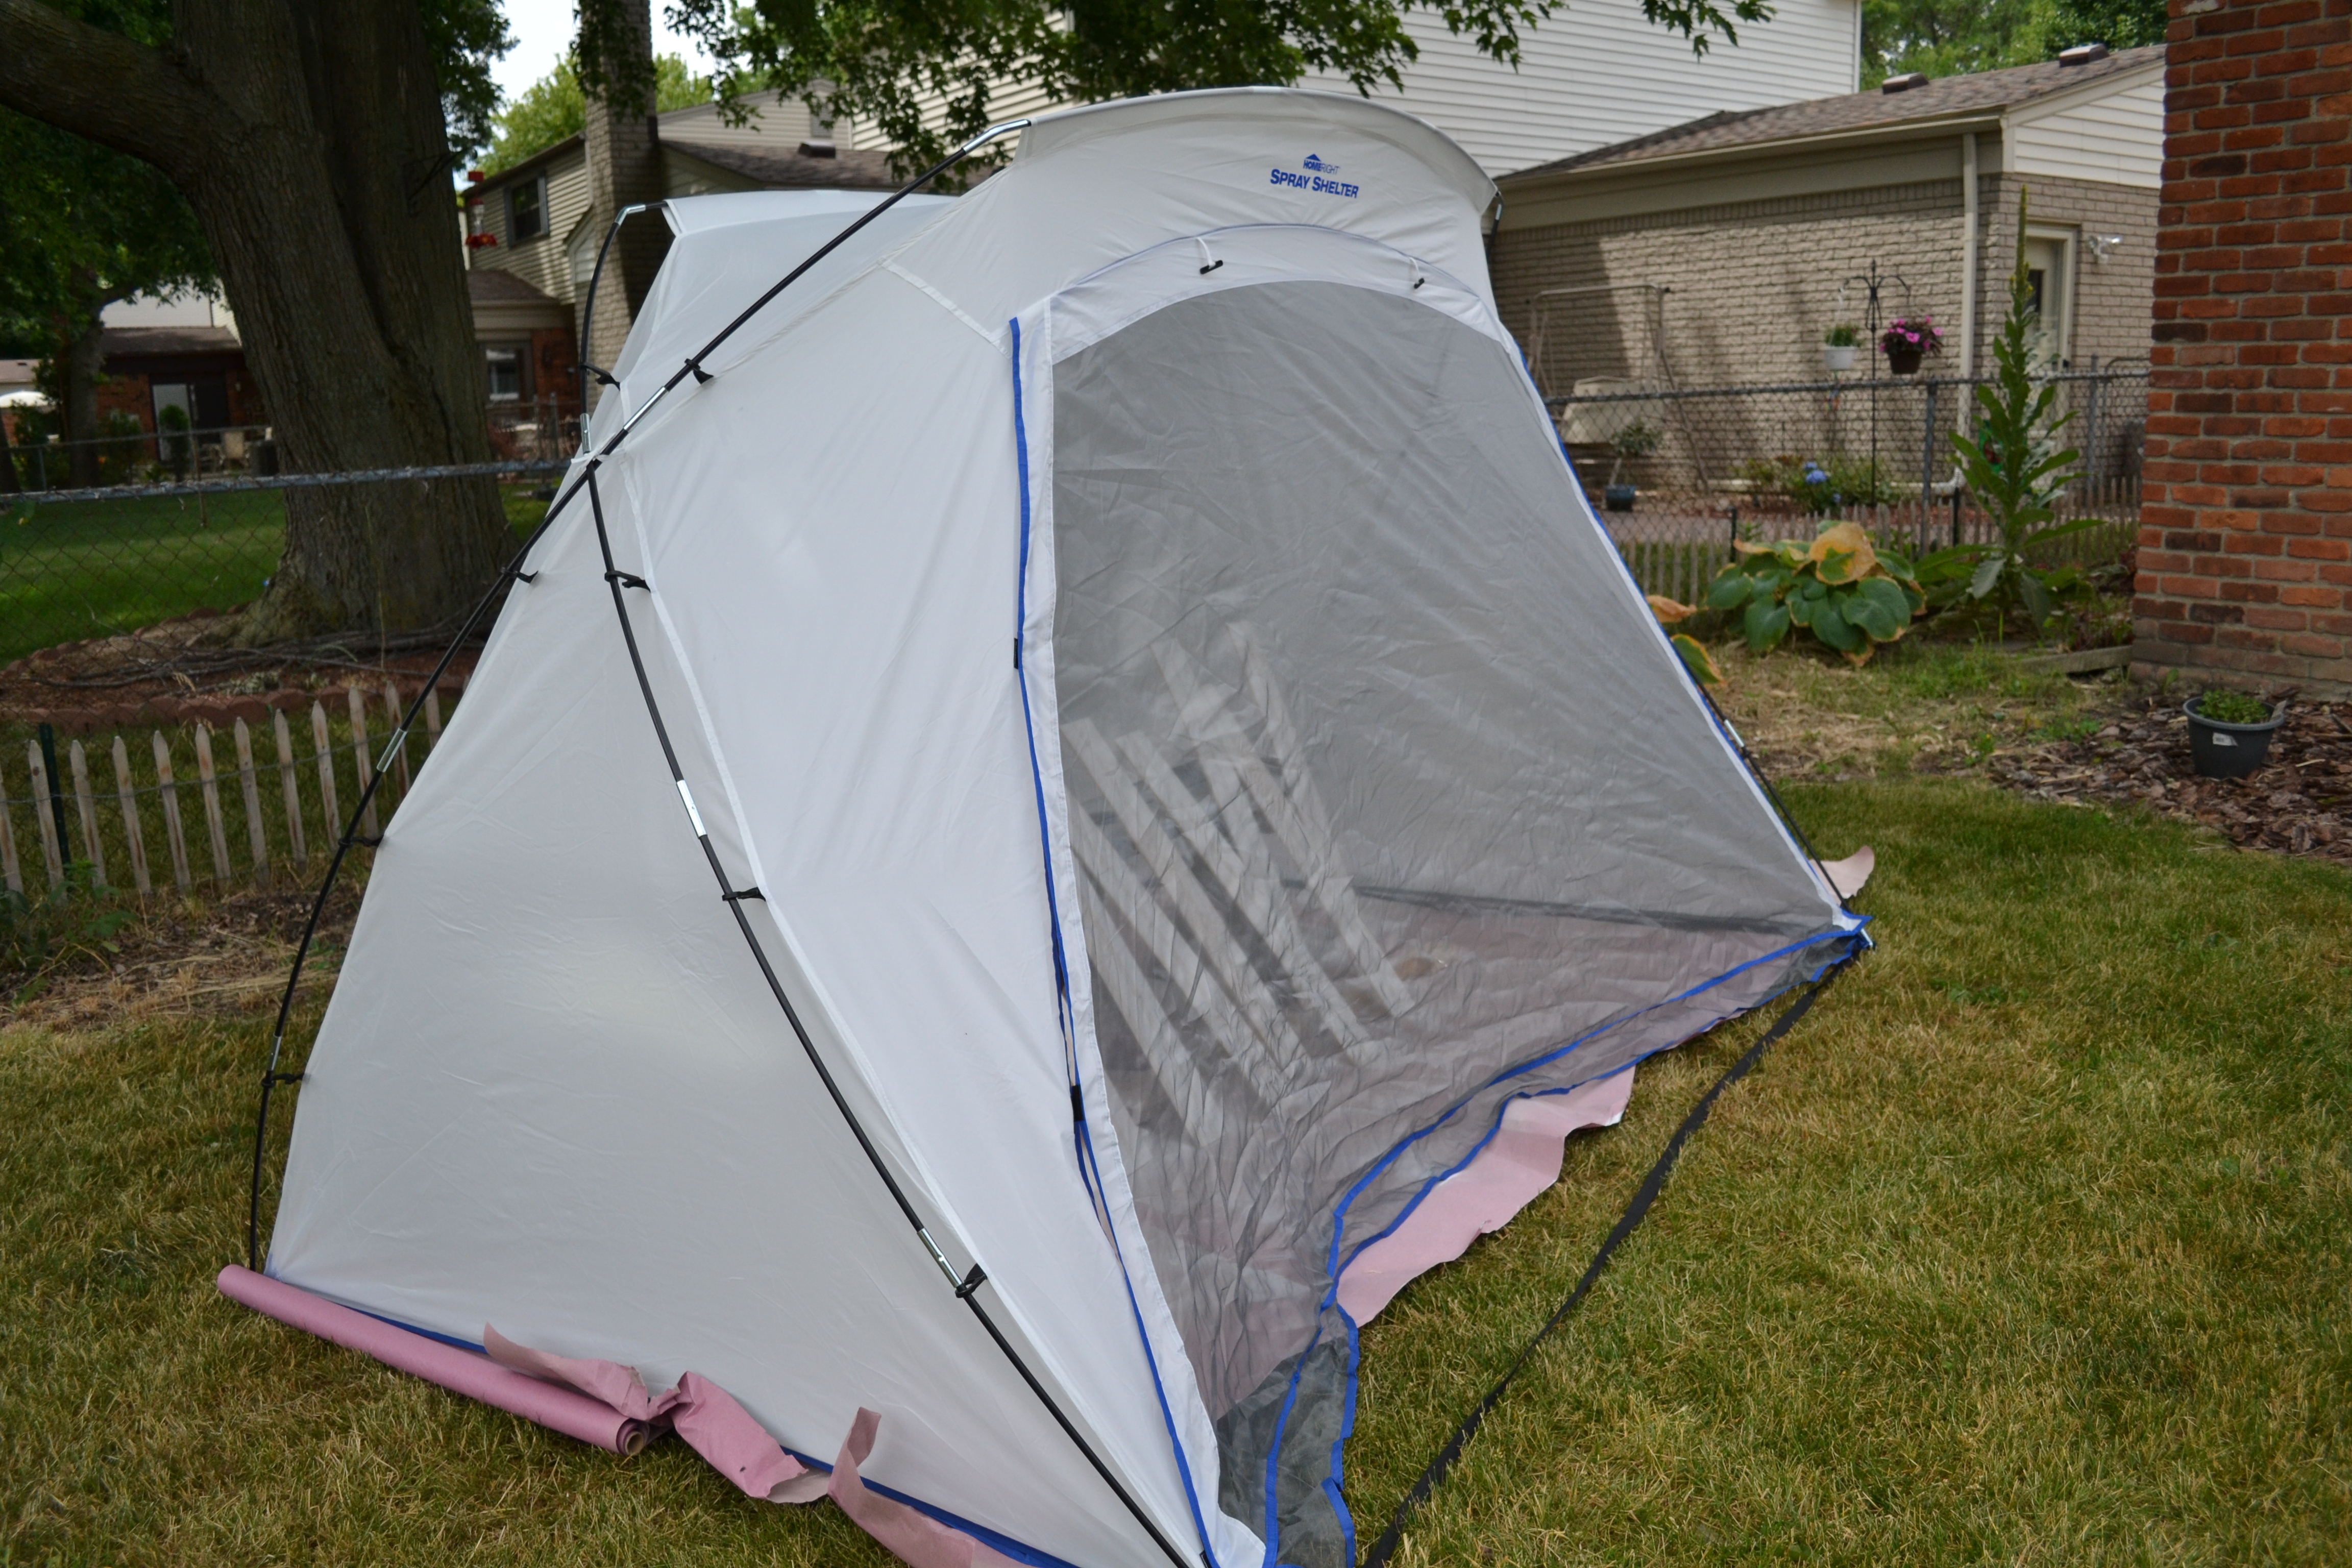
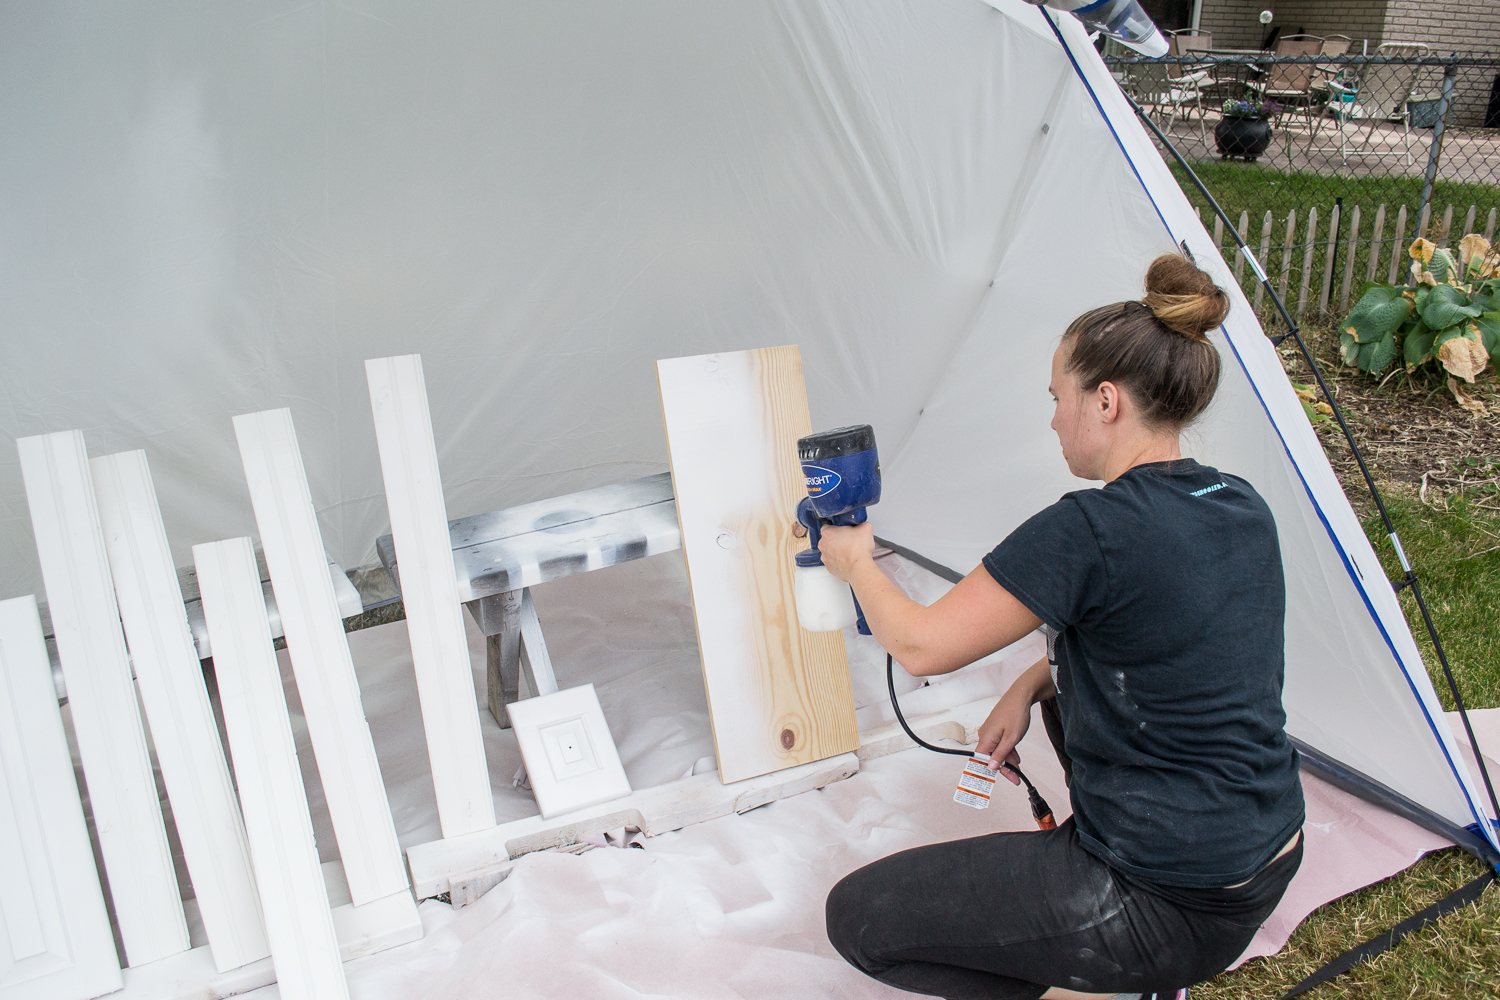
The laundry room cabinets were old and dated and were in desperate need of a makeover, but it took no time at all because I was able to whip out my HomeRight Paint Sprayer and HomeRight Spray Shelter and knock it all out in a matter of hours.
In between coats, I was able to roll down the front of the Spray Shelter to keep the bugs and grass and whatever else the wind blows from sticking to my paint! Ingenious. I had enough time leftover to make a fun little piece of wall art too! Heres a sneak peek!
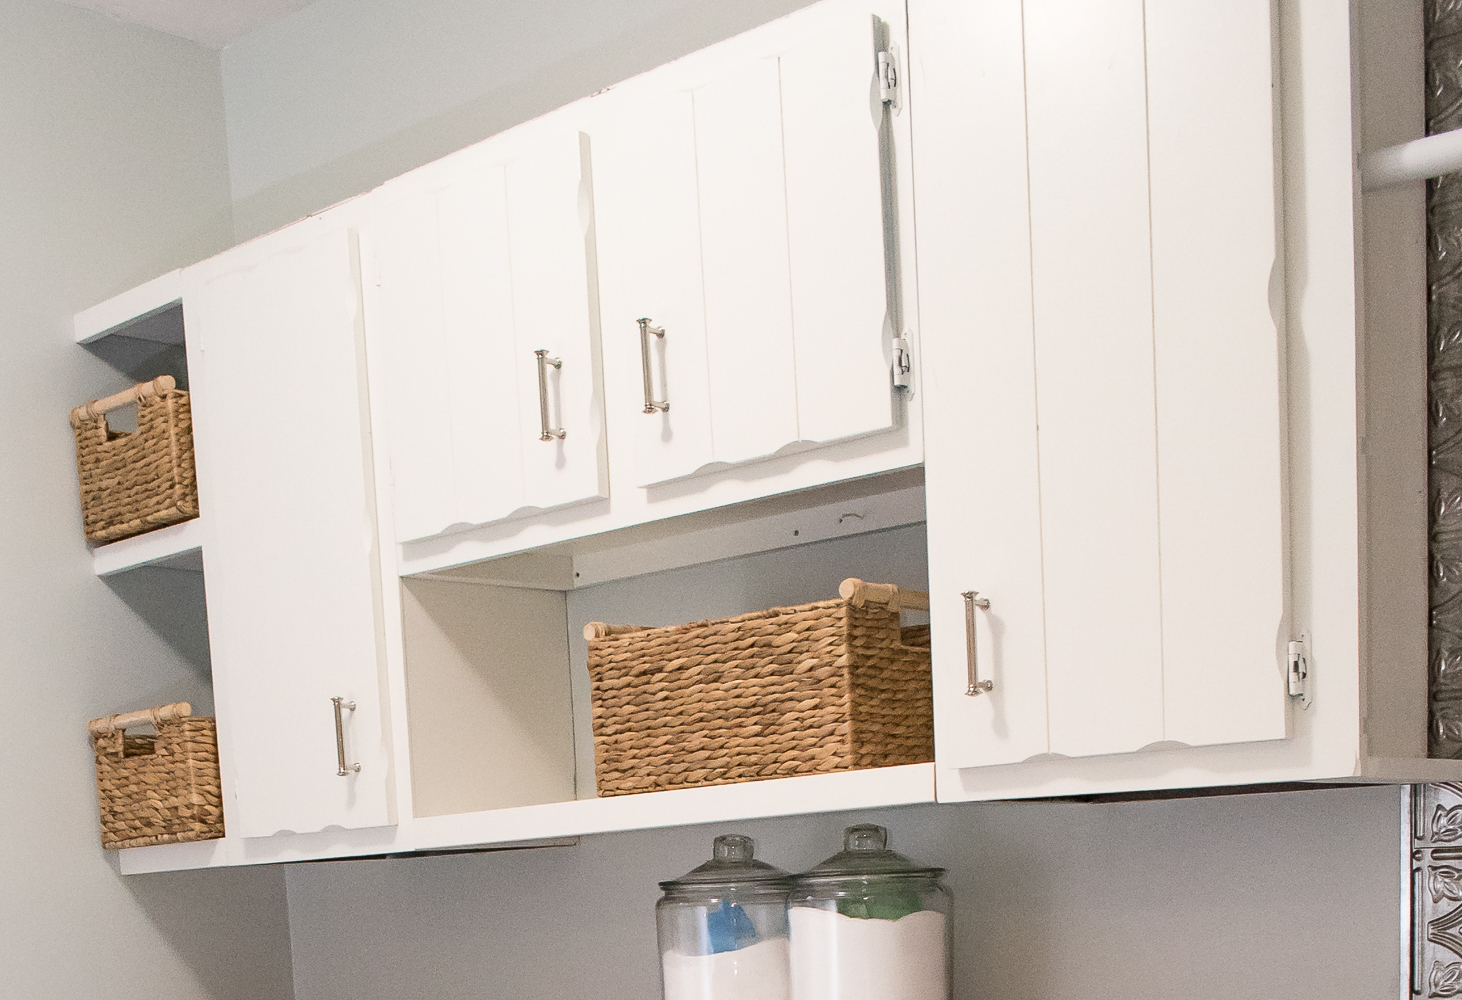
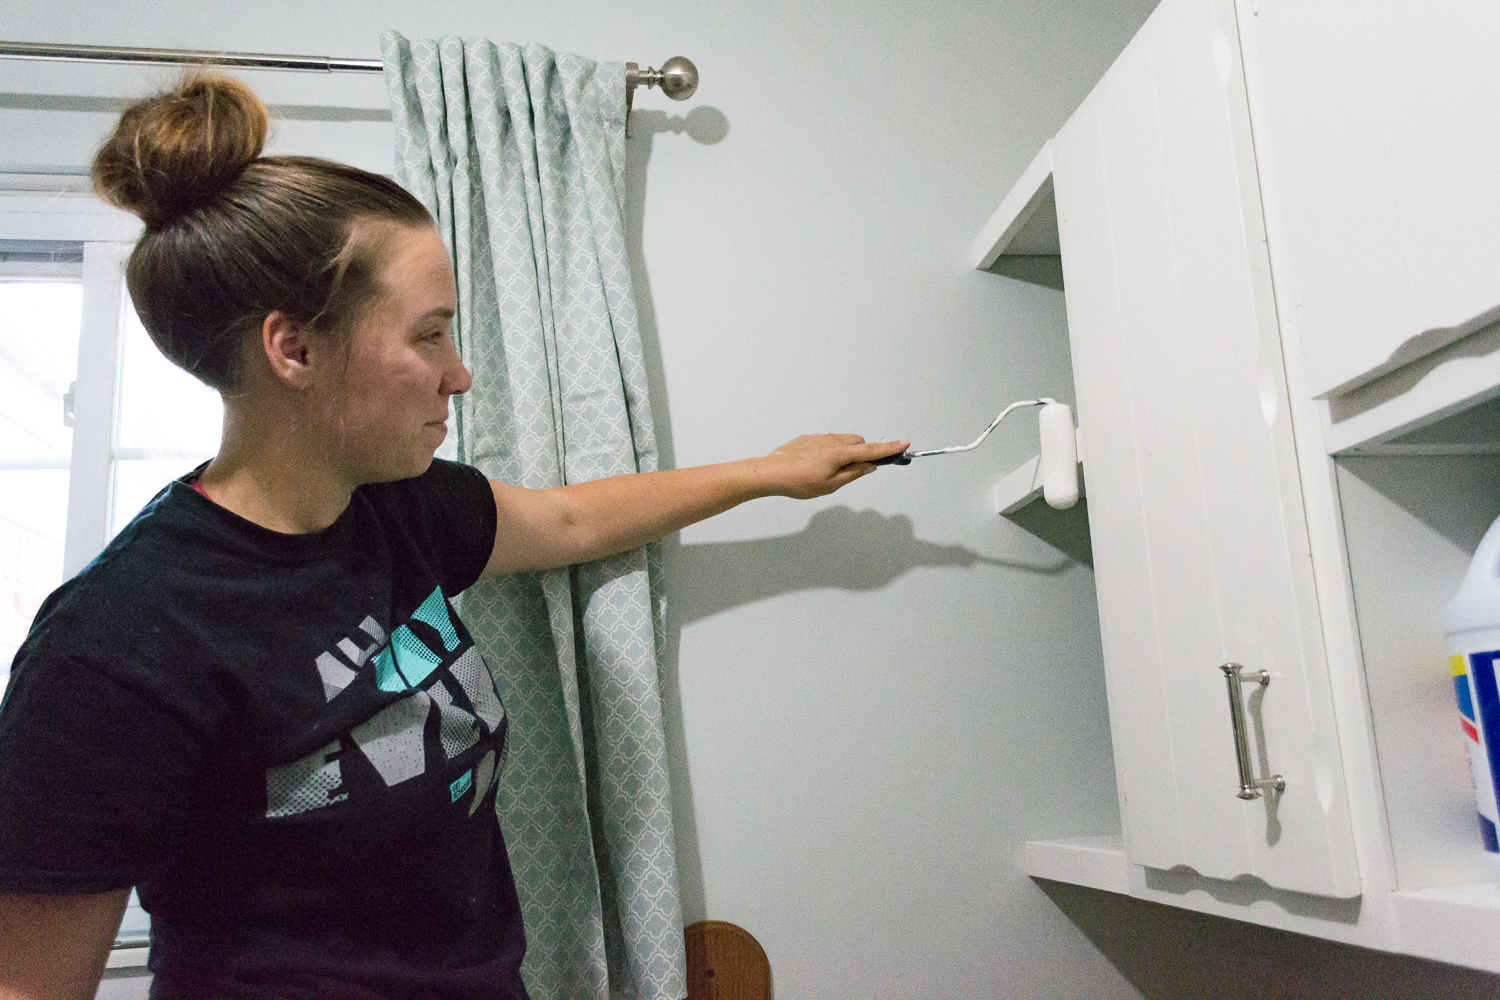
We hung the cabinets above the washer and dryer, a much more appropriate place for them. But after I painted them, I decided I didn’t like the weird little gashes in the doors. So we filled those in with some wood filler,
and when they were dry we sanded them with this electric sander and painted over them with a foam roller.

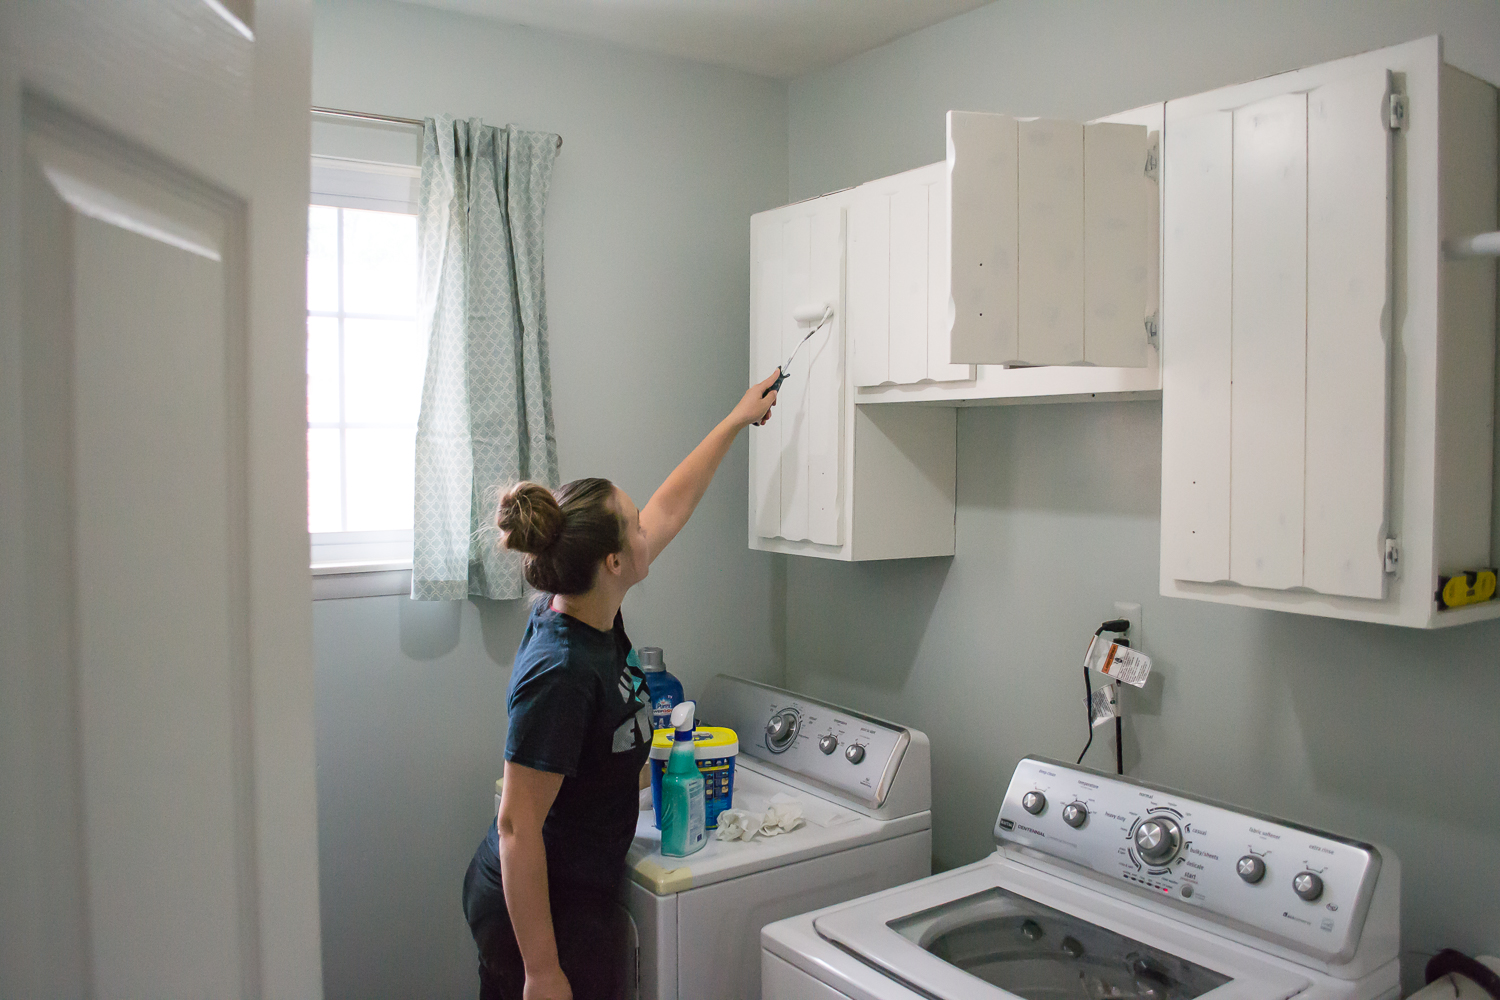
You can see we added some curtains to the window. More on that later!
I love the new shelf we added over the washer and dryer too!
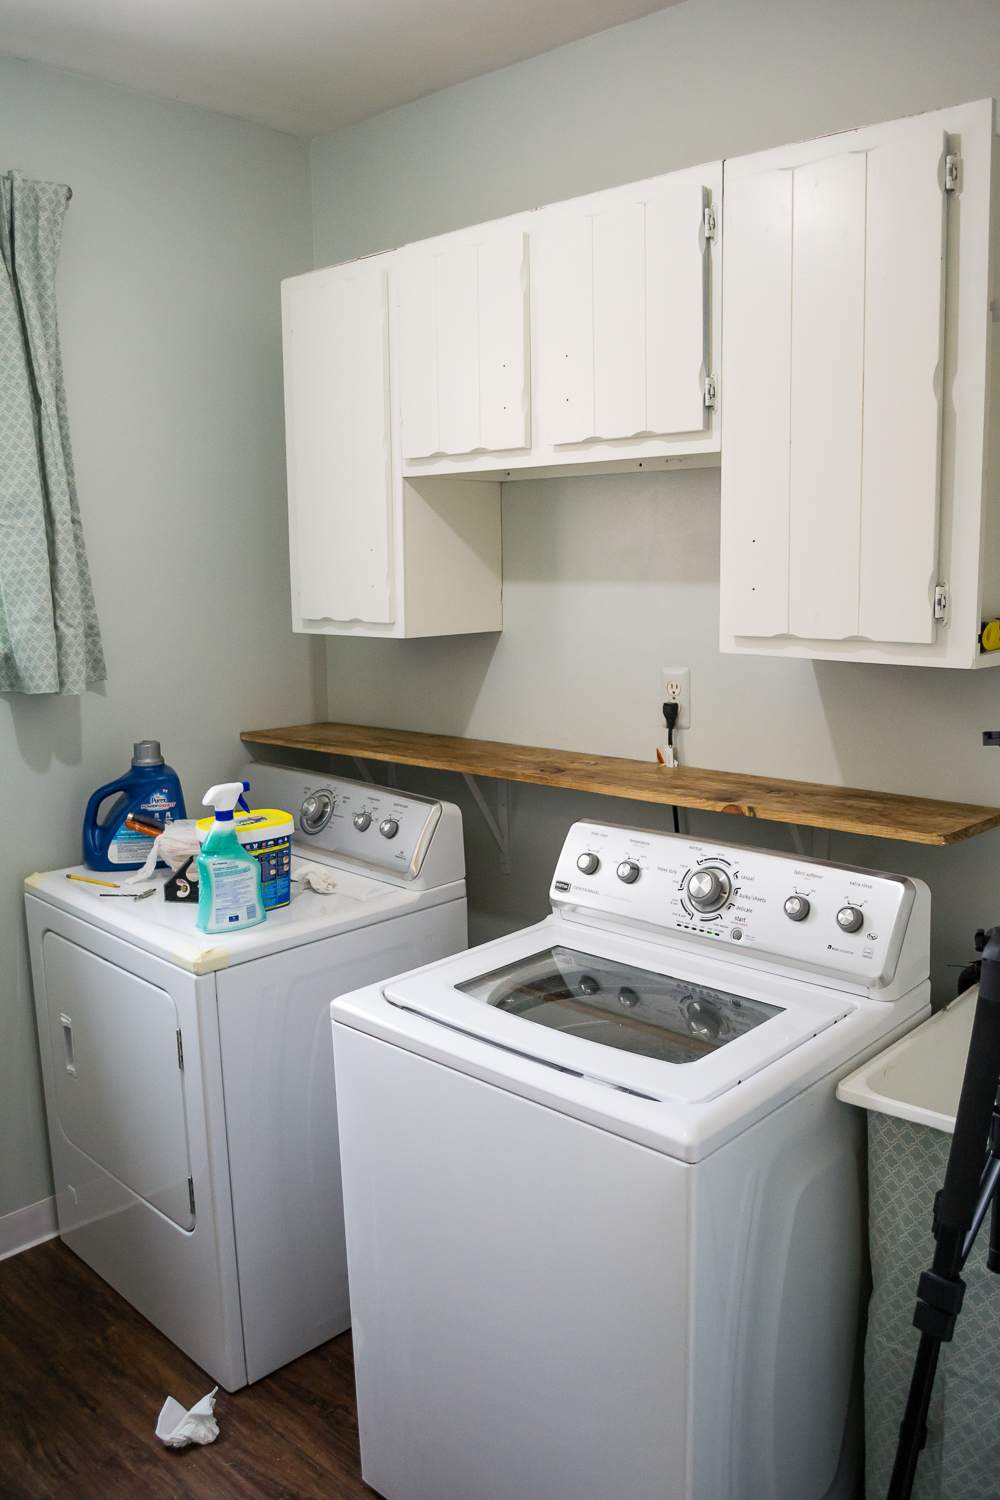
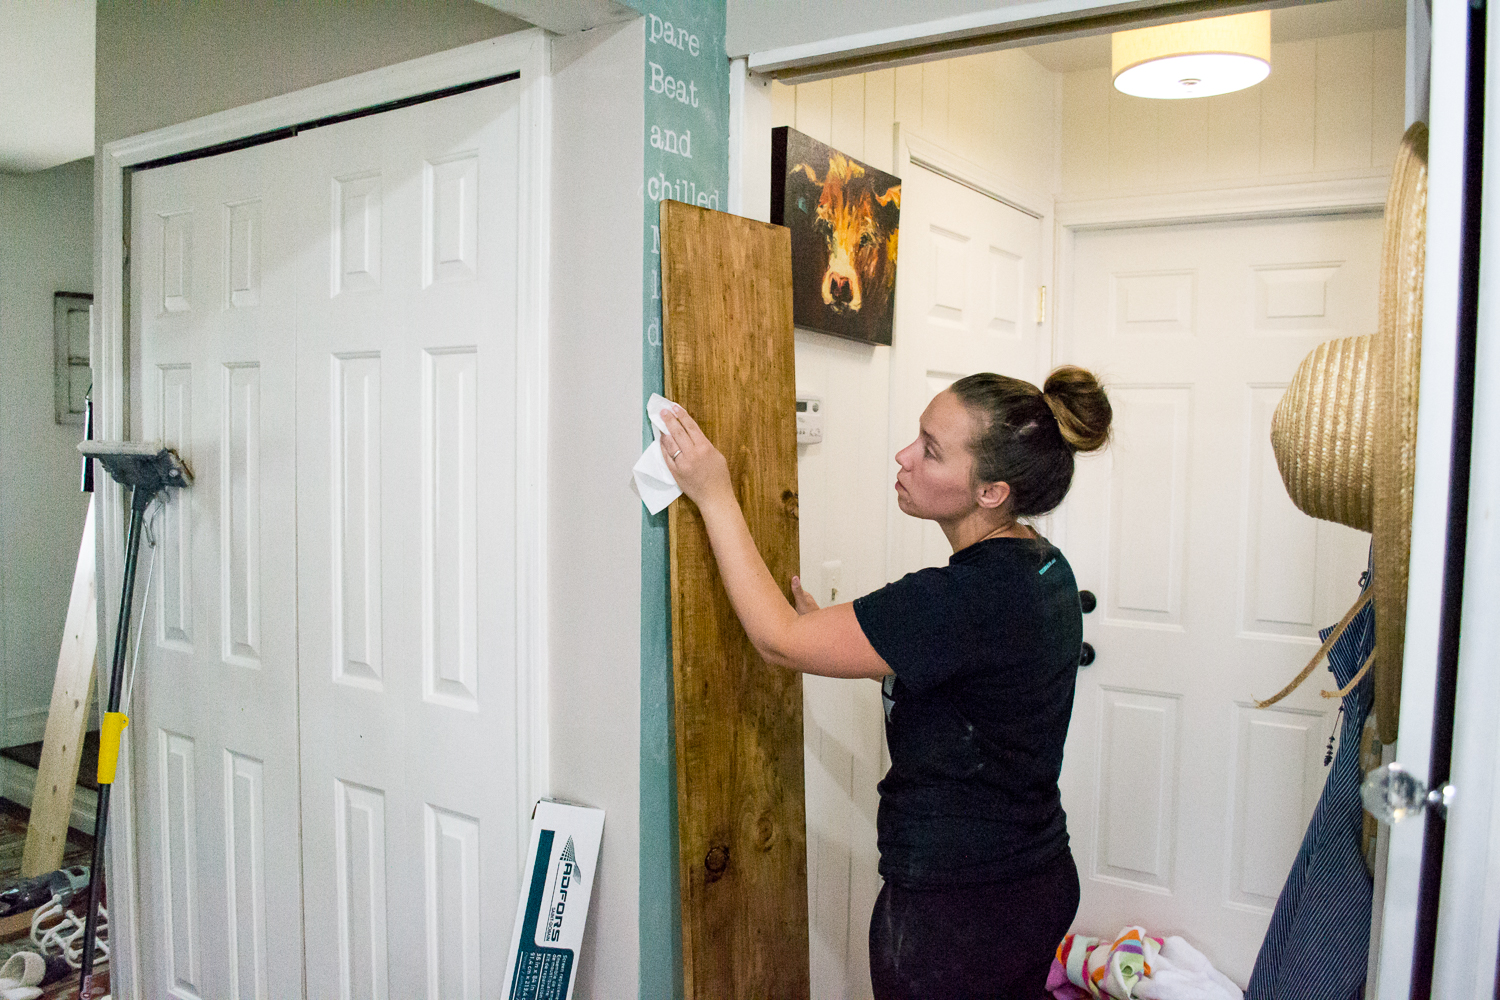
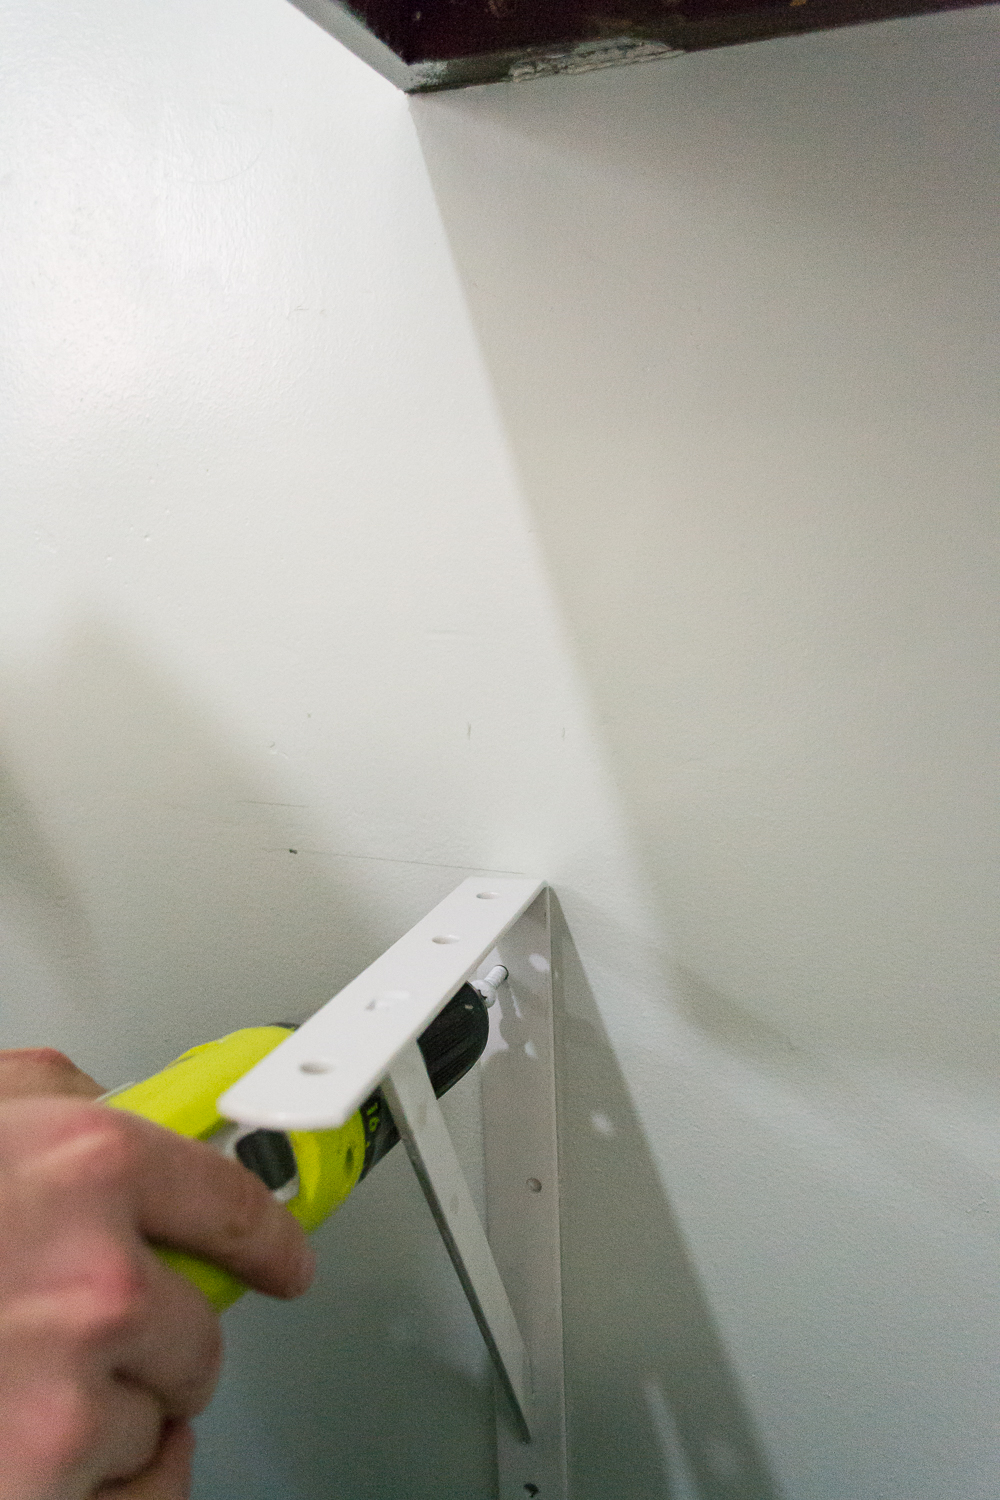
We grabbed a 1×12 and these heavy duty brackets, the board got a good sanding and waxing with Annie Sloan antiquing wax,
Then we attached it to the wall.
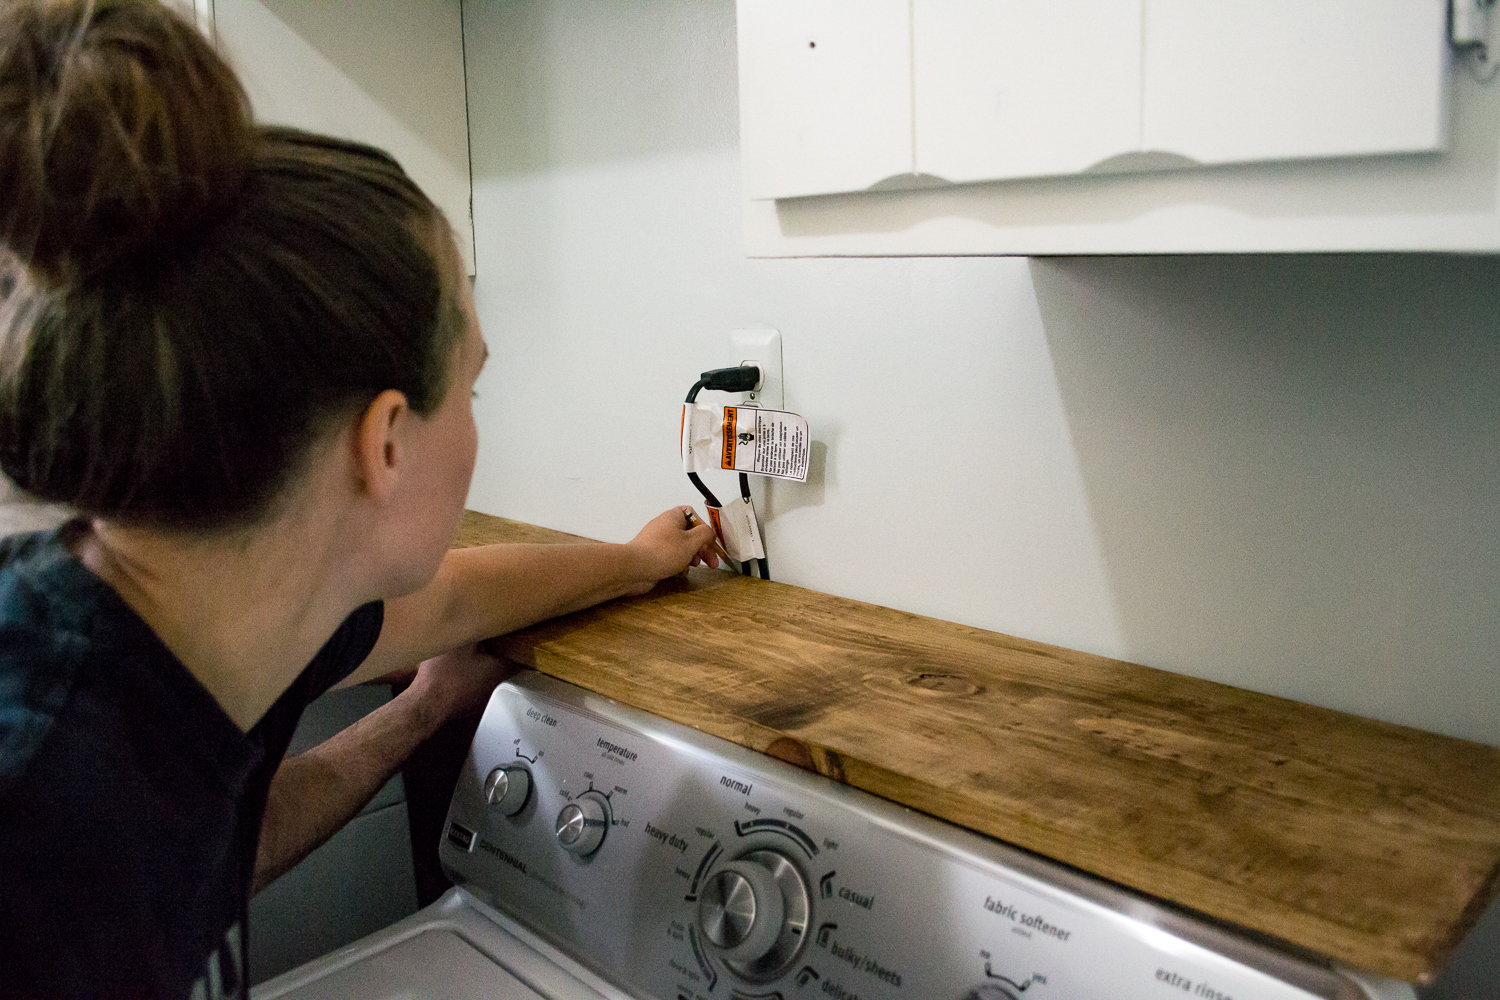
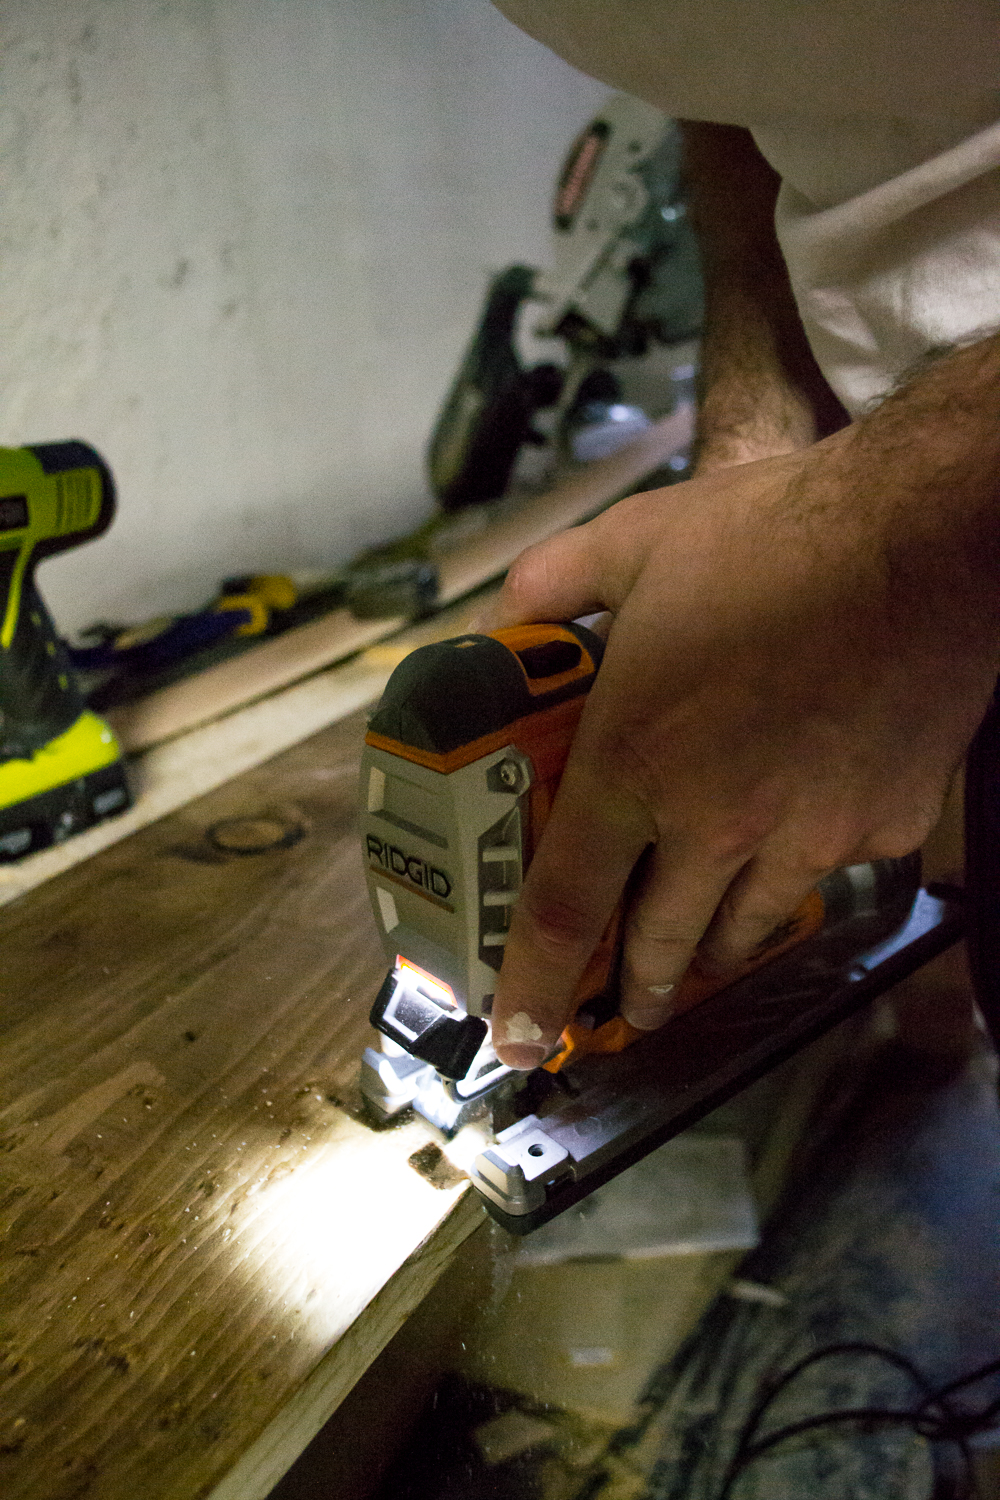
Since our washer and dryer outlet are above where we want to put the shelf, we cut out a space for the cords with a jig saw.
I was so frustrated with how far the washer and dryer stuck out from the wall, and how much wasted space it created. But now this shelf adds so much more functionality in the room!
To make the space even more functional, we decided to add some shelves in the open spaces between the cabinets. So we grabbed some scrap 1×12 boards we had, cut them to size, and sprayed them with the HomeRight paint sprayer.
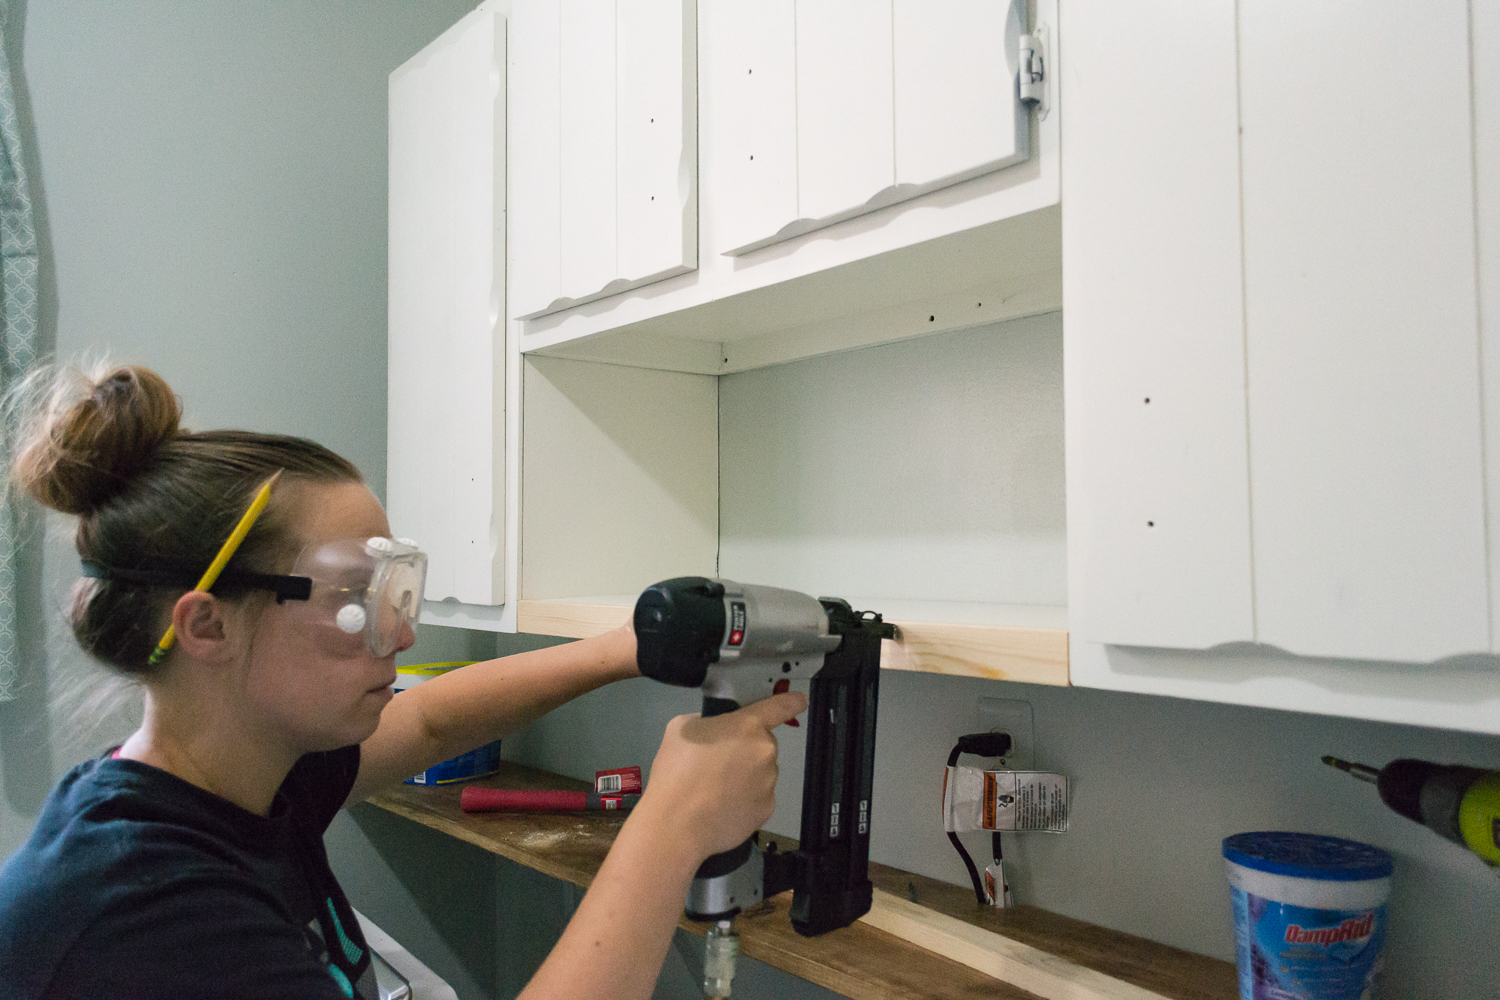
We added a shelf across the middle, and three shelves at the end of the cabinets.
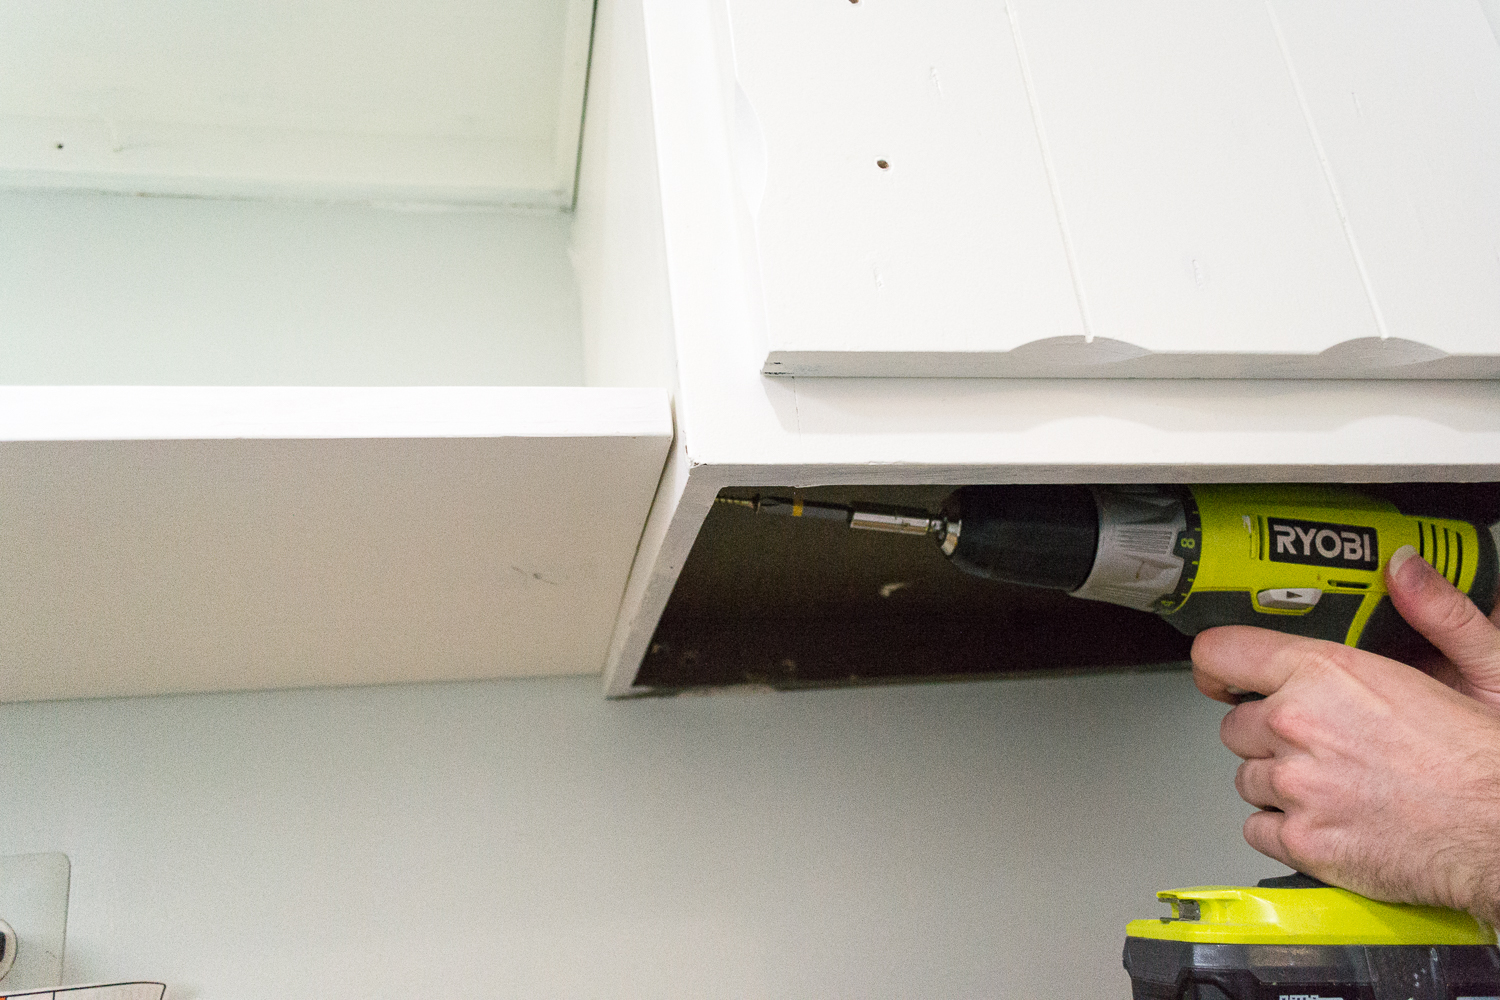
The center shelf was secured easily by attaching some screws on the underside of the cabinet and through the board.
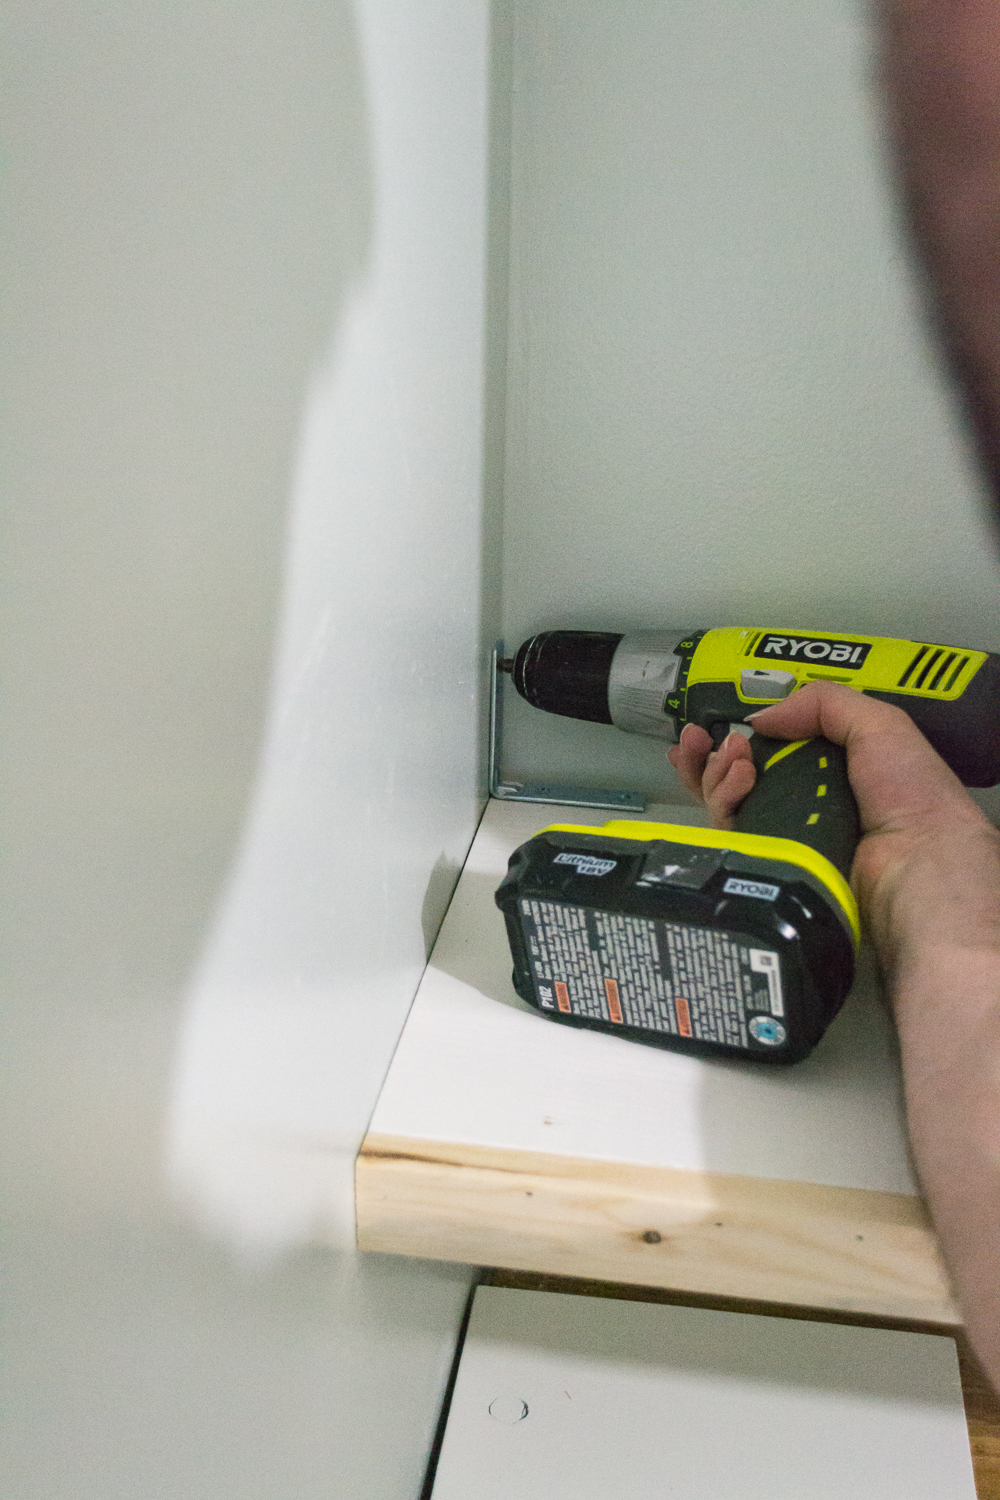
We did the same for the right side of these shelves, then also attached some L brackets on the side of the wall for additional support on that side.
The shelves were finished off with some 1×2 board and painted the same color as the cabinets.
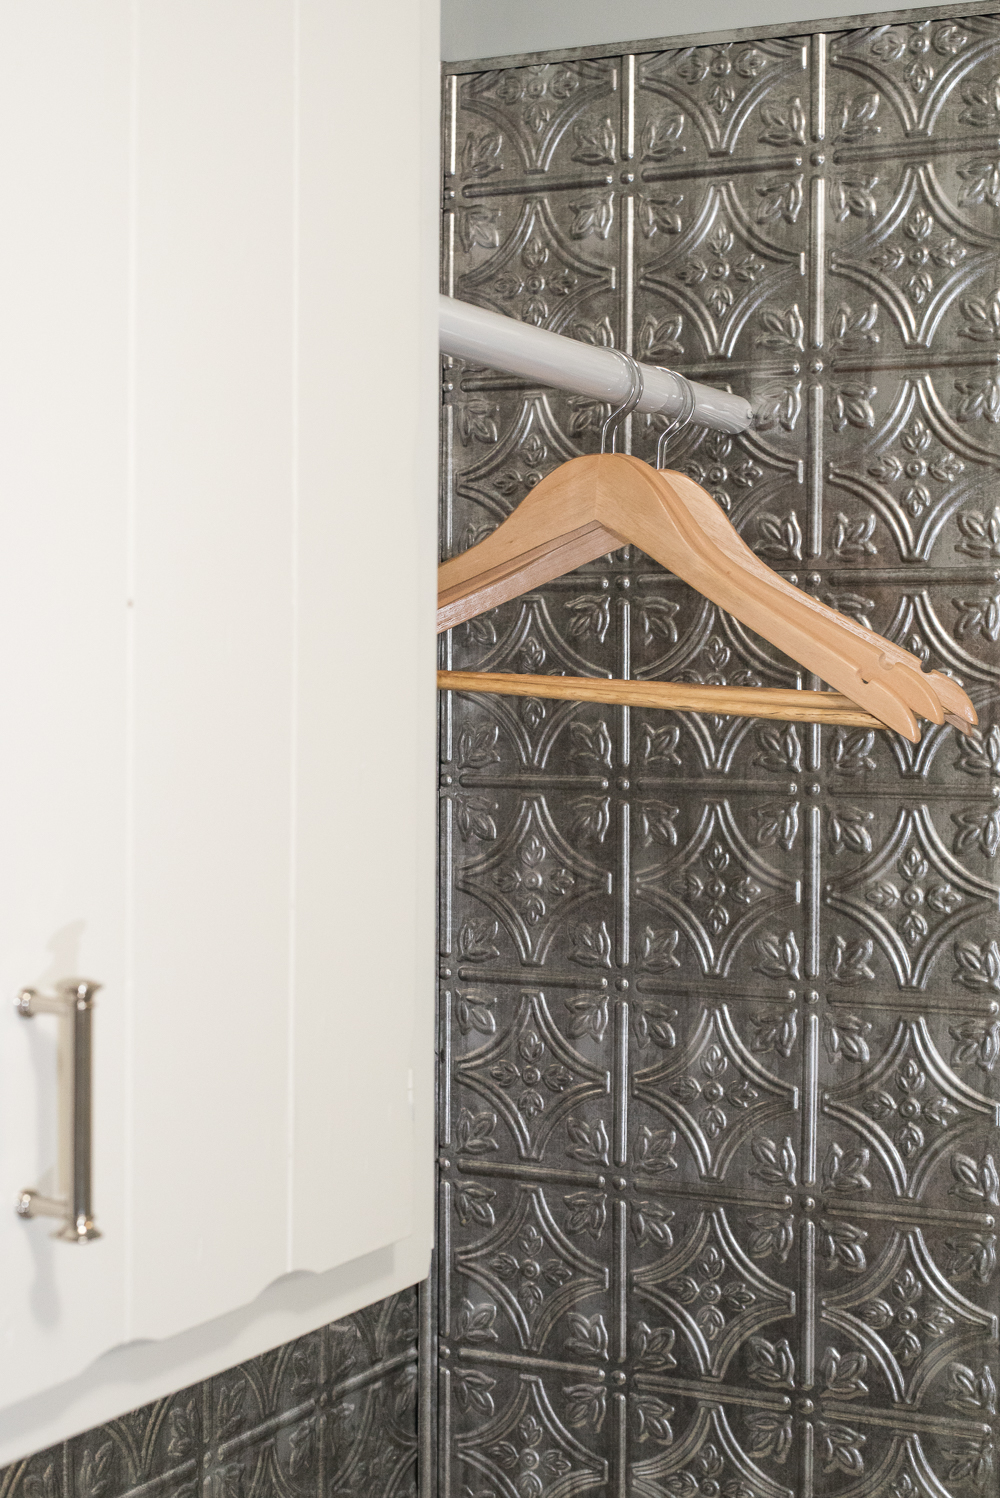
A clothing bar for hanging clothes was attached on the other side of the cabinets. I love that it hangs right over the sink so when we hang up our wet clothes, I won’t have to worry about them dripping! And you get a peek at my new backsplash! More on that later!
And just our of sheer luck (ahem ** and my tendency to never let anything go) we had this little cabinet left over from our kitchen remodel.
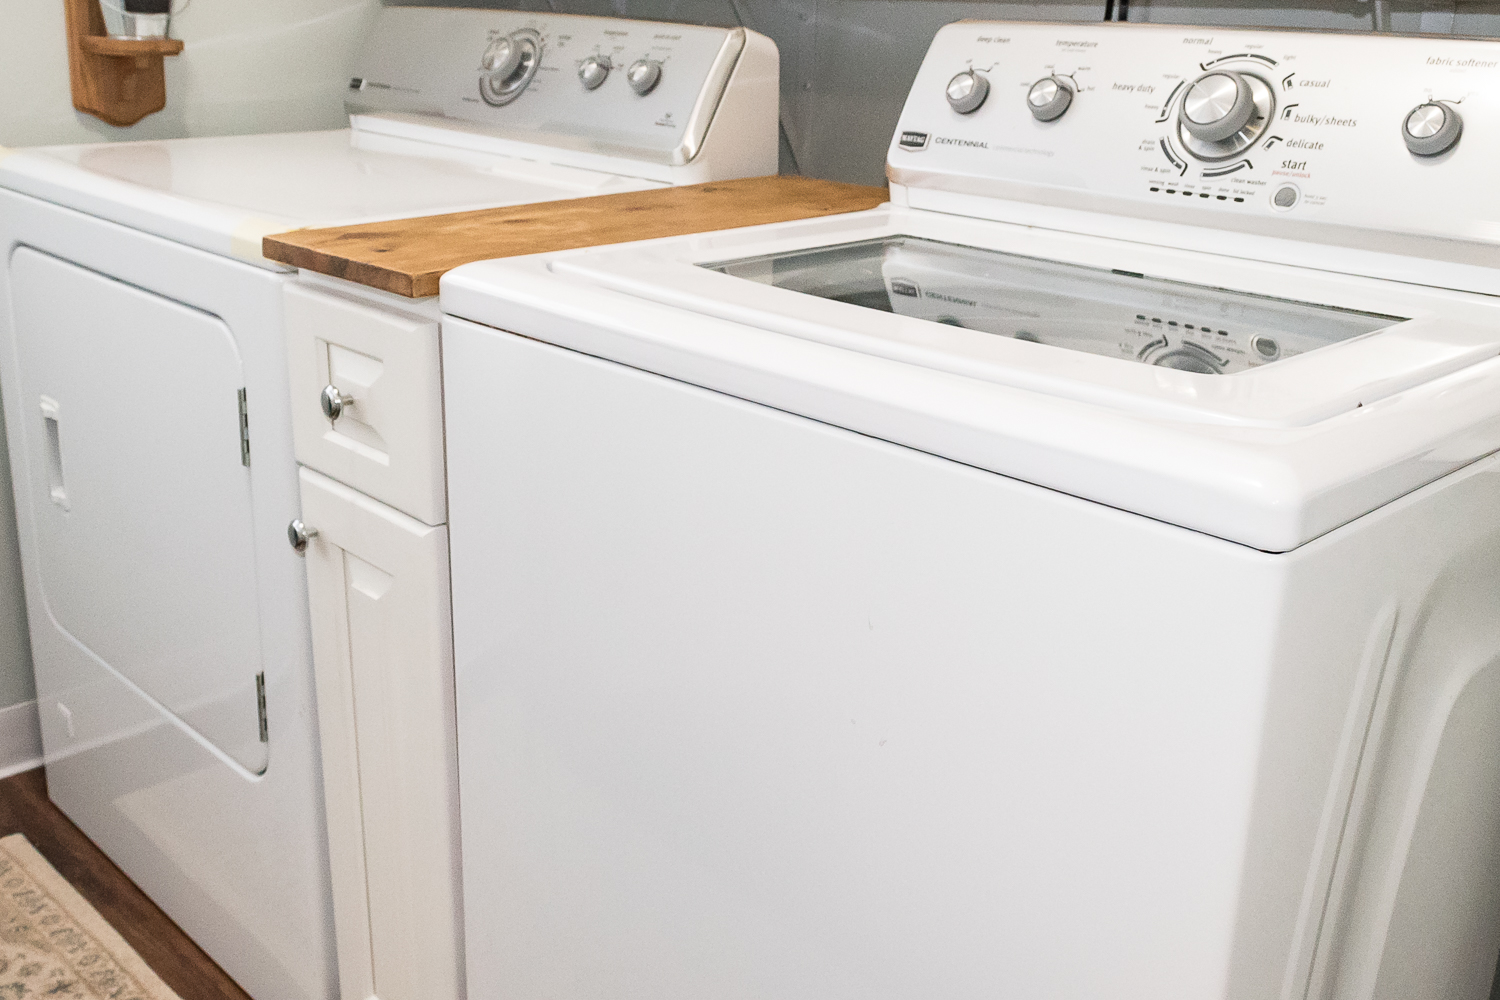
It fits perfectly between our washer and dryer, so we used a small piece of 1×8, waxed it, and attached it to the top of the cabinet. Then it got a few coats of paint using my HomeRight Paint Sprayer and Spray Shelter. I told you, it’s life saving!
Then evening came and morning followed. The first day.
Still left on our to do list:
Find flooring
Do something with gross utility tub
Add some wall interest
Add backsplash
**Update** Check out the rest of the Laundry Room Series:
Day 1: Reusing the old cabinets and building more storage
Day 2: Utility Sink Makeover and Backsplash Goes Up
Day 3: Putting in new Vinyl Floors and Base Molding

Click on the images to be taken to the products (affiliate links).


If you love this Laundry Room Makeover, you’ll love these too!


6 comments
[…] Our Budget Laundry Room Makeover […]
[…] $300 Laundry Room Makeover […]
[…] Day 1: Reusing the old cabinets and building more storage […]
[…] back today showing you a bit more of our laundry room makeover. You can read all about Day One of our 3 day laundry room makeover here. Today we’re focusing on the utility sink that got a real nice attitude adjustment. This sink […]
What a great makeover! You wouldn’t believe how tiny my laundry room is, but for now, it will stay the way it is! Great job, it was obviously a few days of very hard work, and worth every moment! Thanks for sharing at Celebrate Your Story!
This turned out fantastic! I love that you used the old cabinets — they are so charming!