Hey everyone!!! I’m Shara from the blog Woodshop Diaries and I’m so excited to be contributing to The Weathered Fox! I am a furniture builder/DIYer/home remodeler. I’m an engineer by day, but a DIYer every other moment of my day. I’ll be posting a few of my favorite projects throughout this post, and I’d love it if you’d check them out! But, I have to admit that as much as I love home décor and decorating ideas (and there are so many good ideas here!!), I’m kind of terrible at it. So I typically stick to DIY tutorials, woodworking, and remodels. Which means, I love to talk tools 🙂 So today, I’m happy to give you my list of the 10 Best Tools for Beginning DIYer to get you started if you’d like to try some DIYs for yourself! These are the tools I find most useful, but also least intimidating for beginners.
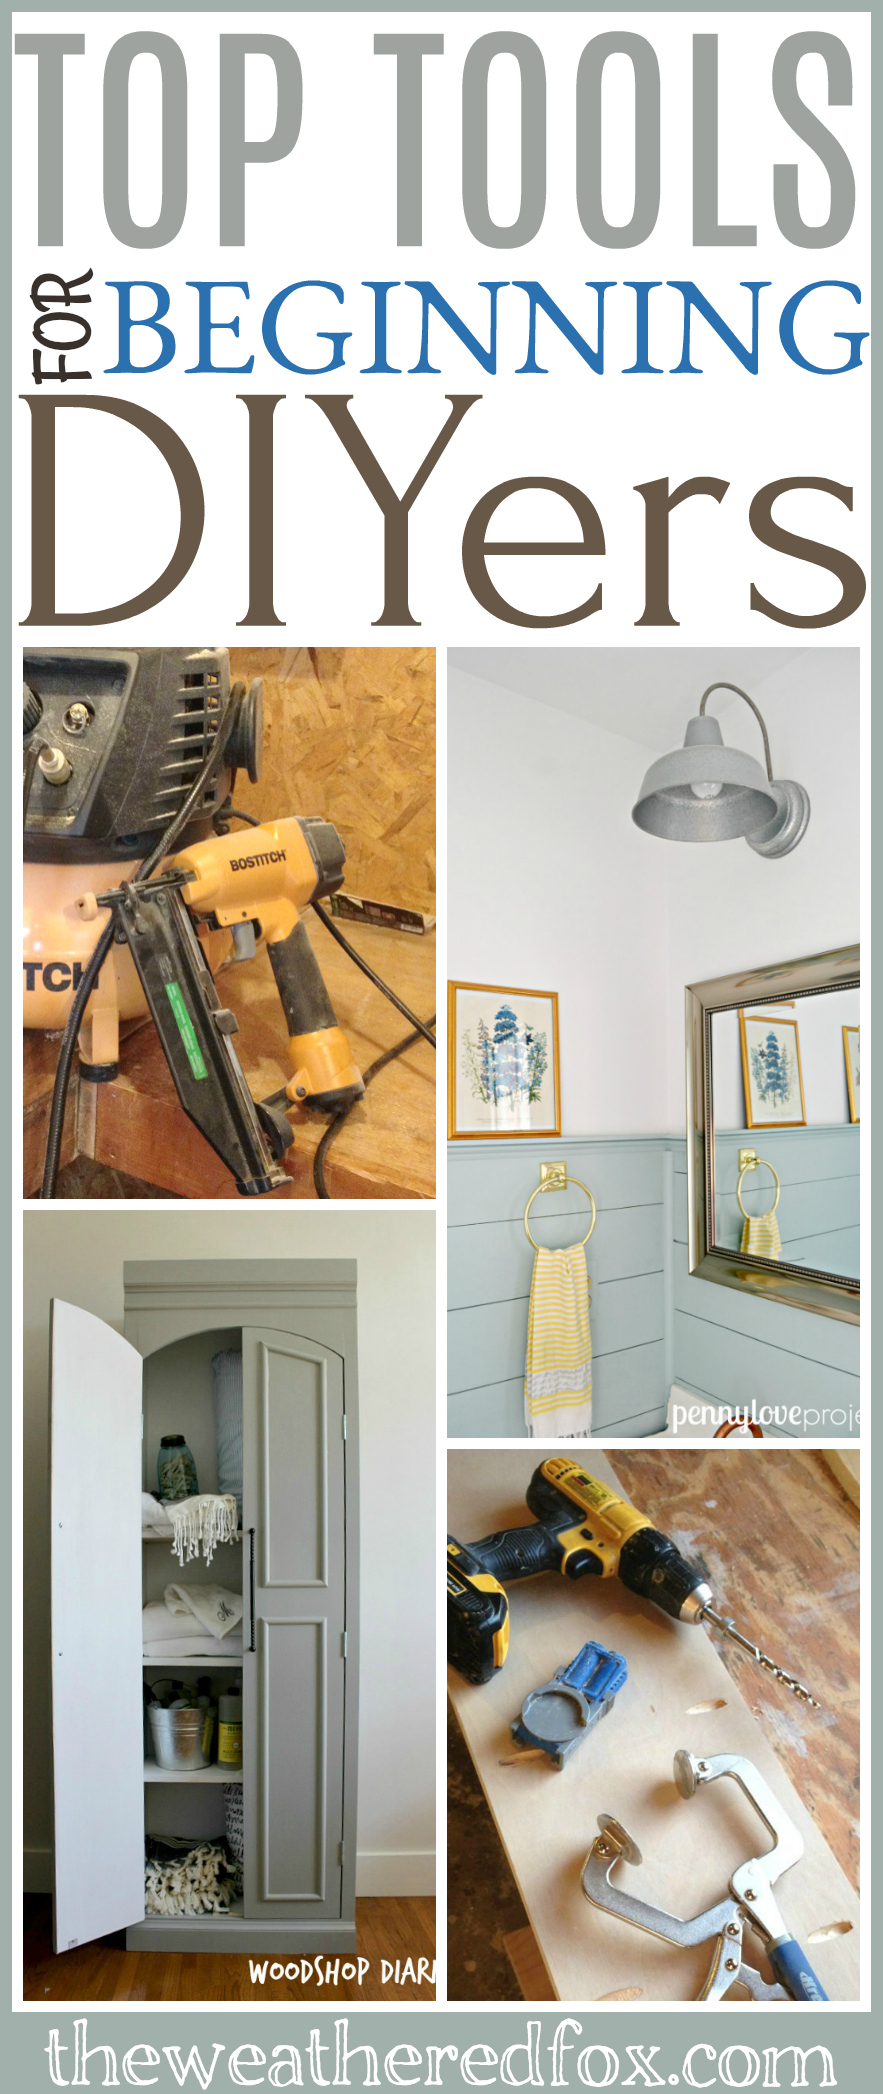
Top 10 Best Tools for Beginning DIYer
(This post contains affiliate links. This means I get commissions for purchases made through links in this post.)
This list is in no particular order. Depending on what kinds of projects you’d like to do first, you may choose to purchase one tool before another. But, either way, these are my favorites…although, I’ve never found a tool I don’t like yet 🙂 PS as a side note, I use a variety of tool brands. My shop is a conglomeration. So I will link to the particular tools I use, but other brand products may be just as good if not better. Feel free to pick your own brands to use.
1. Jigsaw
First on the list is the jig saw. This was the very first tool I started with. It won’t cut perfectly straight lines unless you have a straight edge, but for making small wood signs, wood trays, and other small projects, if you can cut along a straight line, it’ll do the job.
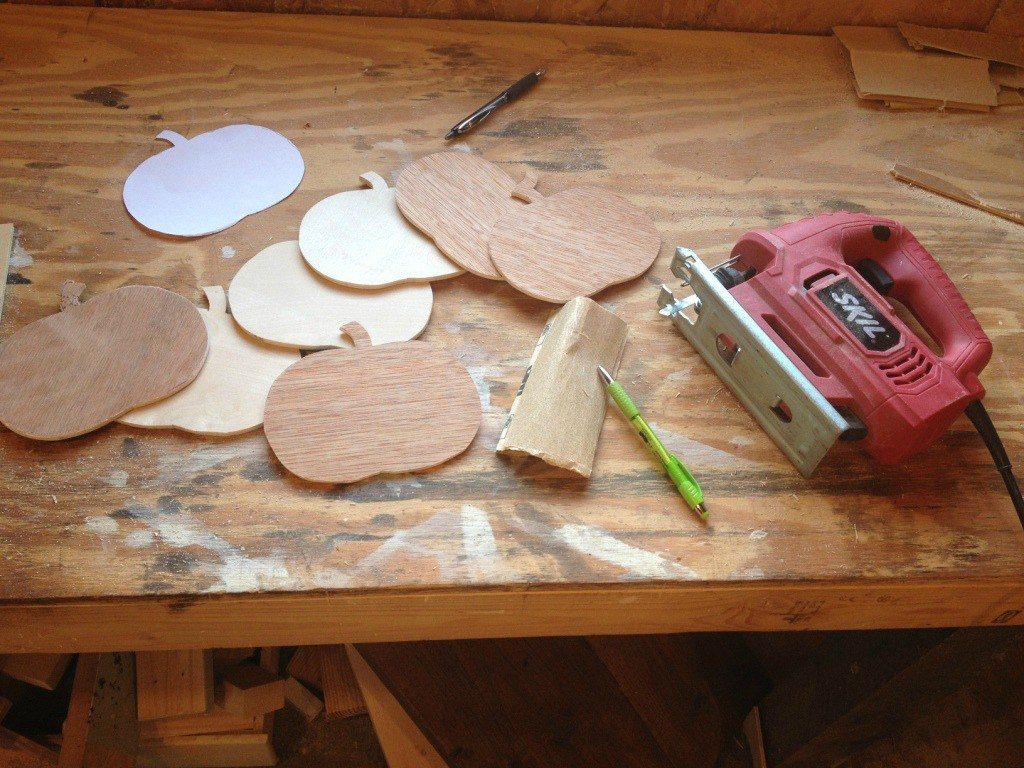
It’s very versatile, not very intimidating, and very easy to use. I still use it a lot with cutting notches in my furniture builds. I worked with only a jig saw for several months before investing in more expensive tools. I highly recommend trying out a jig saw before anything else because it’s a small investment and great for just getting started cutting wood.
For an example of types of projects you can use a jig saw for, see this awesome post:
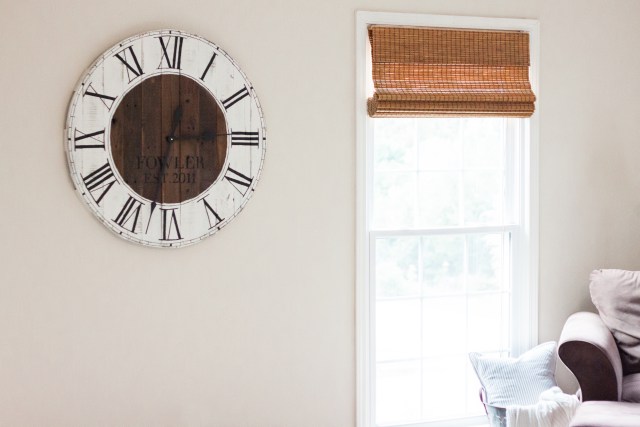
DIY Farmhouse Clock by Gather and Flourish
2. Miter saw
Next on the list is the miter saw. Miter saws are great for cross cuts (cutting across the grain) and cutting angles. Think about those wooden arrows you see everywhere…miter saws are perfect for that.
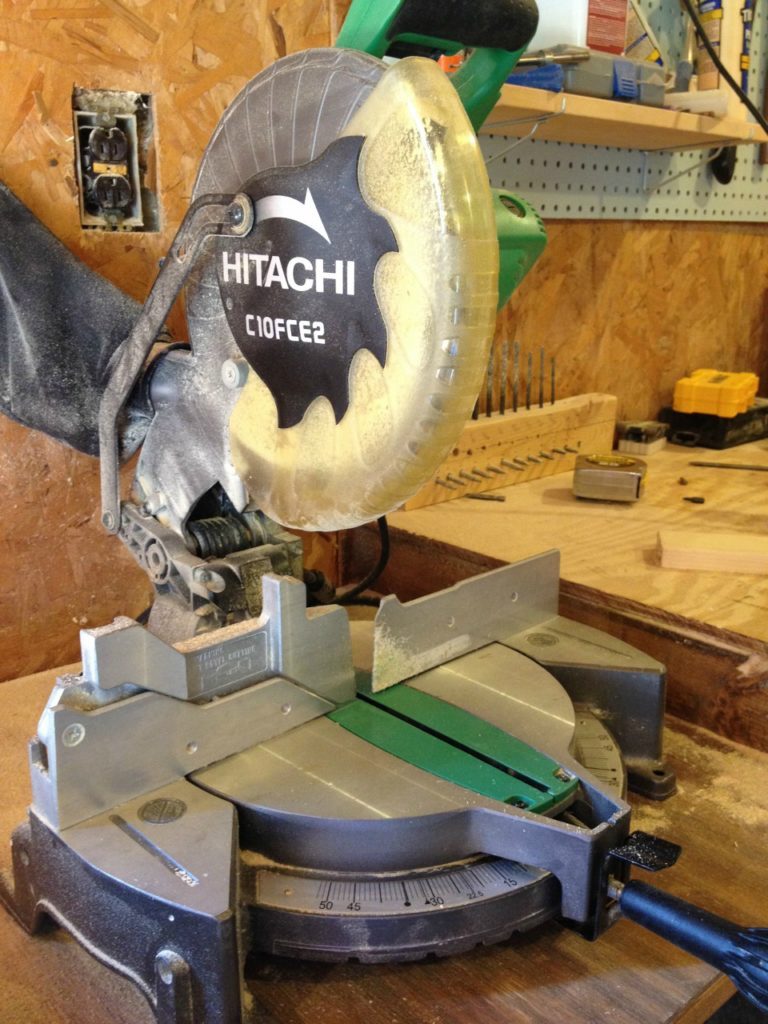
Miter saws are typically more expensive than the jig saw from earlier, but your cuts will be perfectly straight and clean. It’s a really handy tool to have in the shop.
You can use a miter saw for many types of projects, but here are some examples:
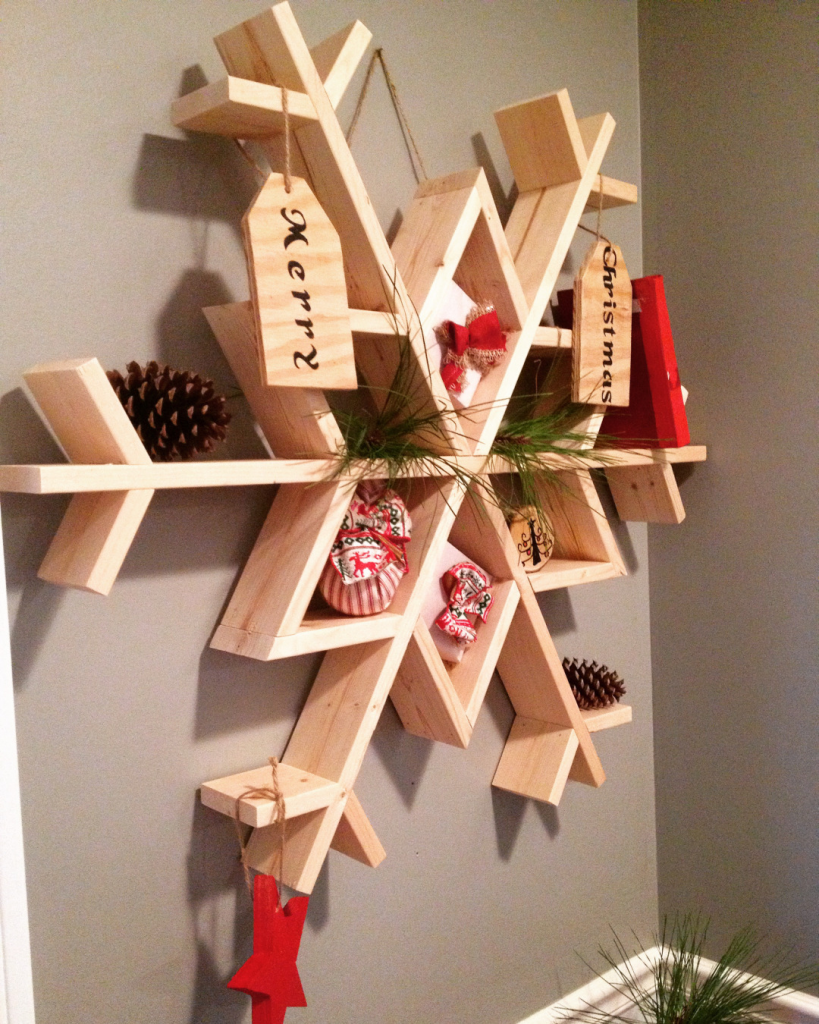
Wooden Snowflake Shelf by Woodshop Diaries
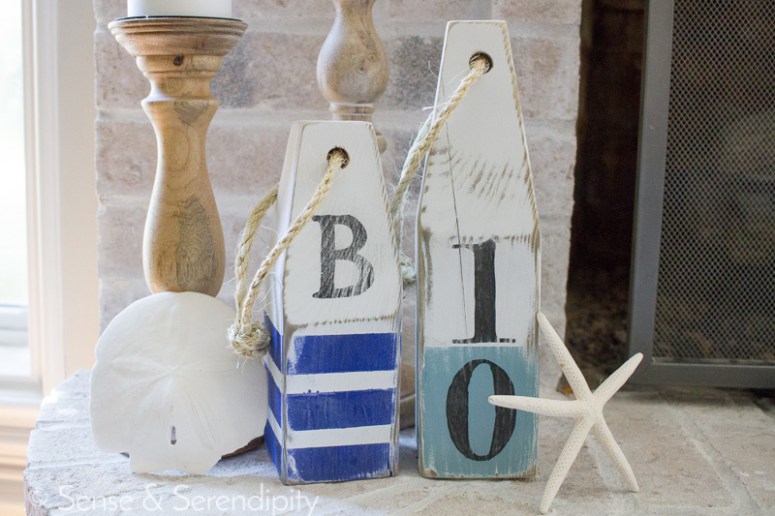
DIY Nautical Buoys by Sense and Serendipity
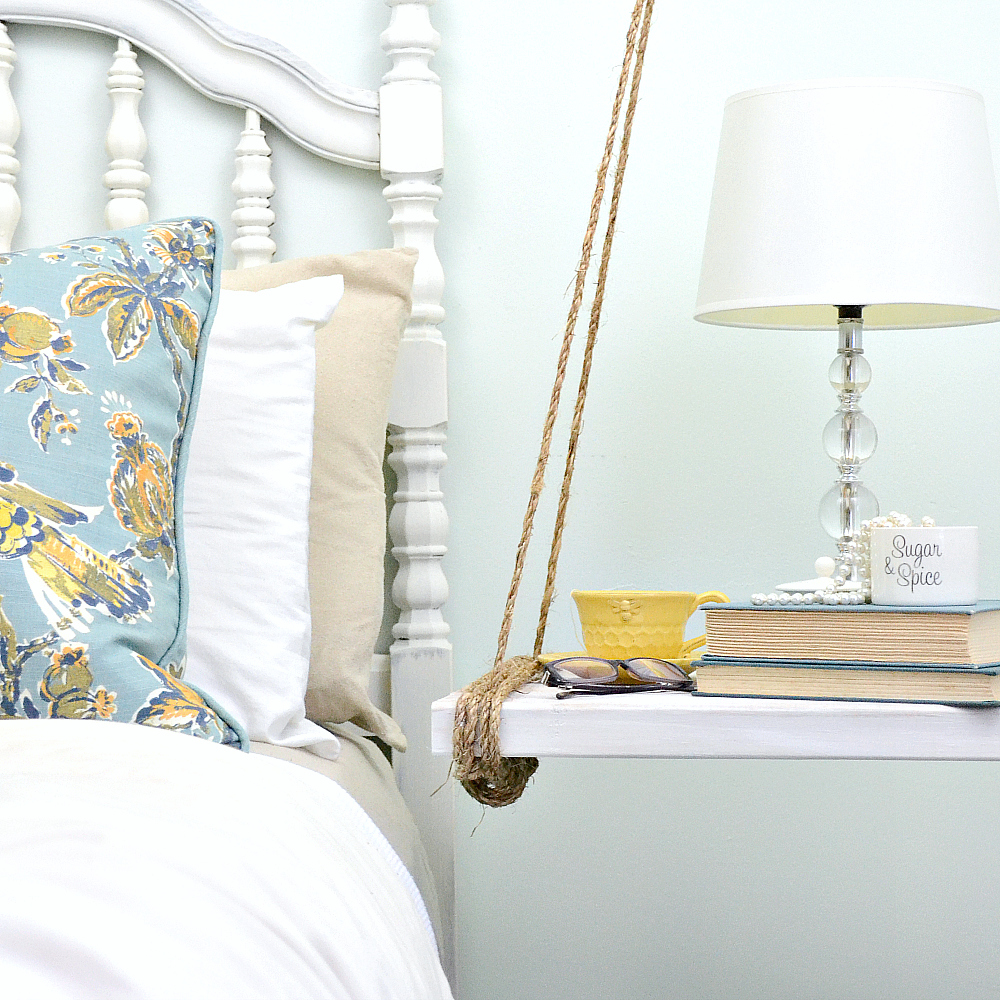
3. Nail Gun
If you have a nail gun, a saw, and some glue, you can make just about anything. Well, maybe not ANYTHING…I wouldn’t build a house with glue and brad nails, but you get what I’m saying, right? When I was getting started, I put everything together with a hammer and nails.
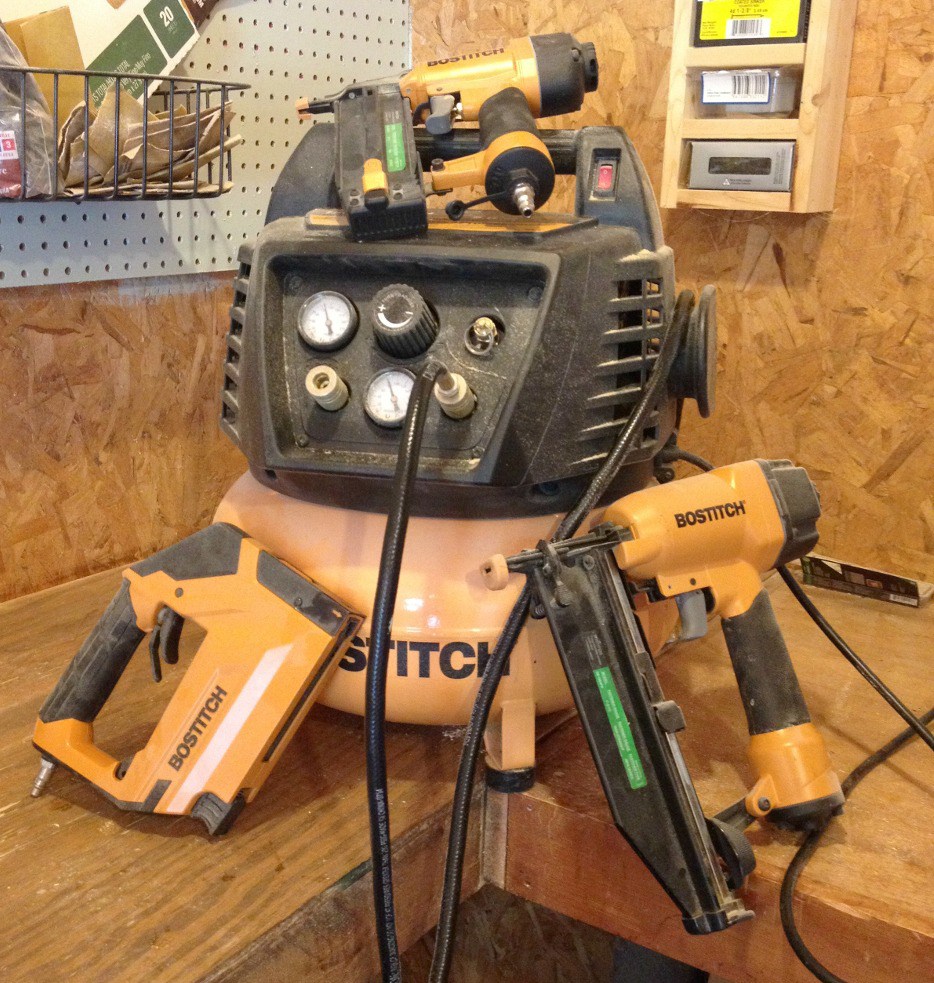
Getting a nail gun was life changing. What used to take my several hammer swings (because, let’s face it, I had bad aim), was then accomplished with only the pull of a trigger. The nail gun is easily my favorite tool in the shop.
For an example of a project that used a nail gun, check out this post:
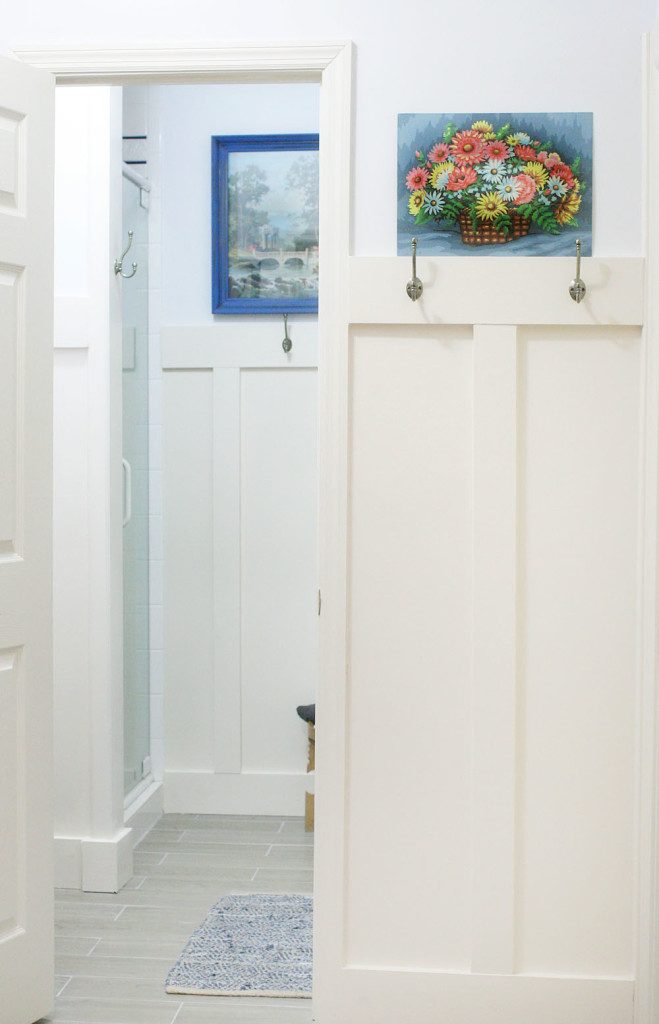
DIY Board and Batten by Craftivity Designs
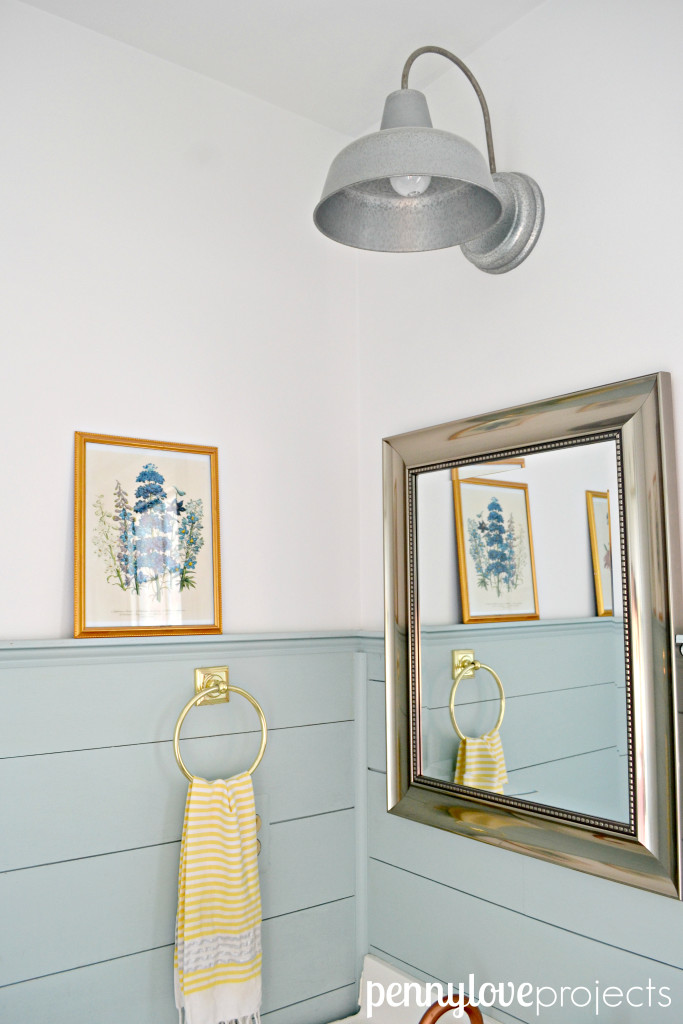
DIY Wood Plank Powder Room Update
4. Drill
While nails (if you got that nail gun from #3) and glue will work wonders, sometimes you need a little more holding power. That’s where screws come into play. And driving screws with a screwdriver is even worse than driving nails with a hammer!
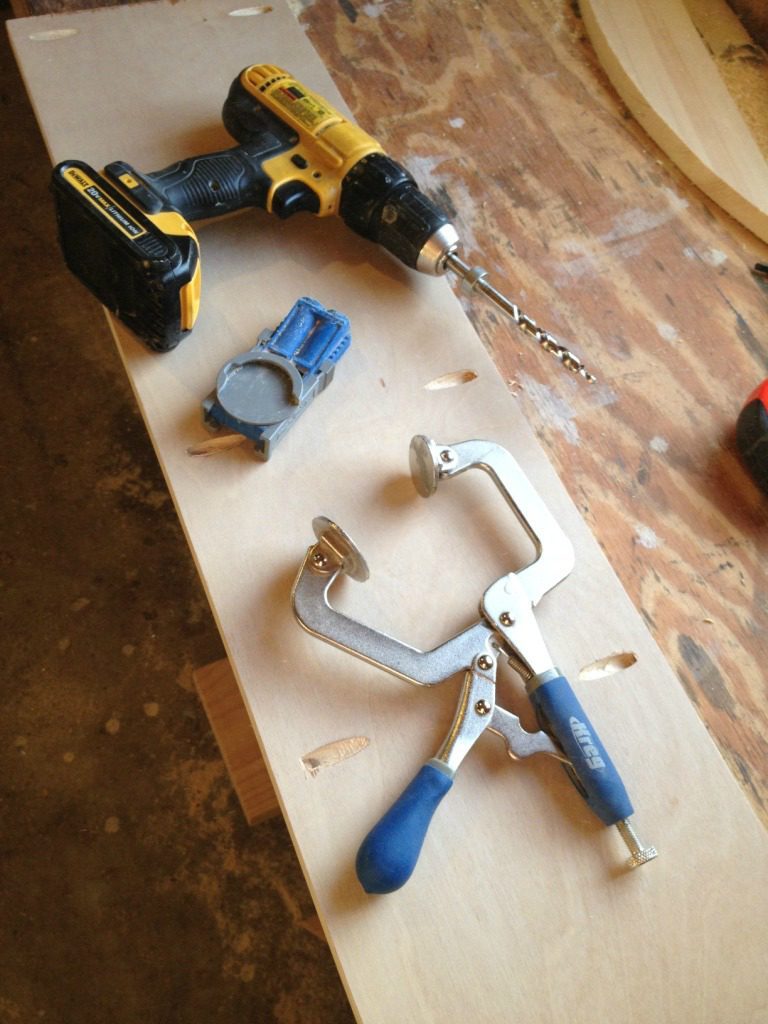
I recommend investing in a decent drill. Don’t get the cheapest, but you don’t have to get the most expensive, either. But, a good quality drill will work wonders for you in your projects both big and small.
For an example of a project using a drill, see this one:
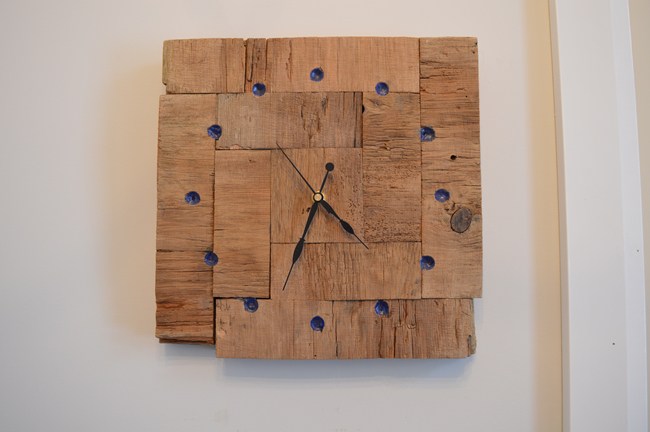
Not Your Typical Barnboard Clock by The Vanderveen House
5. Kreg Jig for Pocket Holes
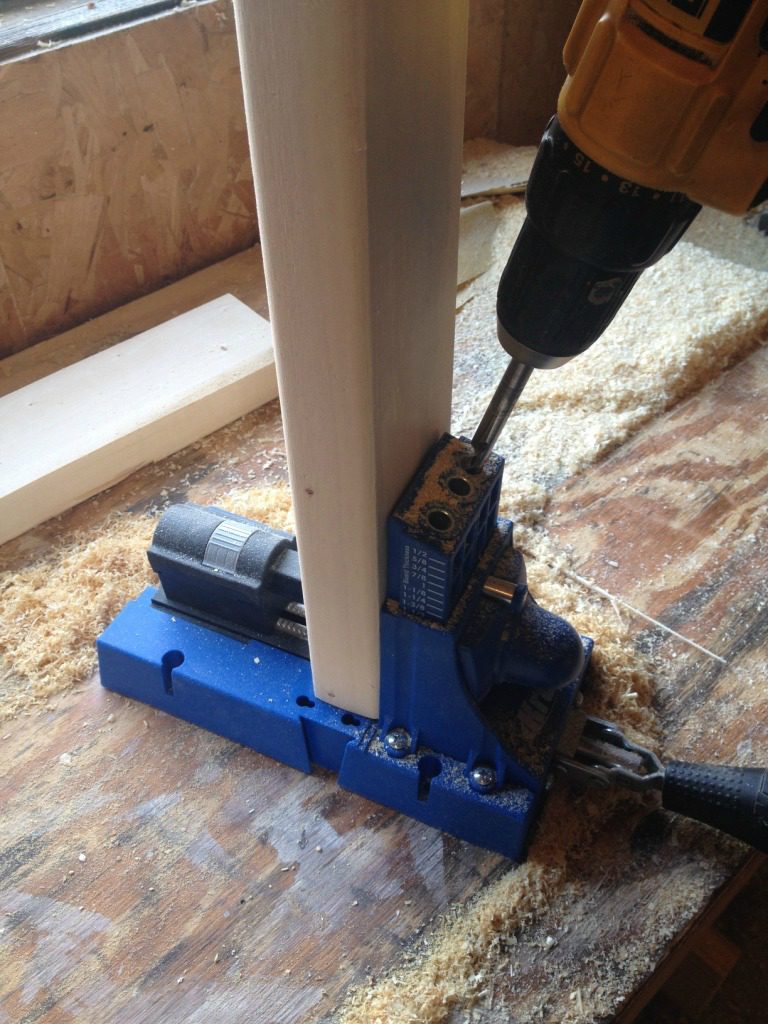
Speaking of drills and screws, that leads me to the Kreg Jig for pocket holes. These are AMAZING little things. Depending on the types of projects you will work on, they range from just $40 to a couple hundred. But don’t worry, I used my $40 jig for two years before upgrading. And I definitely got my money’s worth from it.
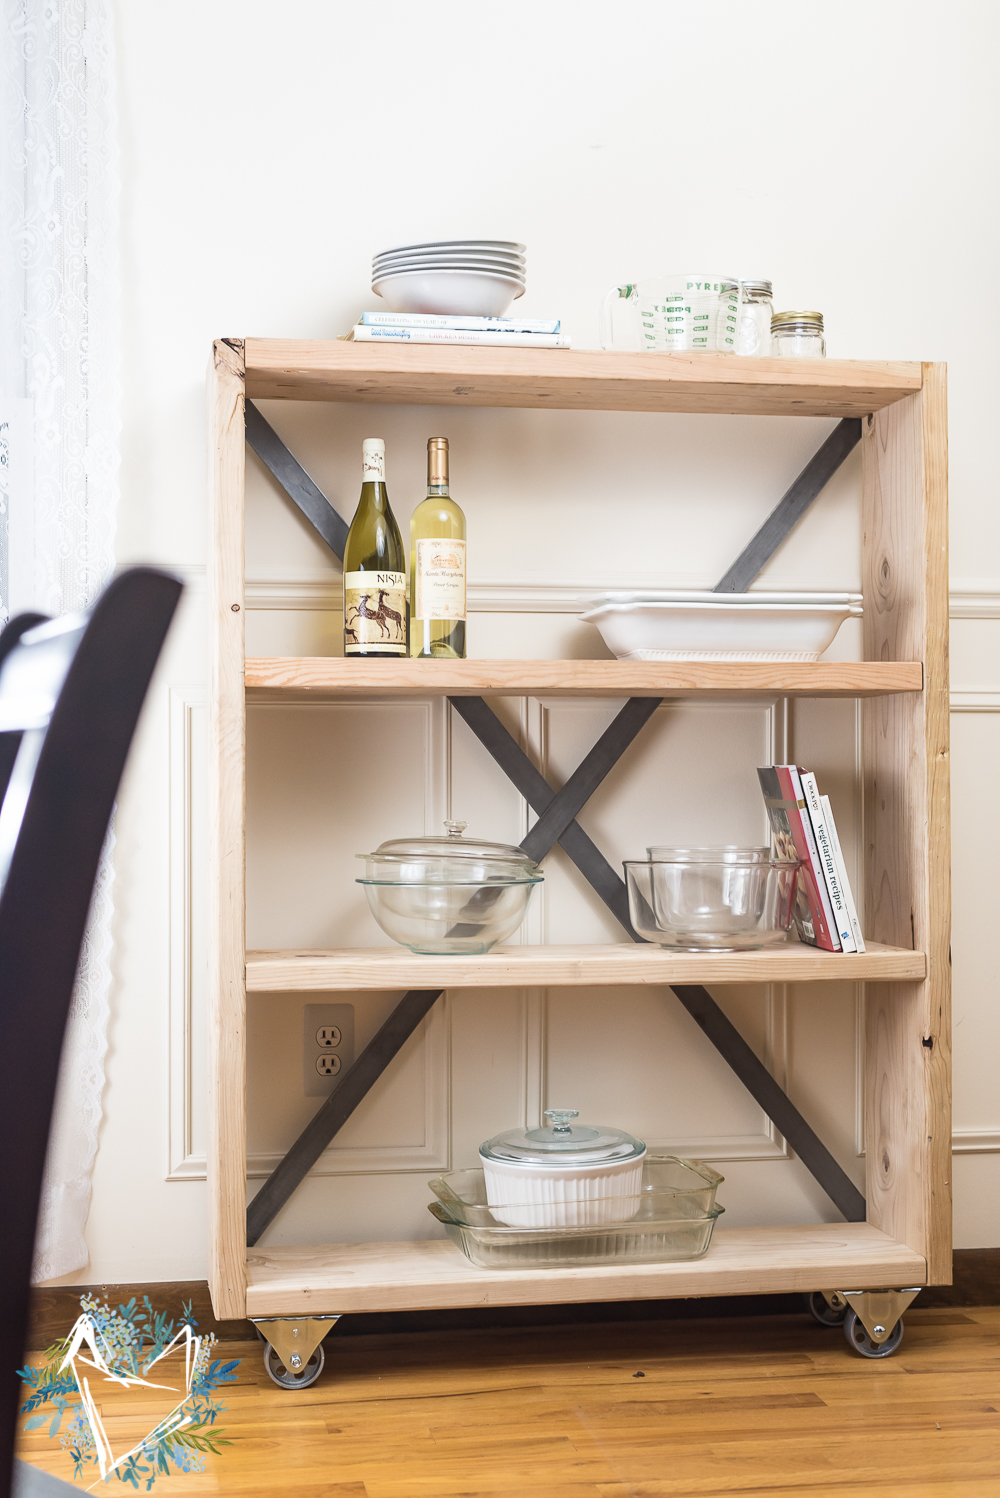
Farmhouse Pantry Bookshelf DIY
Pocket hole joinery has made many building projects possible for the DIYer. Basically, you use the Kreg Jig to drill “pocket holes” into pieces of wood so that you can screw pieces together. It’s a very simple way of joining boards without a bunch of fancy tools. All you need is the jig and a drill.
6. Sander
There are many types of sanders. There are belt sanders for aggressive sanding (think large table tops or sanding really rough lumber), orbital sanders, and finishing sanders. Those are just a few of the common ones.
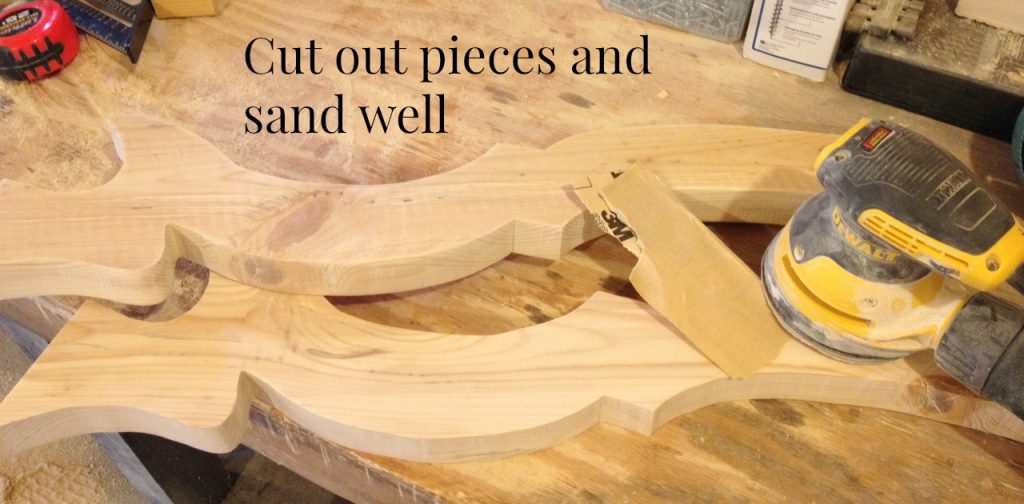
My personal favorite is the orbital sander. I use mine on every single project. It’s a great, versatile power sander. It can be used to smooth out saw marks and rough ends on your cuts. It can also be used for a final sanding of your finished project before you paint or stain it. Basically, it’s the best thing ever because just about anything beats hand sanding, am I right?
7. Circular Saw
When you get into doing larger projects that require bigger cuts, a circular saw is a life saver. Typically, I use my miter saw whenever I can, and my circular saw if the cut is longer than my miter saw will do. However, you could skip the miter saw, and use a circular saw for all your straight cuts if you wanted. You can see what it looks like below in number 8.
A circular saw is great for cutting down sheets of plywood, or table/desk tops. It works best if you clamp a straight edge on your piece to run it along so you get nice, clean, straight cuts.
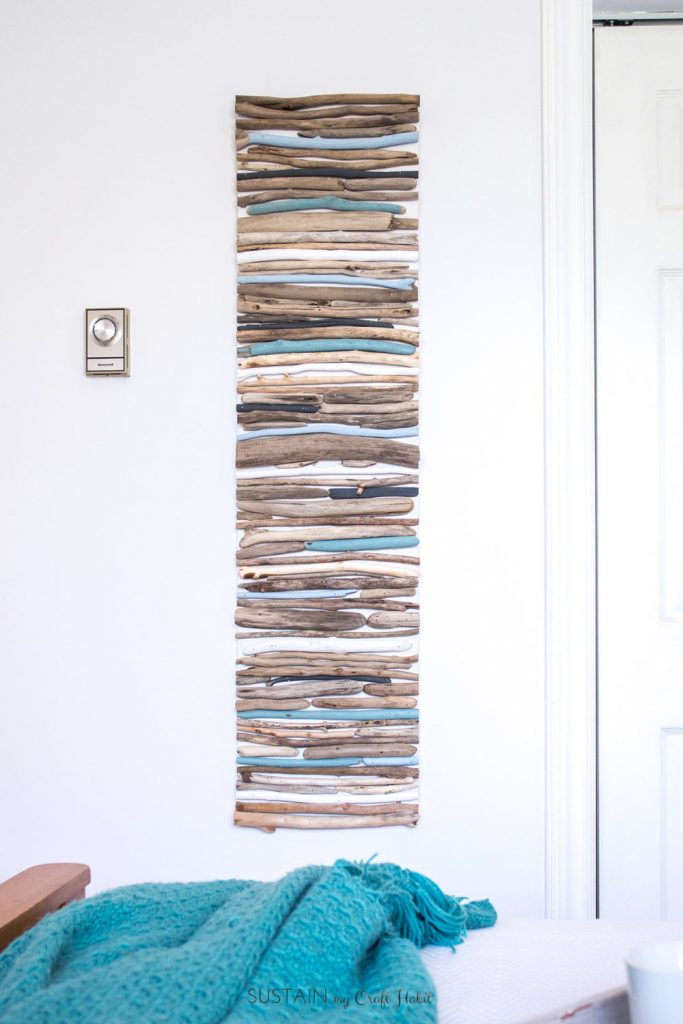
For a fun project you can use a circular saw with, check this one out:
DIY Painted Coastal Driftwood Décor by Sustain My Craft Habit
8. Kreg Rip Cut
Speaking of circular saws and straight edges, the Kreg Rip Cut is a great tool to use with a circular saw to replace that straight edge. It’s an inexpensive little tool that you can attach your circular saw to, set your width, and cut down sheets of plywood exactly the size you need.
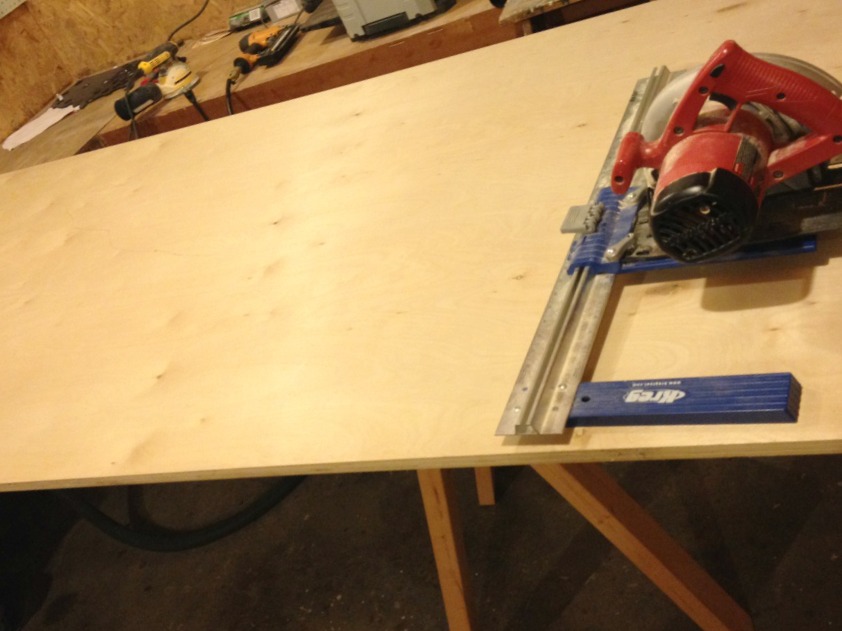
I’m kind of little, so manhandling a 4×8 sheet of ¾” plywood is difficult. The Kreg Rip Cut helps me cut it down to manageable sizes for my project and it’s super quick and easy to attach, detach, and adjust from your saw as needed.
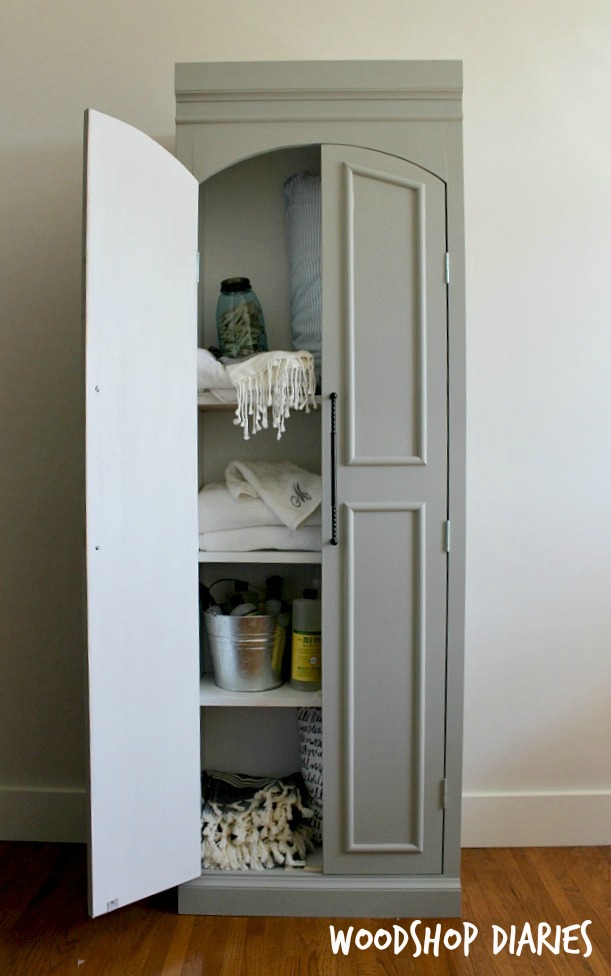
You can use this anytime you cut plywood, but for an example, check out this post:
DIY Pantry Cabinet by Woodshop Diaries
9. Clamps
Any woodworker will tell you that you can NEVER have enough clamps. But just like sanders, there are many types of clamps. There are pipe clamps (for large glue ups like table tops), then there are a variety of clamps of all sizes and styles from there. My favorite are the twist tighten kind. They are easier to adjust the pressure on than the trigger style.
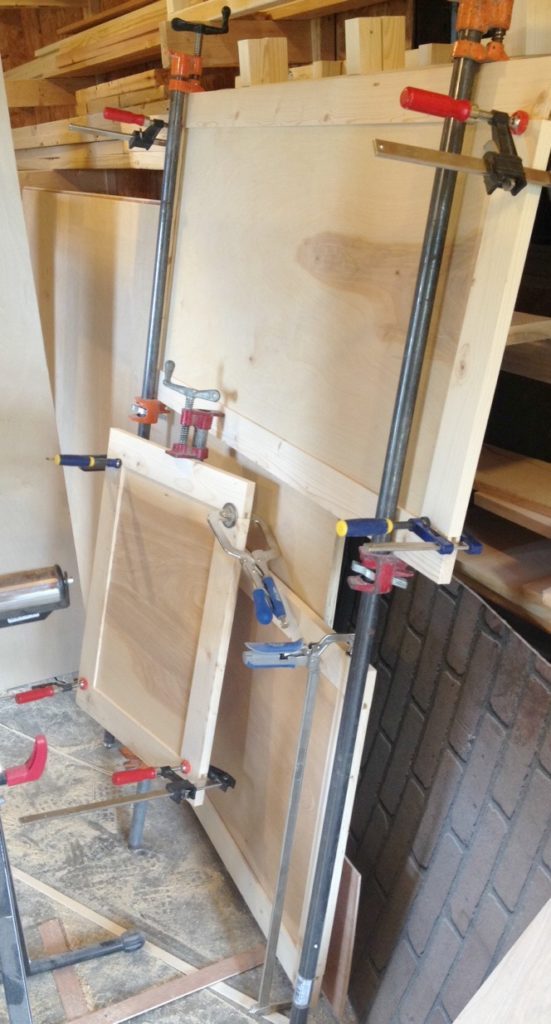
Clamps are handy for all sorts of tasks. They can hold pieces together while glue dries, they can hold pieces together while you attach screws, they can hold a piece flat to the work surface so you can sand it and it won’t move. I recommend collecting these as you go. Because you truly never can have enough of them 🙂
For examples on types of projects clamps will come in handy for, check out these:
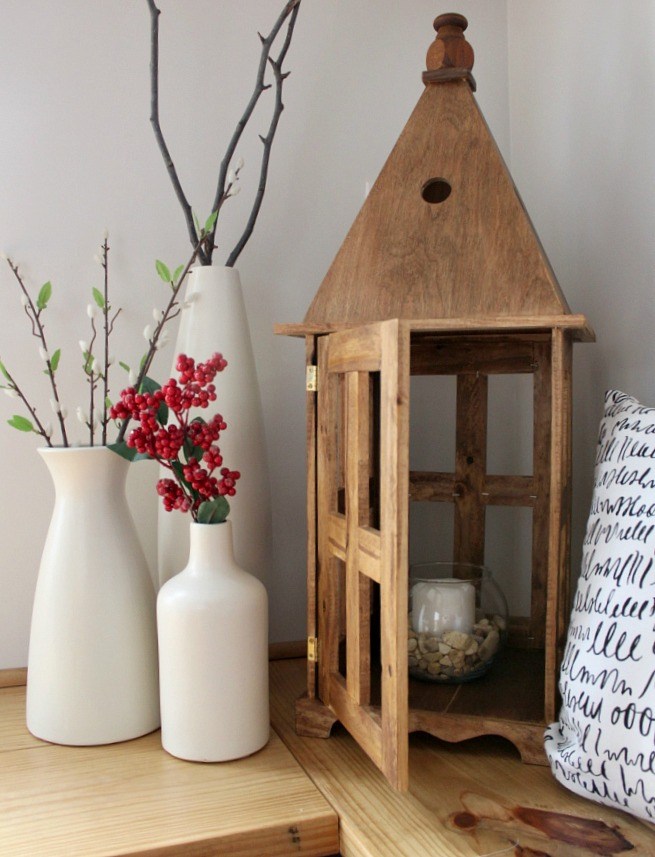
DIY Wooden Lantern by Woodshop Diaries
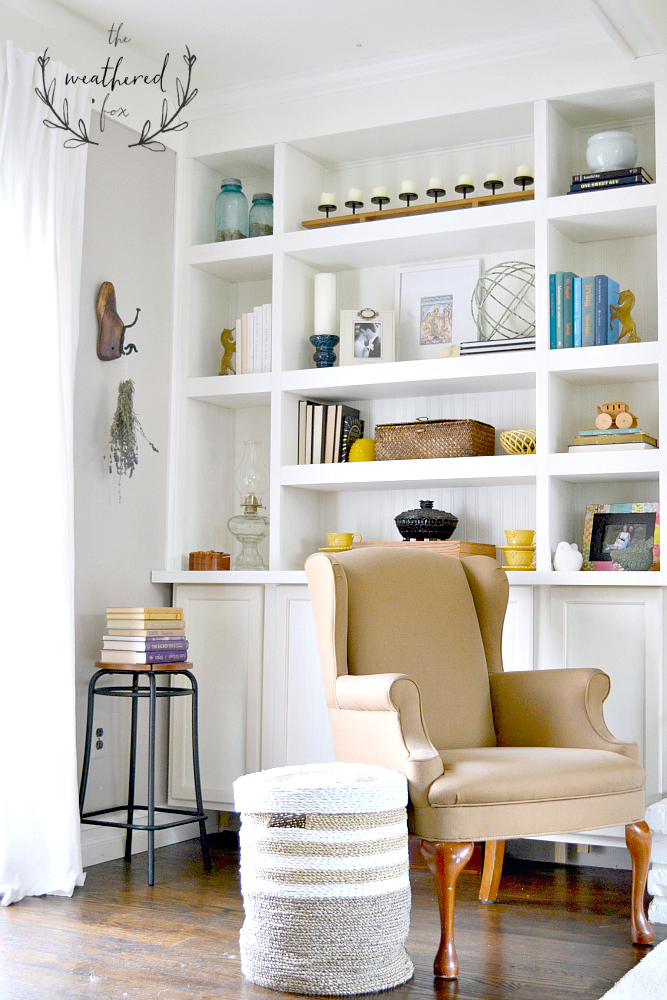
DIY Built in Bookshelves from The Weathered Fox
10. Square
Last, but definitely not least is a square. Squares are not expensive tools, but can really come in handy as you start working on larger projects, especially furniture pieces. It’s the worst to get something made and you go to add a drawer or a door and realize something is off square and your door won’t fit.
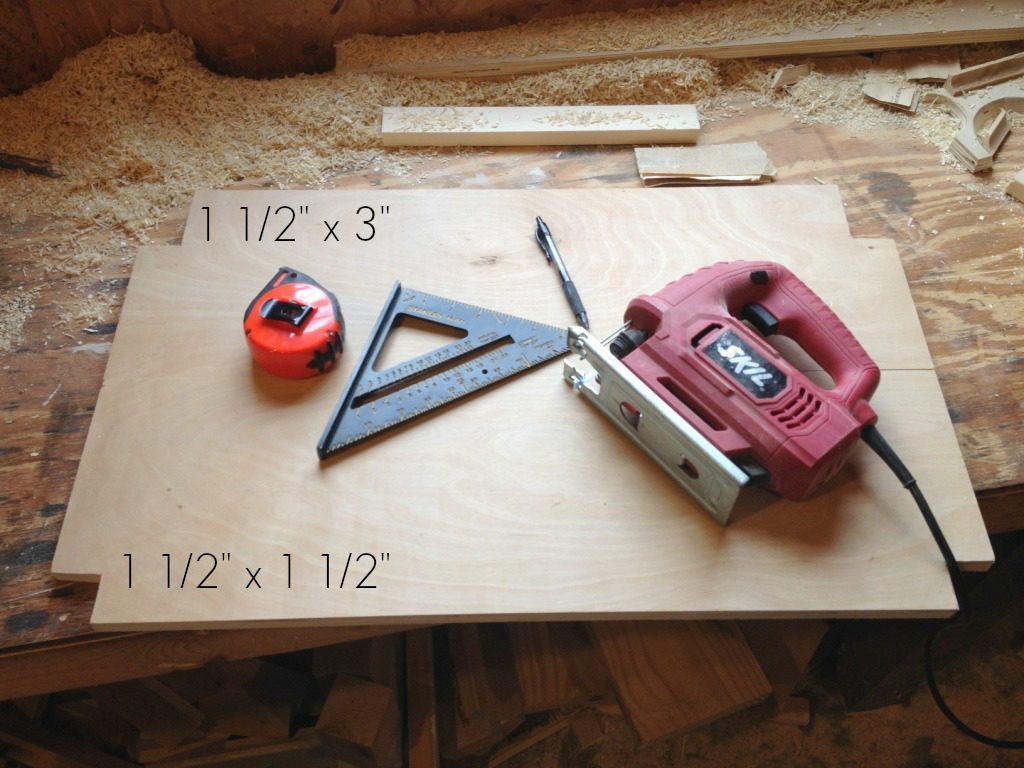
It’s good practice to keep a square or two or three (of different sizes) handy when building and check to make sure you are square every now and then. It’ll save a lot of trouble later on 🙂
Of course, there are plenty more tools that will come in handy in the woodshop and in the avid DIYer’s toolbox, but these are the top 10 best ones to start out with. You’ll be amazed at what you can create with just a few tools. If you can’t afford to invest in several at a time, just buy one or two and add as you go. Challenge yourself to make something with what you have 🙂
Now get out there and make something 🙂


1 comment
Shara – what a great round up or tips and products! Thanks so much for including my board and batten project 🙂