We have an Achilles heel when it comes to our house. It’s the basement. So we came up with some inexpensive unfinished basement ideas that not only sold our house, it only took a weekend to complete!
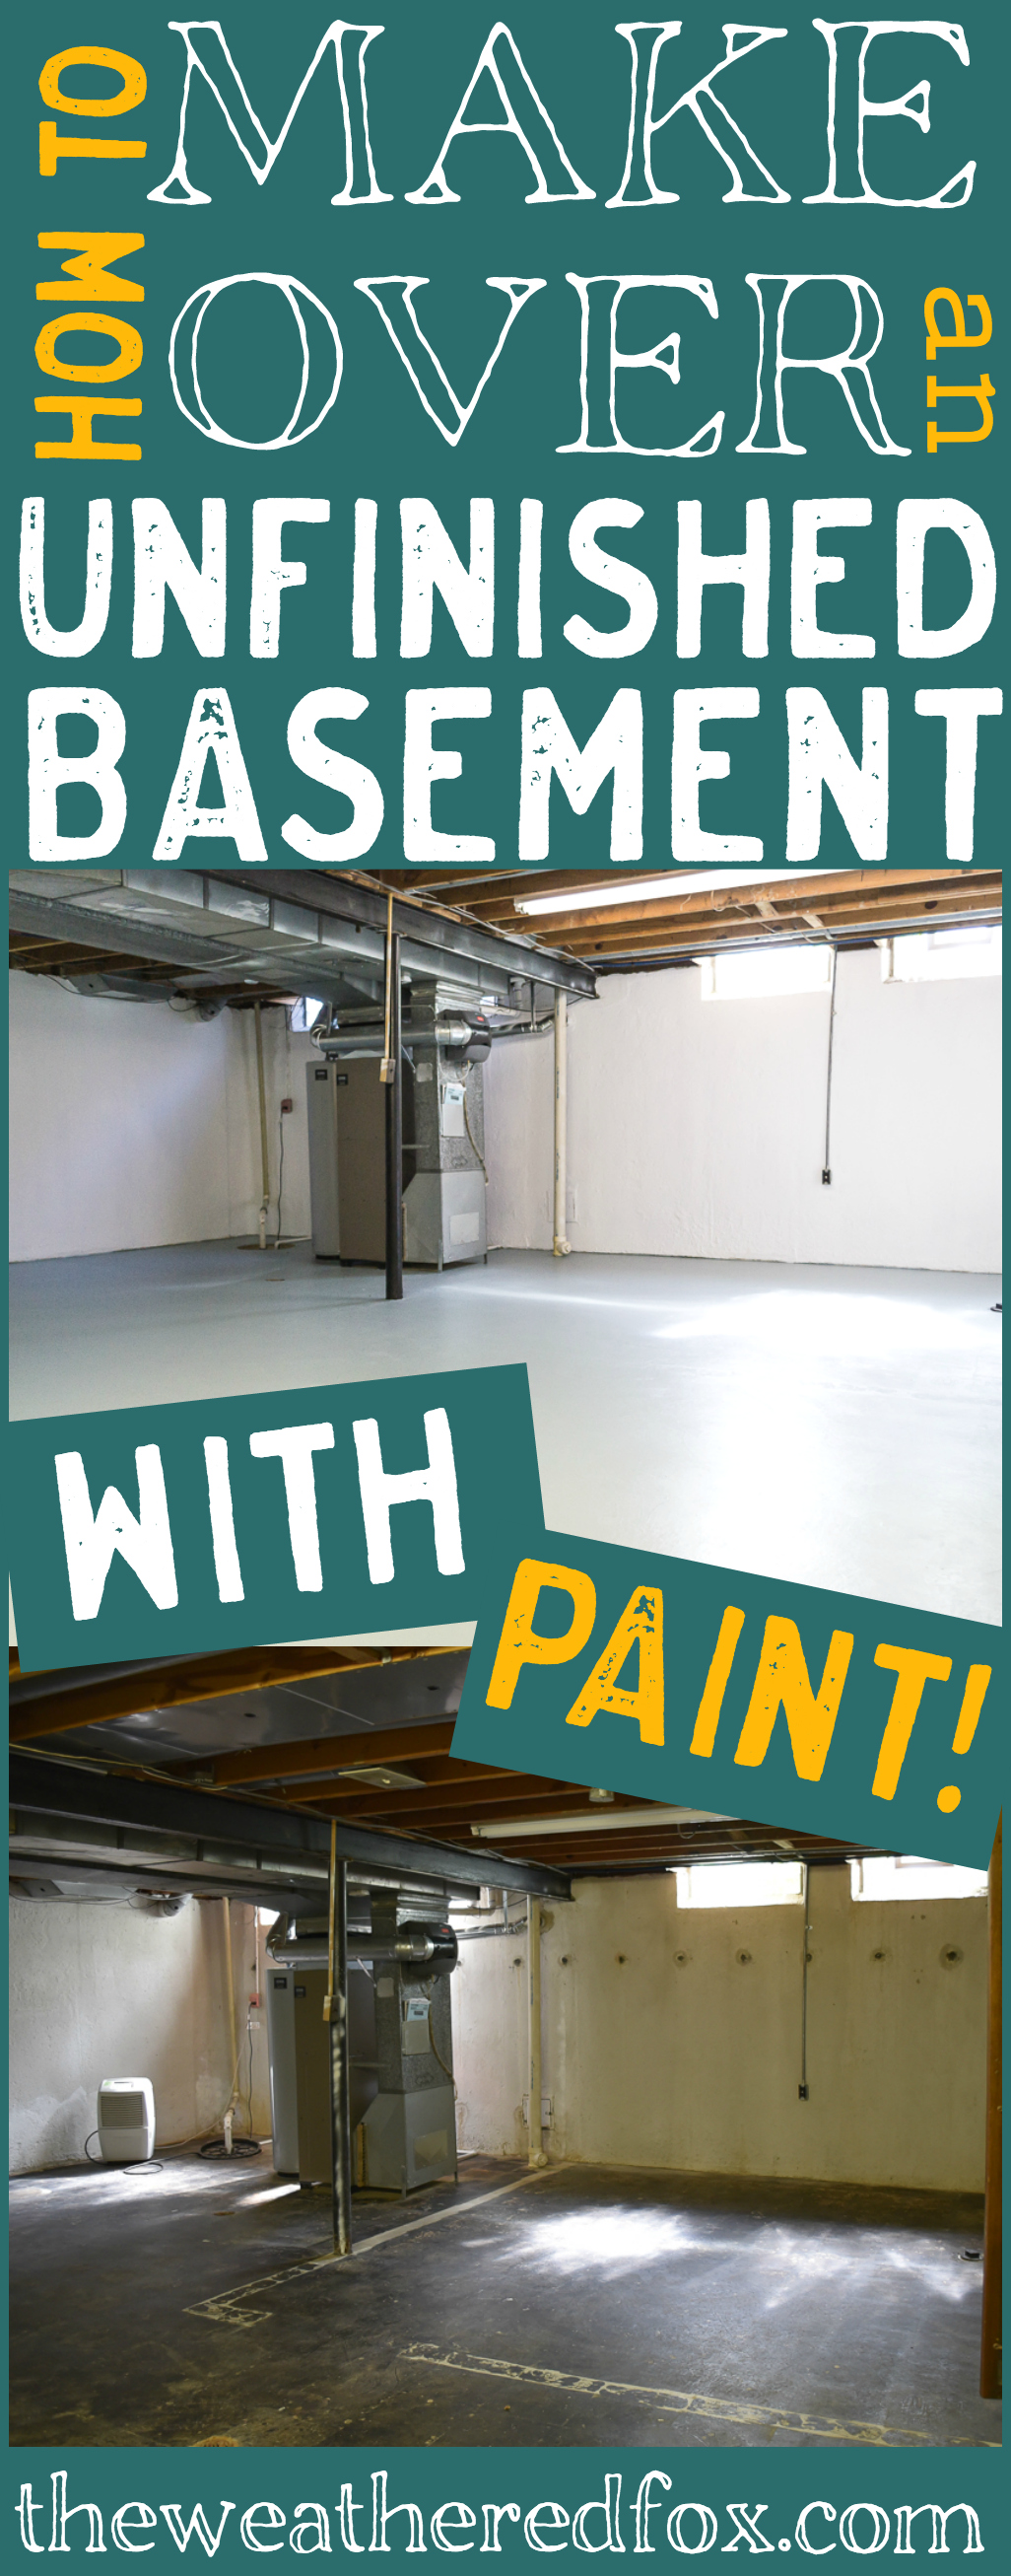
I mean, don’t get me wrong, we’re happy to have a basement at all! It’s dry, it has high ceilings and a cement floor. It’s actually pretty good for a basement. But it’s not finished, and it’s kind of ugly.
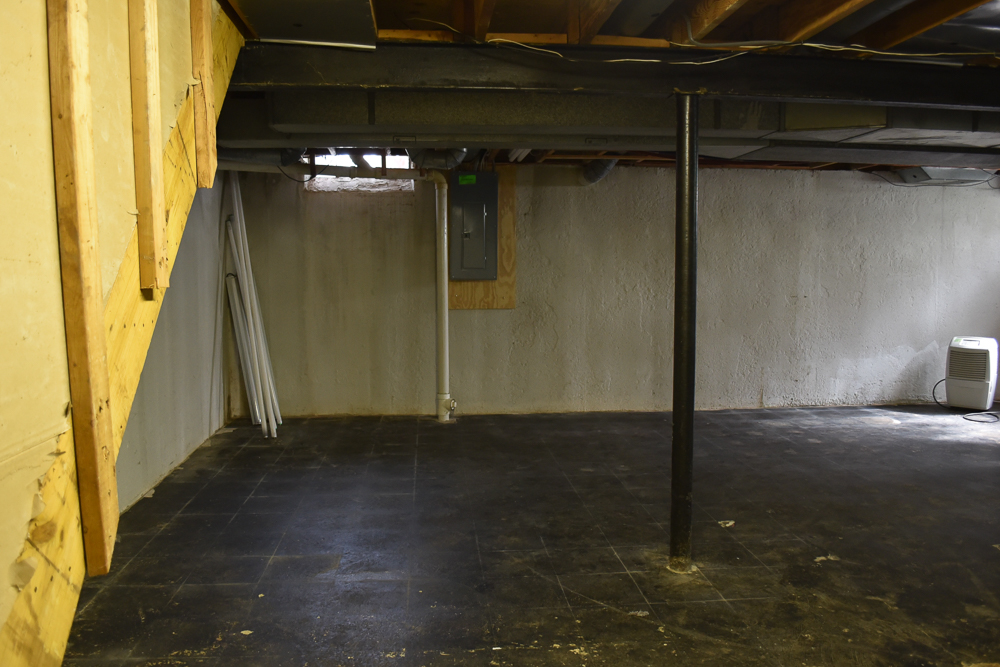
Well, it was. That was until we decided to put our house on the market. We had the entire house empty of our own stuff, and staged perfectly. We got so many compliments from realtors saying that their clients were just thrilled with the space. But the basement kept coming up as a negative.
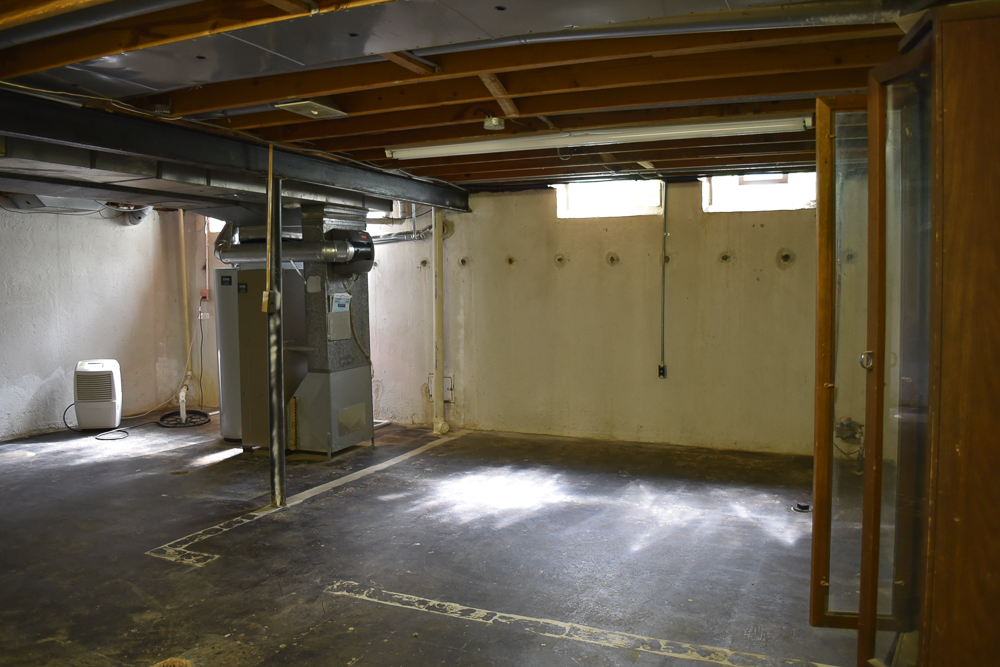
Because honestly, the basement was just ‘meh’. And I think because we had such a gorgeous home, people expected more from the basement and then became super disappointed that it was just ‘meh’. That ‘meh’ basement was the one thing stopping buyers from making an offer on our house.
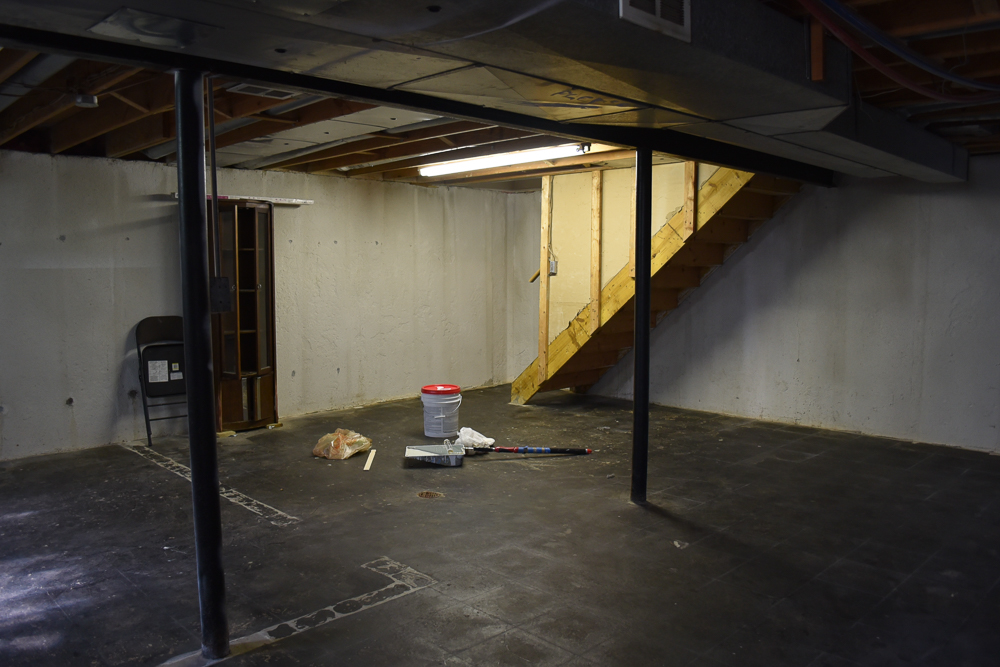
So, we begrudgingly decided to do something about it. We didn’t have a whole lot of time, and we were really running low on money. So a simple fix would have to do the job. Thus we decided to paint. Paint does miraculous things to a space, and this is the story of how paint sold our house.
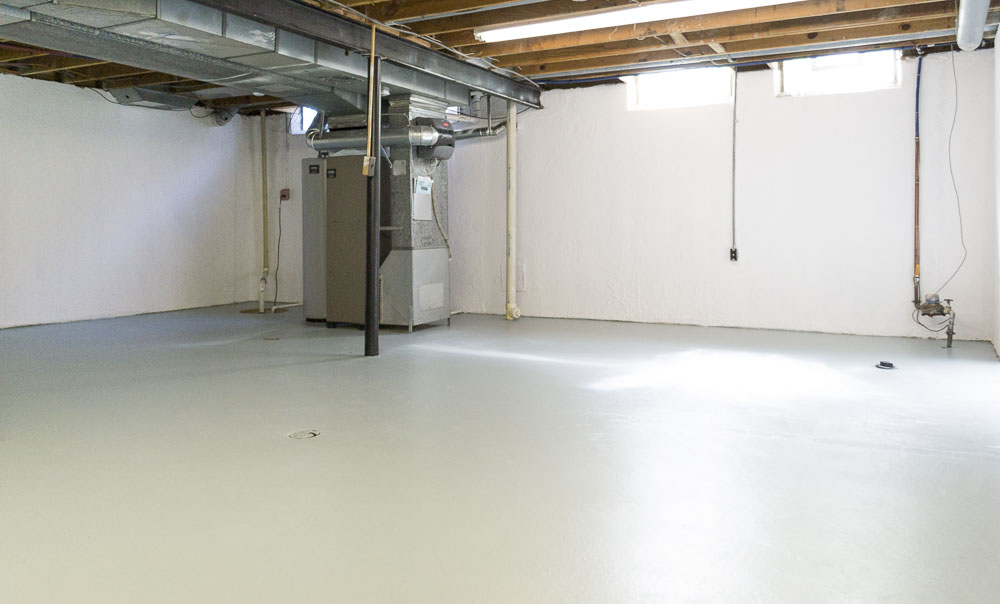
Unfinished Basement Ideas That Sold Our House
(This post contains affiliate links. This means I get commissions for purchases made through links in this post.)
Materials:
Drylock Extreme Waterproofing Masonry Paint
Paint Rollers (Get the ones made for rough surfaces)
garden hose, or other water source
Clean and Etch Concrete Cleaner – I used this one
Concrete Floor Paint – I used this one
Whip Those Walls Into Shape
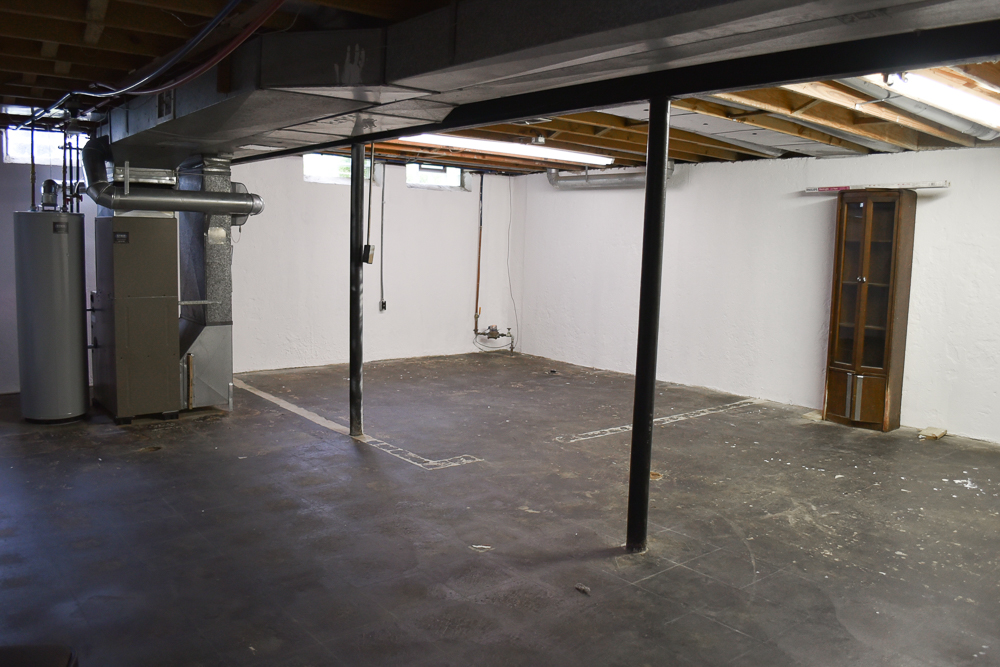
For this project, we started at the top and worked our way down. Our basement walls were looking pretty dull and dirty, which made the overall feeling of the basement just that much more dungeon-like. So, the first thing we did was grab a scrubber and scrub all the walls down, just with soap and water. Since we were in our basement, we didn’t worry about getting the floors wet. All the excess water was pushed into the drain. And after the walls were fully dry, we painted two coats of this waterproofing masonry paint.
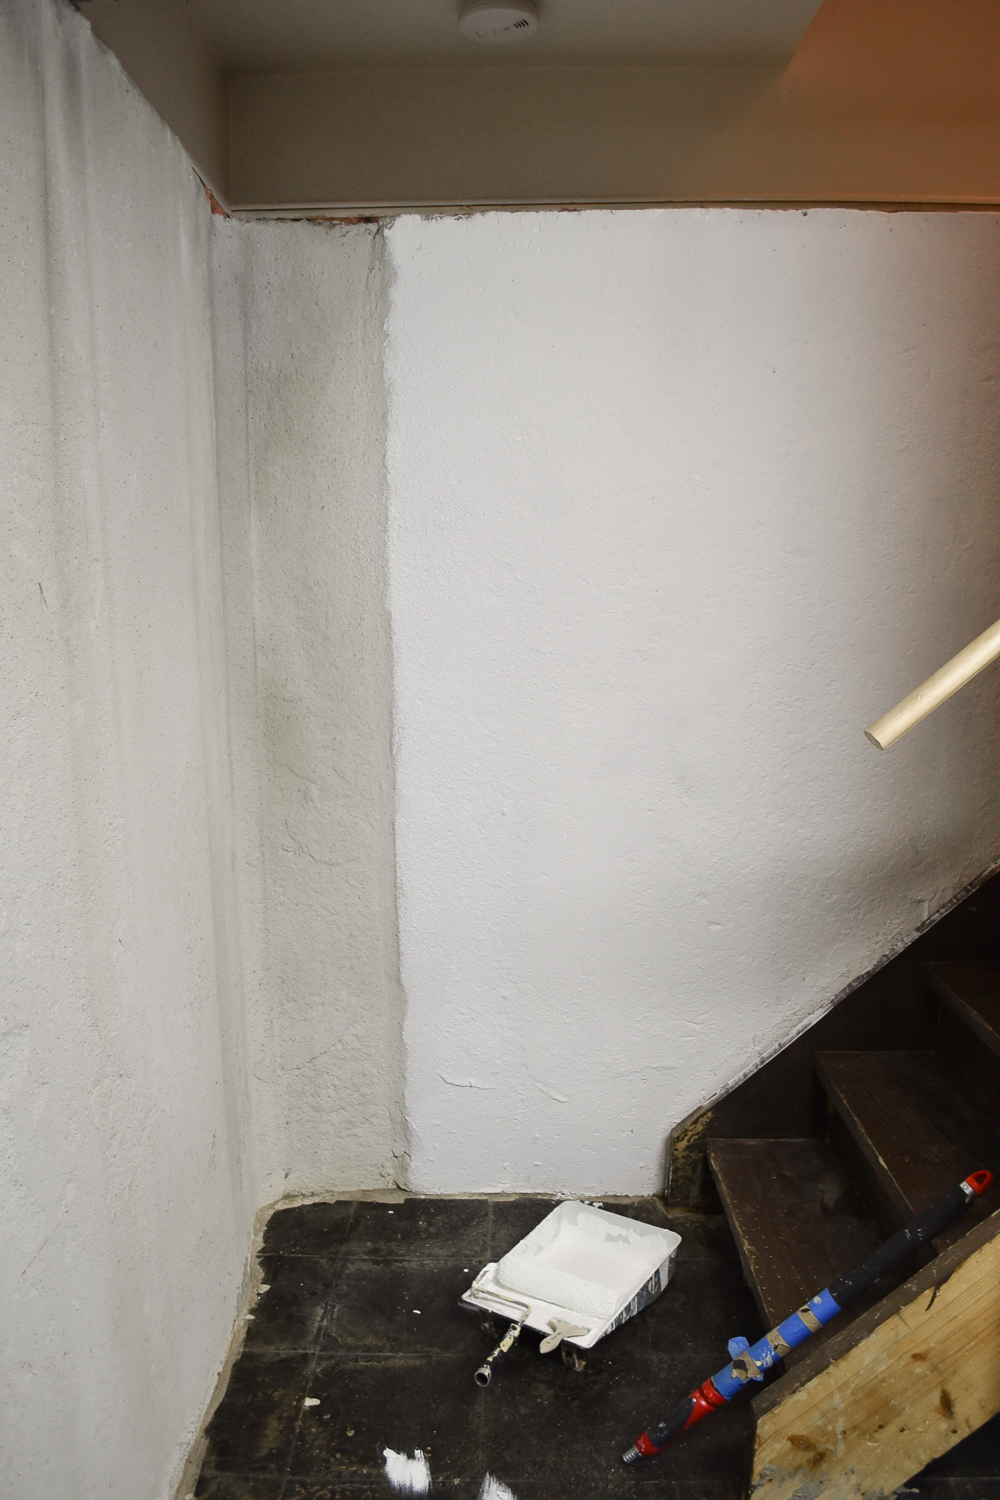
I didn’t actually believe it would make that dramatic of a difference until I started painting it on the walls! Holy moly that is so much better!!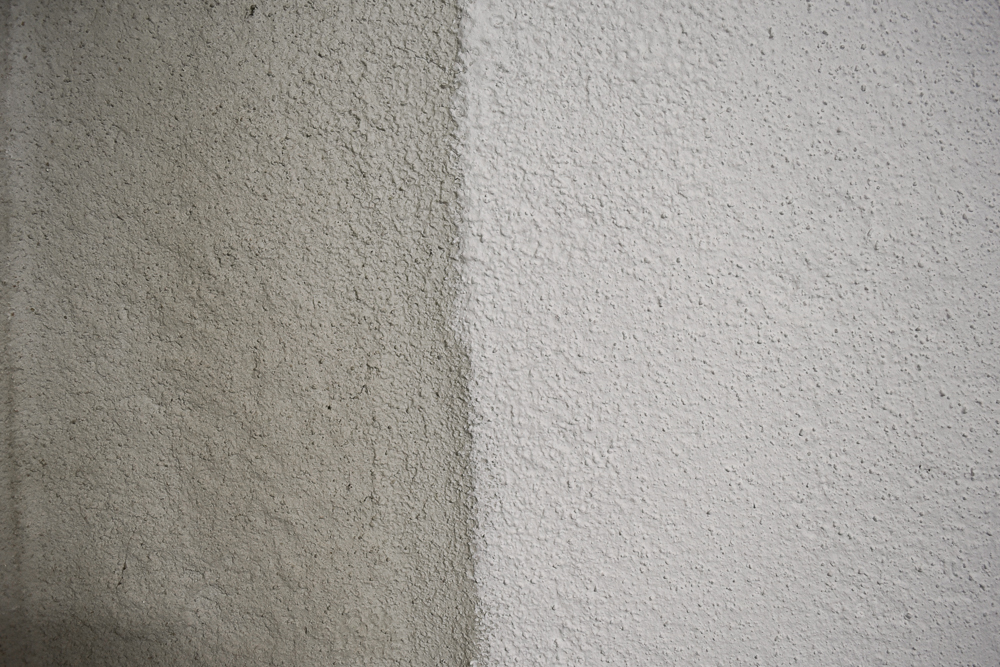
Prepping the Floors for Paint
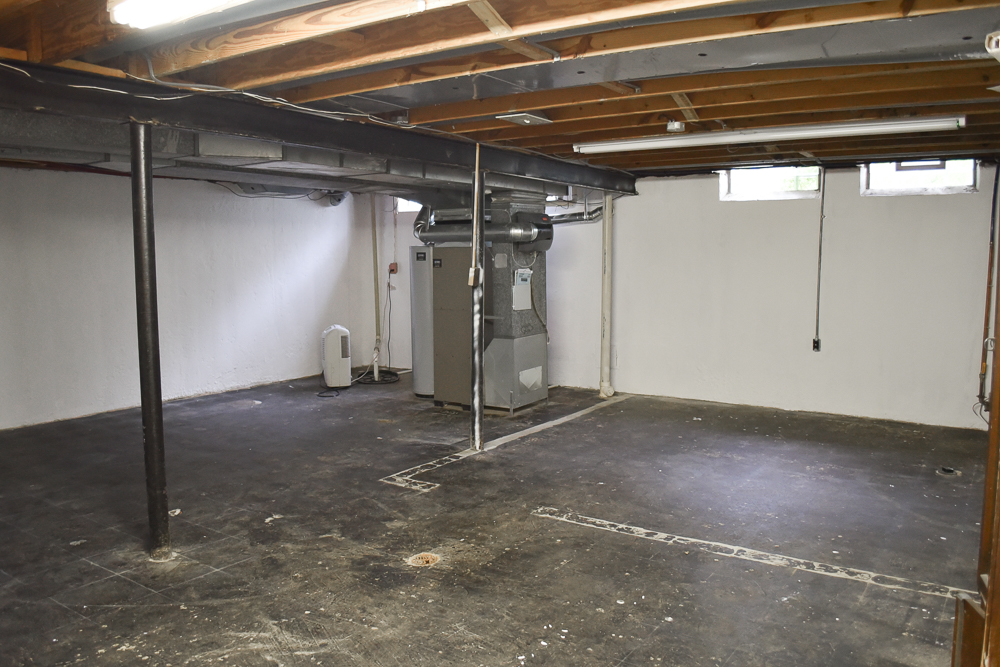
A little background information for you: This basement was disgusting when we bought the house. Yes, believe it or not this basement was far, far, far, far, far, far worse. I actually took a couple weeks a few years back cleaning this place up if you can believe that! The vinyl tile on the floor had been sitting in what I can only imagine was some kind of animal urine for years, which actually made it quite easy to remove in many places. But that also meant there was a lingering smell that I had tried many times to remove, to no avail. Of course one of the best unfinished basement ideas I could tell you is to clean it. And this definitely didn’t look clean. We got it to a point where it didn’t really bother us, but we wanted to absolutely be sure there was no odor or dirt left on the floor before we painted it.
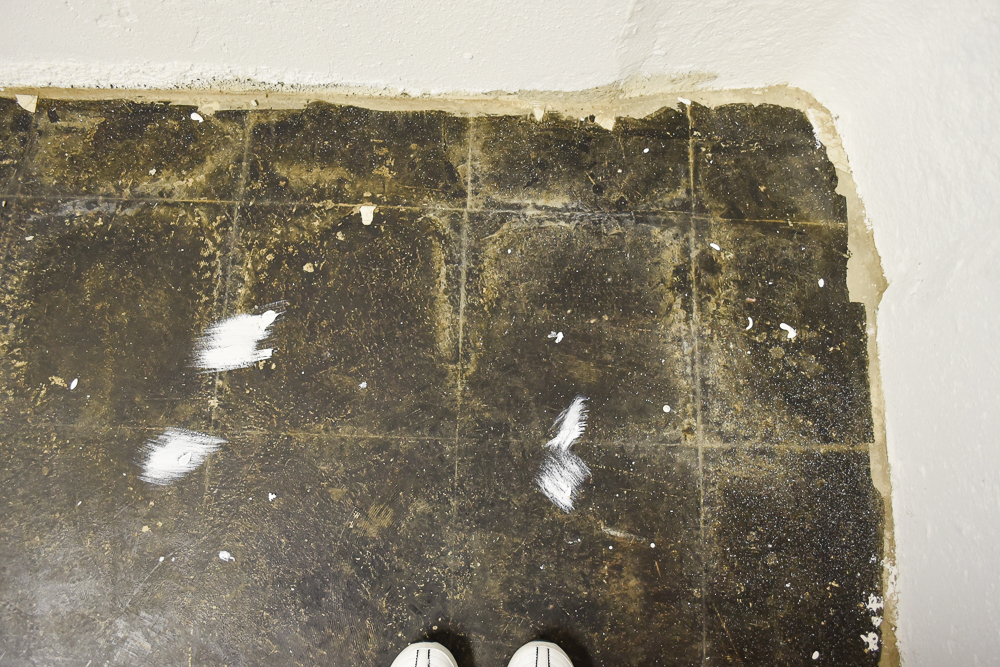
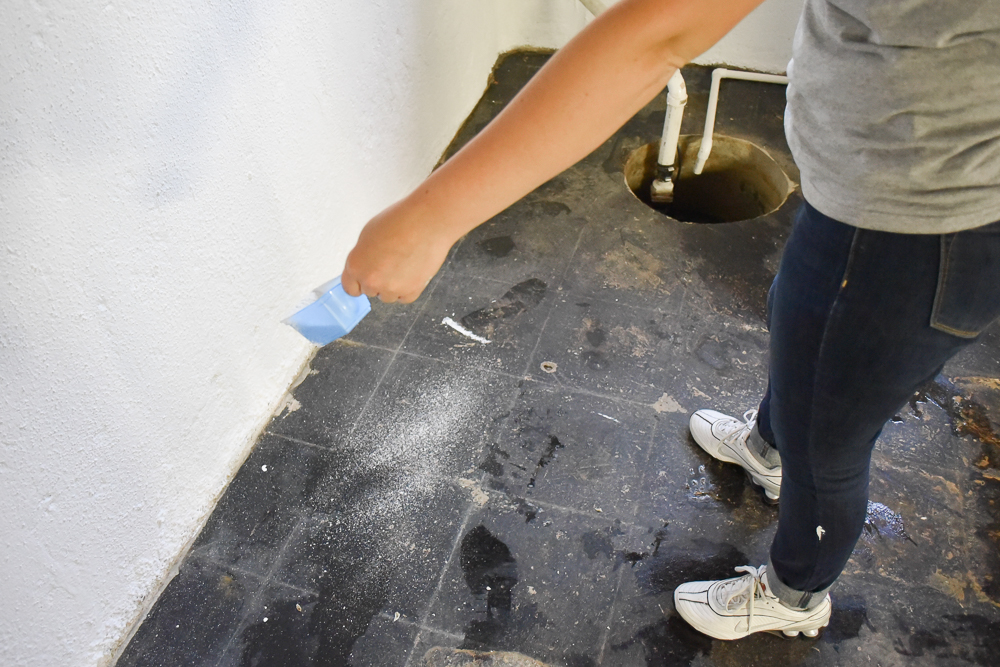
Enter oxyclean, a hose, and scrubby brooms to the rescue. We basically sprinkled oxyclean and sprayed water over the floor, let it sit for 10-20 minutes, and scrubbed the heck out of it.
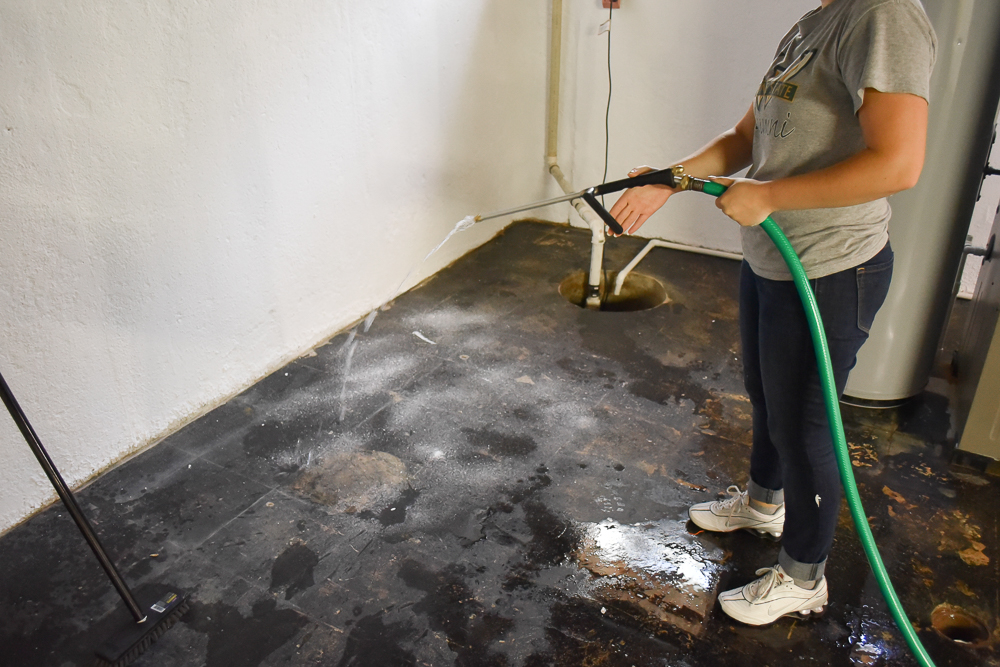
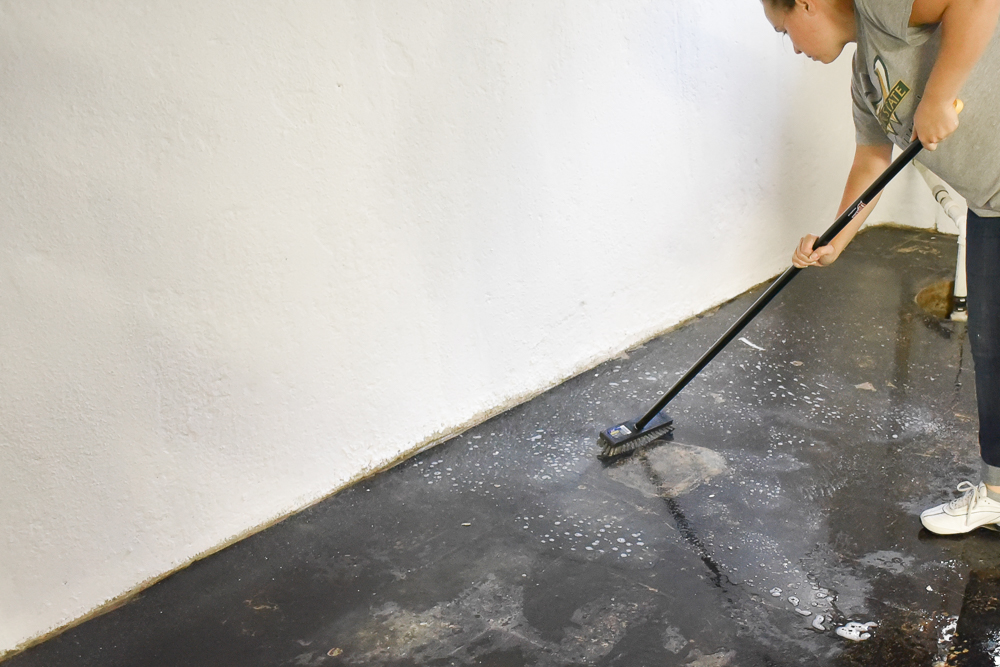
Afterward we used a push broom to move the dirty water down the drain, and a shop vac with a wet filter to really suck up any lingering dirt.
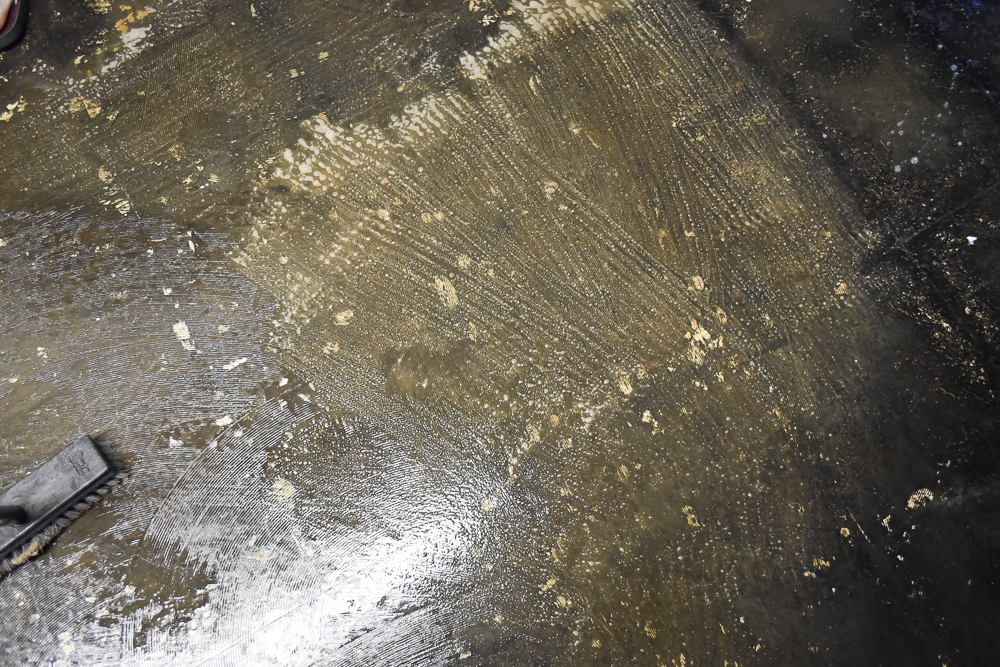
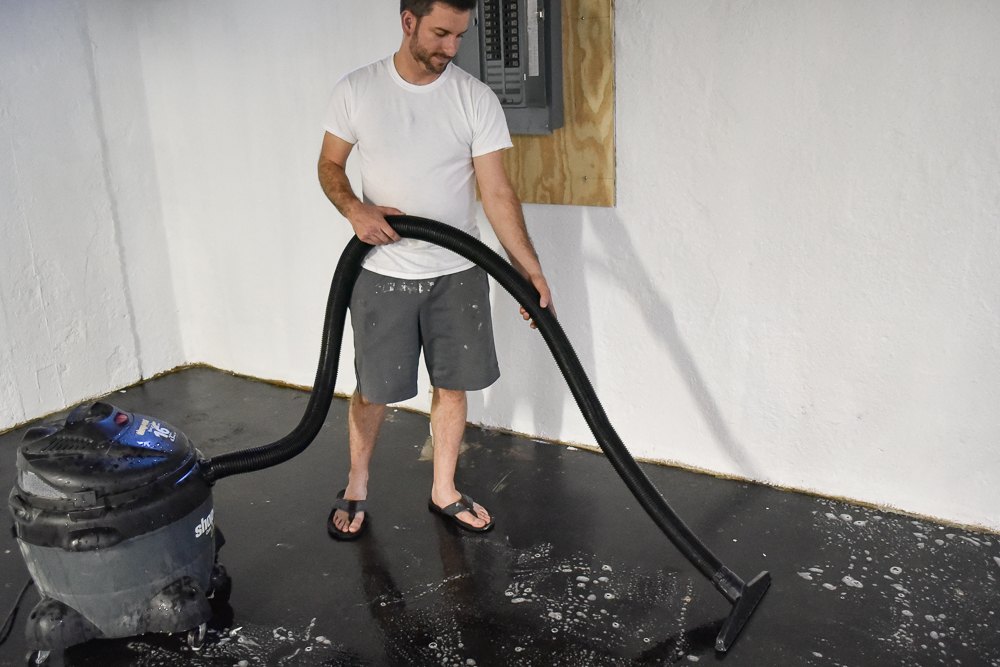
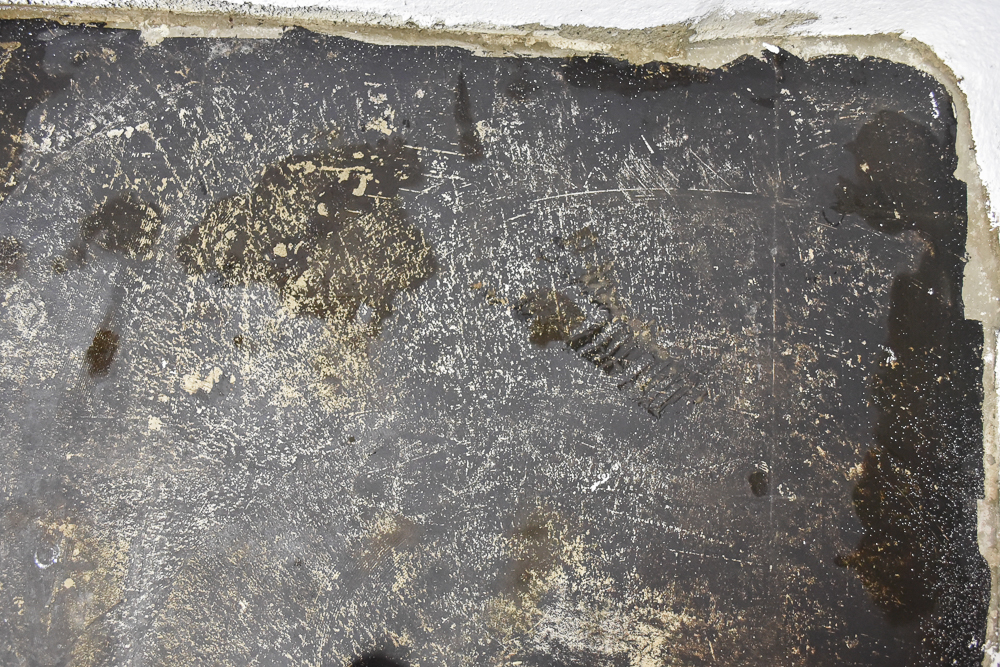
We did this about a million times until we felt comfortable walking on the floor with our bare feet, basically when the water was clean and no more dirt was coming up.
Time to Etch the Floor
Not sure why, really. But we do what we’re told! I guess this is sort of like sanding a smooth surface of a tabletop to give paint some grip. Basically, we poured the etching cleaner over the floor and worked it in. I can’t remember if it calls for you to rinse afterward. If that’s what it calls for, then that’s what we did! 🙂
We may have waited overnight for the floor to dry. I honestly can’t remember. I know we turned up our dehumidifier, opened the windows, and turned on all the box fans in the neighborhood. But here it is, all cleaned, etched, and ready for paint!
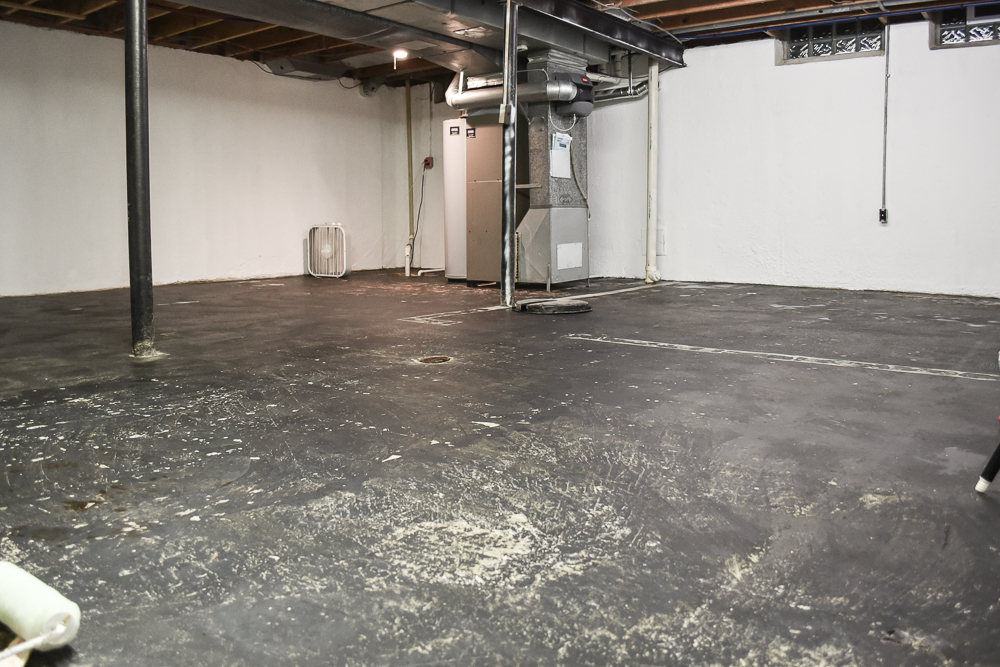
Now for Painting Concrete Floors!
This is probably the most dramatic change that we did in our unfinished basement. And it was the easiest part too! We had a ton of fun just being able to pour paint on the floor and roll it around to our hearts’ content. And it had an instantly gratifying result, which was far more fun than scrubbing floors for hours on end. We used this paint here.
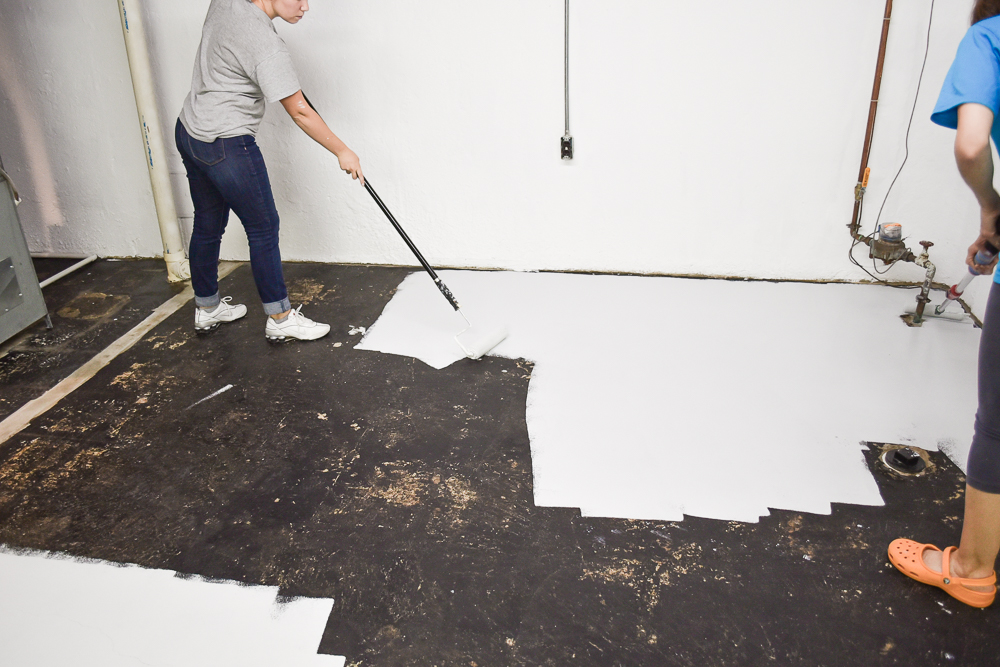
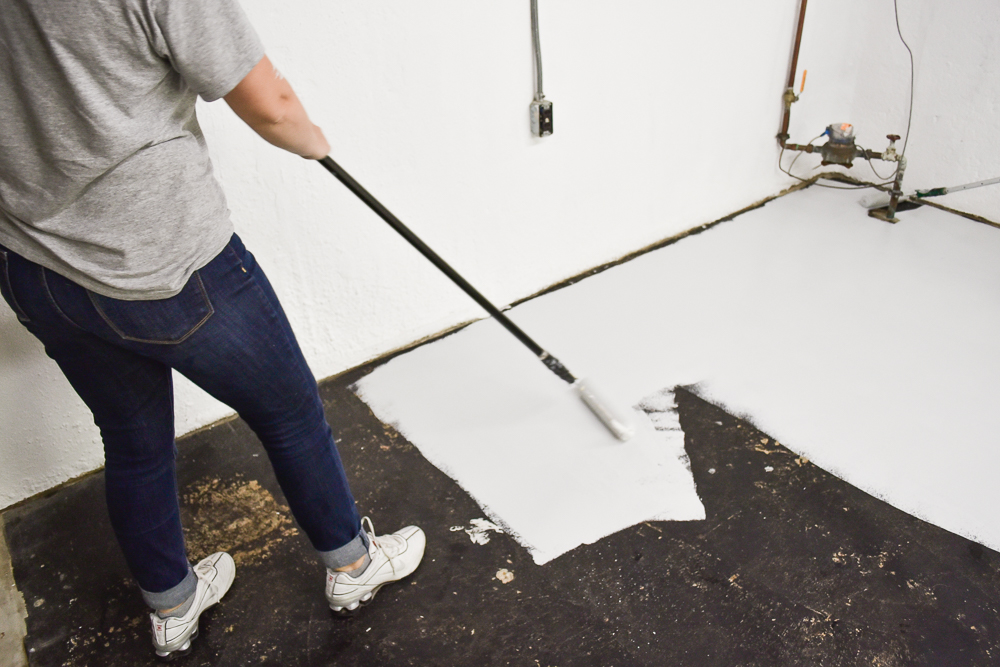
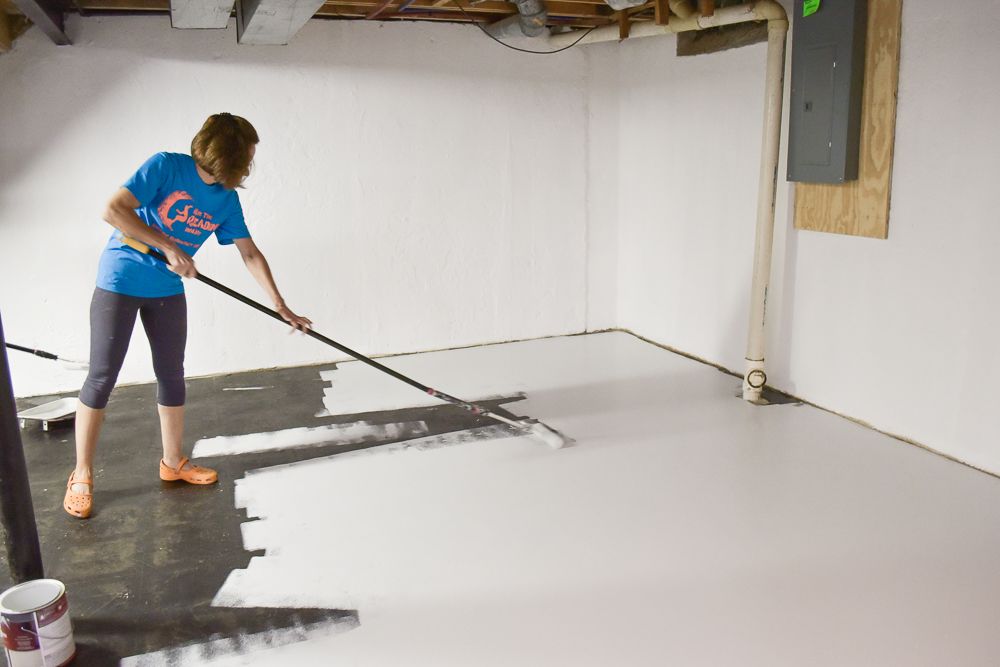
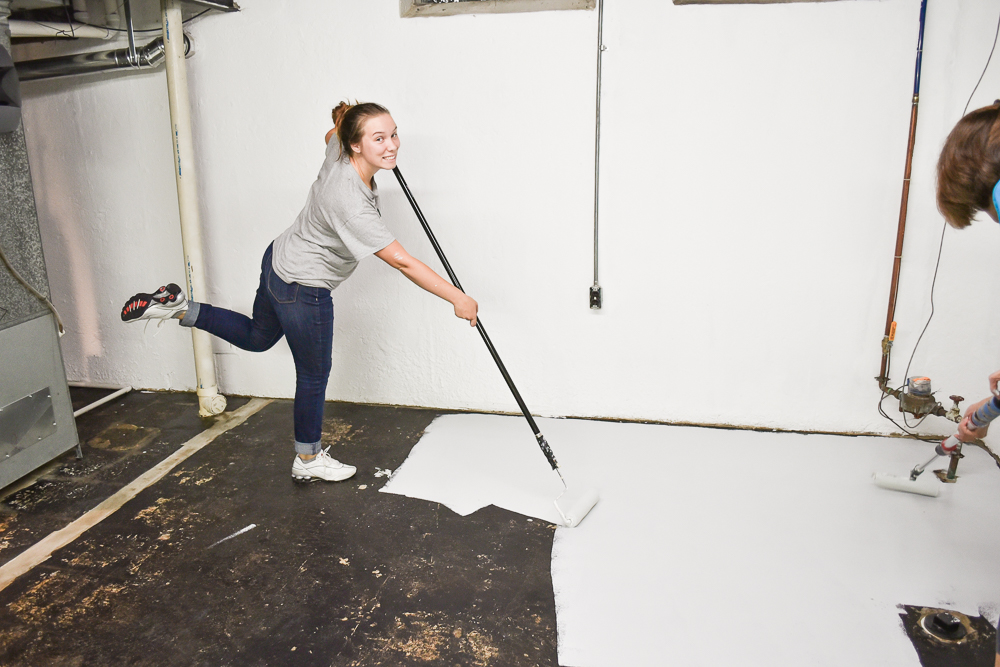
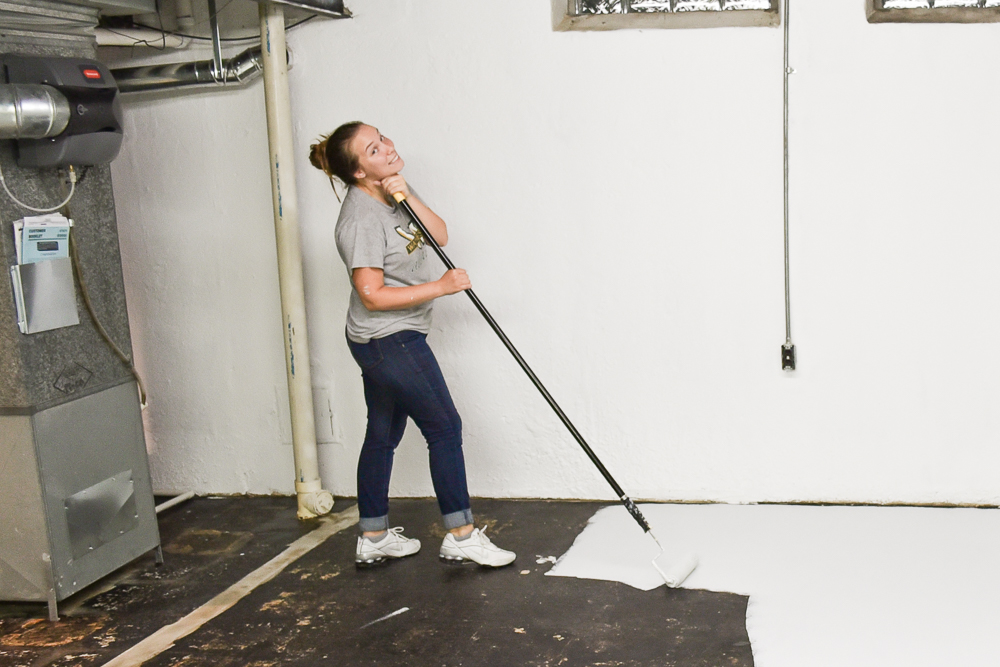
well, I was pouring the paint on the floor. I don’t know what these people are doing. Rookies.
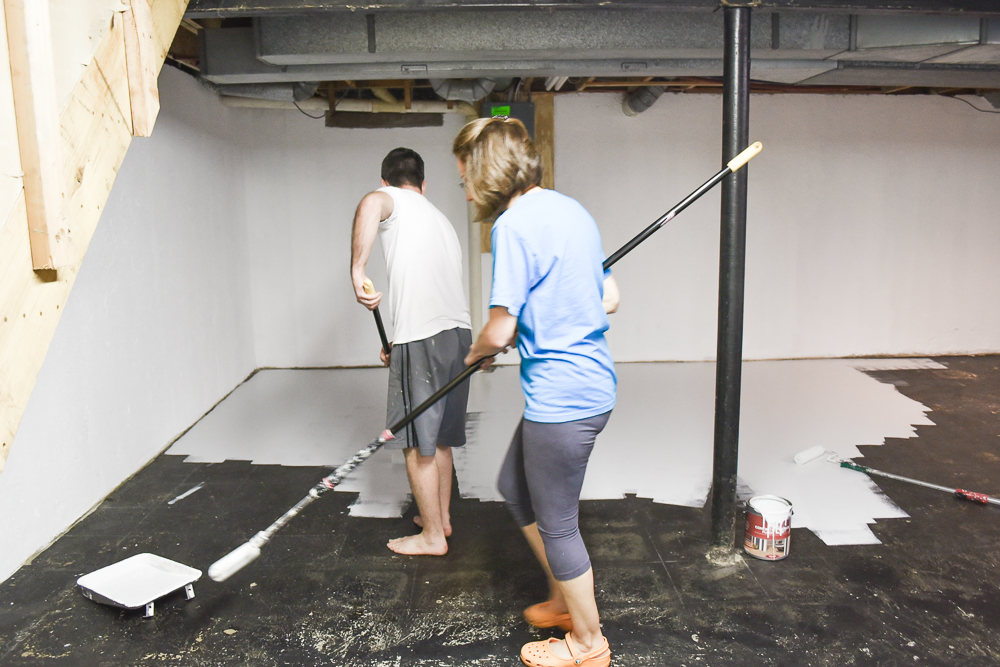
Lastly, Paint the Poles!
OK, our poles were a bit on the ugly side. But you can’t have a freshly painted floor with nasty poles, right? It took me all of 10 minutes to clean them up and add a coat of glossy black paint over them. And the results are amazing! Oh what a difference some paint makes! Seriously, painting has to be one of the easiest unfinished basement ideas. And the cheapest too!
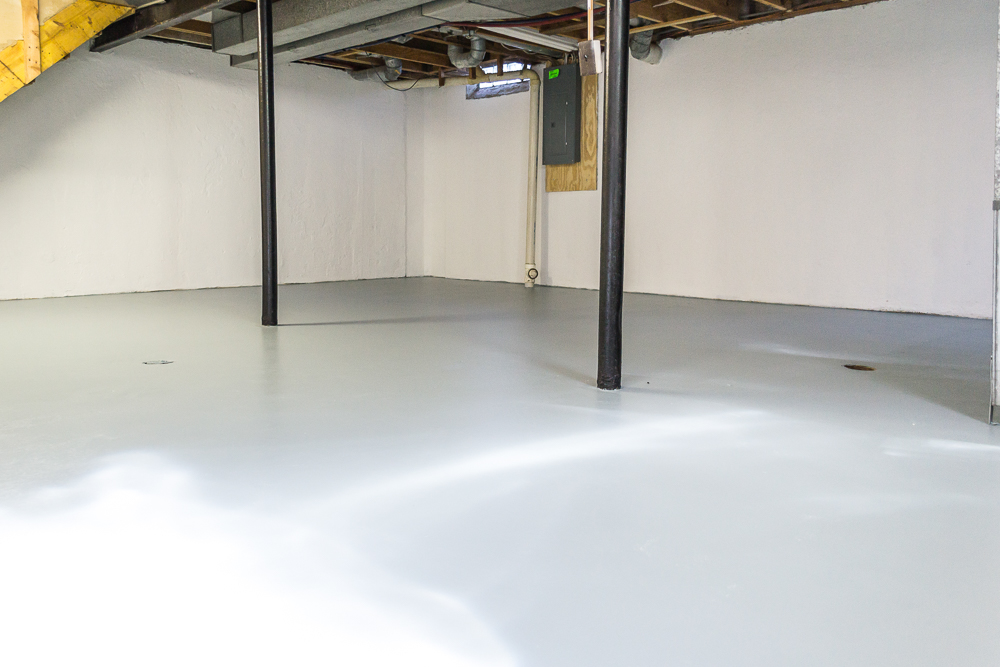
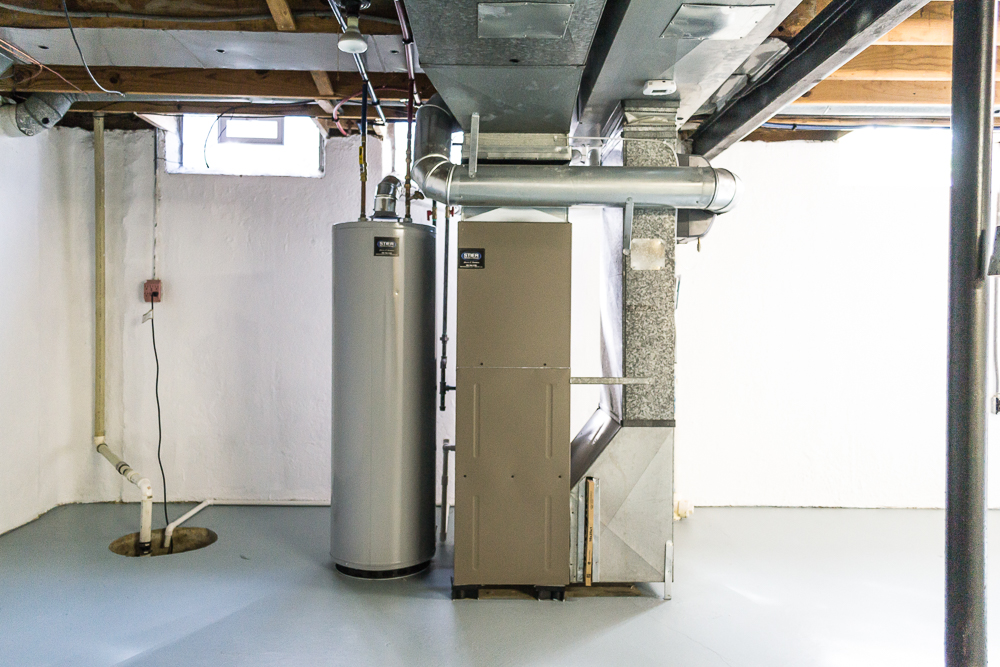

OK, so no it’s not a finished basement by any means. BUT it’s clean, it’s dry, it’s pleasant to be in, and it makes for a great storage space. I don’t feel like I’m going to be murdered when I go down there. And the little touch of color really pulls the basement into the style of the house. So if you’re on a tight budget and need to whip your unfinished basement into shape, PAINT IT!
Have you tried any unfinished basement ideas?

3 comments
[…] up everyone!?! I’m back today to share the second part of our basement makeover! You can read the first part by clicking here. The second part in this basement makeover we’re tackling the stairs! Yesssss! The literal and […]
This turned out really great! It really added something extra to the rest of the house! Did you find another home?
yes we did!! I’m going to be sharing updates on that very soon!