
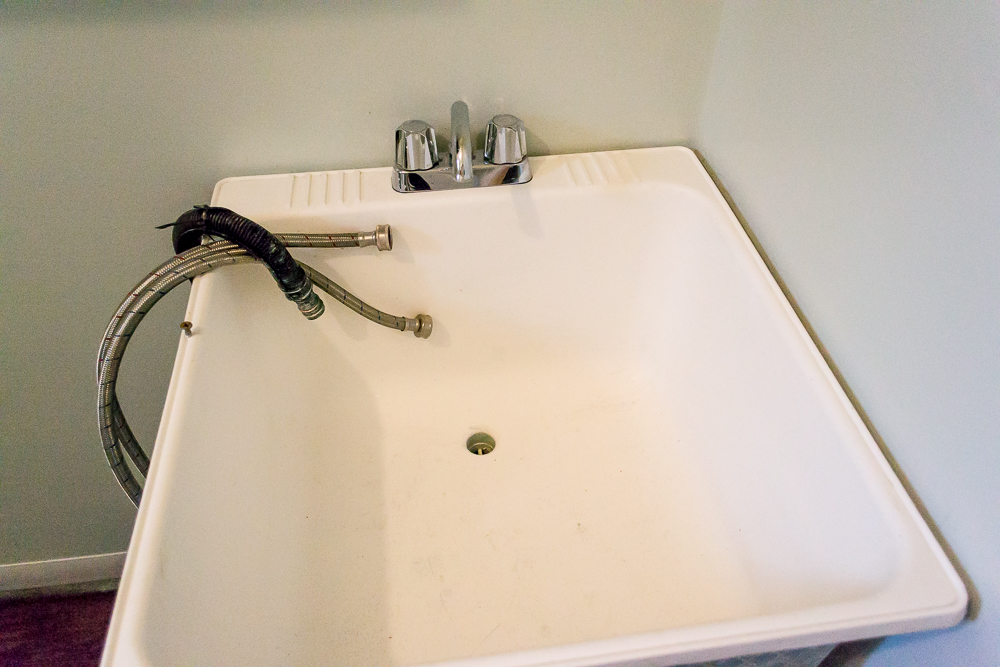
I’m back today showing you a bit more of our laundry room makeover. You can read all about Day One of our 3 day laundry room makeover here. Today we’re focusing on the utility sink that got a real nice attitude adjustment. This sink was gross, mostly because I’m using it constantly to wash out paint brushes and other stuff. But also because in all honesty I don’t think we’ve ever actually cleaned this thing since we moved in.
**Update** Check out the rest of the Laundry Room Series:
Day 1: Reusing the old cabinets and building more storage
Day 2: Utility Sink Makeover and Backsplash Goes Up
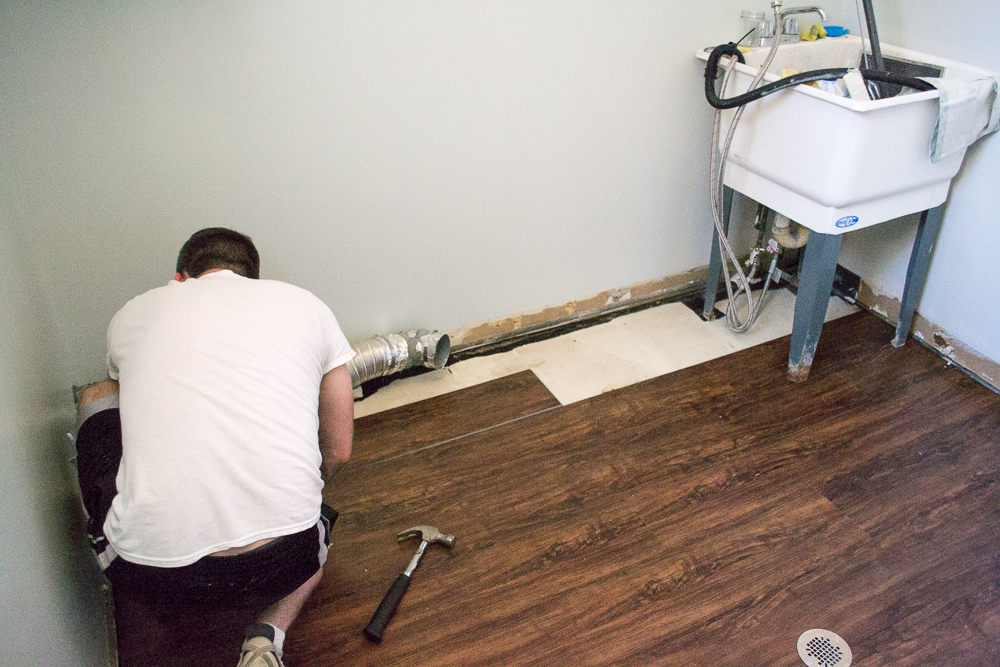
Day 3: Putting in new Vinyl Floors and Base Molding
(This post contains affiliate links. This means I get commissions for purchases made through links in this post.)
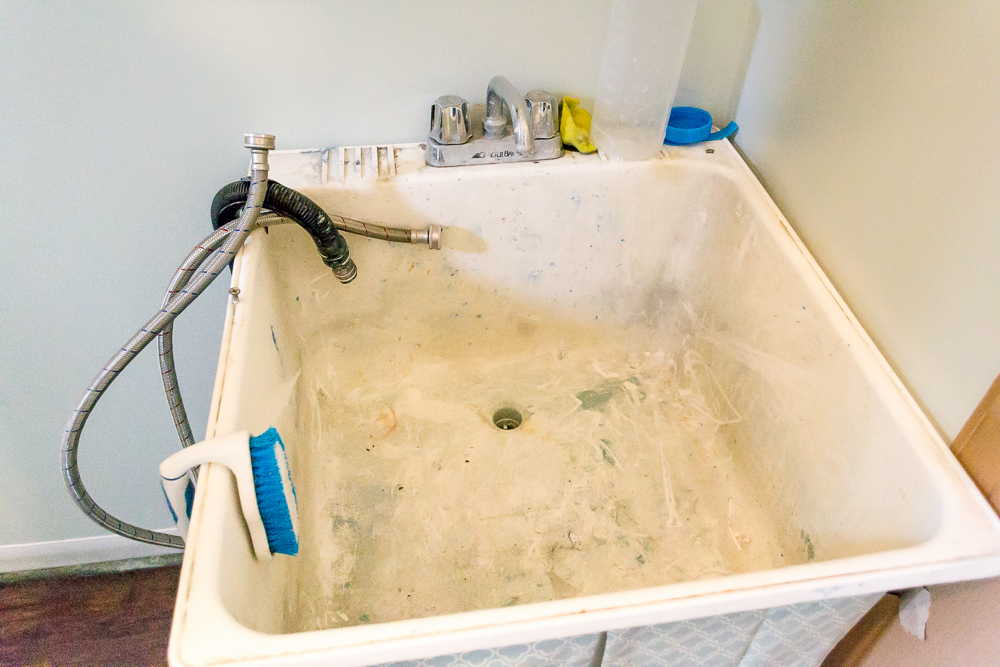
I know, it’s one of my dirty secrets. But it’s clean now I promise! I didn’t think I could get it clean, but I did it! And here’s how!
How to Clean a Utility Tub
Here’s what I used to get our tub cleaned
(affiliate links)
old toothbrush
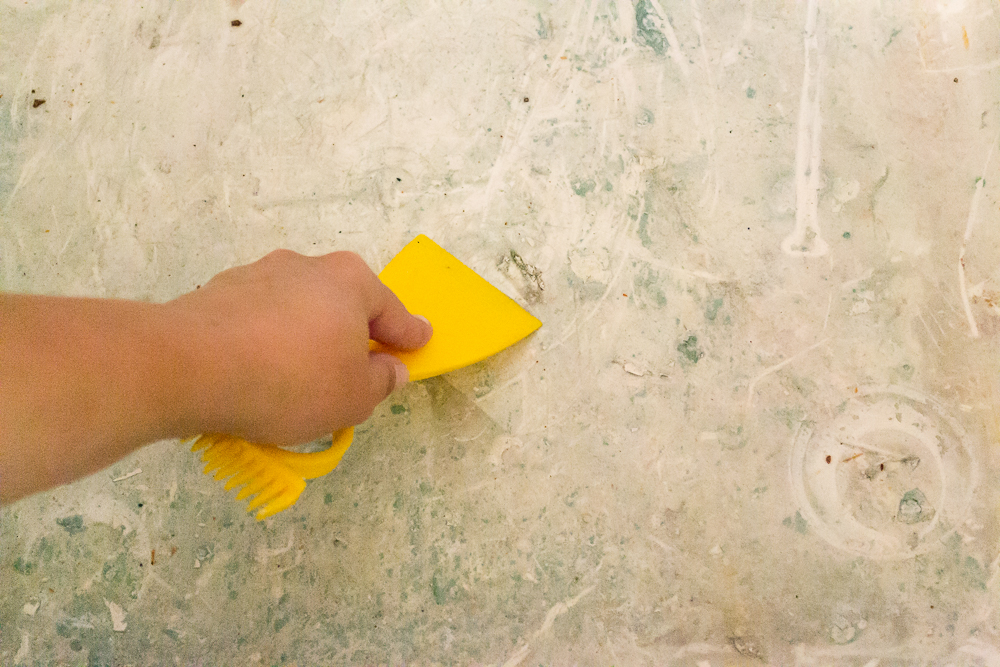
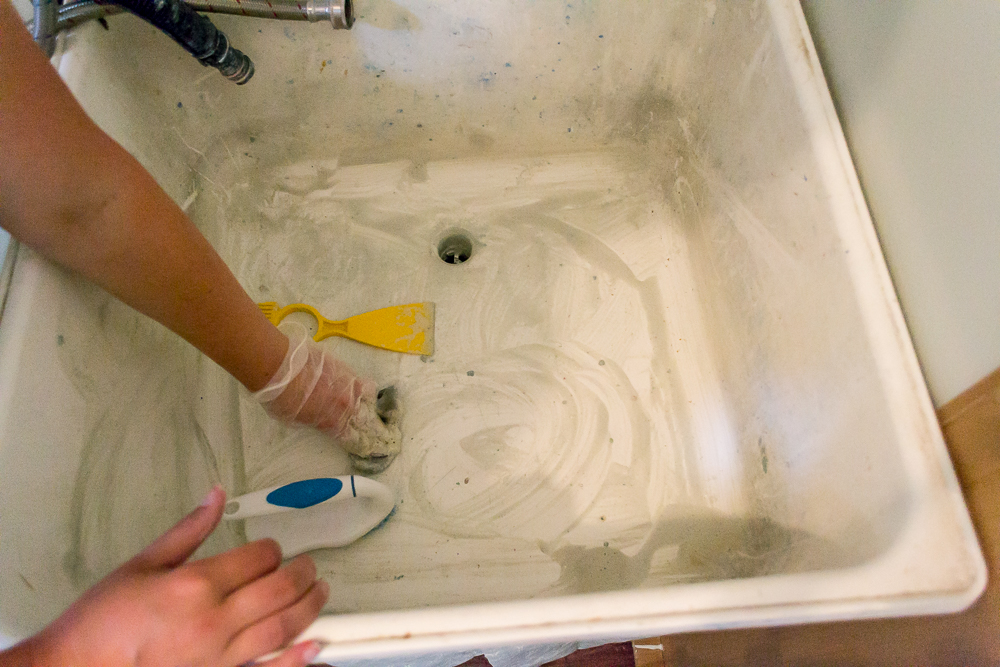
Step 1: Apply bar keepers friend to affected ares. (in my case, I basically applied it everywhere.)

Step 2: Add just enough water to move this stuff around. Get every area lathered in the bar keepers friend cleaner, then start to work out the stains.
A putty knife works well to get dried paint and other things that are stuck.
0000 steel wool is really good for scrubbing,it kinda works into the spots that other scrubbers can’t/ It’s sorta like sandpaper in a way.
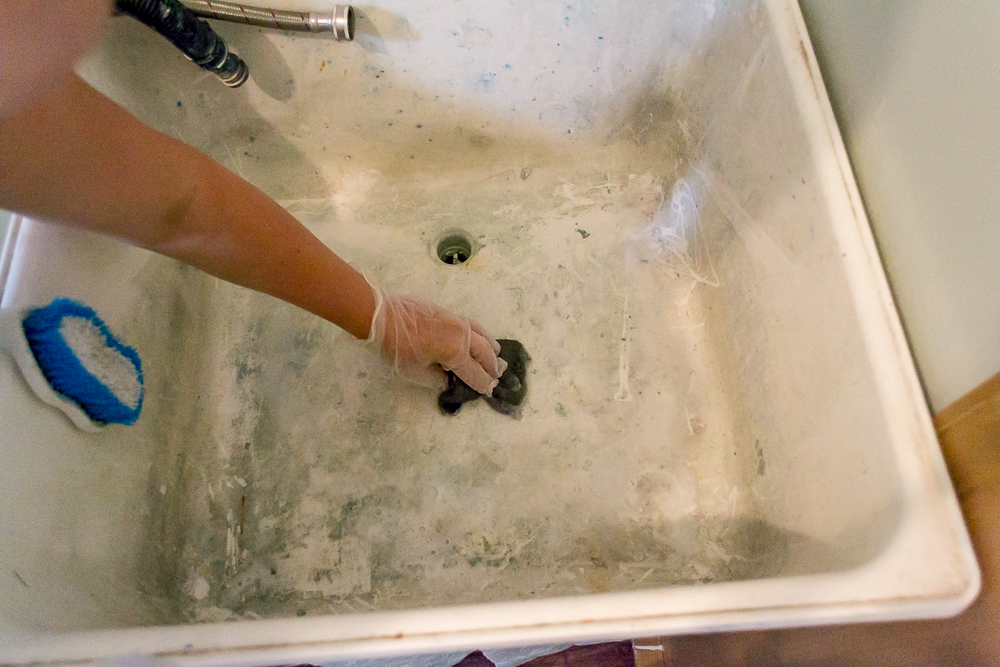
A scrubber with a handle is preferred for the bulk of the work, as you can see I just used whatever worked in that moment. But together these tools did a fabulous job.
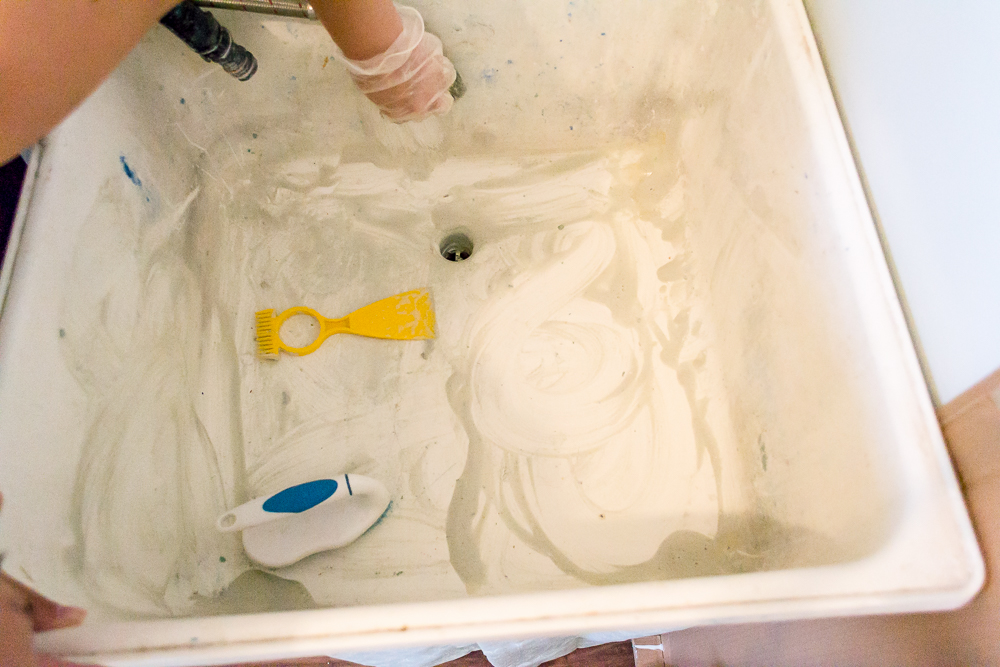
When your bubbles start to look dirty, rinse out the sink and apply new cleaner.
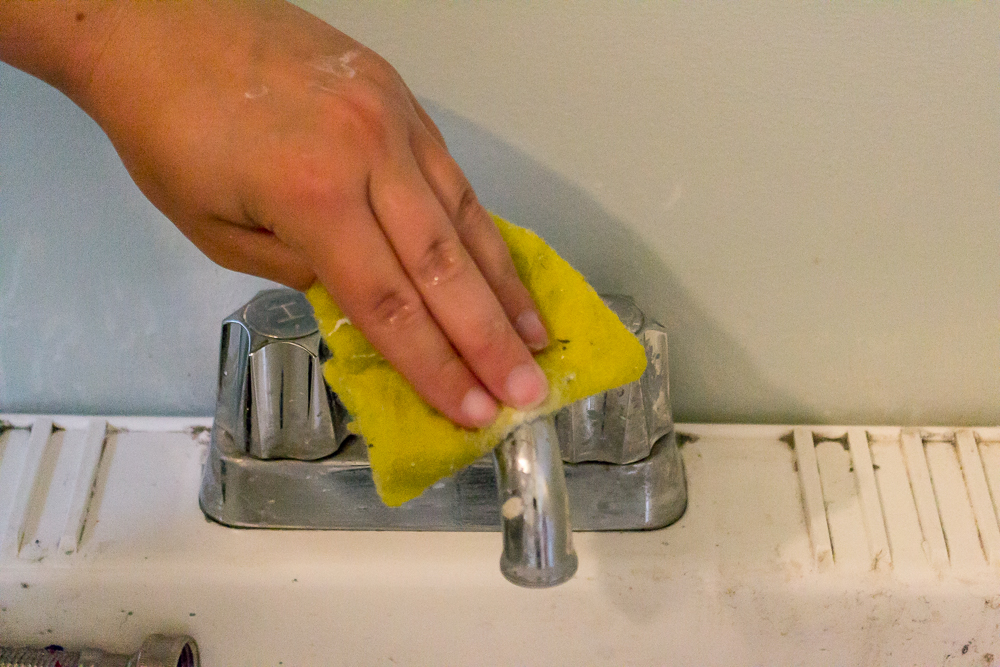
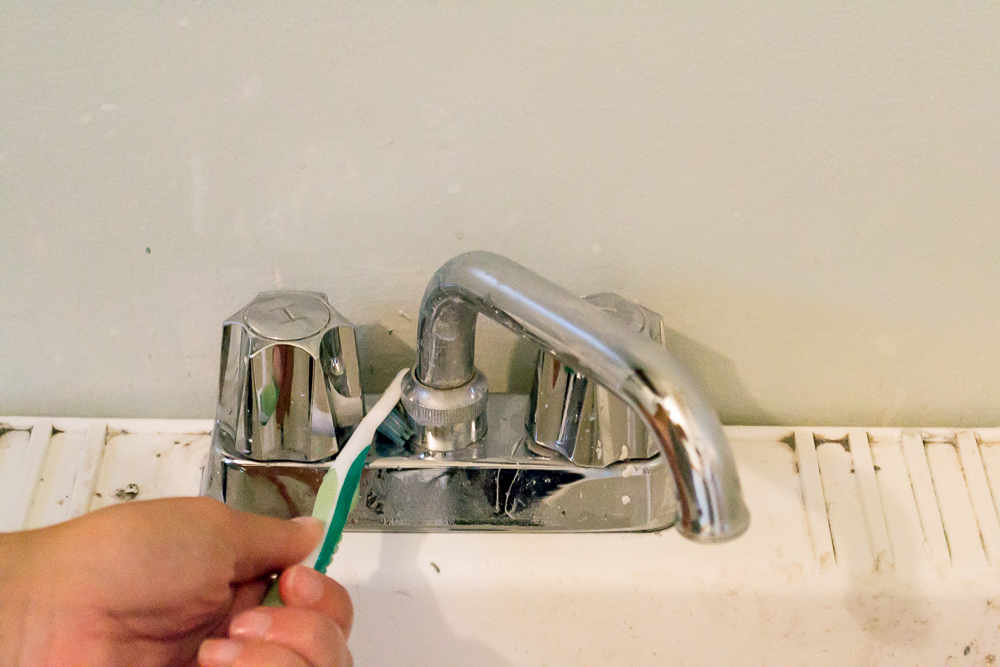
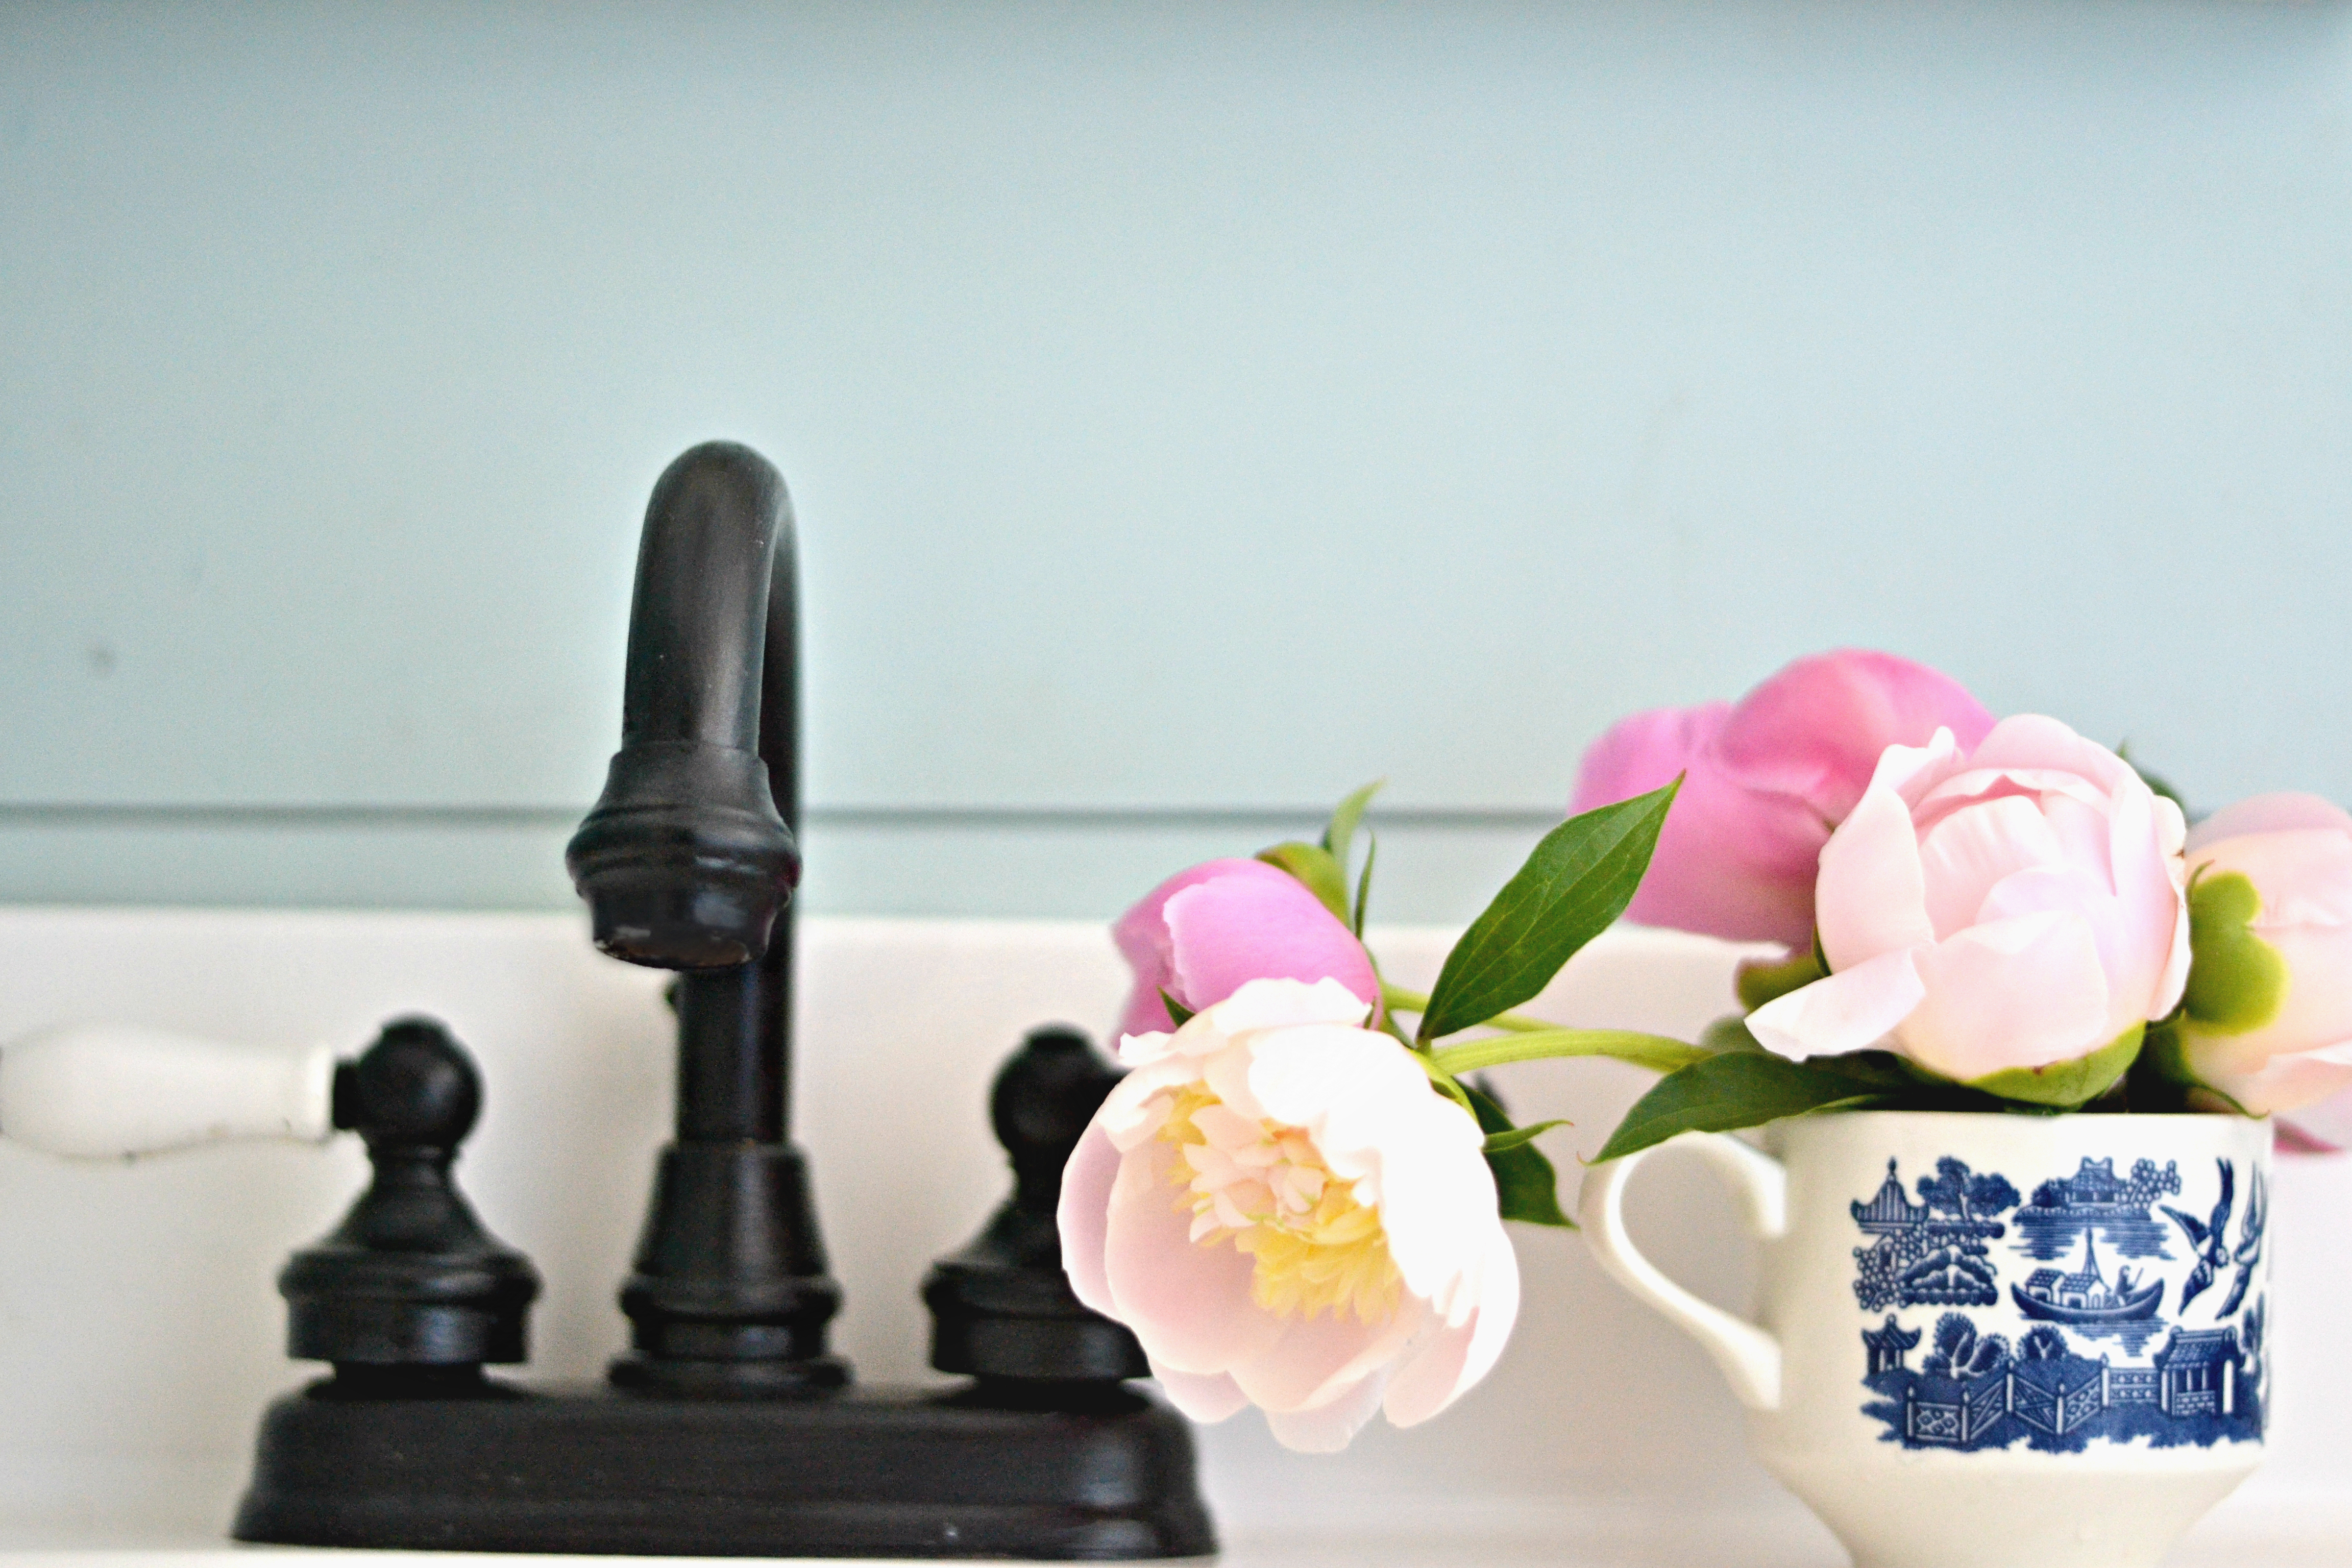
The faucet got a fresh shiny sheen with just a scrub pad and a toothbrush.
and about 20 minutes later I had this!
I just saved myself the cost of a new laundry tub, because I was pretty convinced it would need to be replaced with how disgusting it looked.
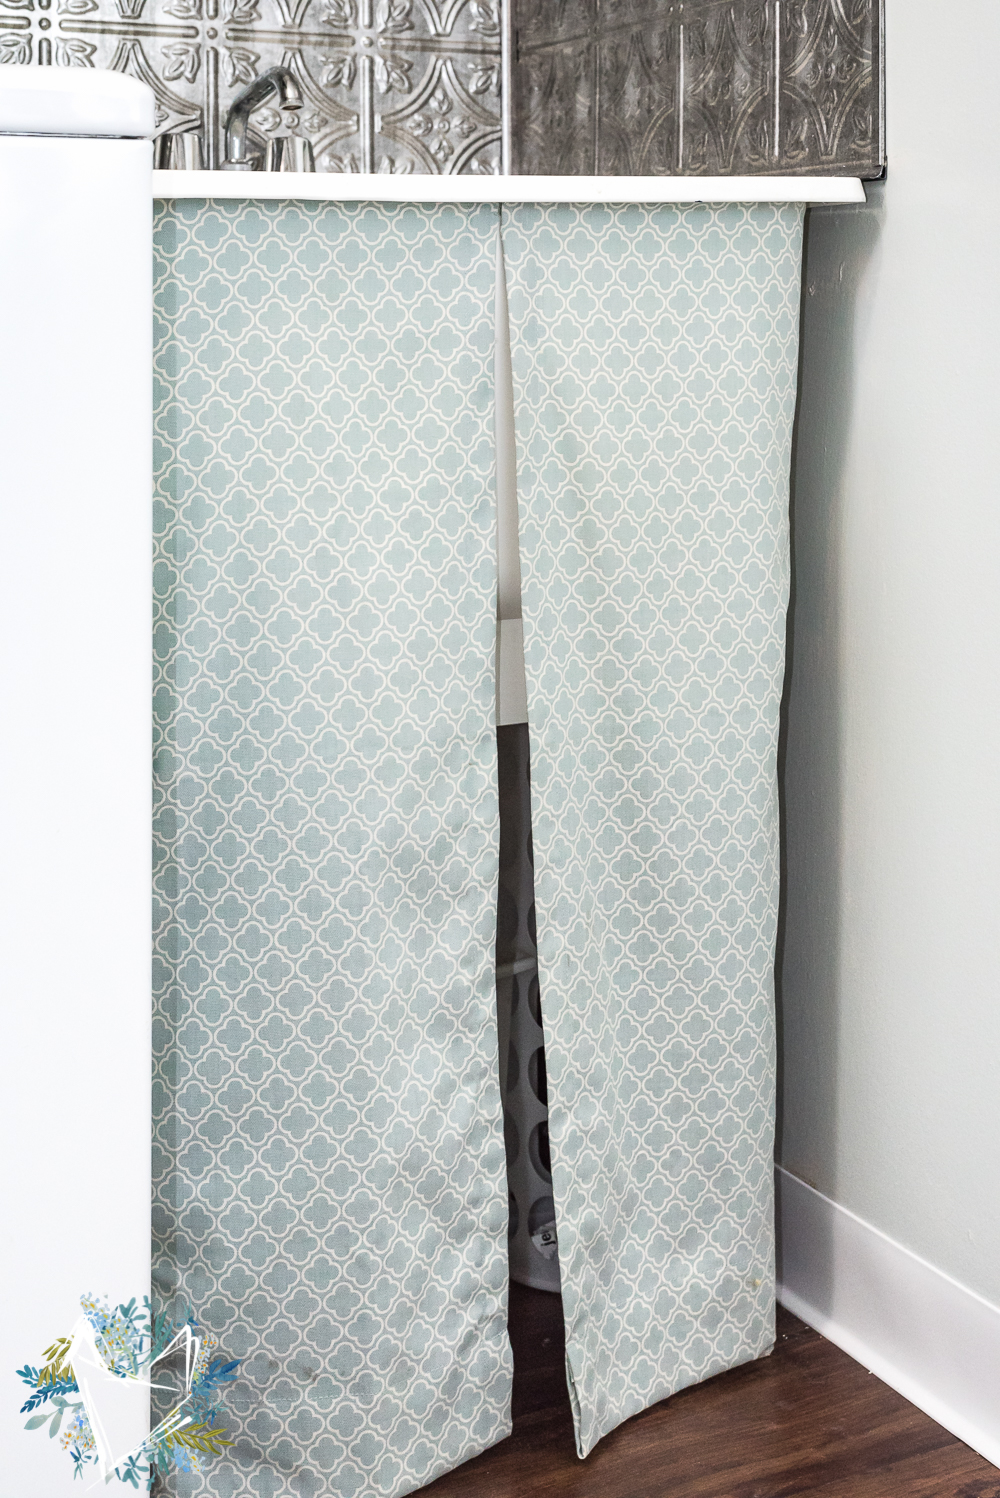
The legs were not a pretty site either, rusted and old looking. See here?
So I made them a cute little skirt with some leftover fabric and a hot glue gun.
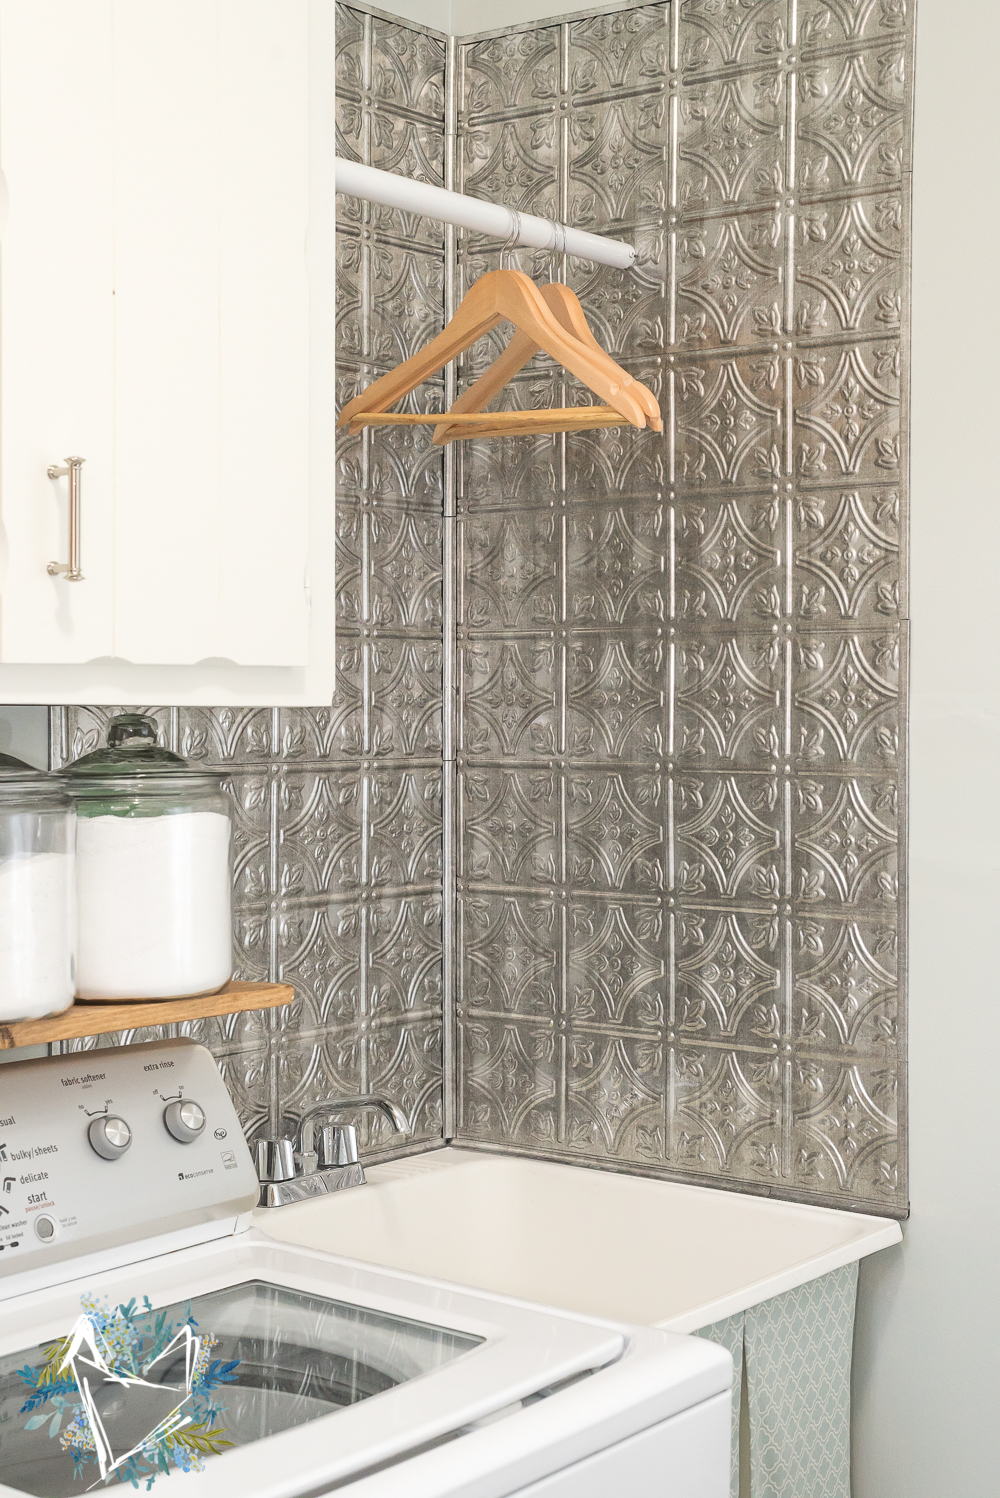
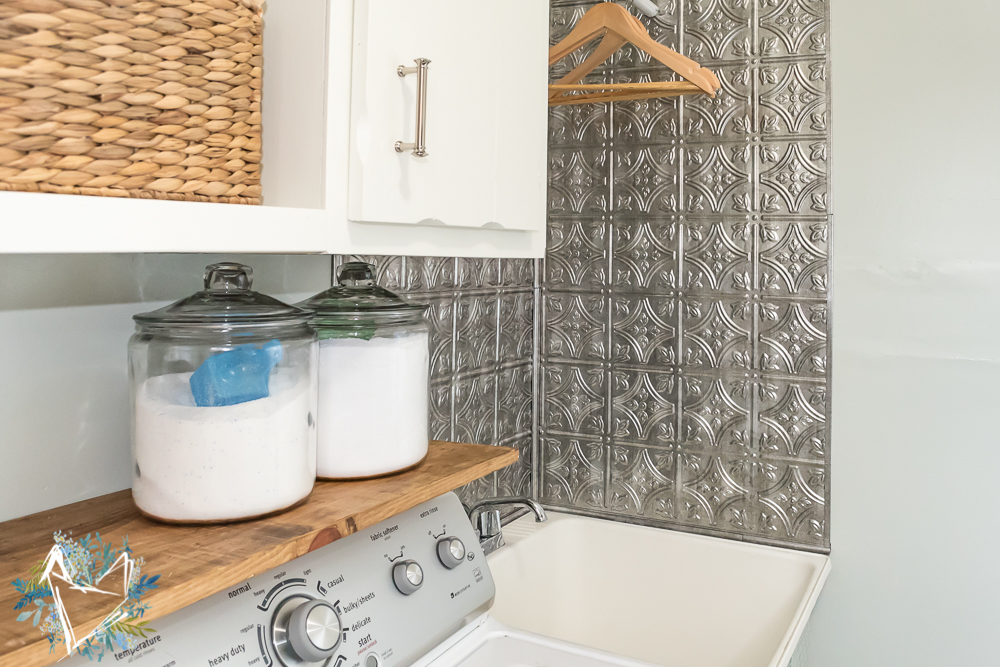
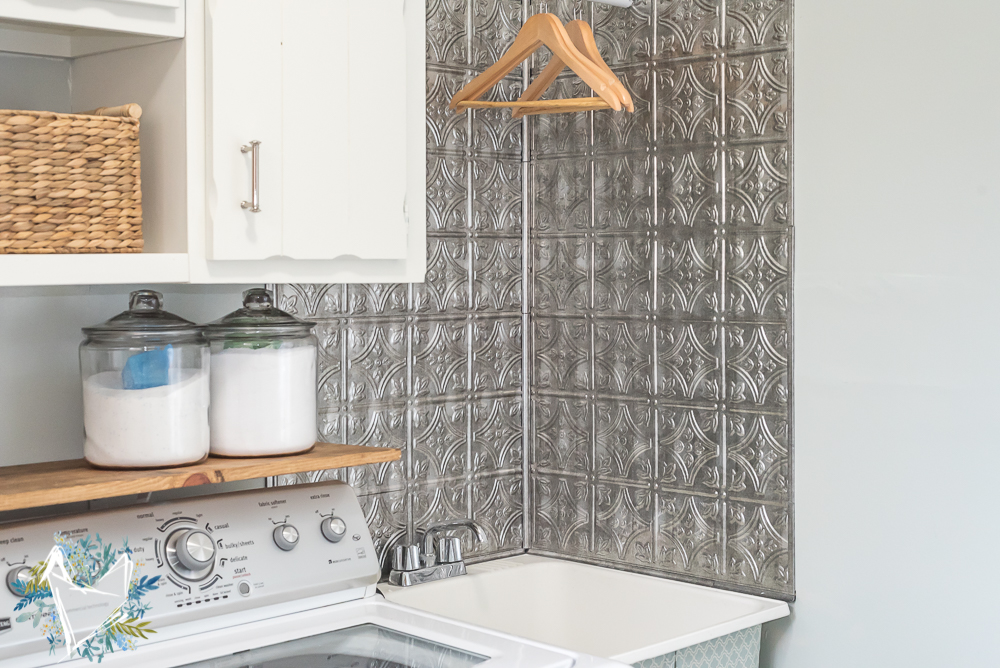
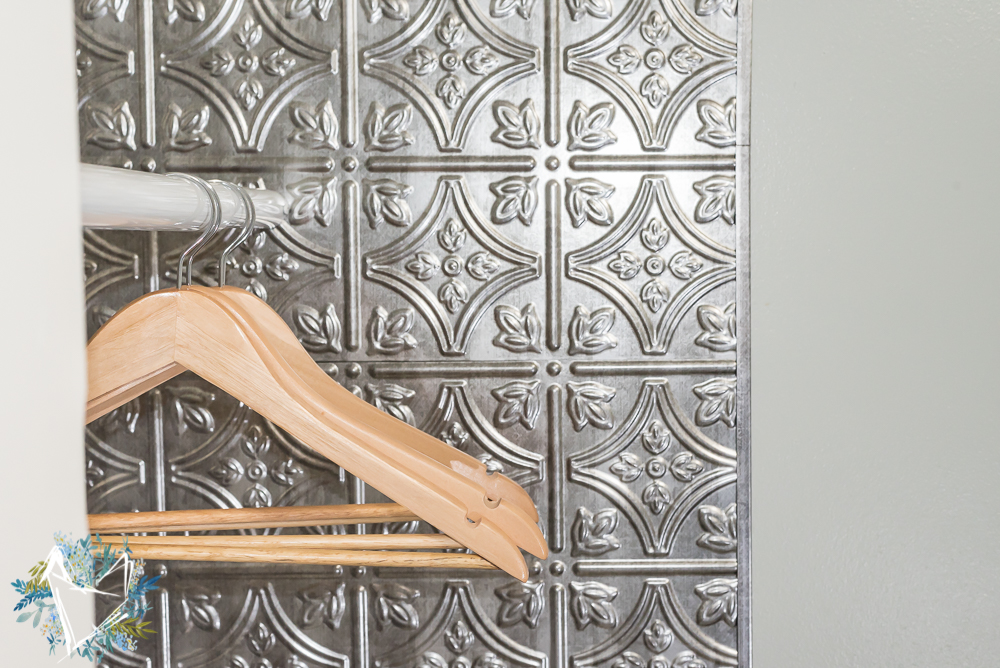
OK, but my favorite part is this backsplash that you just got a sneak peek of! It absolutely makes the space look completely different. It was SO easy and SO very inexpensive to install.
How to Install PVC Tile Backsplash
Here’s what you’ll need to complete your backsplash:
Tools
caulk gun
scissors
tape measure
Materials
Loctite Glue
Panels
Backsplash Trim Kit
permanent marker
clear tape
painters tape
Head over to The Home Depot to see the full laundry room backsplash tutorial!
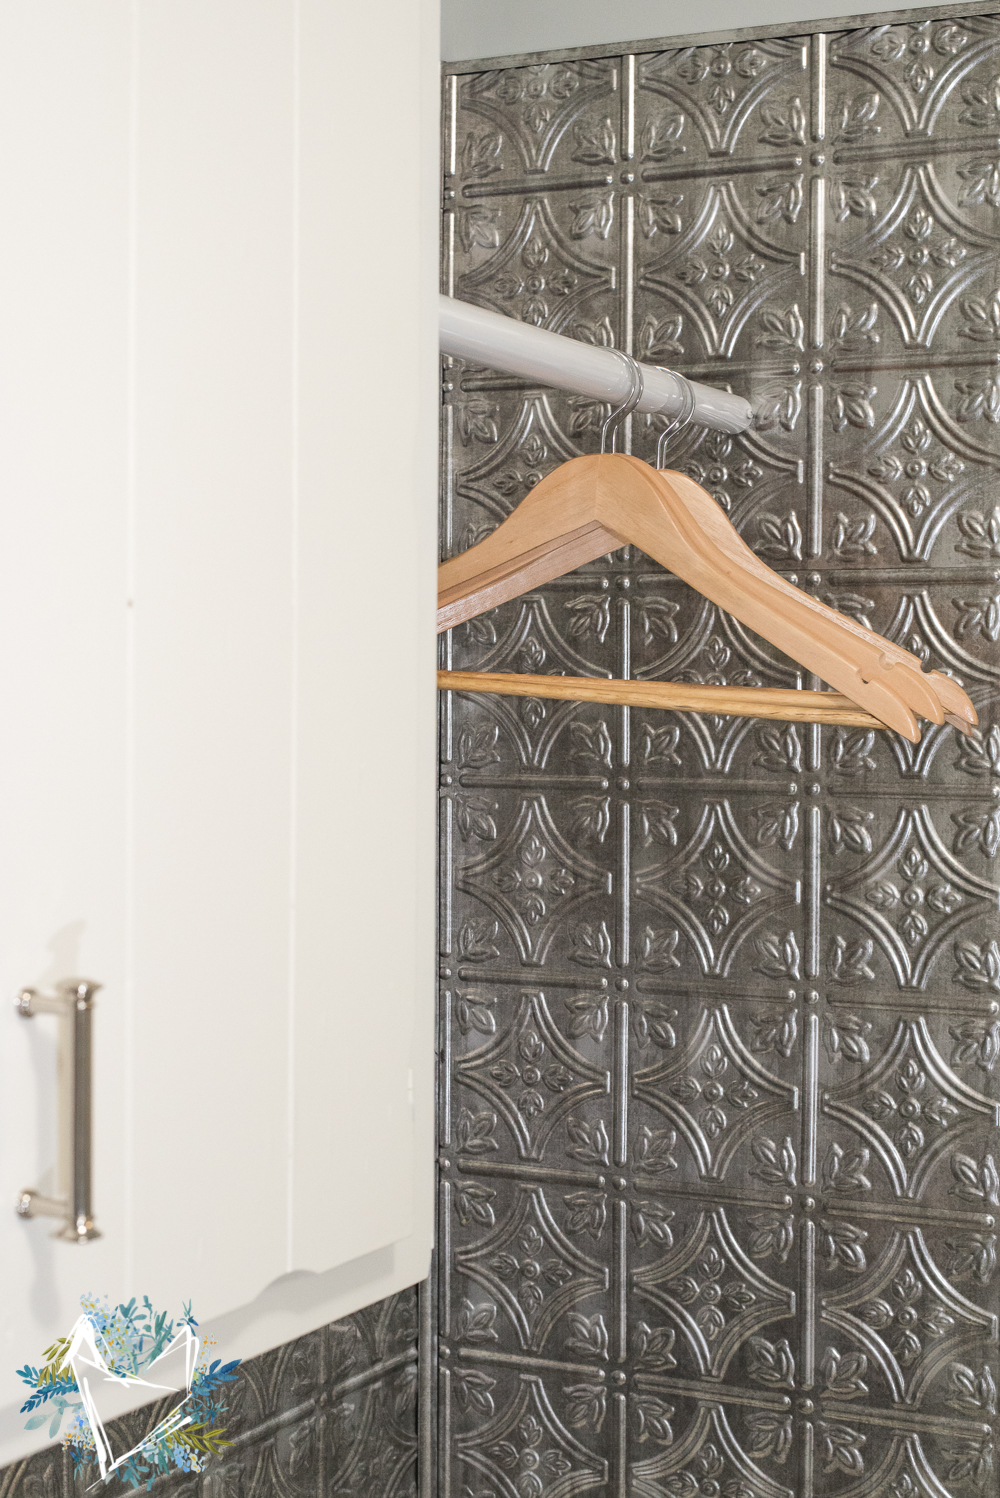
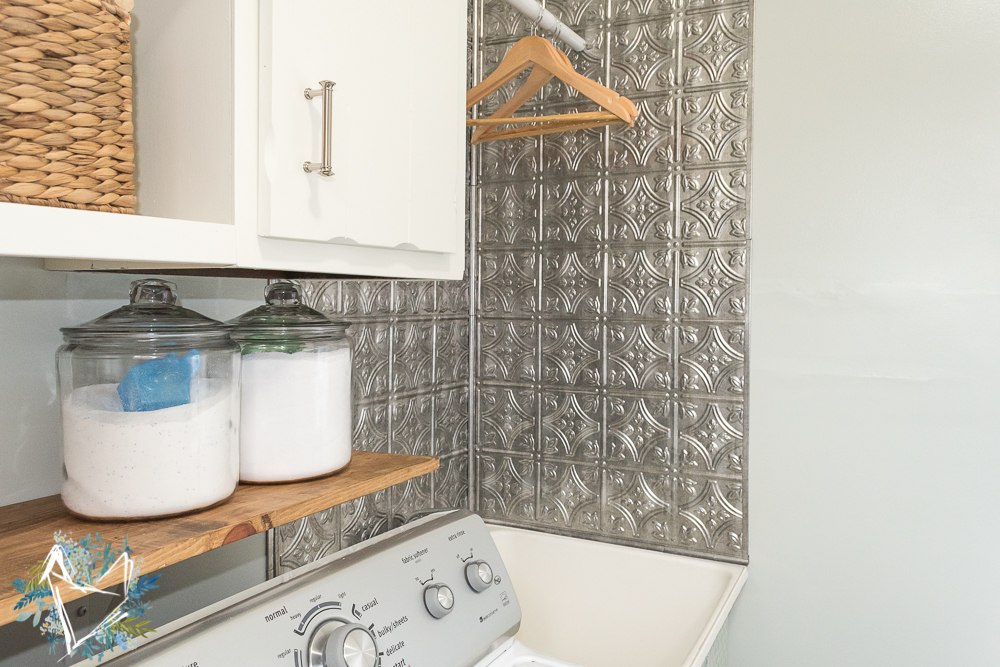
I love that I don’t have to worry about paint and water splashing on the walls behind ur utility sink now. And the character that this backsplash gives, especially for how easy it was to put together, is just unreal. I’ve already had people in disbelief that these panels weren’t tin. They look so real.
Head over to The Home Depot to see the full laundry room backsplash tutorial!
Don’t forget to check out the full tutorial on The Home Depot.
**Update** Check out the rest of the Laundry Room Series:
Day 1: Reusing the old cabinets and building more storage
Day 2: Utility Sink Makeover and Backsplash Goes Up
Day 3: Putting in new Vinyl Floors and Base Molding
If you like this utility sink makeover post, you’ll love these:

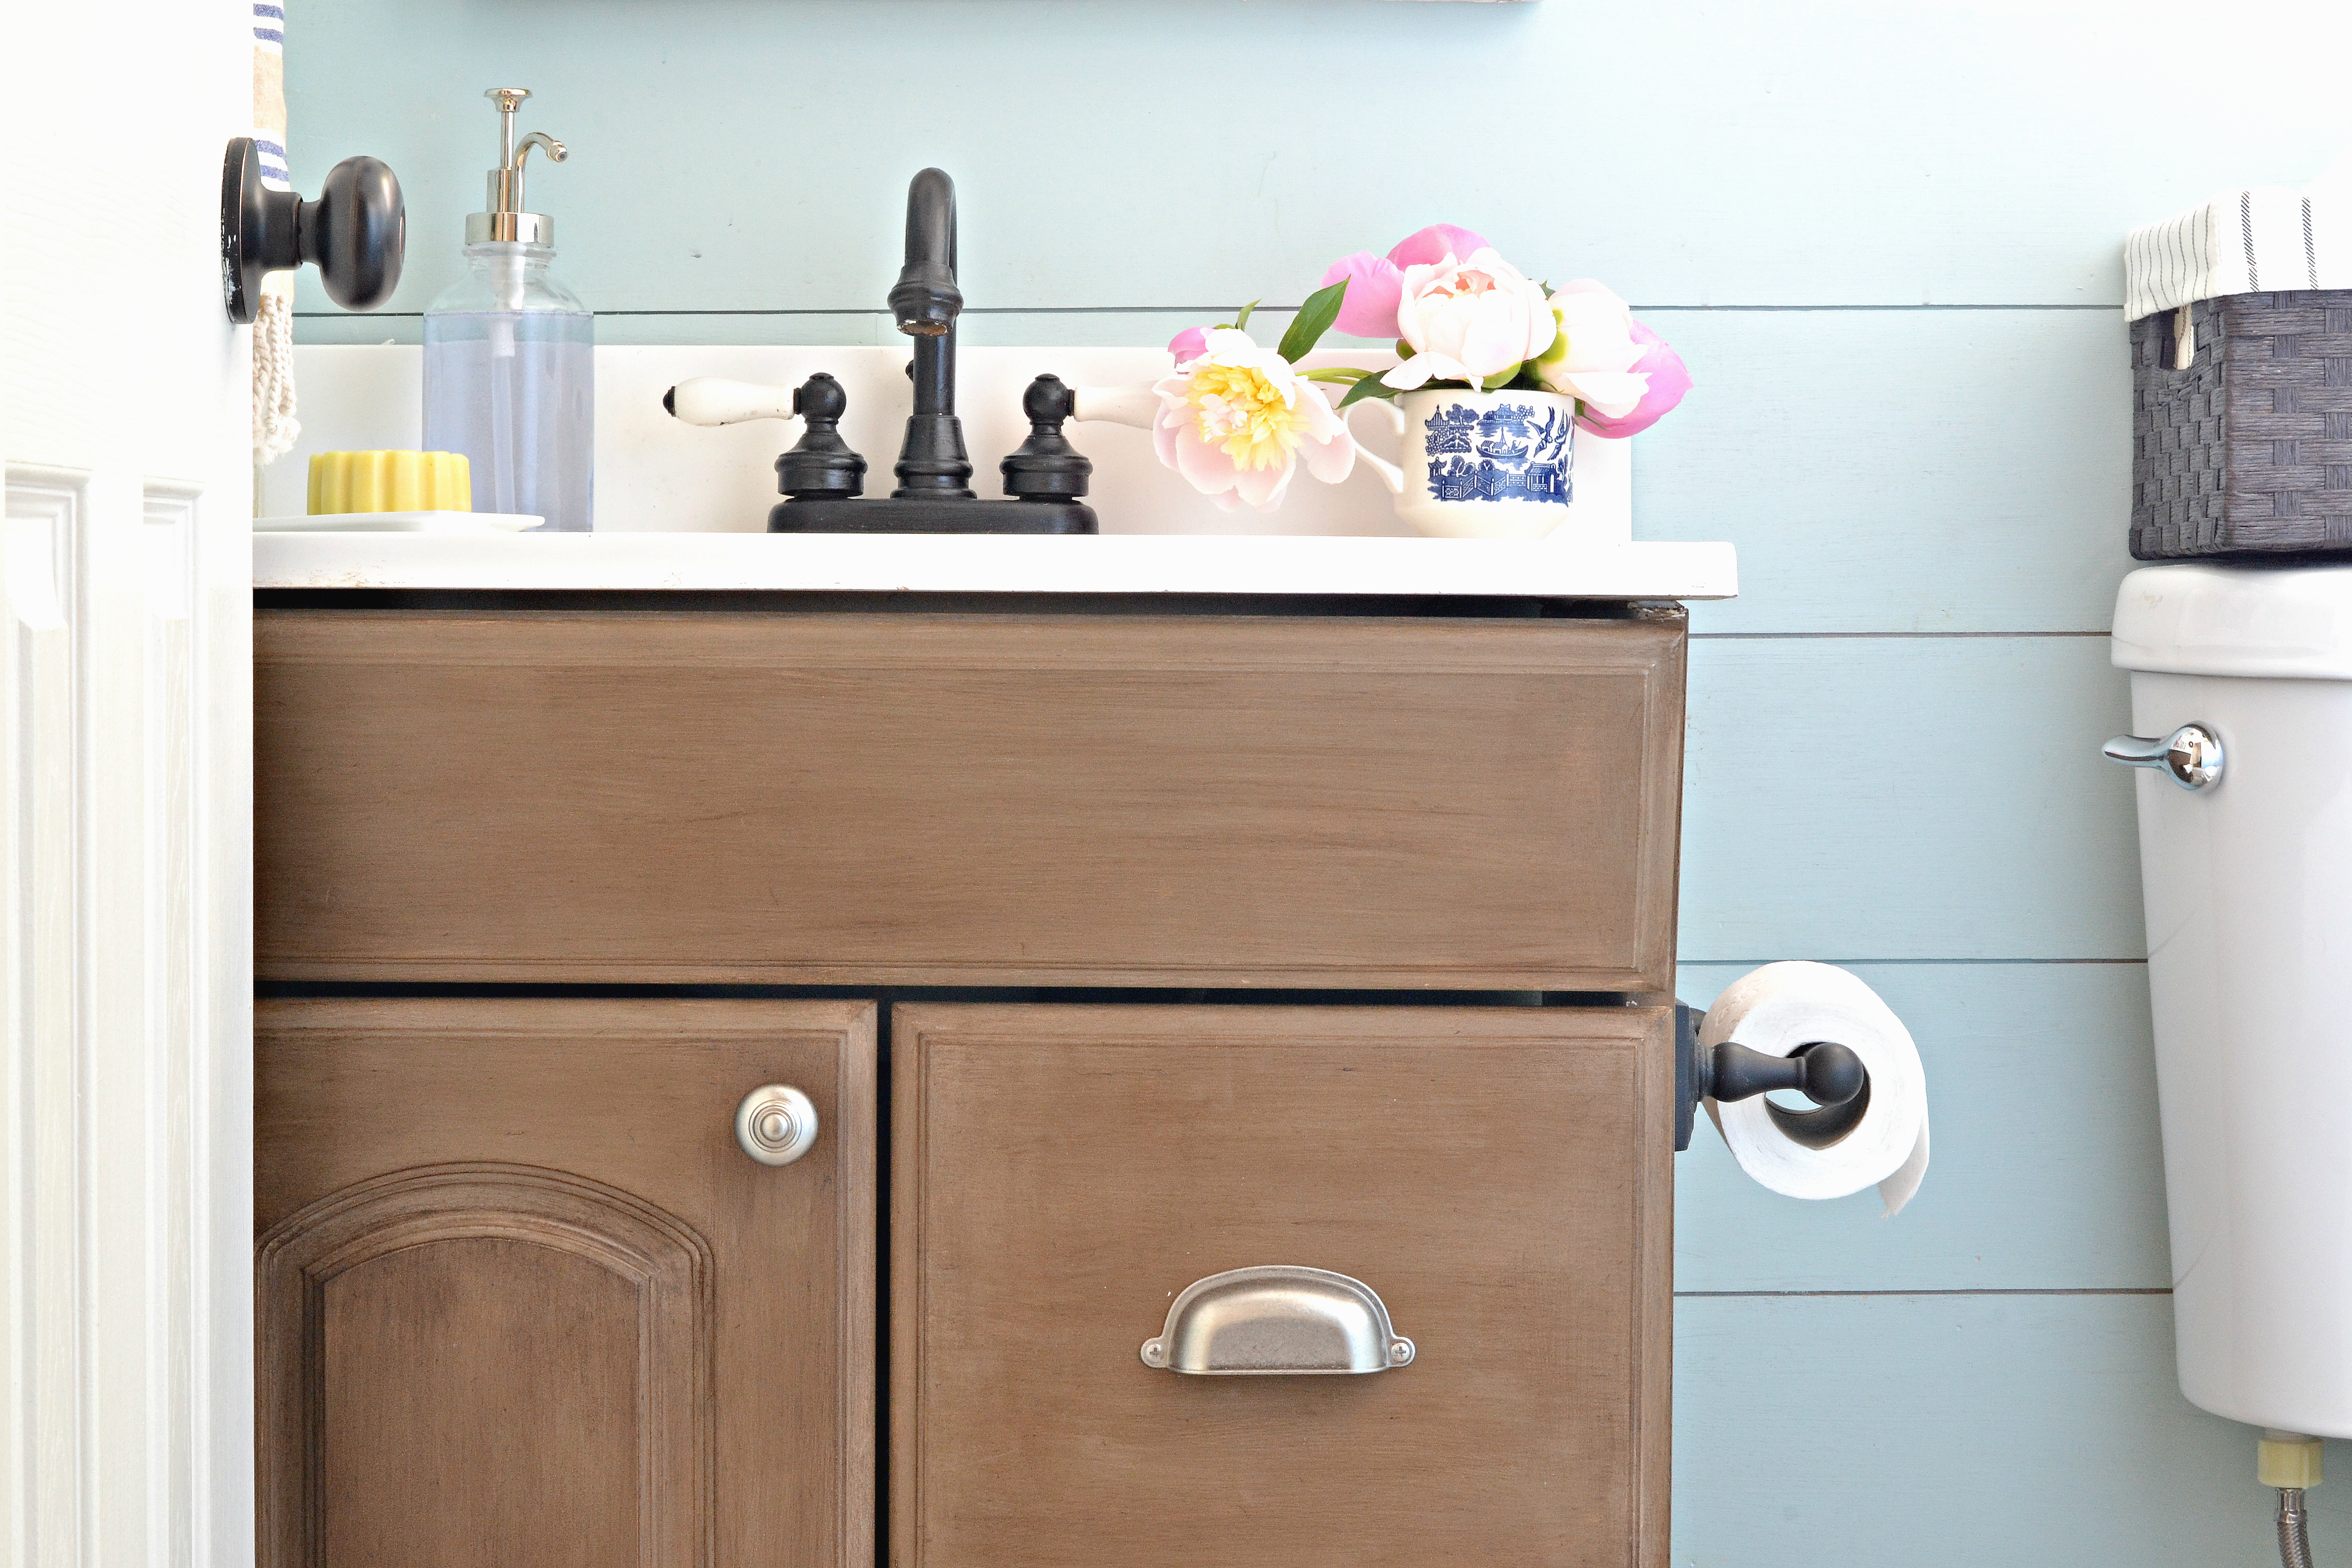
Paint your faucet without removing it!
DIY Faux wood vanity update with chalkpaint
4 comments
[…] Laundry Room with Utility Sink and Vintage Style Tile Backsplash […]
[…] Day 2: Utility Sink Makeover and Backsplash Goes Up […]
[…] Day 2: Utility Sink Makeover and Backsplash Goes Up […]
Great job on scrubbing up that sink and saving a ton of hard earned cash. I love BKF so much, now I know what a powerhouse that stuff really is! And your skirt to cover those legs looks adorable too 🙂