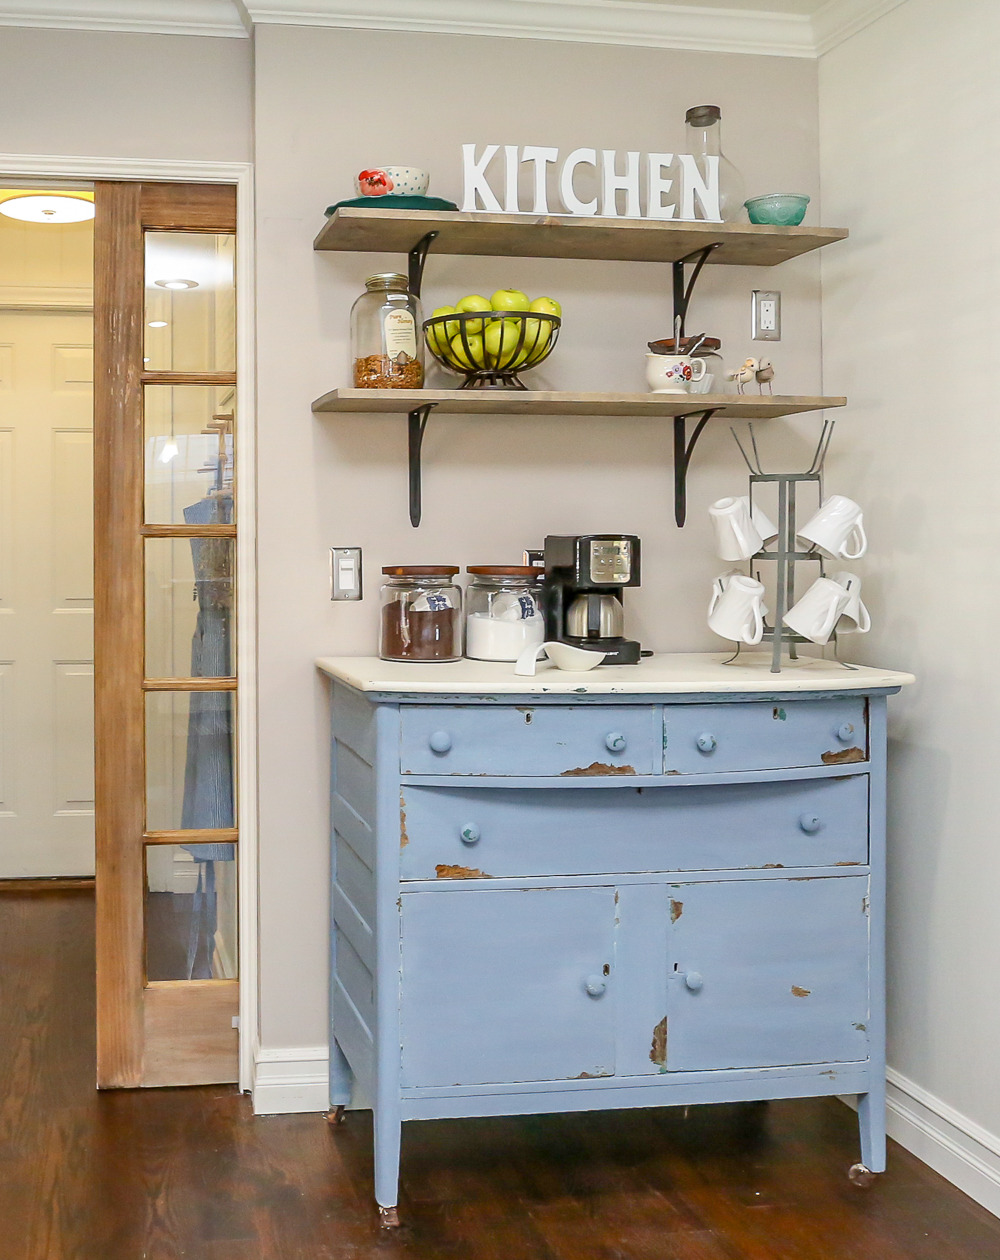
Hi friends!! Today I want to share with you how to build a farmhouse coffee bar! We had this spot in our kitchen next to our fridge that needed a makeover. I had a few different hutches there throughout the years, but nothing was ever quite right in that space. We were planning to get our house on the market and I really just wanted something new and refreshing. I wanted the space to be functional, of course, but having a big hutch there just took up too much visual space for me. So one day I got this brilliant idea to use an old antique buffet as a coffee bar!
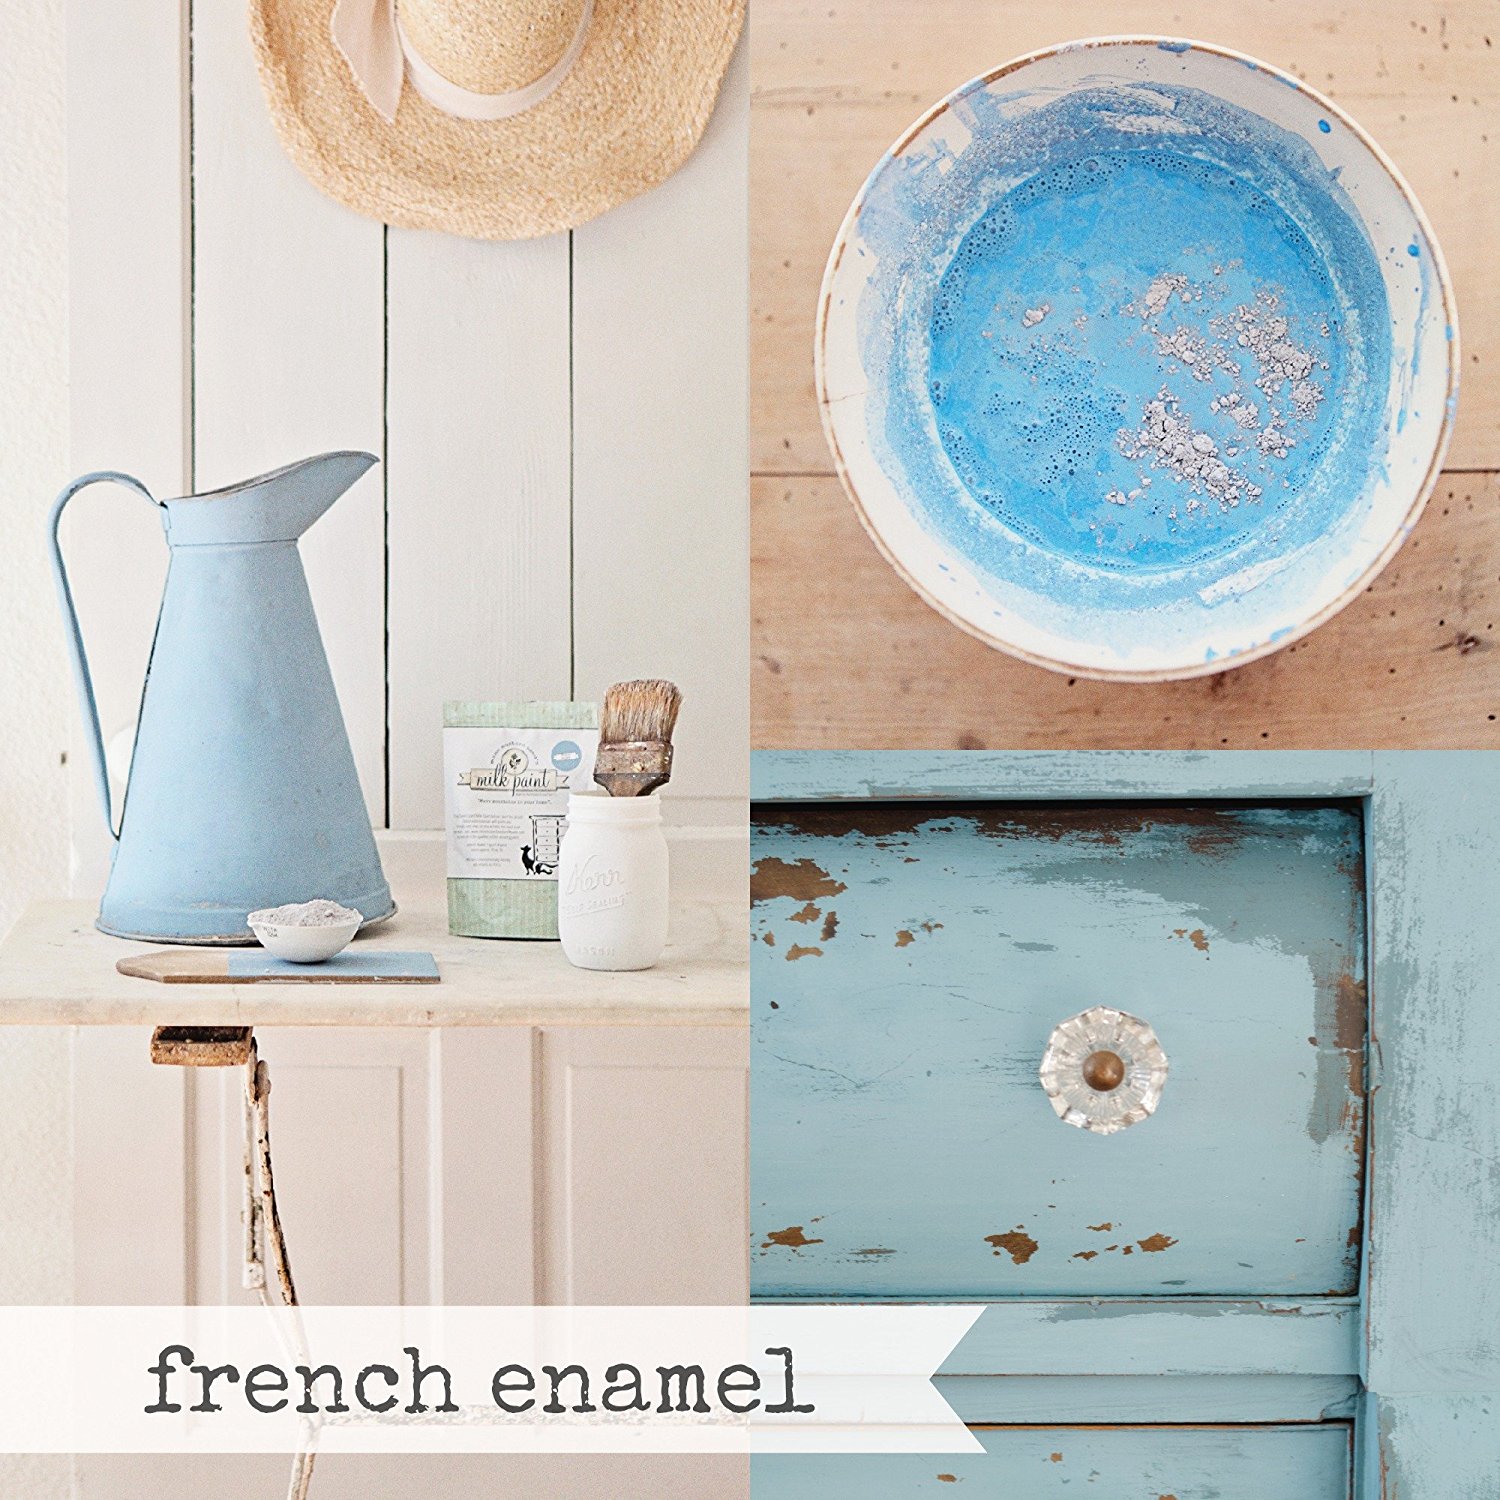
I got this buffet from a friend who had it sitting in her garage for decades and never got around to doing anything with it. She sold it to me for $10. Although I wanted to do some kind of makeover with it, I just didn’t have any inspiration right away. So sadly it sat in my garage for a few months. I almost sold it since we really needed to start clearing out our house to get ready for staging. But then it hit me. So I grabbed some Miss Mustard Seed’s Milk Paint in the color French Enamel and painted a few coats on. I left the top white. If I had more time to work on the project, I think I would have liked to take the top down to its original wood and just seal it. But we had a lot going on, we were juggling several different projects at once, and this project needed to be fast. So, in all this entire project probably took an hour or less. Which is fantastic for the amount of character it adds to the kitchen!
How to Build a Farmhouse Coffee Bar
(This post contains affiliate links. This means I get commissions for purchases made through links in this post.)
Materials:
Miss Mustard Seed Milk Paint in French Enamel
2 wood boards cut to your preferred dimension – I had my local hardware store cut them for me
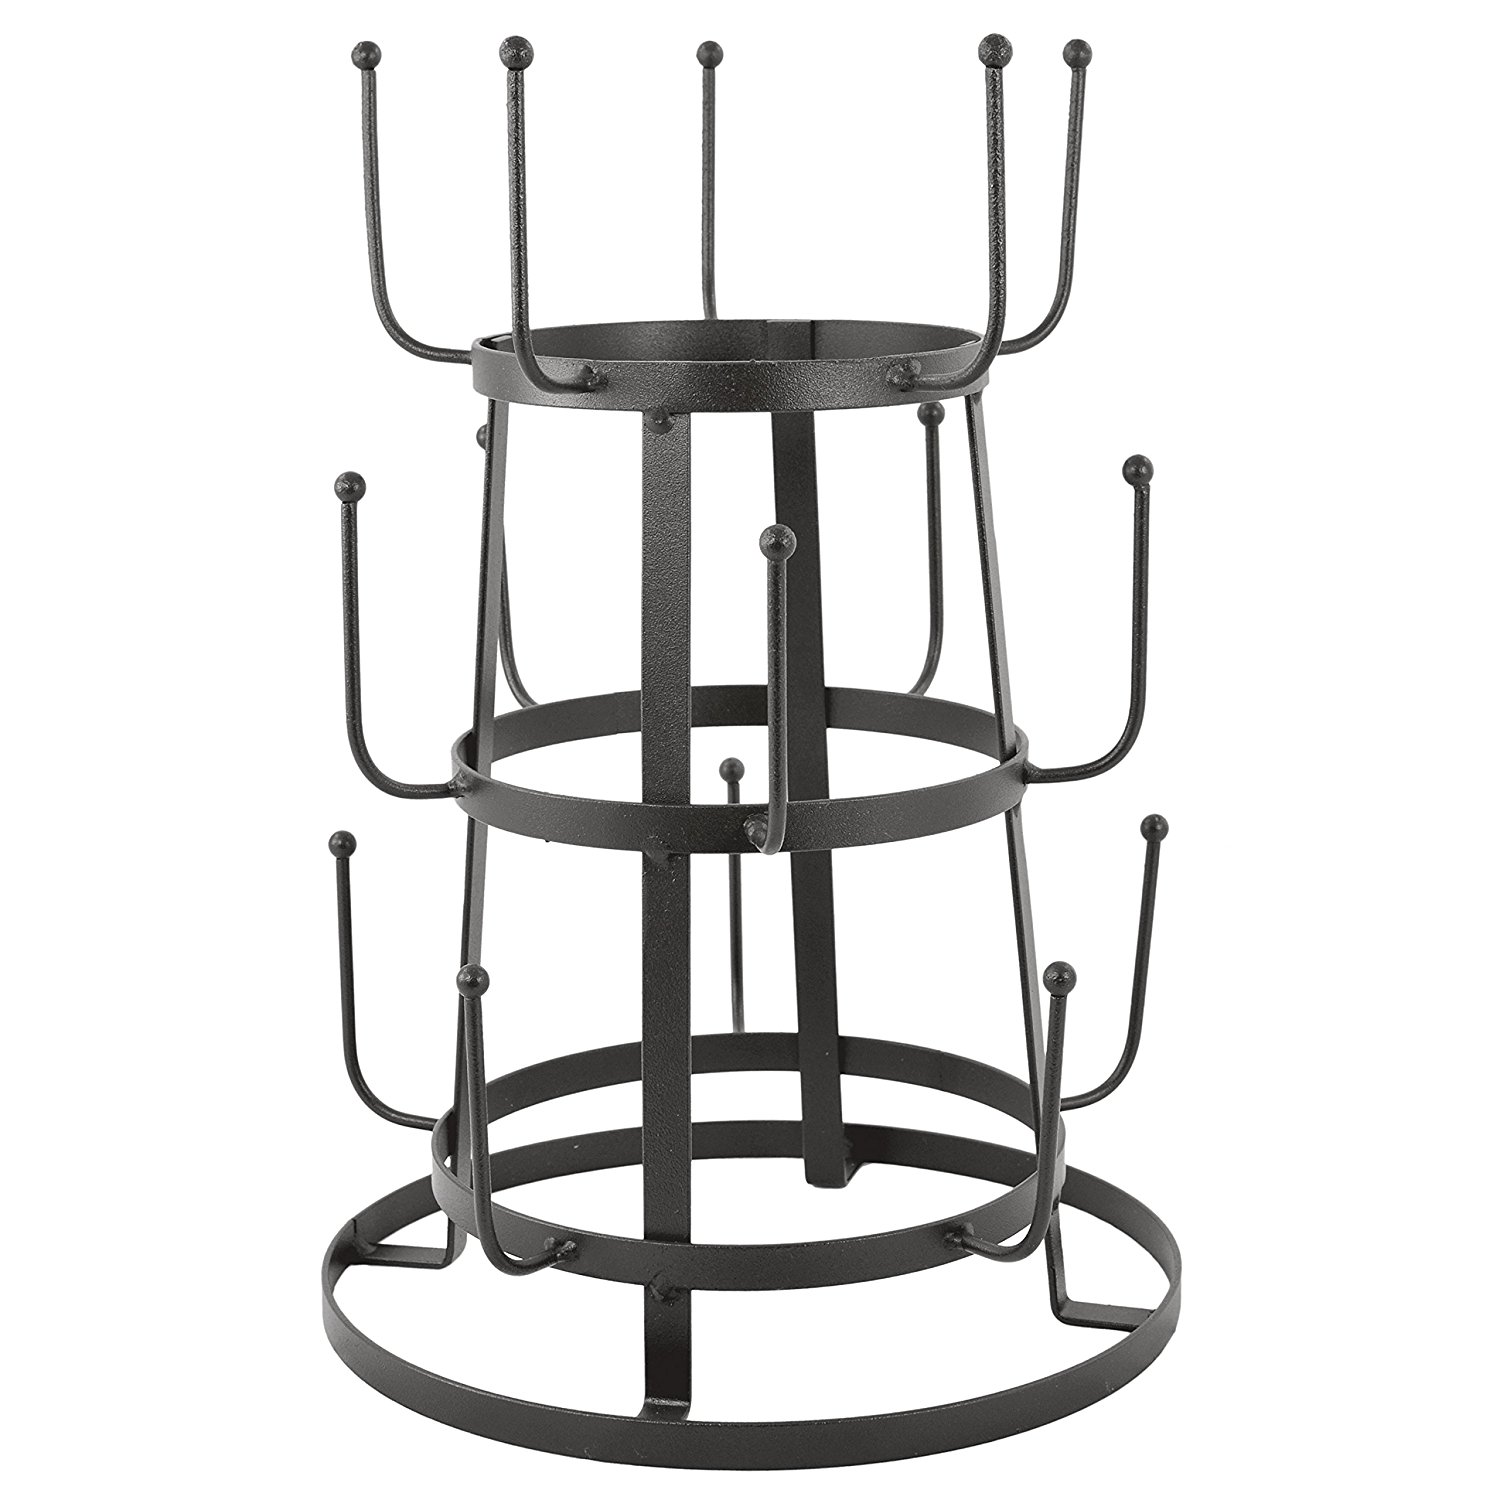
4 metal brackets – I used some similar to these
drywall anchors – I recommend these. They’re so easy to use & they’ve never failed me yet!
pencil
screws – our brackets came with screws I believe. But be sure to get screws small enough that they don’t push through the other side of your board.
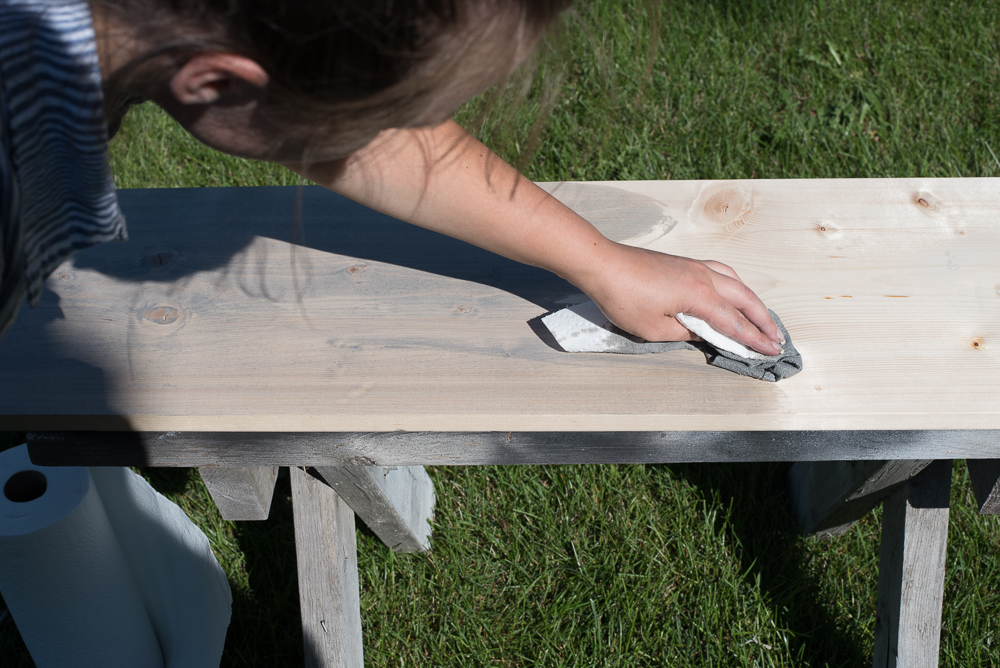
Your choice of stain – I used this one
Steps:
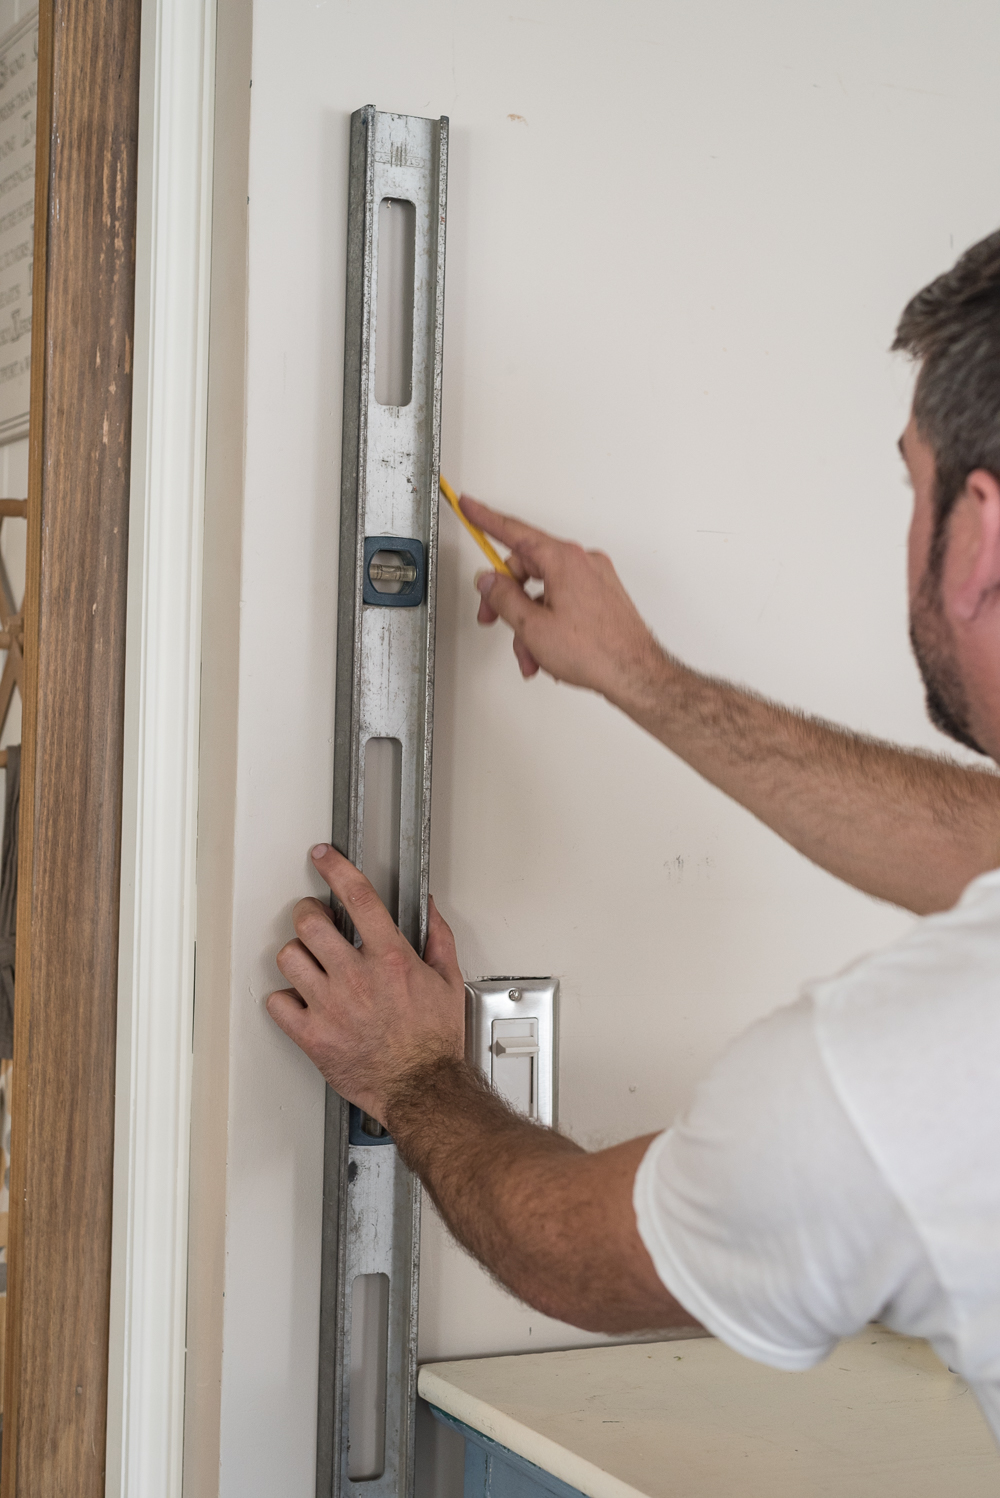
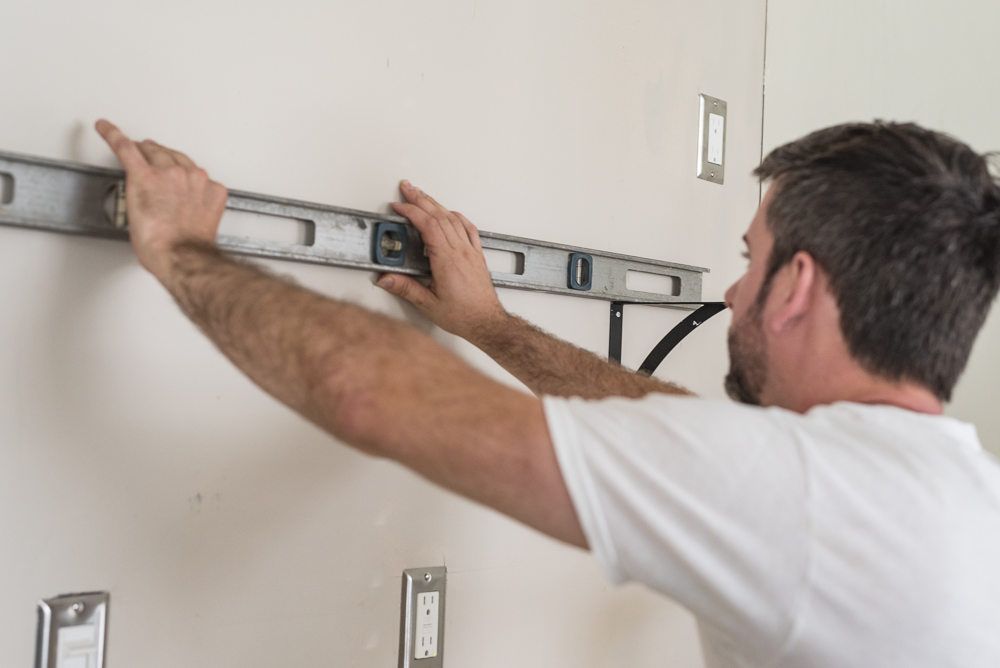
1) We first started off by deciding how long we wanted our coffee bar shelves to be. We chose to have them go the length of the buffet, so we found where the coffee bar countertop ended, and used a level to draw a straight line up the wall with our pencil. We did this to both ends where we wanted out board to be. (Afterward, you’ll want to buy your board and have it cut for you to that length, or cut it yourself at home)
(While Brian was working on putting up the brackets, I was busy staining the boards. I used this stain to get a weathered look to the new wood.)
2) Once we had our length, we decided where we wanted each shelf to be placed. To do this, we held the shelves up on the wall and each of us took turns stepping back to see if we liked the placement. We also added some items to the shelves and under the shelves on the countertop to be sure the things we would be putting there would actually fit. Once we decided the placement of the shelves, we drew a horizontal line using our pencil and level. (Sorry no pics of that step)
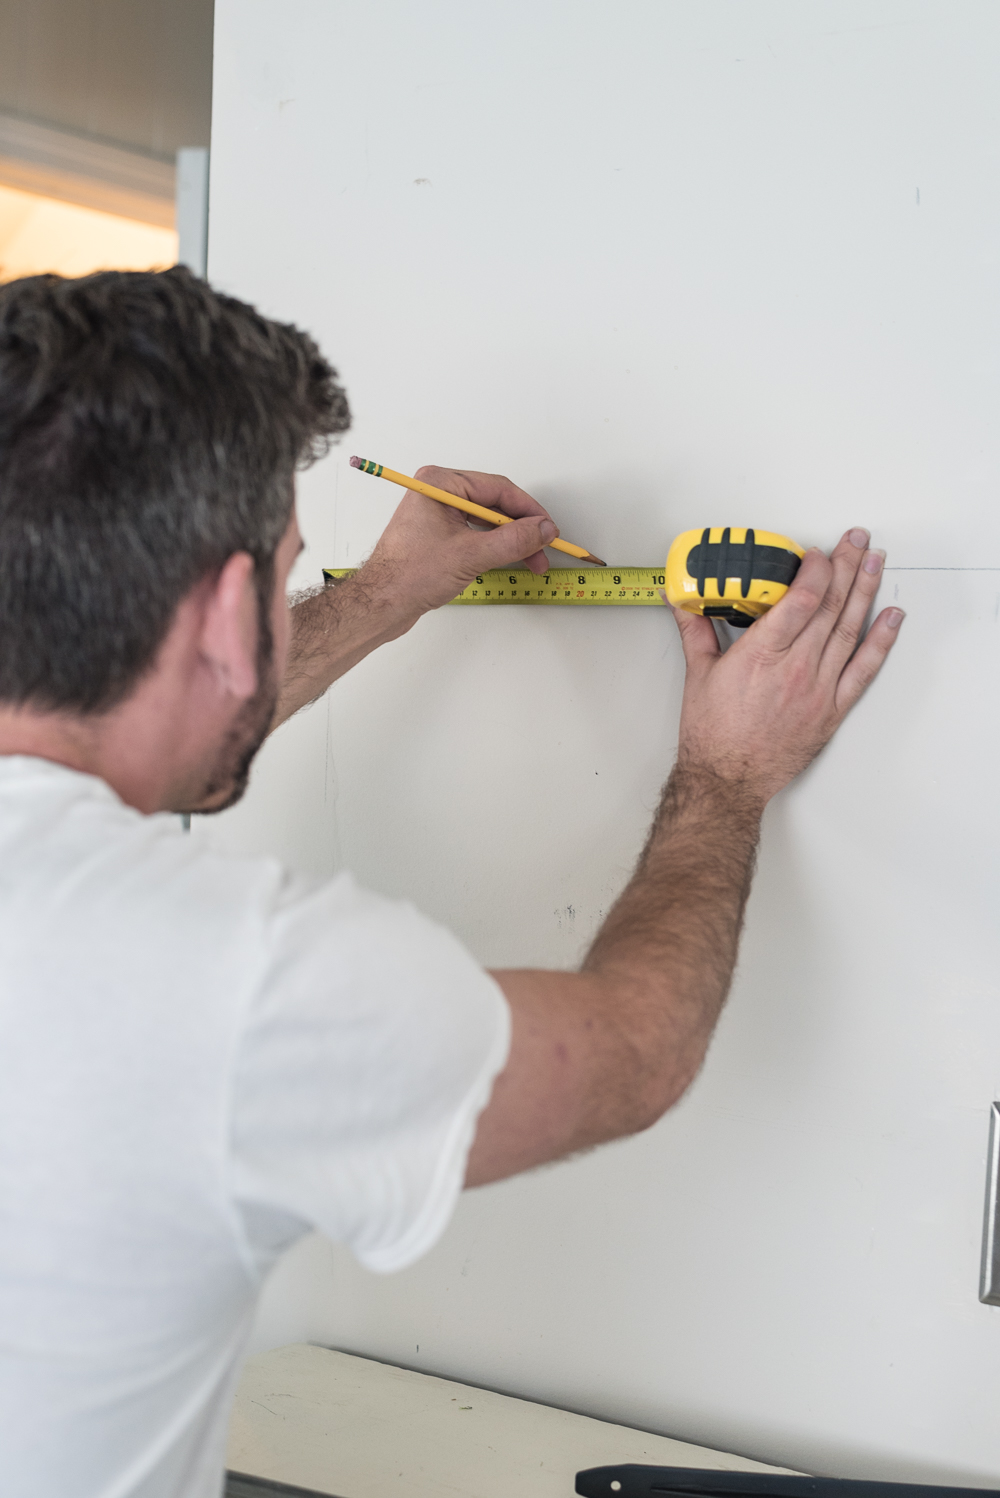
4) Next, we marked where we wanted our brackets to go. Once we had a good idea, we measured the distance from each end and marked the location of the brackets. That way they’ll be even on both sides, and on both shelves.
5) After we found the placement of our brackets, we held them up, using a level to maintain level…ness… marked with our pencil where we want the anchor to go. If you’re drilling right into wood, you obviously don’t need to do this part. We usually add one screw, level the bracket, and then add the other screw. 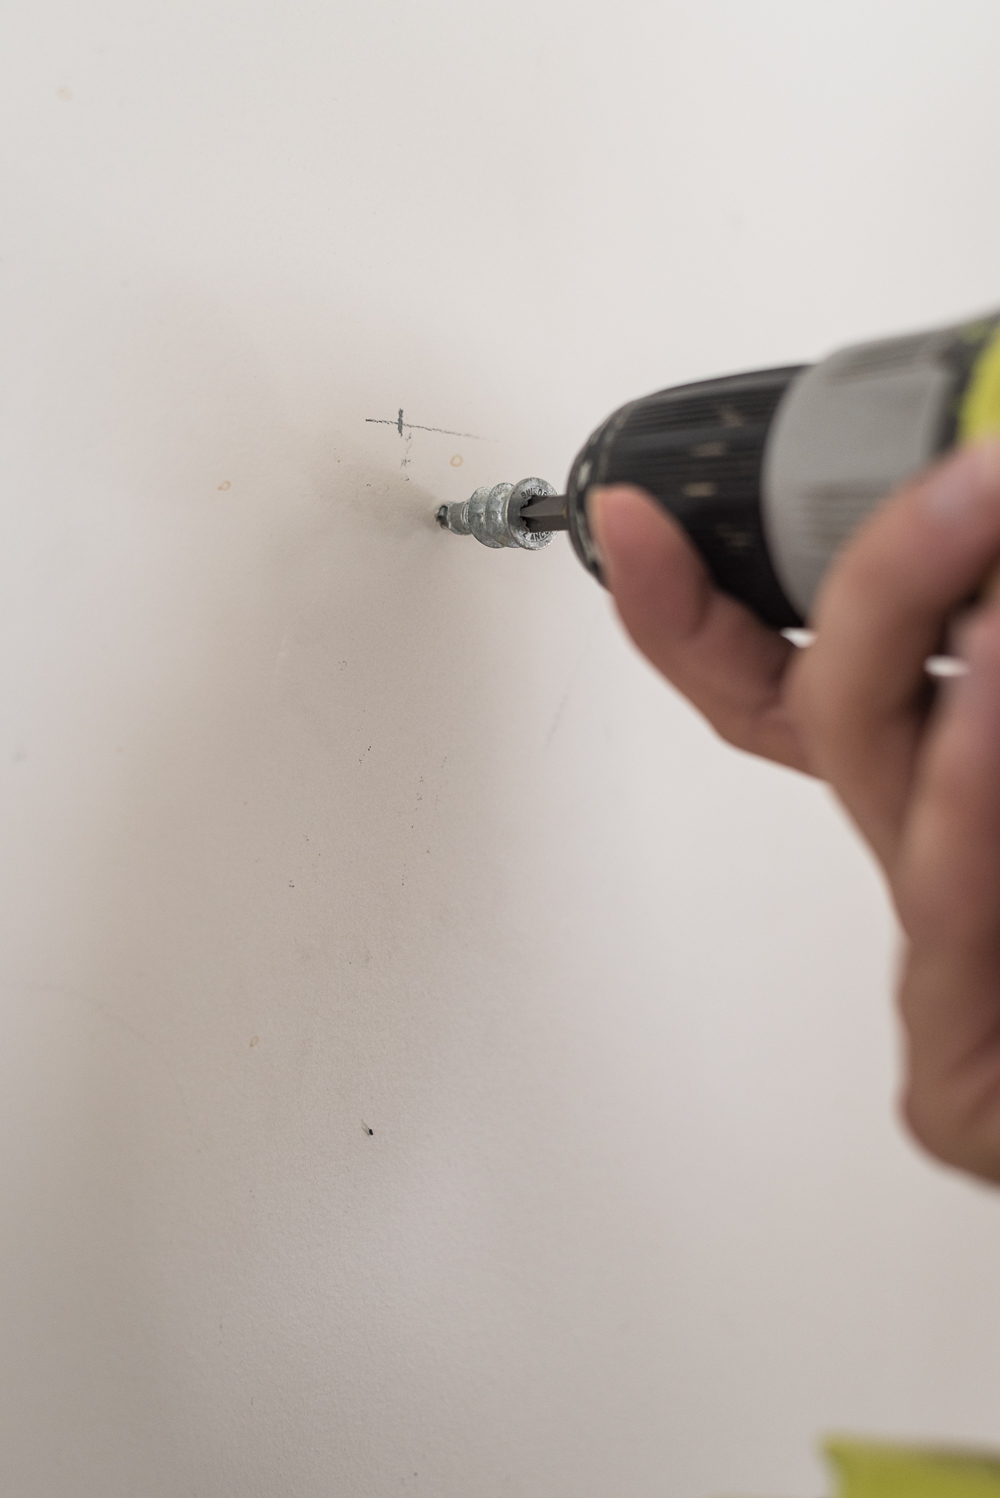
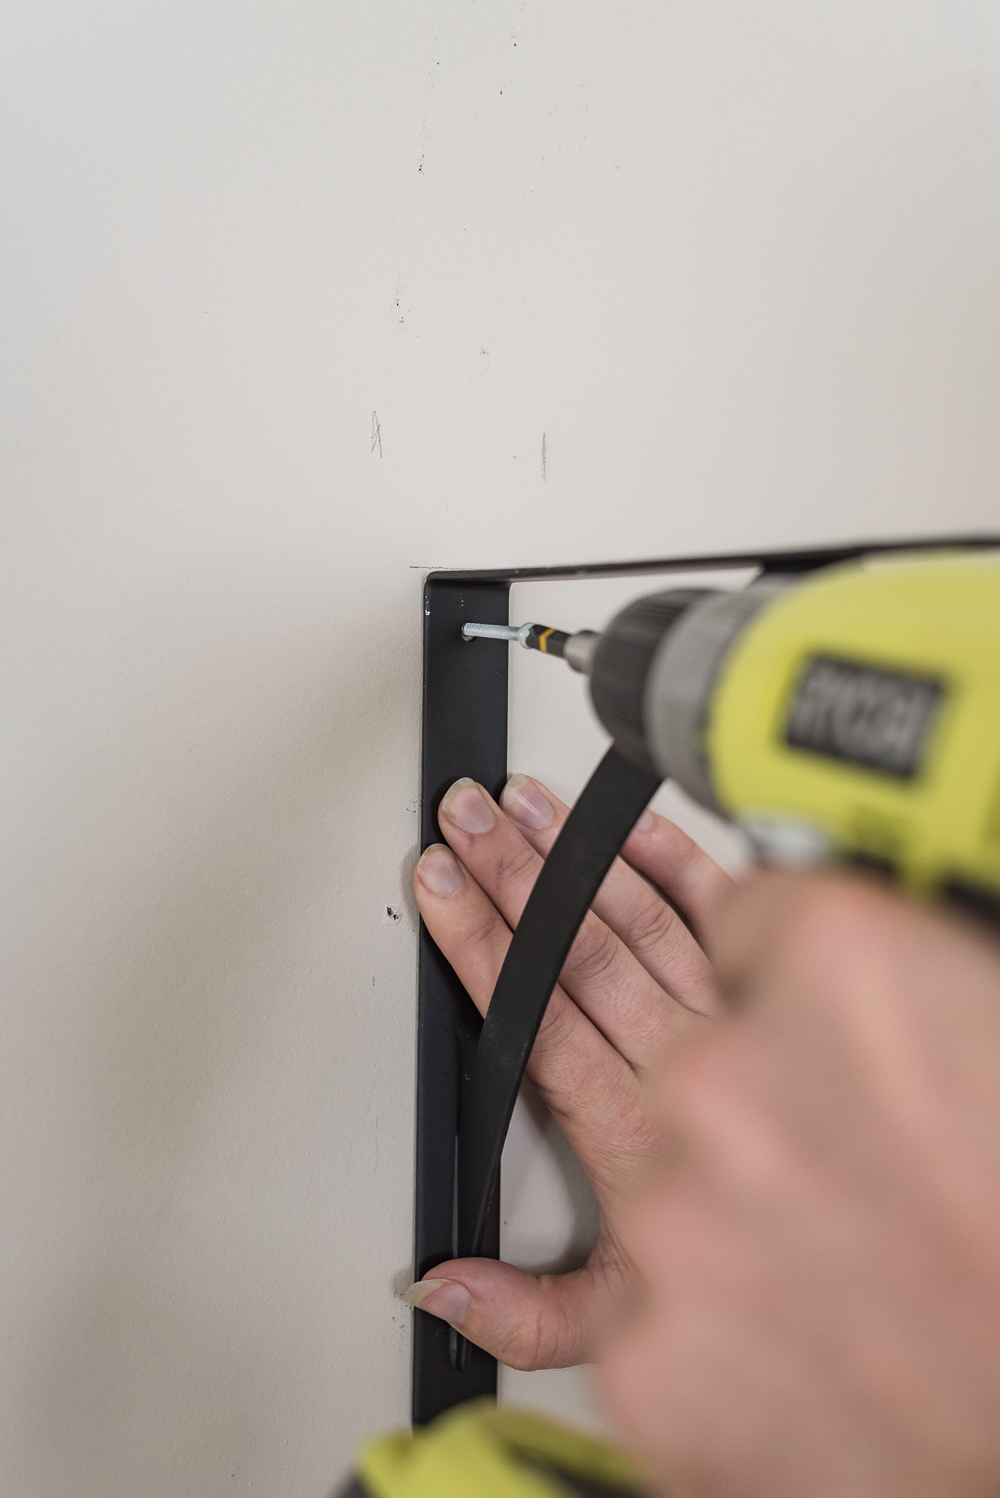
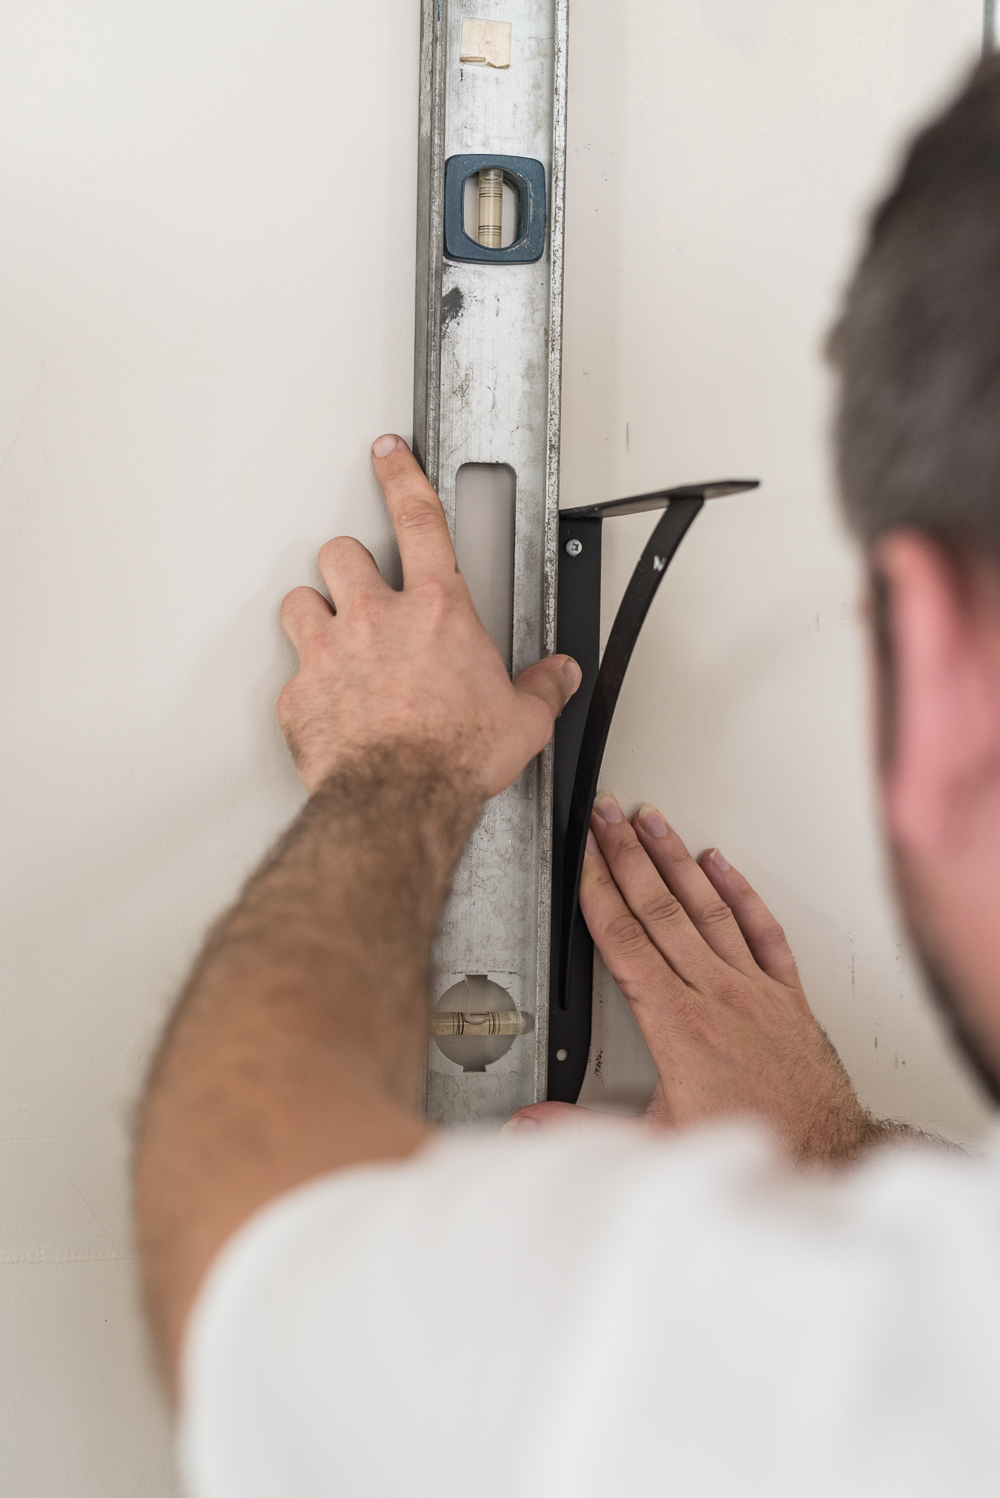
6) Here’s a good tip: Before you add your second bracket, put the level on top of the brackets, and mark the location for the second bracket. If you try to add both brackets and then put the shelf on, you’re likely to have a crooked shelf! I always double check that its going to be level before adding that second bracket.
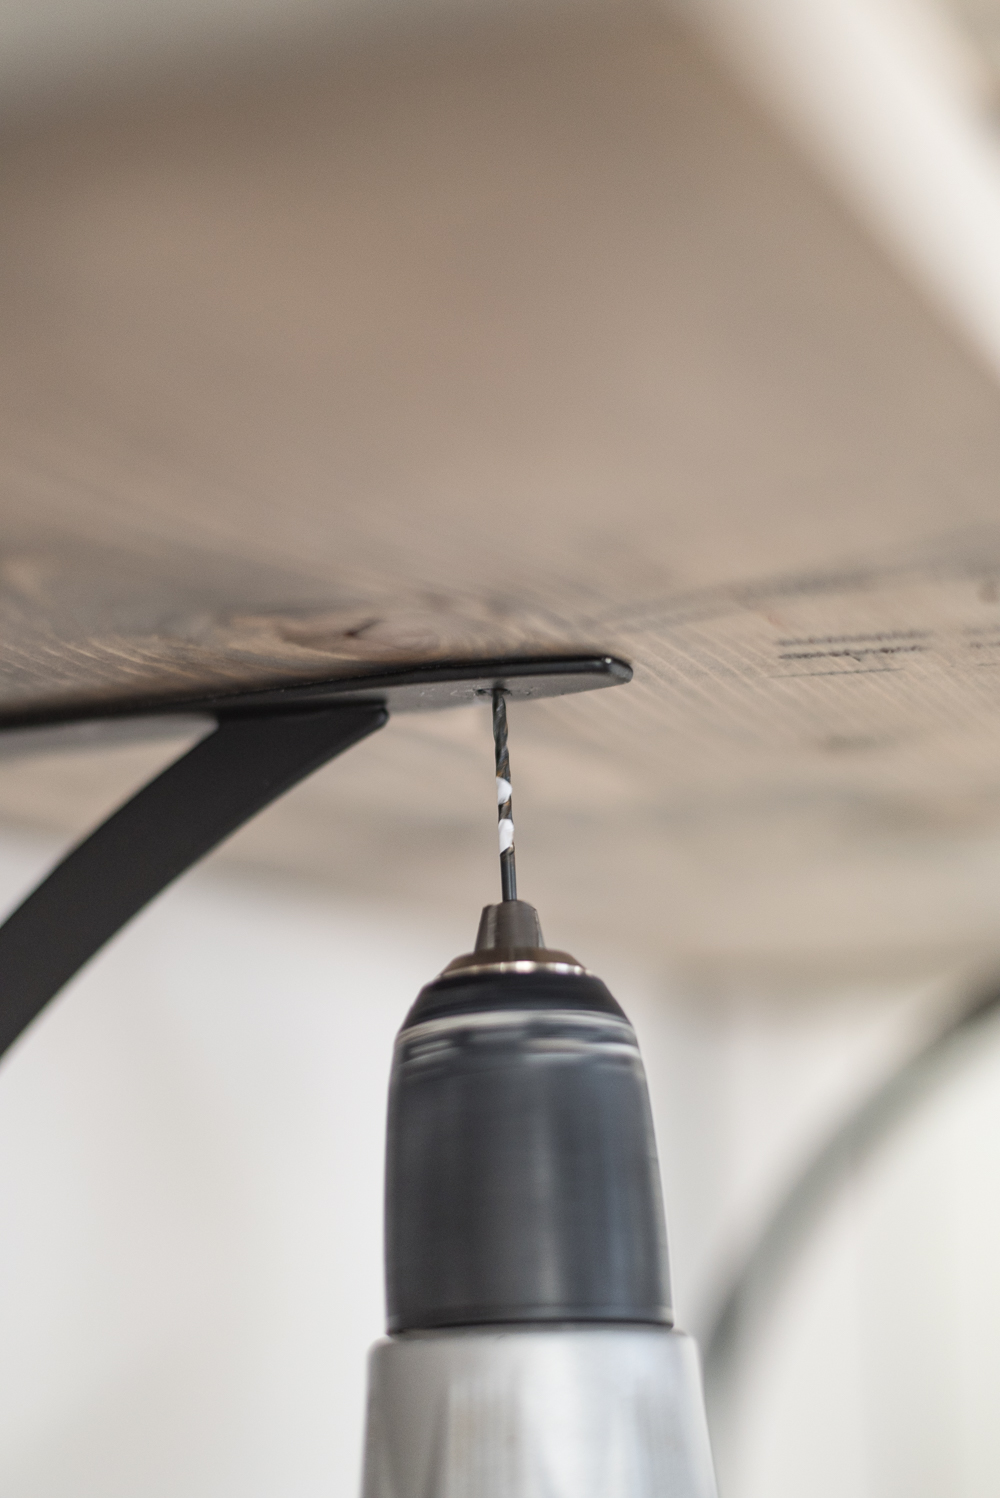
7) Once your two brackets are up, it’s time to attach your board. For this part, I use a sticker on my drill bit, as sort of a stopper so I don’t dill through the other side of the board.
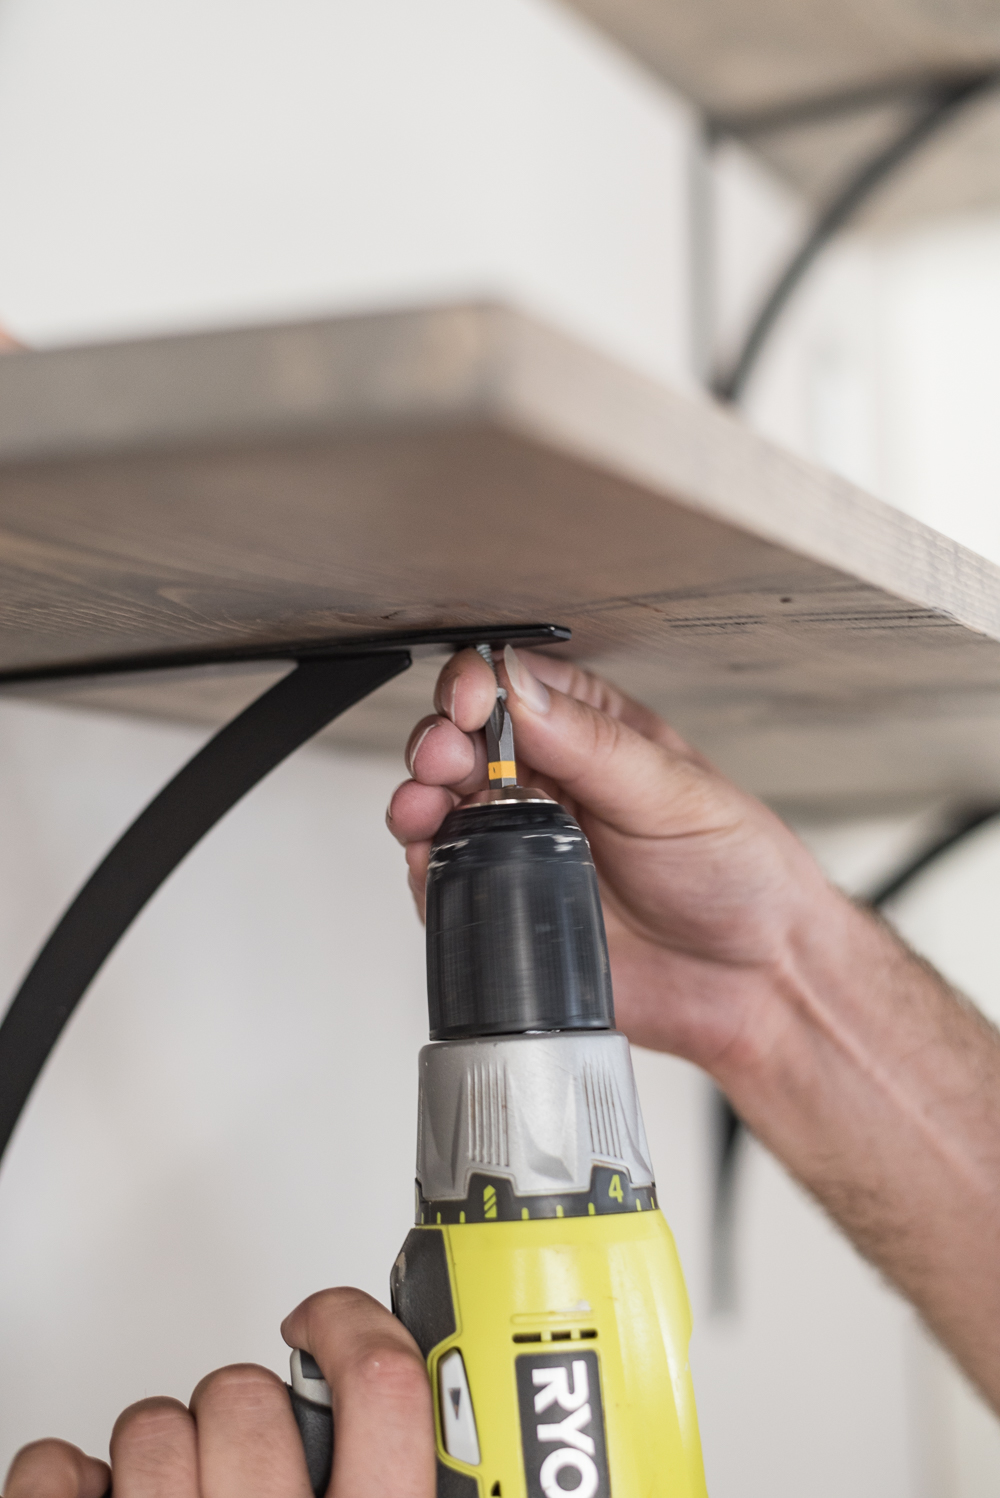
And viola! Now we have a fantastic new farmhouse coffee bar!
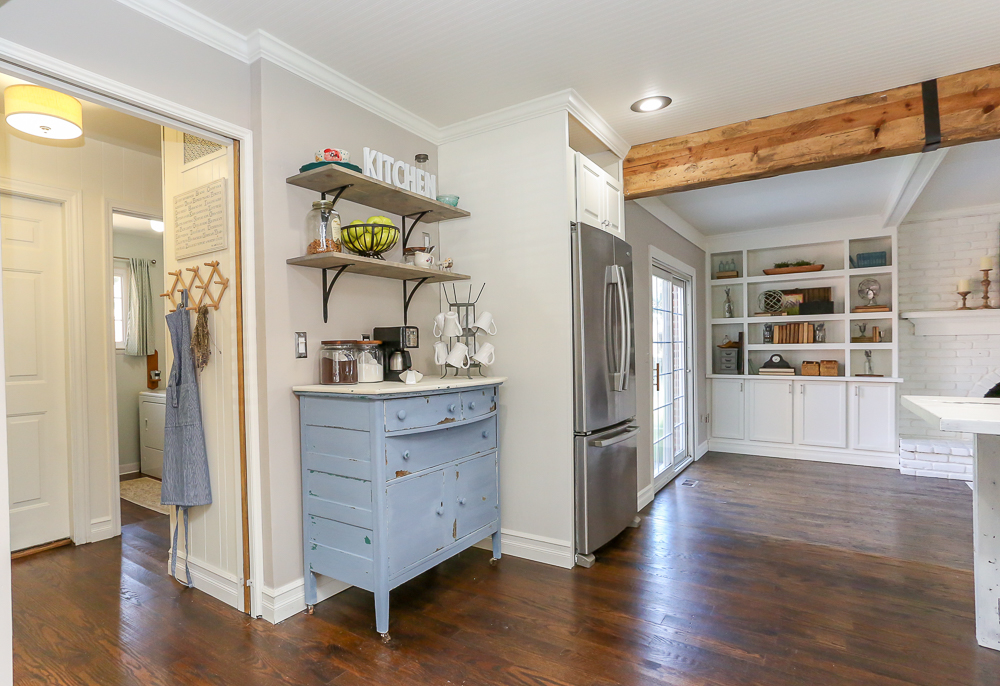
Side note: Look at what a mess our house is! This is what happens when you decide to sell your house you guys. But the farmhouse coffee bar is making this space look really pulled together. Don’t you think?
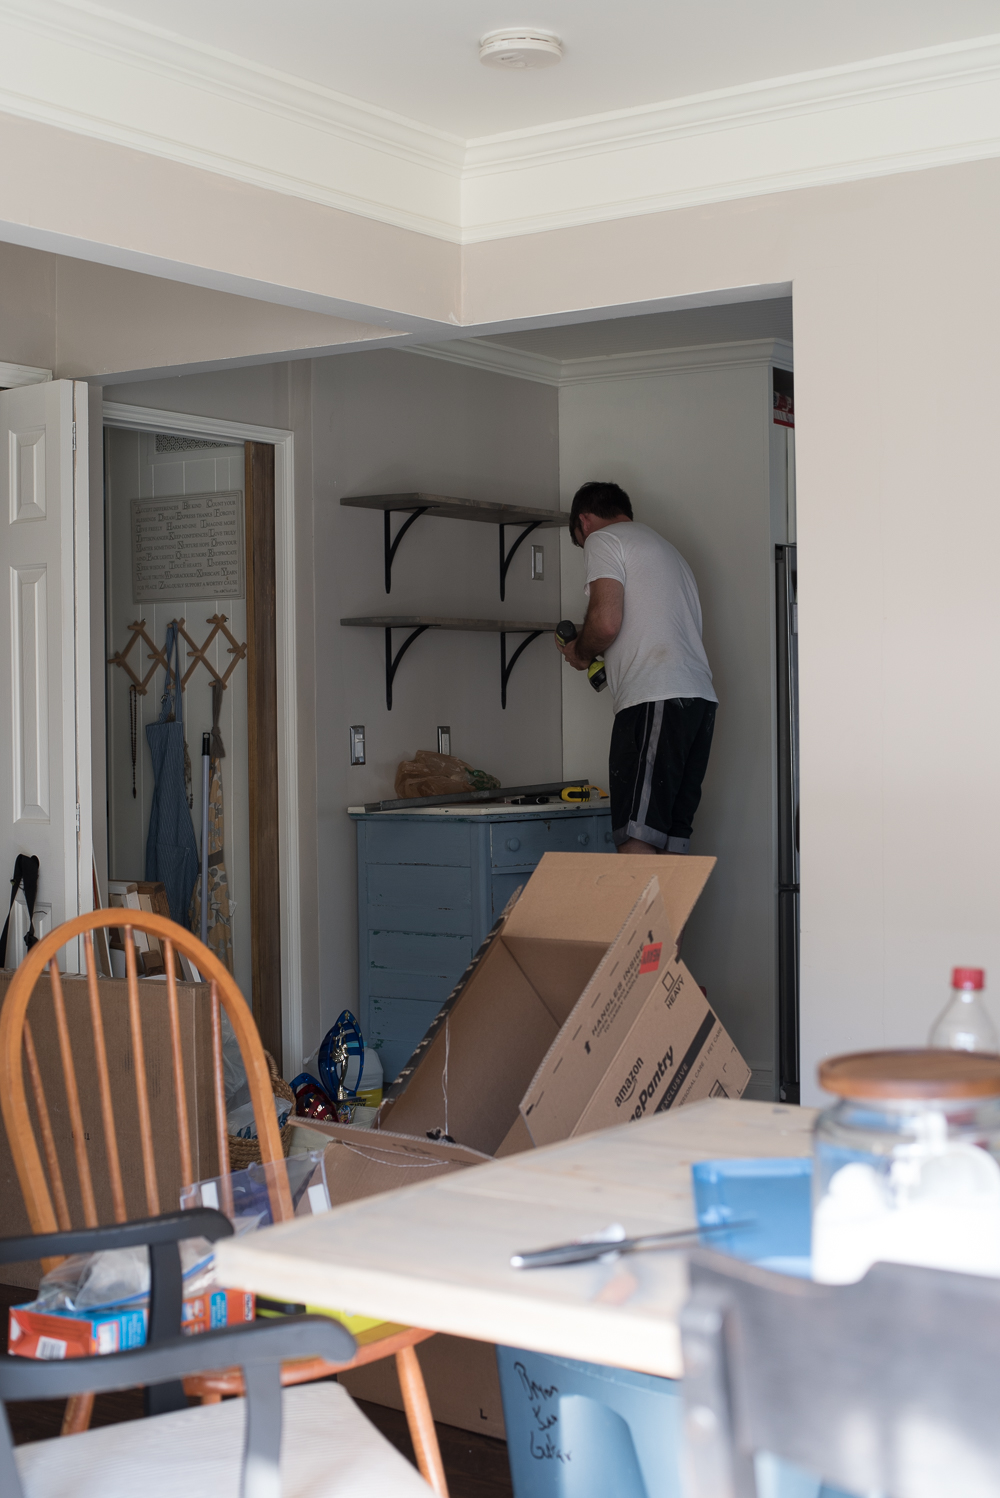
We had so many things going on at once it was seriously insane. On this particular day we were actually building our new farmhouse dining table, hanging the new dining room chandelier, painting a buffet for the space (didn’t post on that yet), plus we had a sliding door going in, the laundry room being finished, and so so so much more! Holy moly it was a crazy time!
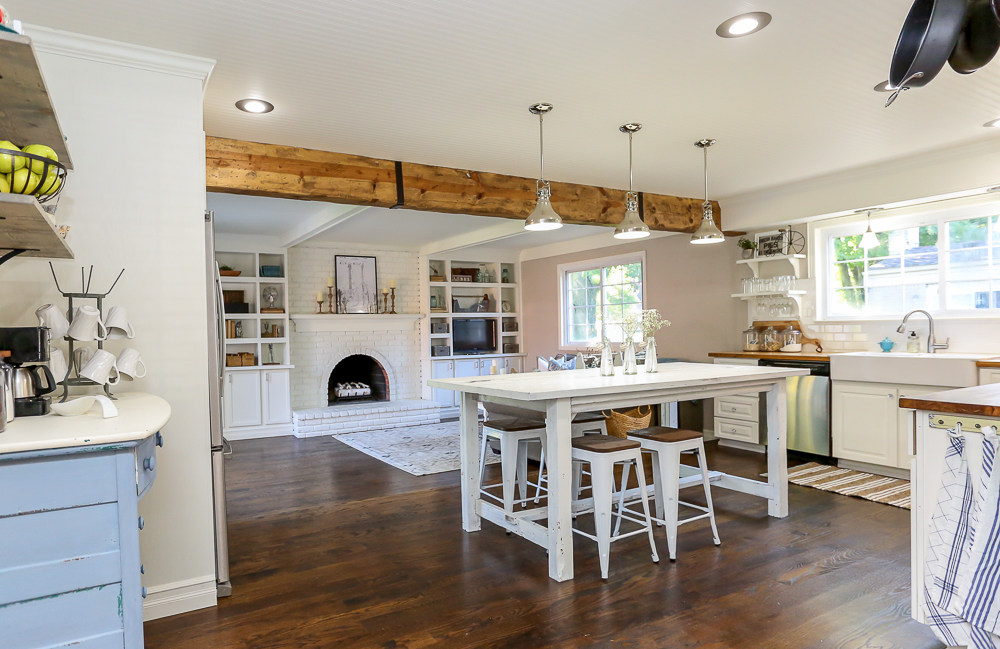
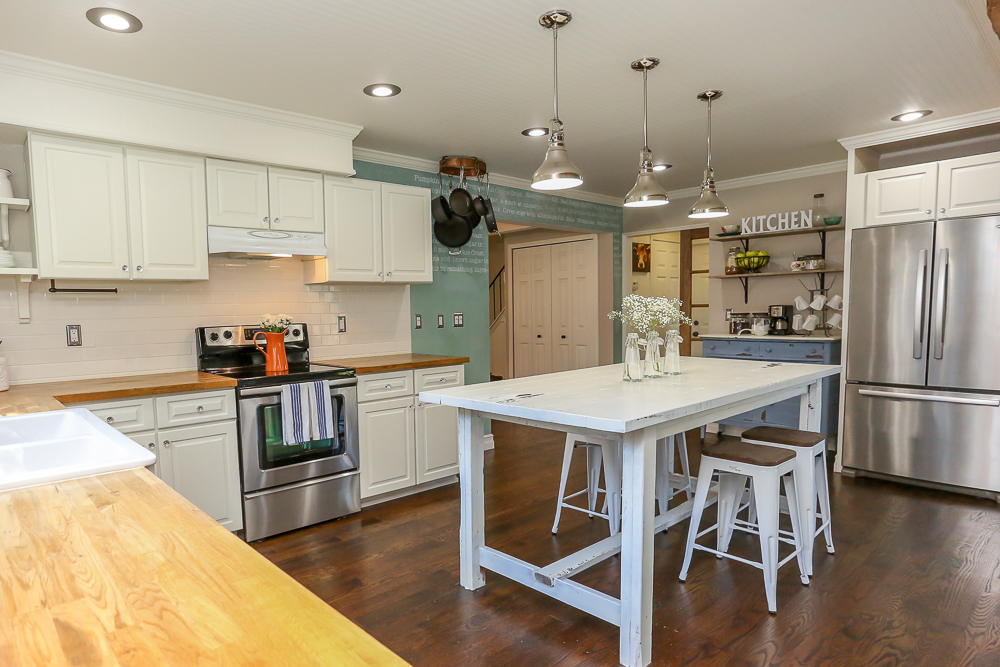
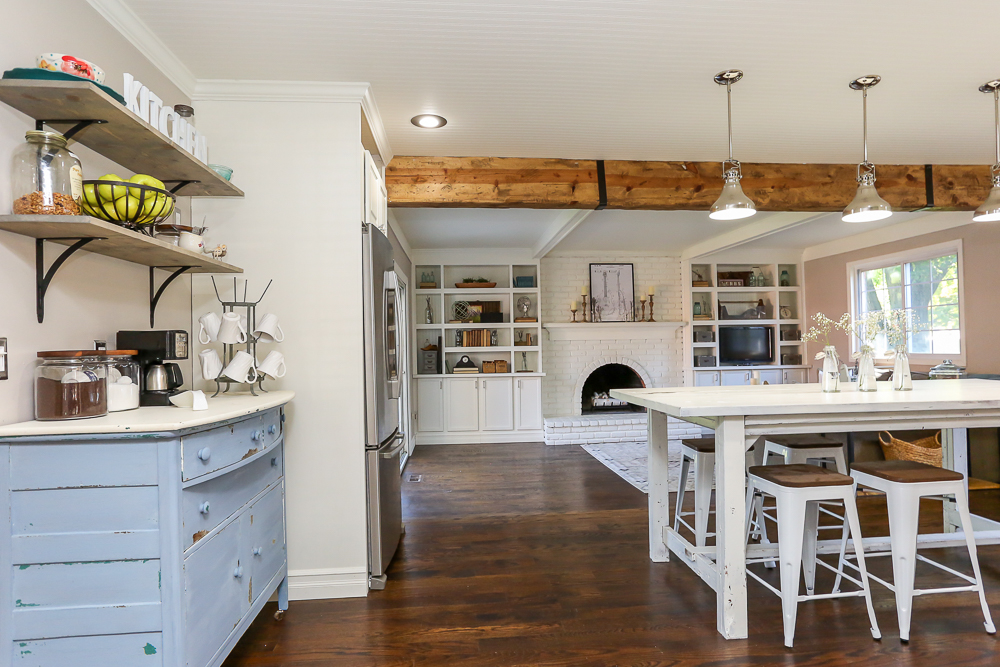
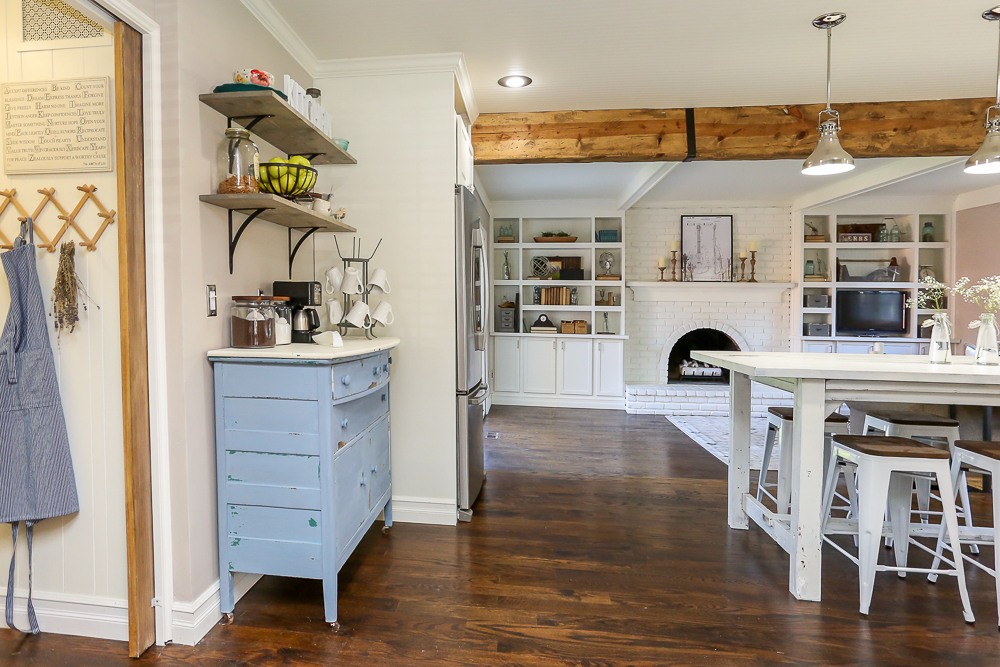
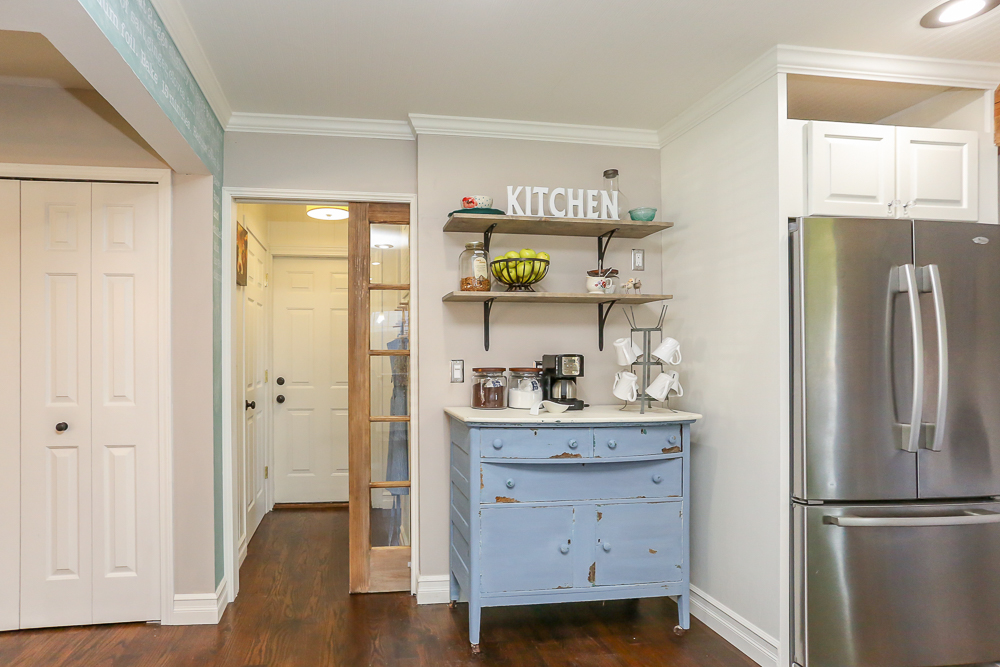
It has gotten so much use already, I can’t believe we didn’t have one sooner! I love decorating this farmhouse coffee bar as the seasons change, and having a place to store my coffee that’s not on my countertop has actually freed up a ton of space in our kitchen! And I just love how the little pop of color adds a lot of character to this kitchen. I’m gonna be honest, I think this coffee bar actually sold our house. I mean, look how gorgeous it looks!
Click on the images to be taken to the products (affiliate links).

