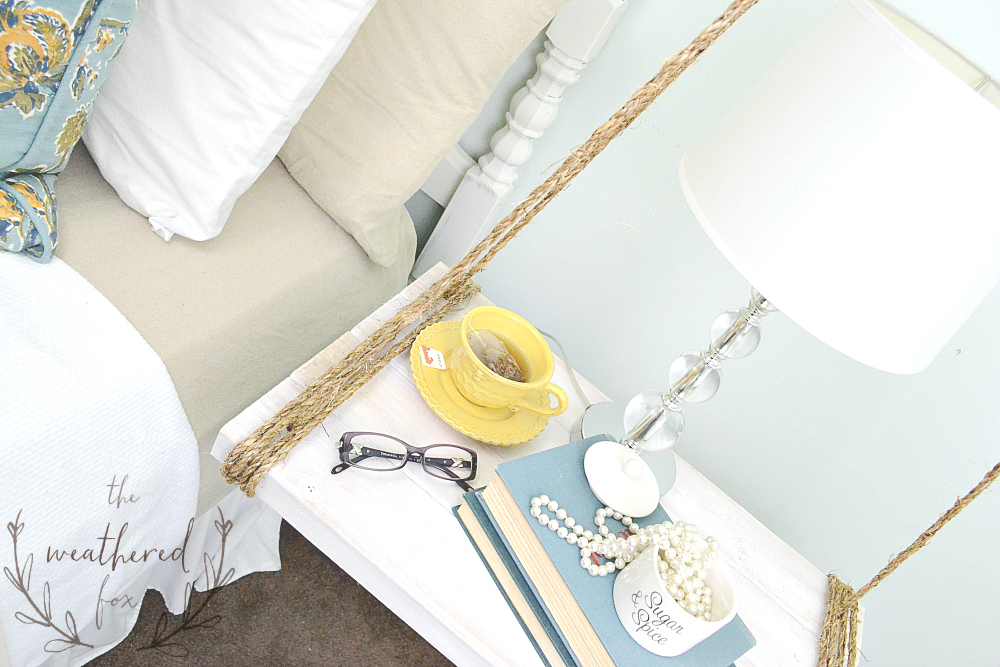
A hanging nightstand is apparently a thing. I was first made aware of them while watching one of my favorite shows. Yea, Fixer Upper. Have I mentioned that show before? Well, their lovely little girls’ room has these adorable metal hanging nightstands that I think are just too cute. So I’ve been wanting to recreate something like that for my home.
Even better is that I made one of these sweet little hanging nightstands for under $10 and about two hour’s time. Yep. And you can too.
Here’s how I did it!
(This post contains affiliate links. This means I get commissions for purchases made through links in this post.)
DIY Hanging Nightstand Tutorial
For this project, you will need (affiliates):
1 2x4x8 wood board
1/4 inch manila sisal rope, 50 feet length
Kreg Jig or other pocket hole system
A Clamp Set comes in handy for keeping the boards together if you’re working alone
Paint of choice, I used a white oops paint
Stain is optional
Ceiling hook Make sure it can hold some weight. Mine holds up to 50lbs.
How to DIY a Hanging Nightstand:
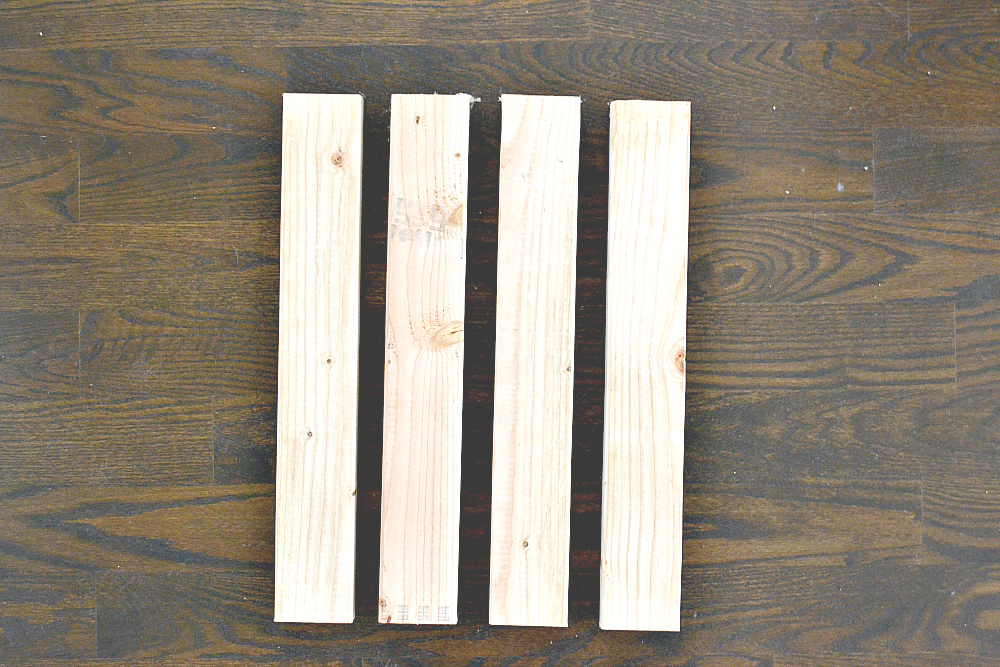
1.) Start by measuring your space. Once you have determined how long you want your nightstand, and using your Circular Saw or Miter Saw, cut your 2×4 into 4 pieces of the same length. I cut my board into 4 23 inch lengths. If you want to go longer, you will need additional boards. If you don’t have a saw, and you came prepared with your measurements, most hardware stores will cut your boards for you 🙂
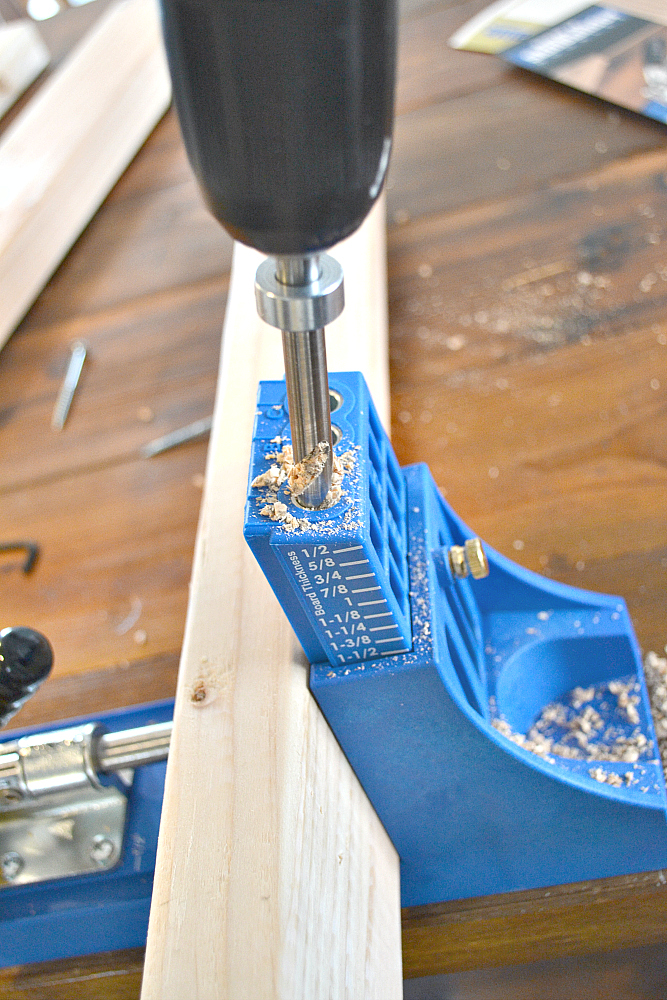
2.) Use your Kreg Jig to attach the boards. Make sure to set your bit to 1 1/2 inch depth. You’ll also need your drill and the drill bit that the Kreg Jig kit comes with. Make sure you stay consistent with which side you are attaching. This will be the bottom of the table. I bore my pocket holes all on one side so I don’t have to worry about going back and filling them in.
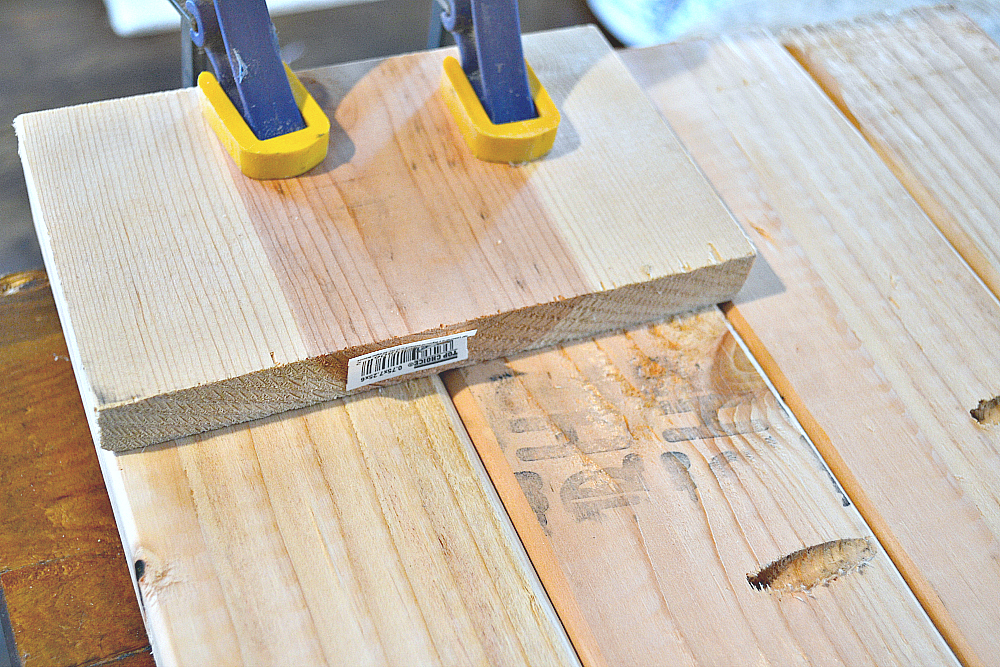
3.) Using your clamps and a scrap board, secure your boards to your work surface. This will help you keep them from moving while you screw them together. It also helps prevent the boards from cupping.
4.) Using your drill and screws, attach the boards from the pre-drilled pocket holes.
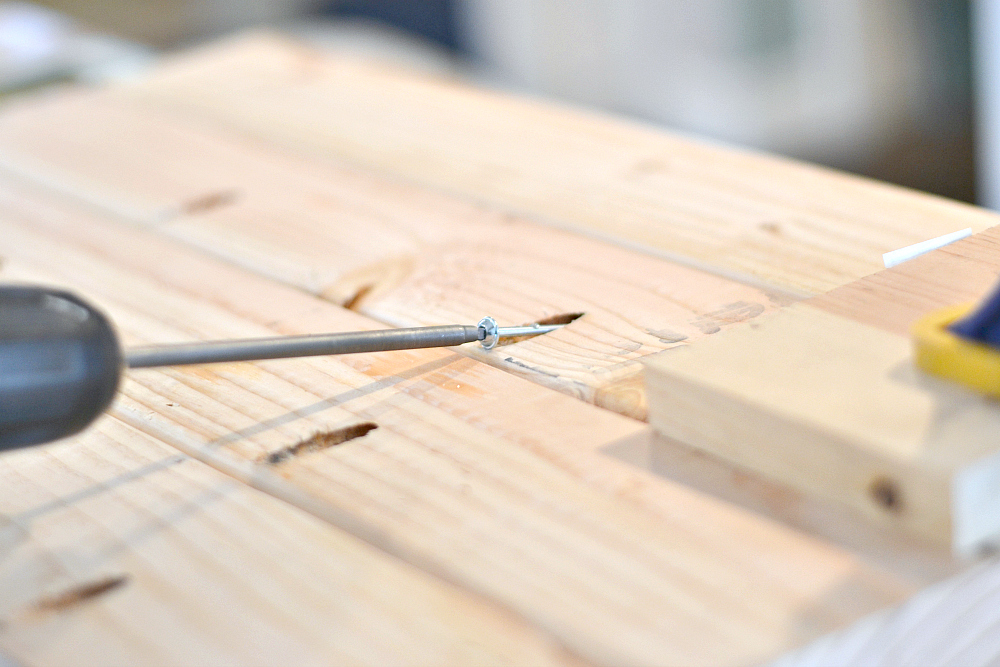
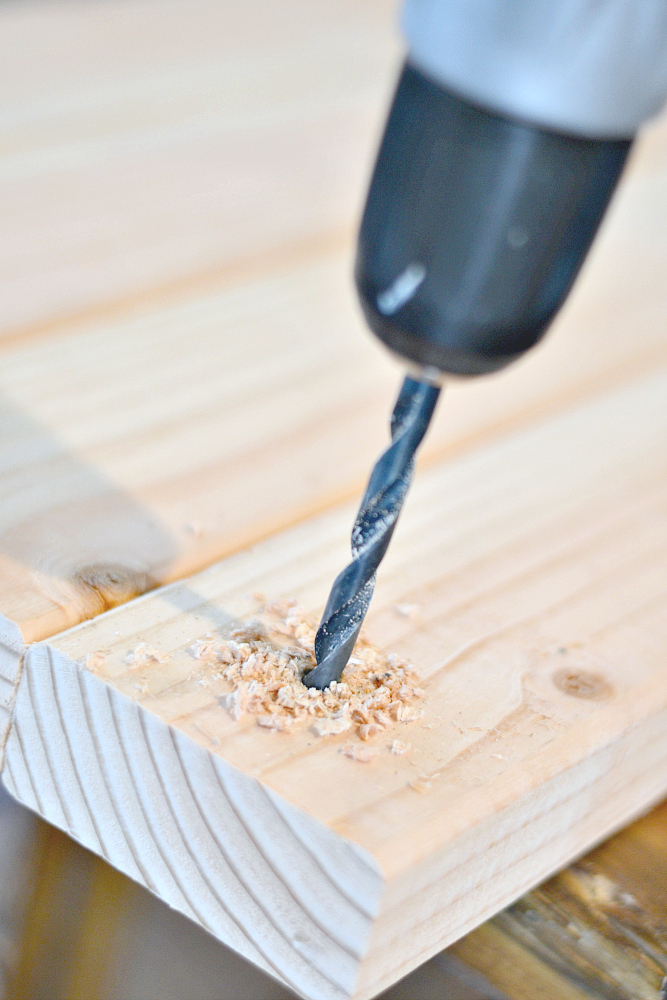
5.) Again using your drill, swap out the screwdriver bit for a 1/4 inch drill bit. In each of the four corners, drill a hole all the way through the wood. This is where you will lace the rope.
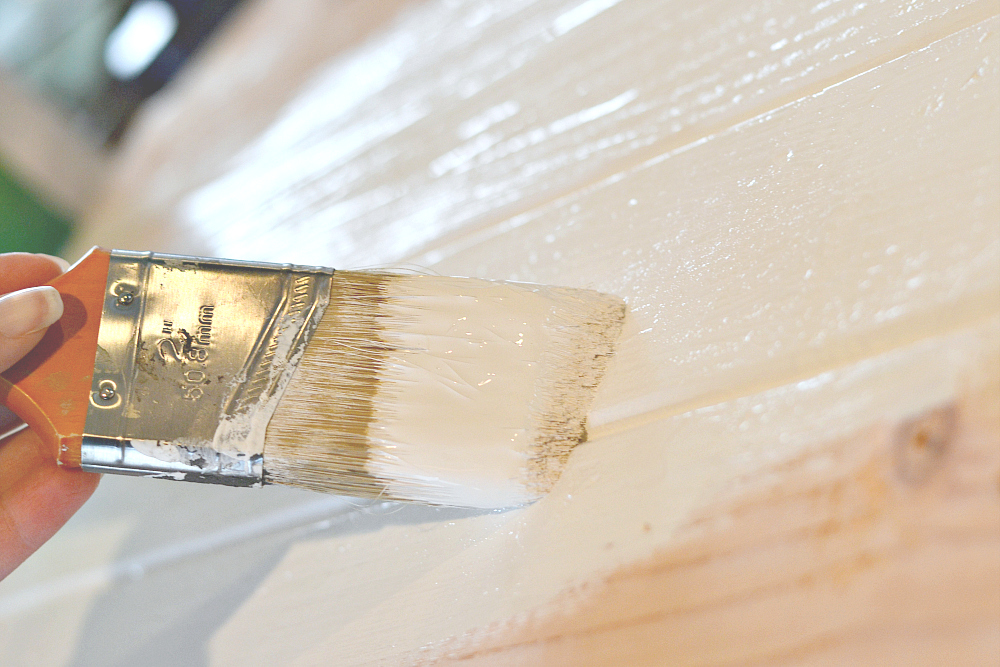
6.) Finish your table to your desired style. I chose to paint mine and add a little stain in a few places to give it a worn look. You can choose to stain the entire piece for a more rustic feel, or paint it a solid color of your choice.
7.) Unwind your rope and find the center. Cut the rope in half so that you have two 25 foot lengths of rope.
8.) Using one rope length, push the rope through one of the pre-drilled holes, about a foot through then tie a knot.
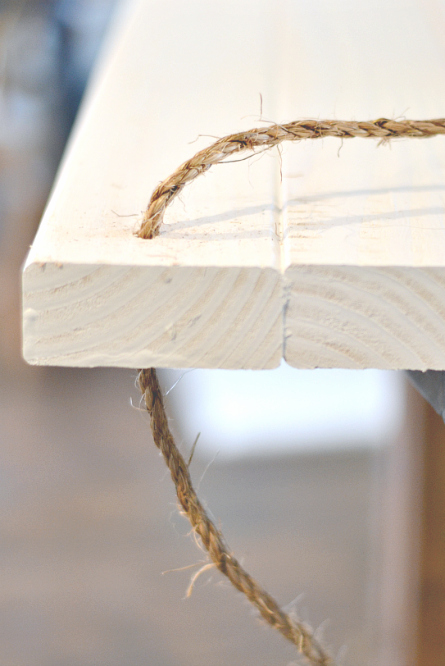

Using the other end of that same rope length, push that end through the other pre-drilled hole on the shortest side and tie a knot. Repeat these steps with the other rope length on the other side. These are temporary knots, so it doesn’t have to be precise at the moment.
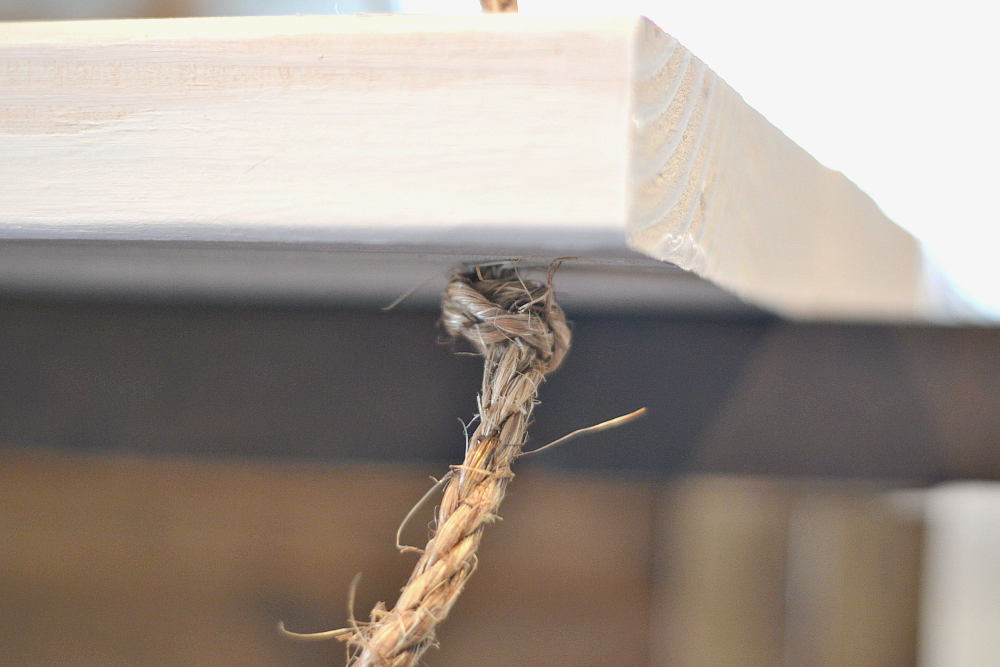
9.) Hold the two pieces of rope and find the center of each. Tie the two together so they are an even length and there is a large enough loop for hanging.

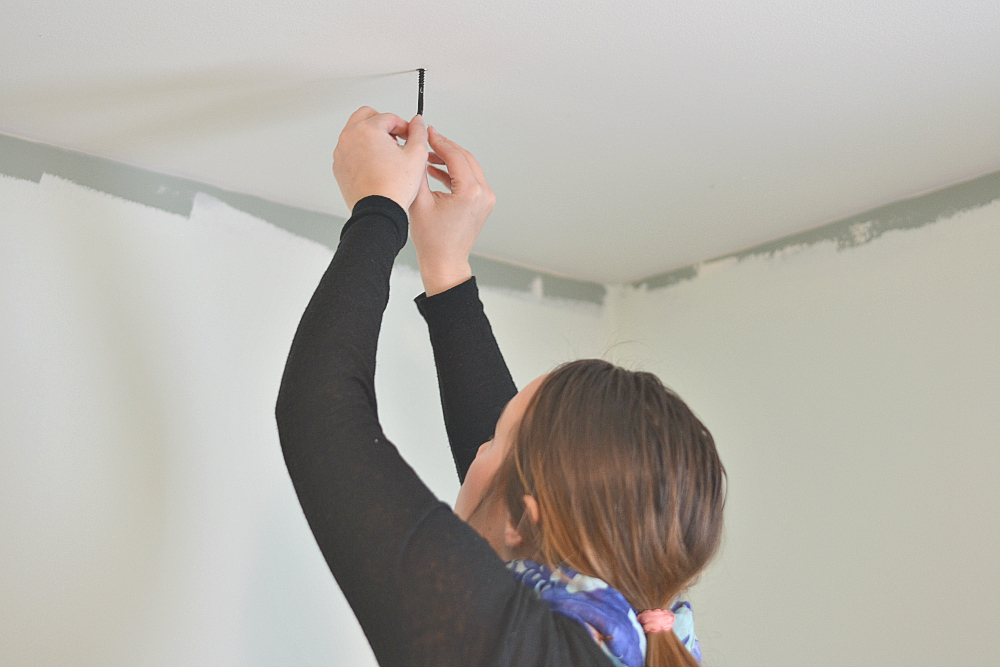
9.) Find the best location where a stud meets the center of the space where you want to hang your nightstand. Drill a hole and screw in your hook. If you don’t have a stud in that location, make sure to get a ceiling anchor like this to secure your hook in place!
10.) Hang your nightstand from the hook, adjust until it’s at your desired height and level, tie new ties underneath to secure it in place.
11. ) You can choose to cut off the excess rope, or wind it around the table and loosely tuck in the ends like I did. I didn’t want to cut my rope in case I wanted to adjust the length later.

Enjoy your new hanging nightstand!
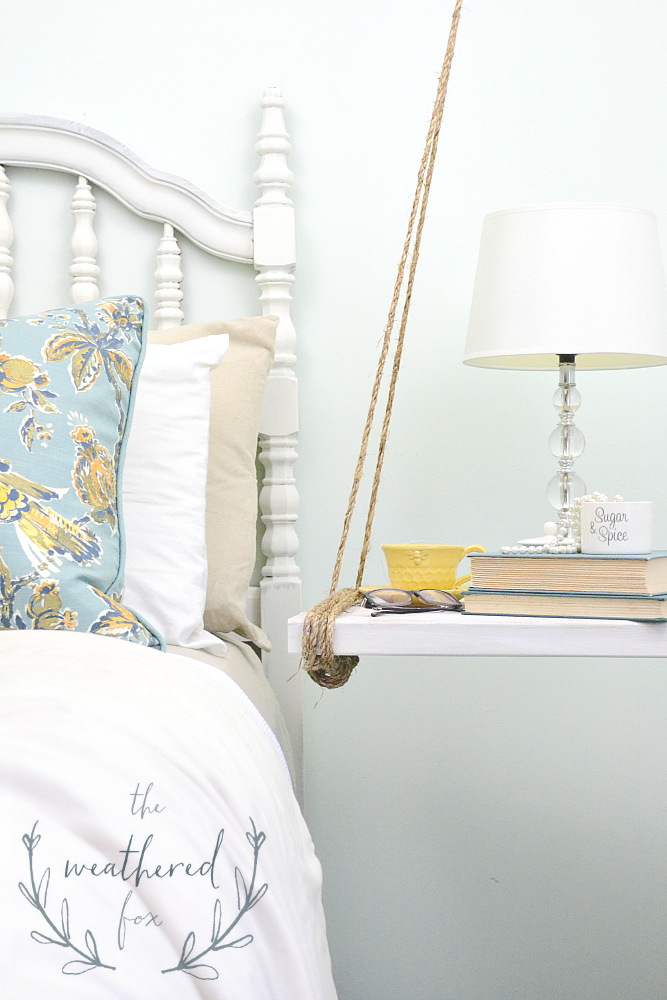
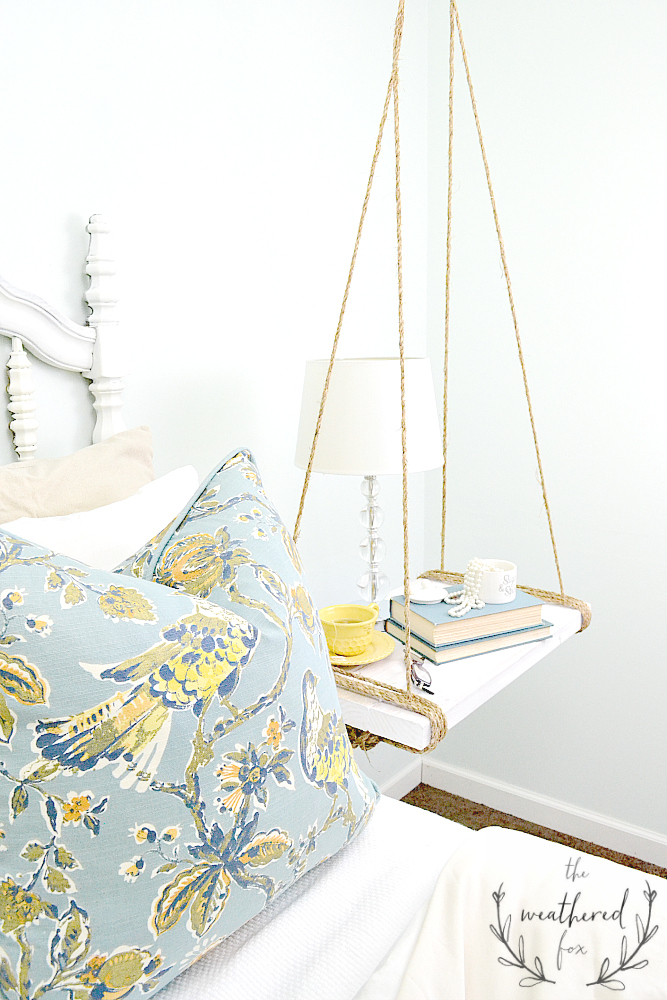
I love mine, it gives the room a light and airy feel.
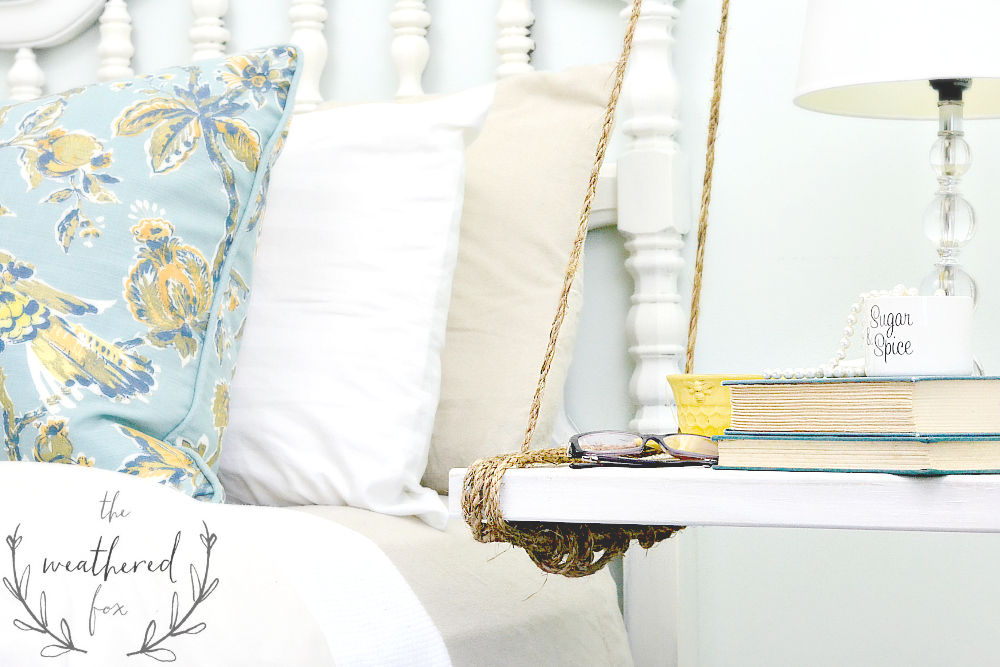
It sways and turns with a gentle touch which makes it kind of fun.
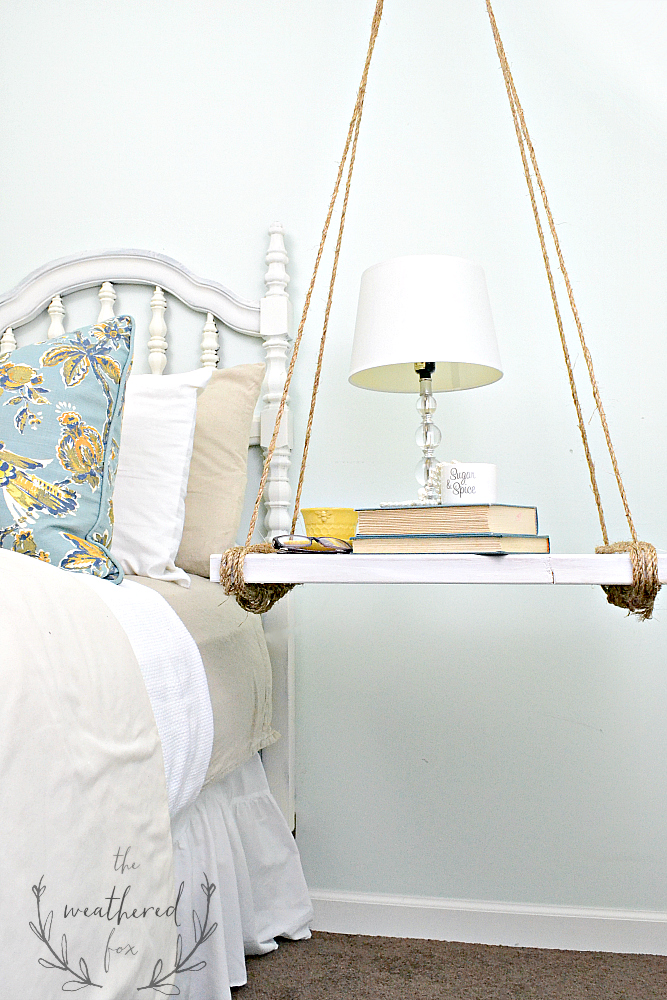
But I do not recommend this in a children’s room. I don’t know, it just seems dangerous to me, so use caution and your own judgement.


26 comments
[…] 19. Hanging Nightstand […]
[…] 3. DIY a hanging nightstand. Um, could this floating nightstand be any cooler!? We def don’t think so. It’ll free up major floor space while adding a touch of whimsy to your room. As you DIY, have fun playing around with materials that complement your space for a final product that’s just *so* YOU. (via The Weathered Fox) […]
[…] because we were planning to add crown molding eventually. You can see a peek of that in my hanging nightstand tutorial. Yeaaaa. We’ll get around to it, right? […]
[…] Easy Hanging Nightstand DIY […]
Love your diy! Pinned & shared. Thanks for joining the Inspiration Spotlight party.
Wow! Such a creative project! I am in awe of all of you ladies who are so handy with power tools. I am working on getting there! This would be a great bedside stand idea in my coastal style home! Fun and creative! Thanks for sharing at Celebrate Your Story!
Hi Crystal! I chose your awesome hanging nightstand as my feature at Totally Terrific Tuesday this week! Your projects are amazing, and thanks for linking up with us.
Great project, I love it! Thanks for sharing with us at the Totally Terrific Tuesday party, we hope to see you back again tomorrow!
What a fabulous idea and so unique! Thank you so much for sharing your fabulous project over at Waste Not Wednesday! 🙂
Fixer Upper is where I first seen one of these also. I love the way yours came out and thanks for sharing this at Celebrate Your Story. I hope you join us again.
Hi , I’m Anne, and I’m visiting from the Home Matters blog hop. I love this idea of the hanging nightstands. So clever, so unique, so whimsical!. And your instructions are great, very clear. Thanks for the inspiration! Anyway, have a wonderful day, and I hope you can pop over to my blog (https://birdsongbitsandpieces.blogspot.com) sometime to say hi!
I love this! Your nightstands turned out perfectly. Thanks for sharing at The Creative Circle.
This. Is. So. Cool. I bet it’s the easiest nightstand to vacuum under!
I am loving this great hanging nightstand! What a great option if you are limited on floor space as well!
I love this! It looks really simple to do and is stunning!
I love this!!! It’s seriously so cute! If we weren’t already planning on getting rid of our guest room I’d make two matching hanging nightstands for it. Thanks for sharing it!
Looks amazing! I love it. What a beautiful room. 🙂
I love this idea and you made it look easy. Thanks for tutorial
Awesome! As soon as I saw it, it reminded me of the ones in Fixer Upper! Great build!
Another great idea to use at the Lake House Fixer Upper! I can’t wait to get the think all closed in so I can start planning all the little inside projects. This look is perfect. Great job Crystal!
I can’t get over how cute this is. I don’t have little ones anymore, so I am pinning this for later!!!
This looks so nice! Do you find that they swing a lot when you bump into them? I’m thinking these would work great in a guest bedroom, maybe with limited floor space (guests could leave their suitcases underneath and out of the way).
I haven’t bumped into it yet, but it’s in the corner of the room so there’s not much of a chance for that. I’ve already been testing it with setting down and picking up my coffee and it doesn’t sway like crazy but it does move. I spent my whole day in that room today because I loved how retreat-like it felt! Gotta love a vacation in your guest room!
What a great little project! My daughter has a tiny room and this would be ideal for some additional shelving! Gotta try this!
I love it!! I have very little space for a side table in my room. This would be perfect!
Soooo gorgeous! I’ve wanted to attempt one of these forever. I do believe you gave me the final push! Really love the white as well!