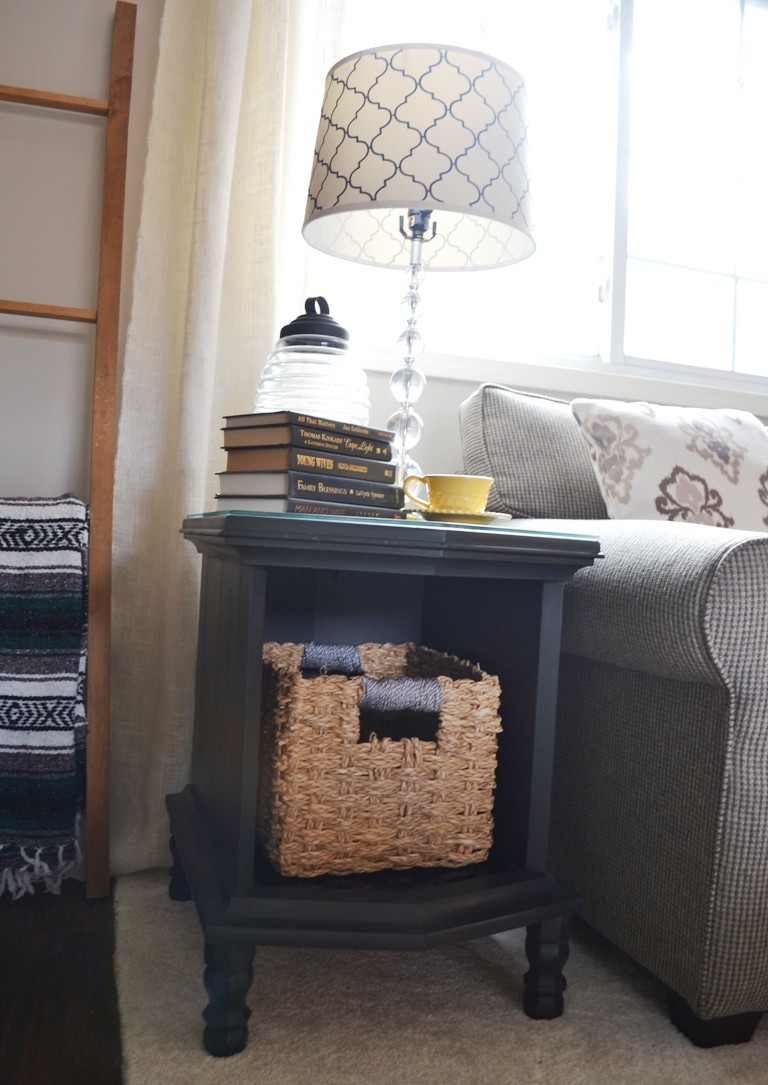
You may know by now that I like to garbage pick. I’m an avid garbage picker, junk collector, drop your crap off on my porch and I’ll do something with it kinda girl. And I seem to have a knack for taking something no one wanted and turning into something that people want to ask, ‘how in the world did you do that!?’ So today I’m gonna share with you how in the world I do that by diving into my top used furniture refinishing products.
Now, these are certainly not all the products I use when refinishing a piece. Instead, these products are the ones I use most often. As in, 70-80% of my projects, and some are there 100% of the time. So they obviously work for me and I want you to try them out too. I’m breaking the products down into different refinishing segments, since not all of my projects include all of these segments, but more of a mix of each depending on the project. You’ll see what I mean as you scroll through.
(This post contains affiliate links. This means I get commissions for purchases made through links in this post.)
My Top Furniture Refinishing Products
Stripping Old Finishes
I rarely ever strip an entire piece. For me, it’s just too time consuming and rarely ever worth the effort. I do, however, really like the look of a solid wood top, so I keep some supplies handy in case I get the itch the uncover a pretty wood top!
I have these items on hand when stripping furniture:
Citristrip – This stuff is the best in the biz, in my opinion. I absolutely love using it on my projects. You can use it indoors, it doesn’t give off any harsh fumes, and it works great! I would highly recommend using a stripping agent before doing any sanding. Sanding get super messy and just takes a ton of time and effort. You’re so much better of stripping a finish rather than sanding it off.
Wire Brush – These come in handy when you’re working in the grooves of edges or spindles. I use it mainly to scrub off the finish after the stripper has been applied.
Putty Knife– you’ll need one to scrape off the citristrip after it’s done it’s duty.
Prepping for Paint
Some projects require more prep than others. So bare in mind that all prep is not created equal.
But when I do prep, I almost always use these items:
Deglosser – Sometimes called a liquid sander. Typically I don’t sand before applying a new finish, unless the piece has a lot of flaking or paint drips from a bad paint job or something like that. I usually use a deglosser before I paint. It’s basically a really strong cleaning agent that’s going to take off any gloss and help the paint adhere to the previous finish.
old jersey tshirts – Have some old white shirts you never wear? Or maybe you have a few that need to be replaced? I use these for deglossing and also for staining.
Painting Furniture
This is what I do most often. I paint things. Like I said before, I don’t do much stripping and restaining and all that yet. I would say most, if not all, of my projects are honestly not work the time it would take to do it. I rarely work with antiques, so I don’t feel bad painting. And if you’re going to do this as income, you really have to weigh the time it will take you to refinish a piece vs how much you can realistically make selling that piece.
Anyway, here are my go to products for painting:
Oops paints – yea, you heard that right! Most of my furniture pieces are painted with oops paints that I pick up. I find mine at my local hardware store for 50 cents or so, and that little pint is enough to finish a decent sized piece of furniture!
Minwax Stains – I love using minwax stains for my projects. I tend to stick to a few colors: English chestnut, dark walnut, and weathered oak. I use these to give my projects a little dimension and age as well as staining whole pieces. It works sorta like a dark wax.
Paintbrush – I use brushes most of the time. I really like the ones with the smaller handles, like this one. I find it puts less pressure on my wrists. I also like to get the ones in the bulk packages, like with 8 in a pack because I tend to somehow need a million paint brushes. Not because of the quality, but because I forget to wash them out and they dry with paint on them. I’m terrible with that. I have a graveyard of dried up paint brushes.
Roller – I use small foam rollers for furniture that has a large surface area. It goes on a lot faster than using a brush. If I’m working on a finishing technique, I’ll go back to a brush for the final coat.
Sander – Please listen when I tell you, never never never attempt to sand without a sander! ugh. I’ve wasted hours of my life thinking hand sanding would be just fine. But trust me when I say, a sander will save you so so so much time. However, there is always a time and place for hand sanding of course. I like using the sheet sanders. I found orbital sanders to show more in my finish, but a friend says it may have been that I was using too rough a sand paper. So that it for what it is.
Sandpaper – For taking off a lot of stuff, use lower grit. For final finishes, use higher grit. I usually tend to go between 60 and 220, 220 being my finishing sand. But like I said, a sander will do a better job, and actually works harder, so try out what is going to work for your project. I would suggest hand sanding any detail like trim, sanders can tend to cause you to lose that pretty detail if you’re not careful!
Drop Cloth – I bought one drop cloth a few years ago and it has been so good to me. It has saved me from a ton of big oopsies. Gotta have one if you’re painting!
For the Hardcore Painter
All of the above information still holds true, but if you’re someone who is looking to either begin painting a ton of furniture, or you want to take your painting to the next step, I would very highly recommend these items. They will save you so much time and energy
Paint Sprayer – There are many sprayers on the market right now. Some are electric, which means you can just plug it in, pour your paint, and go. Others require a compressor in order to use them. I have heard a ton of great things about Home Right’s Paint Sprayer, and I plan to try it out soon. Home Right’s paint sprayer does not require any additional products in order to use it. I have a little paint sprayer that requires an air compressor in order to work. I think it does a fabulous job and only cost me less than $20. Since I already had an air compressor, it was a no brainer for me.
Air Compressor – I cannot say enough great things about my pancake compressor. I use it for practically every project. For painting specifically, you would use a compressor to hook up to an air paint sprayer. It’s gonna make your paint go on like butta’. Though mine is a tiny one and not every paint sprayer is compatible, I have found one that seems to do just fine for my little air compressor. They are very happy together.
Paint Tent – Again, I have heard good things about the Home Right Paint Shelter. Or you can DIY your own like all these amazing people on Pinterest. But any way you swing it, you’re gonna need to protect the surrounding area from overspray.
Cleaning Hardware
Typically if I find old hardware that I want to reuse, I’ll first try to boil it for a few hours to get off any layers of paint using an old Crock Pot. I learned that from my pal Nicole Curtis.
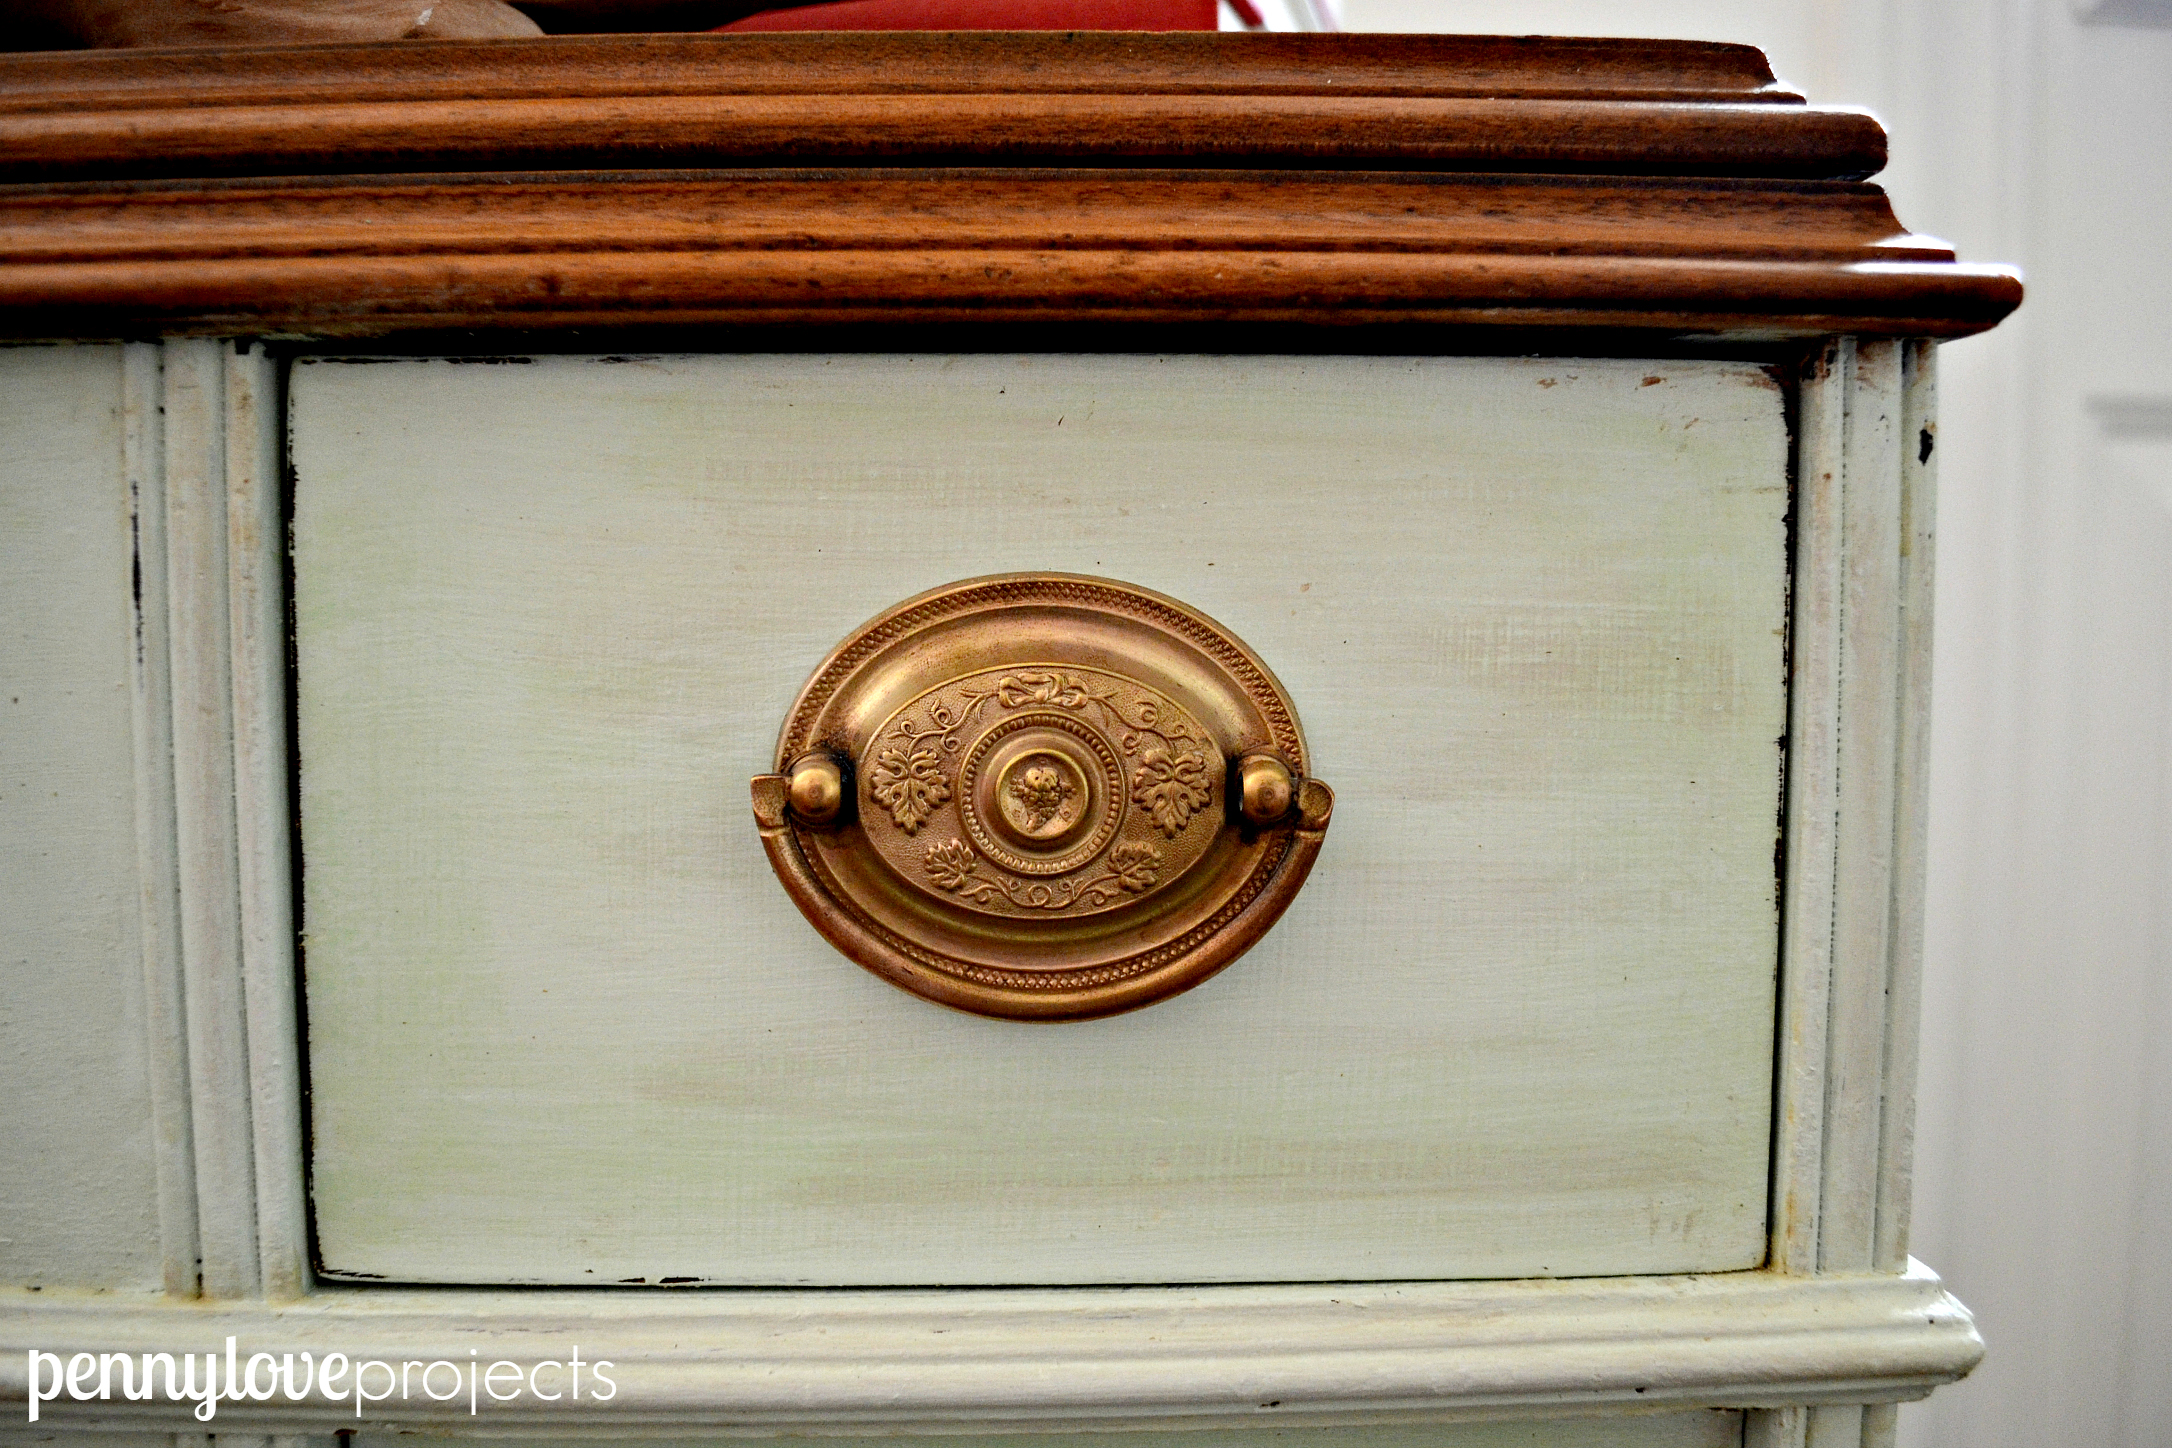
Barkeepers Friend – Occasionally the boiling just doesn’t do the job. So I turn to Barkeeper’s friend. I once refinished this really pretty sewing table that I found in the garbage. It had these drawer pulls that just looked so sad and dirty. But once I used Bar Keeper’s Friend, they looked like completely different pulls! You can see that full Rummage Redesign here.
Sealing Your Masterpiece
I have tried so many different ways to finish and seal my projects, but I have narrowed it down to my number one favorite item.
Minwax Polycrylic – This is my go to sealer. It won’t yellow your paint, it’s easy to apply, and it has no smell. I also love the fact that it’s waterbased, which makes clean up so easy! Fantastic product. I always get mine in satin because I like the way it adds that little bit of shine, like you’ll find in a nicely finished piece.
And my single most used tool when refinishing any kind of furniture is
It seriously is!
Laugh all you want, but this bad boy is always in my pocket!
One side opens wine, the other side opens paint cans.
Seriously, for $2 you should have this in your toolbox!
Like It? Pin It for Later!
