Hi friends! Jane and Sonja here from Sustain My Craft Habit. We’re excited to share this tutorial on how to make adorable DIY photo clips that you can use for your Christmas photos or greeting card display.
Ever since we started using picture displays to hang our family photos, we find ourselves making more of an effort to develop photos we’ve taken. In the past, the pictures would be stored somewhere on our computer’s external hard drive very rarely to be seen again.
(This post contains affiliate links. When you buy a product through one of my links, I get a commission at no cost to you! Thanks for supporting my blog so I can continue to bring you posts like these.)
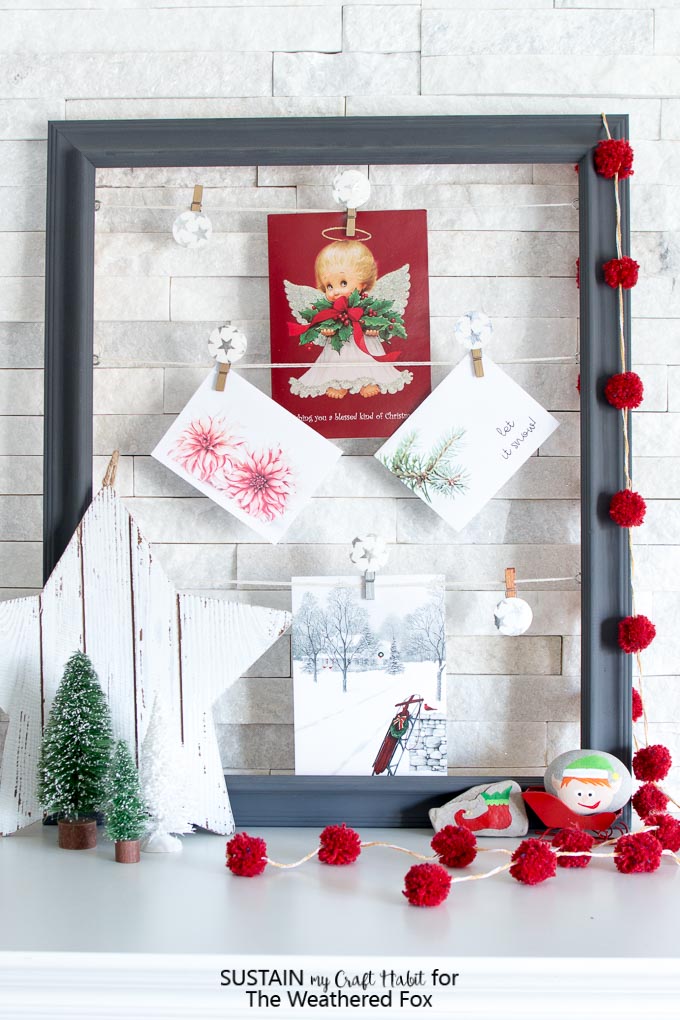
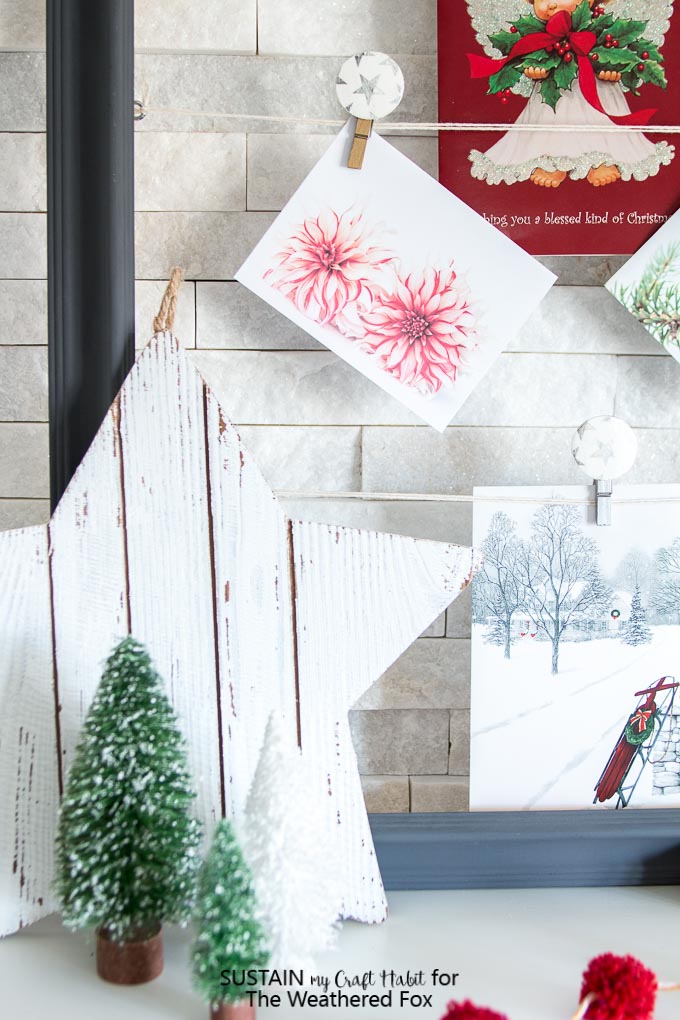
Last year we created a whole rustic Christmas mantel with natural and repurposed elements. One of the first pieces we made was a simple DIY Christmas card display frame (or buy a rustic hanging photo frame on Amazon). Actually, both of us has one of these photo displays in their home. We use them over the holidays to display the lovely cards we receive from friends and family. Then afterward, we switch up and display our favourite photos of the kids and our families. Displaying your pictures in this way is so simple and inexpensive. There’s no need to fuss over picture frames!
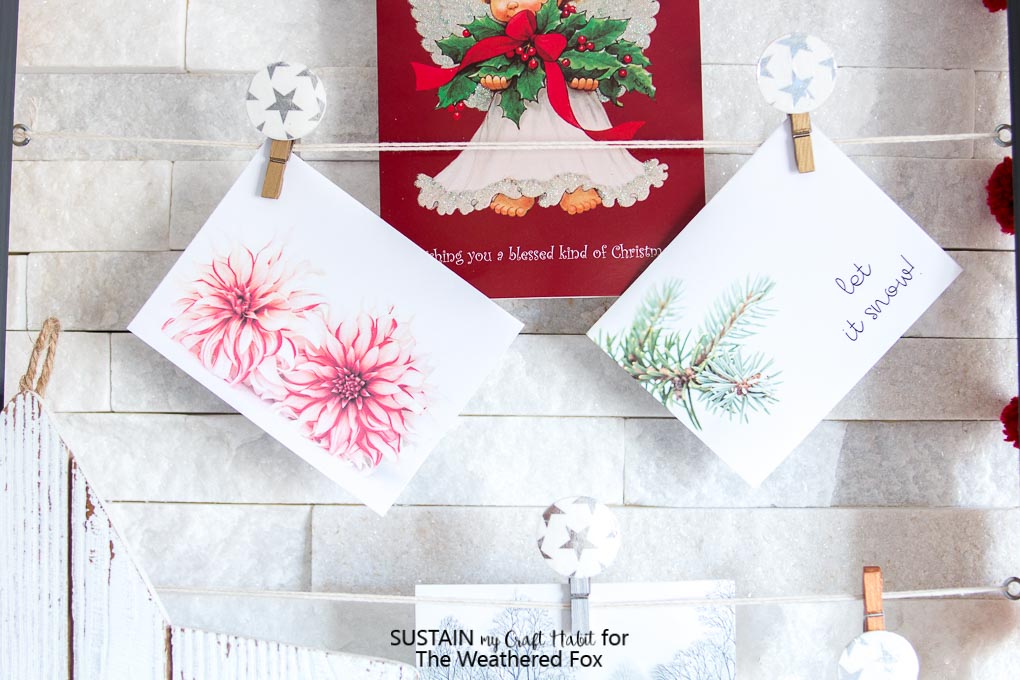
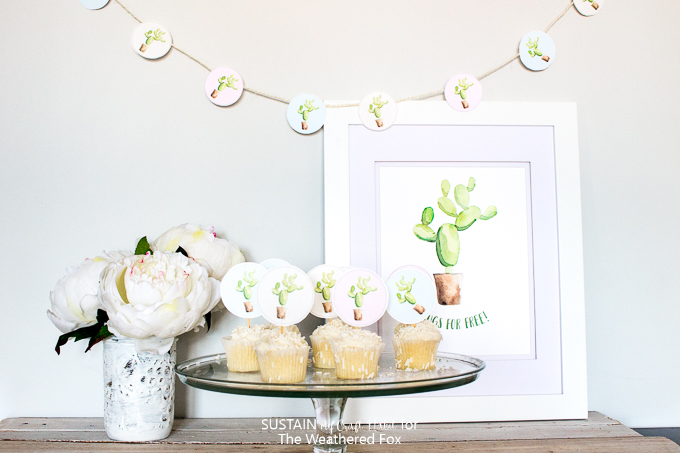
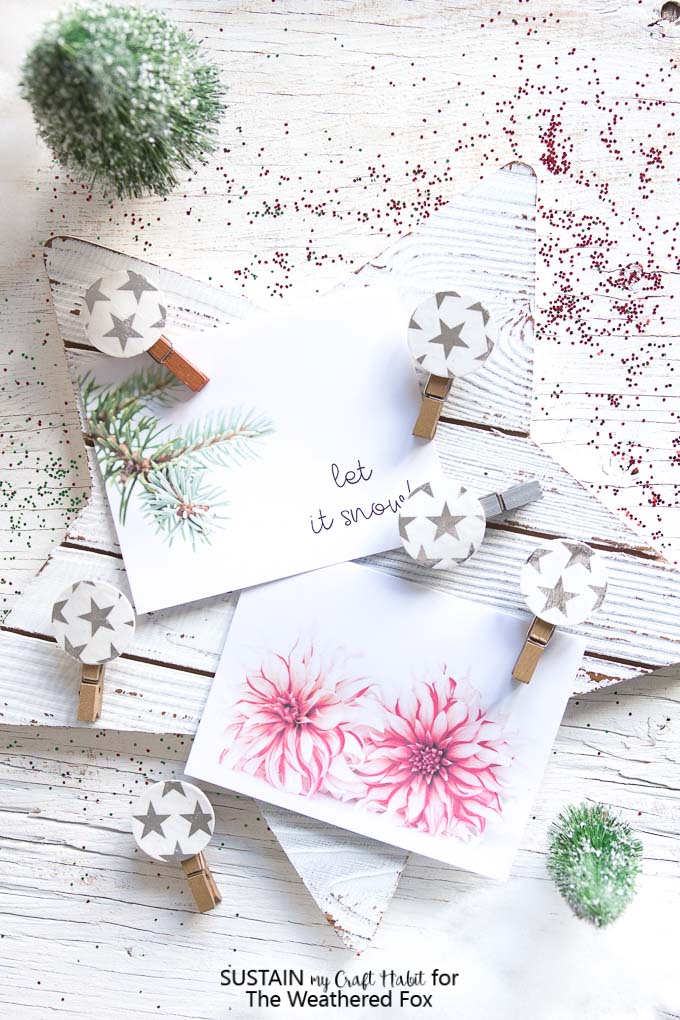
We wanted to add a little holiday spirit to our picture displays by embellishing the photo clips with some festive glam. Also, we invite you to come by Sustain My Craft Habit and subscribe to our community. Members have access to our entire library of monthly printable greeting card templates. These include Christmas themed ones such as “Let It Snow” and “Floral Joy”.
While these star-themed DIY photo clips are perfectly sparkly for Christmas, we plan to use them on our photo display year round. If you’re looking for more holiday decorating ideas, check out dozen of these farmhouse Christmas decor items collected by Crystal.
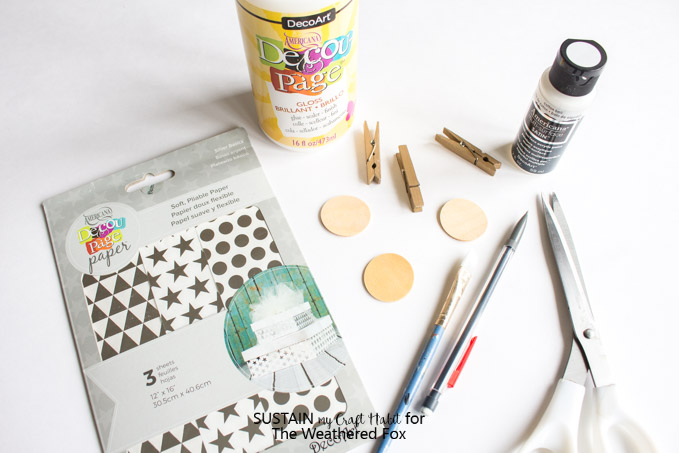
Materials Needed to Make your own DIY Photo Clips:
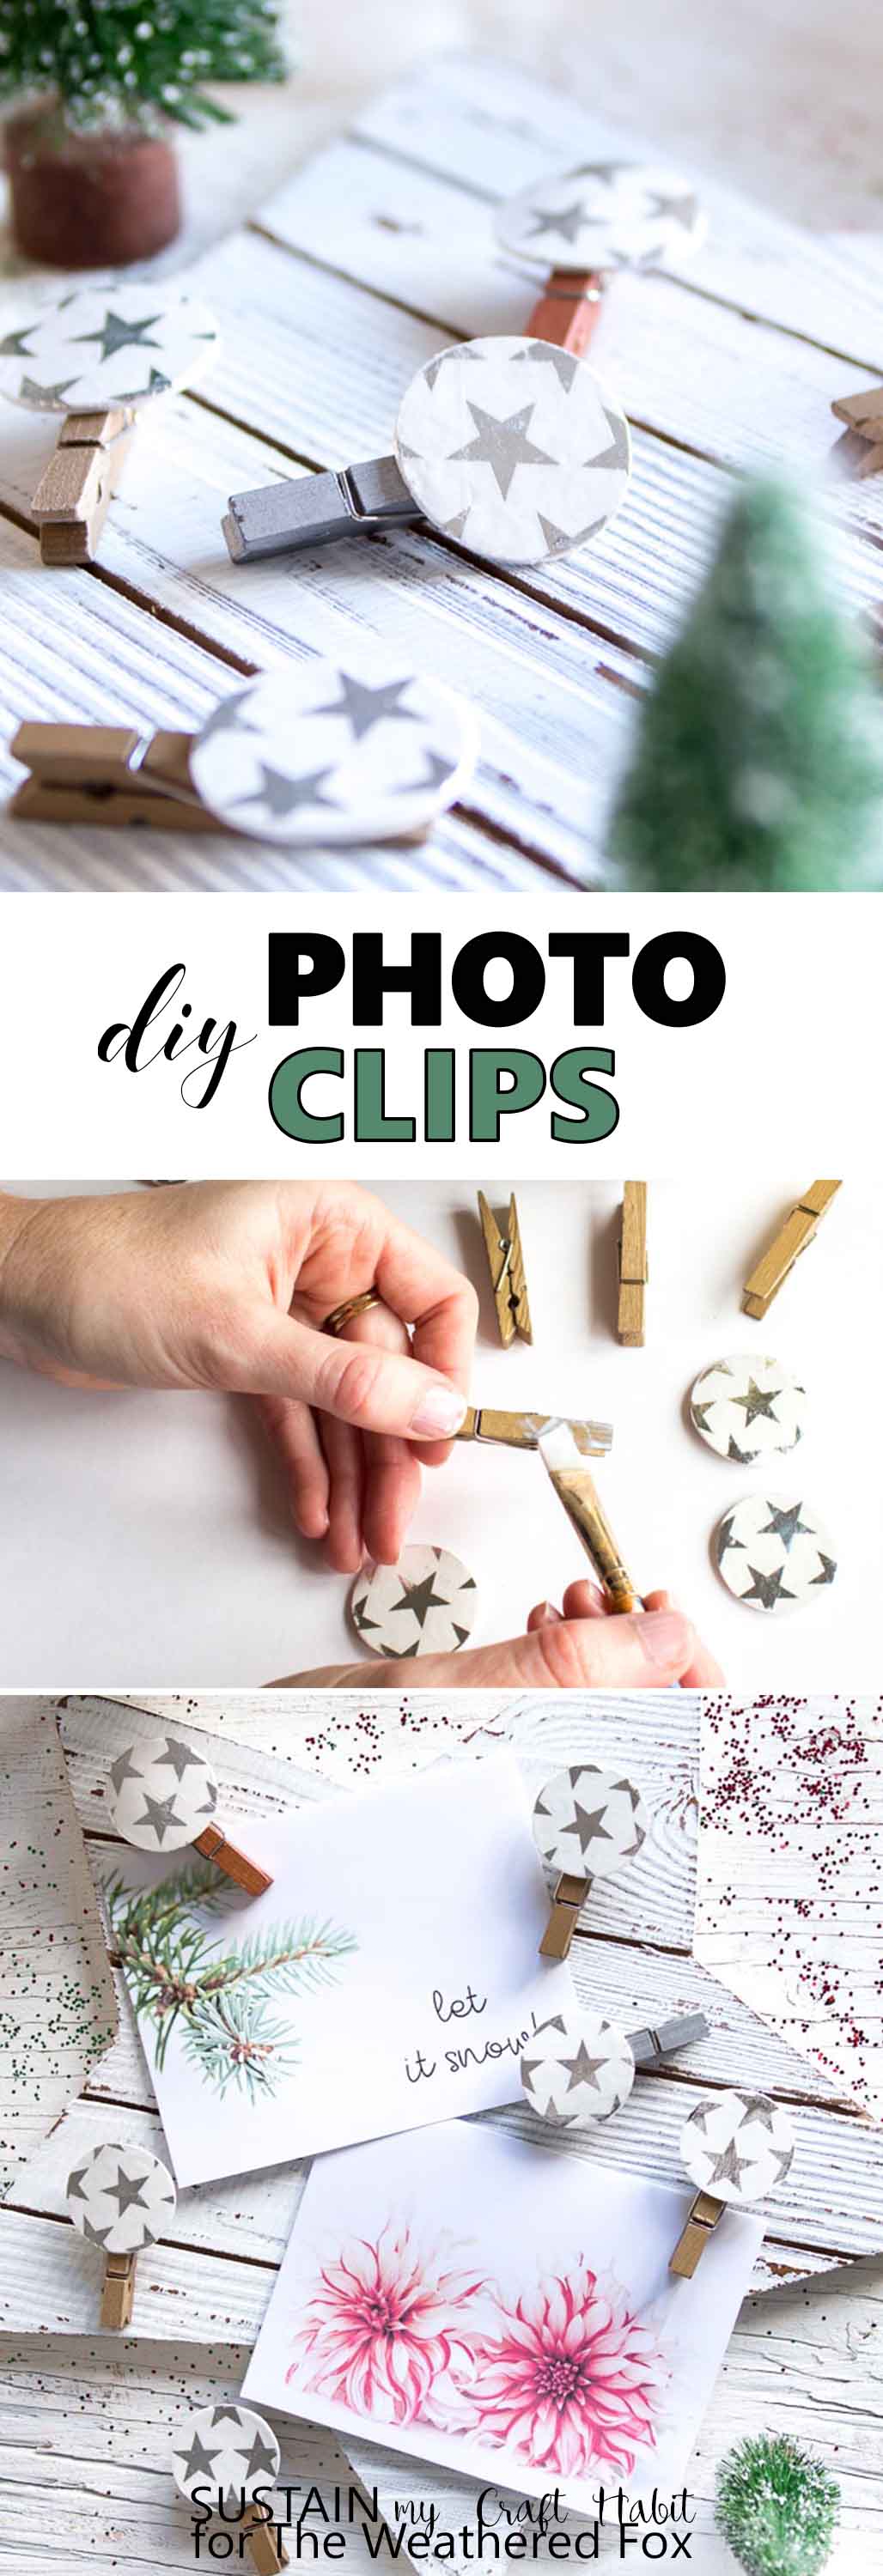
- Decoart Multi-Surface Satin Acrylic Paint in Cotton Ball
- Small decorative clothespins
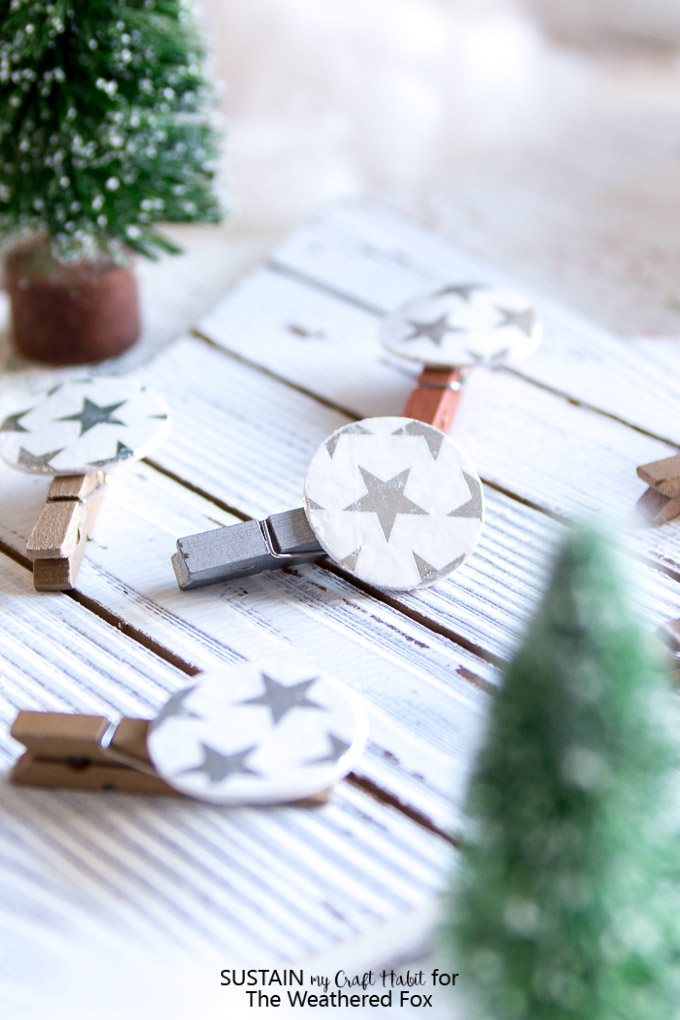
- 1” circular wood cut outs
- Glue / Sealer, glossy finish
- Small sized, flat bristle acrylic paint brush
- Americana Decou-page decorative paper, Silver Basics
- Scissors
- Pencil
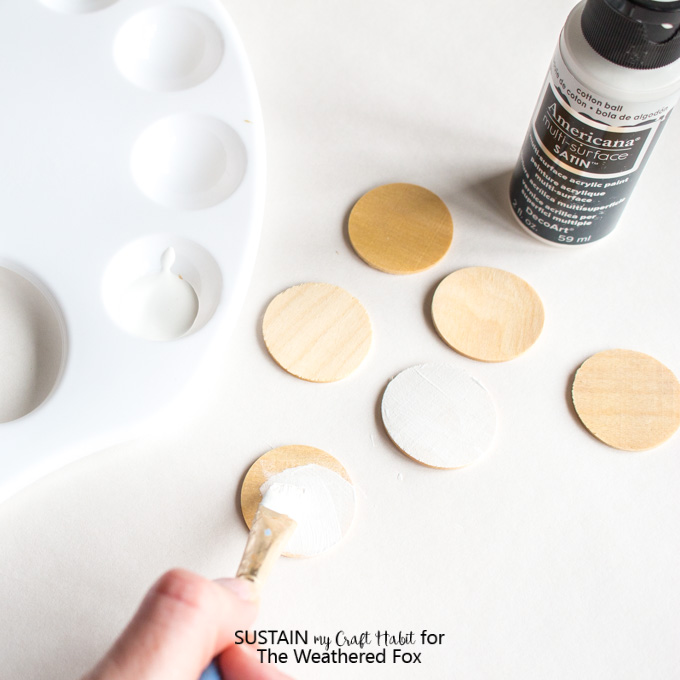
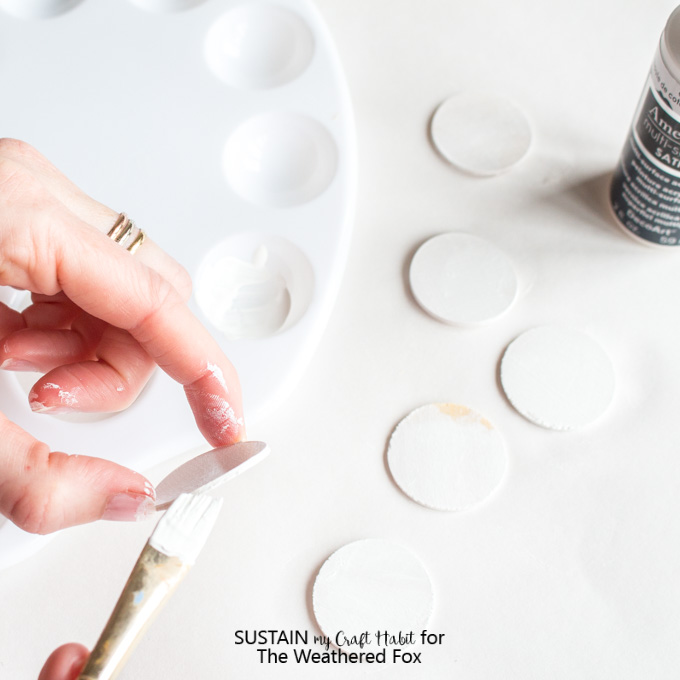
Embellishing the wood circles:
Paint all sides of the wood circles. Apply as many coats as necessary to achieve the desired coverage. Leave them to dry fully before moving onto the next step.
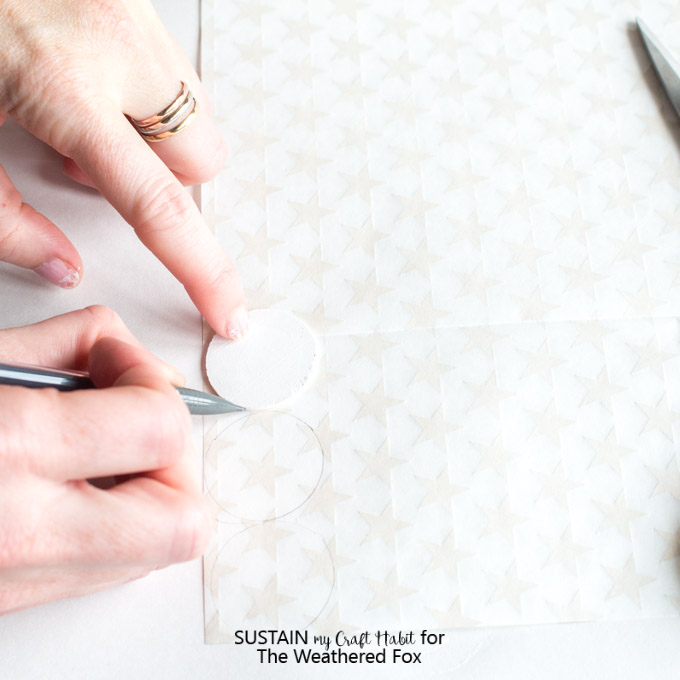
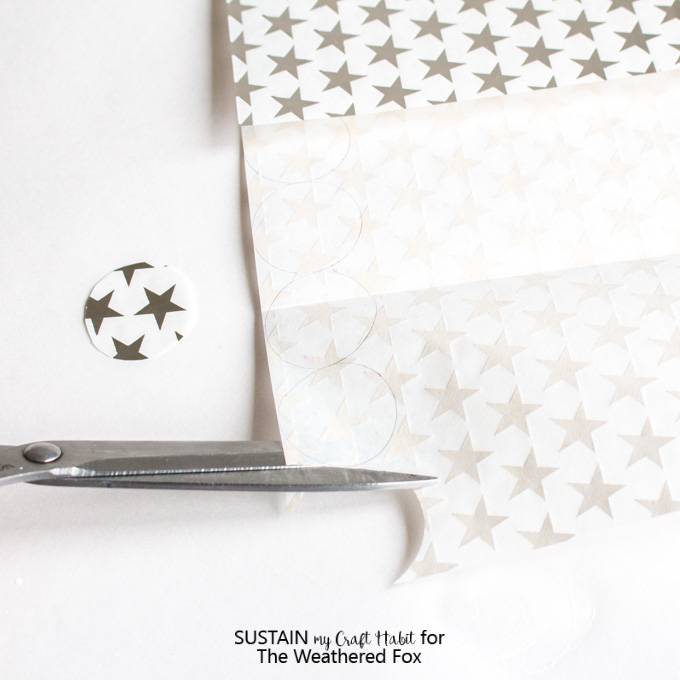
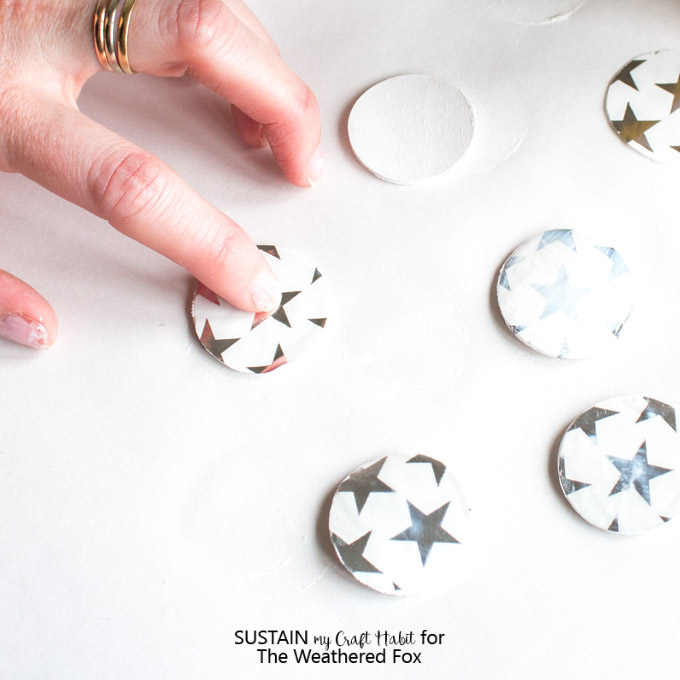
Trace the wood circles on to the back side of the decorative paper and carefully cut out the circle shapes.
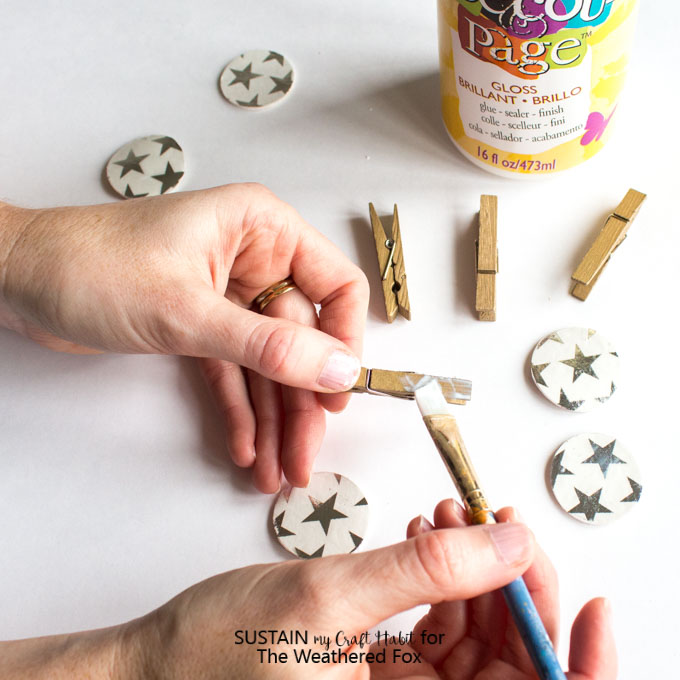
Using a paintbrush, apply a good amount of glue to the top side of the painted wood circle and also apply glue to the back side of the circle cut outs.


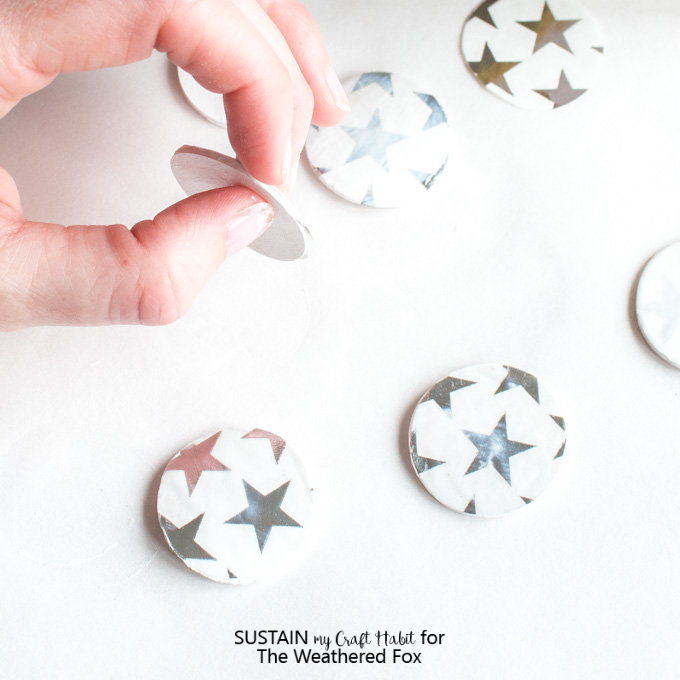
Press the circle cut outs onto the wood circle (glued sides together) and squeeze out the excess glue to ensure a smooth, flat surface and to eliminate any bubbles from forming underneath the paper. Wipe away the excess glue from the sides.
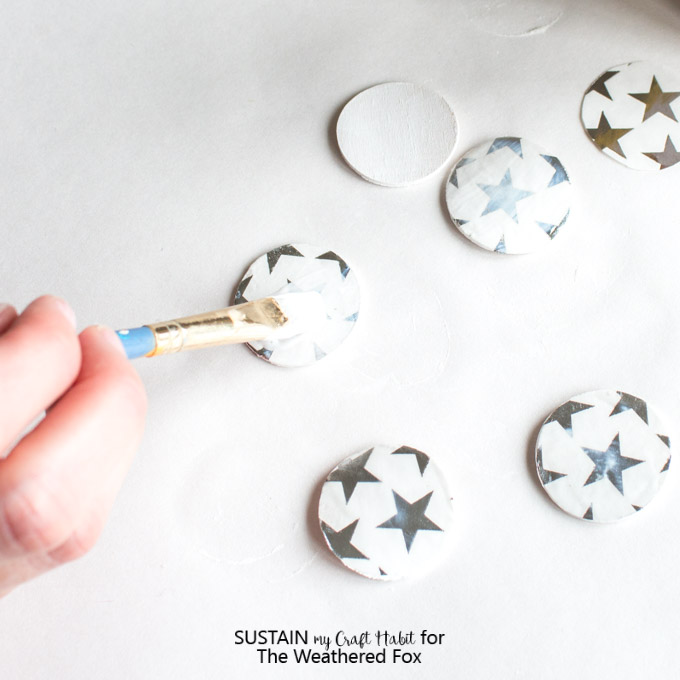
Using the paintbrush, apply the sealer to the top side of the pressed circles and put aside to dry fully before moving on to the next step.
Attaching the Clothespins to your DIY Photo Clips:
Apply a good amount of glue to the top end of the clothespin as shown and press it onto the back side of the embellished circle. Hold in place for 10 seconds.
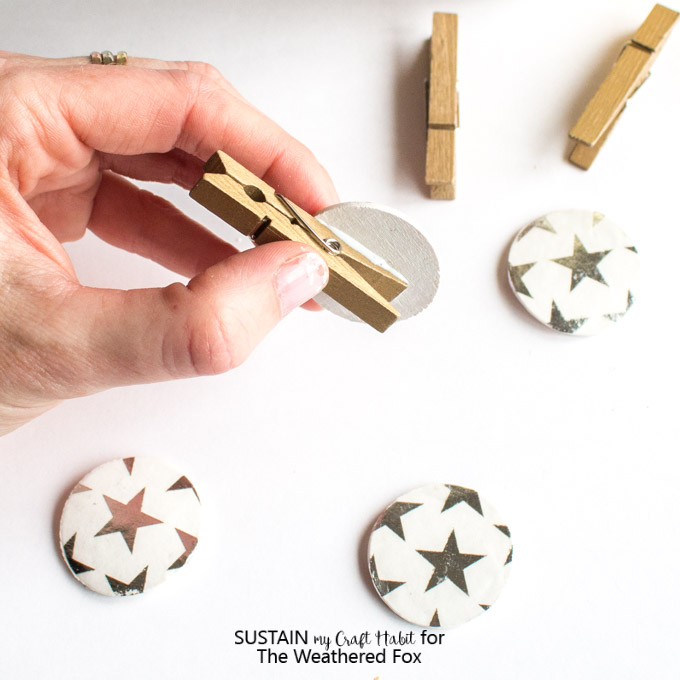
Leave them to dry completely on a flat surface before using.
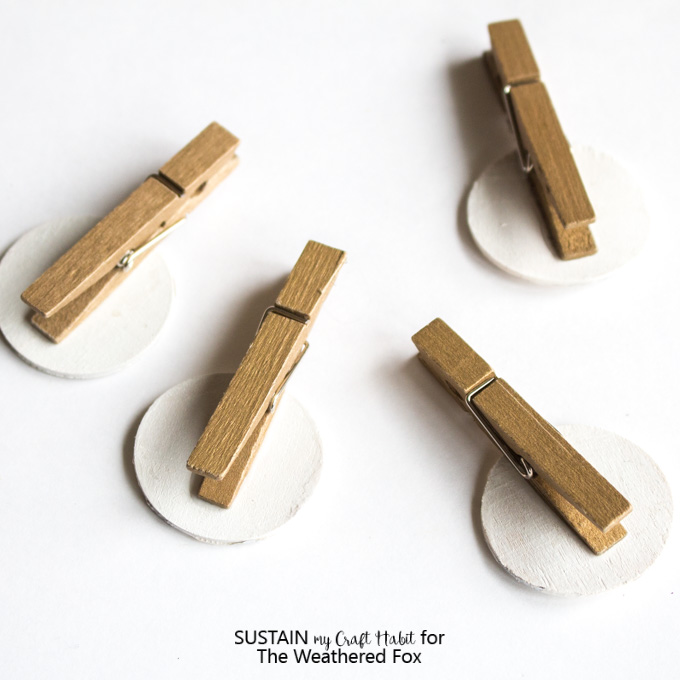
There you go! Fun little DIY photo clips for your holiday decorating. You could of course use any festive paper pattern. These vintage images would look amazing: just download the images and print them out on your own paper.
How do you like to display your photos?


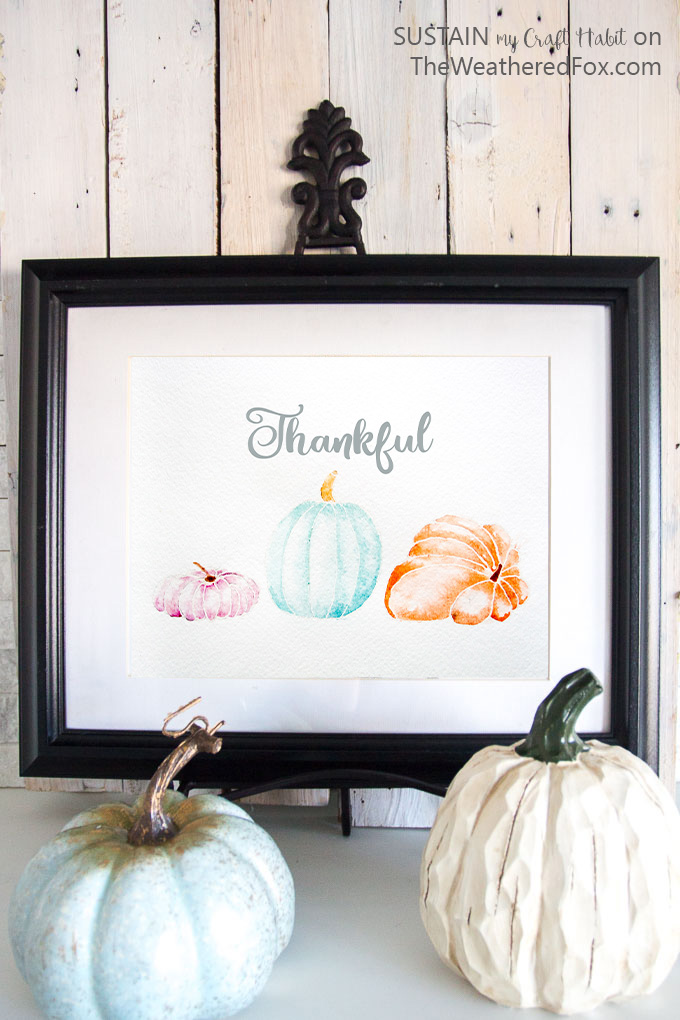
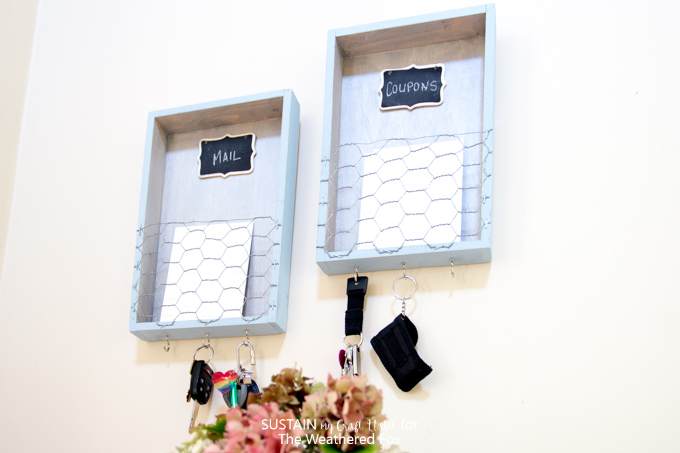
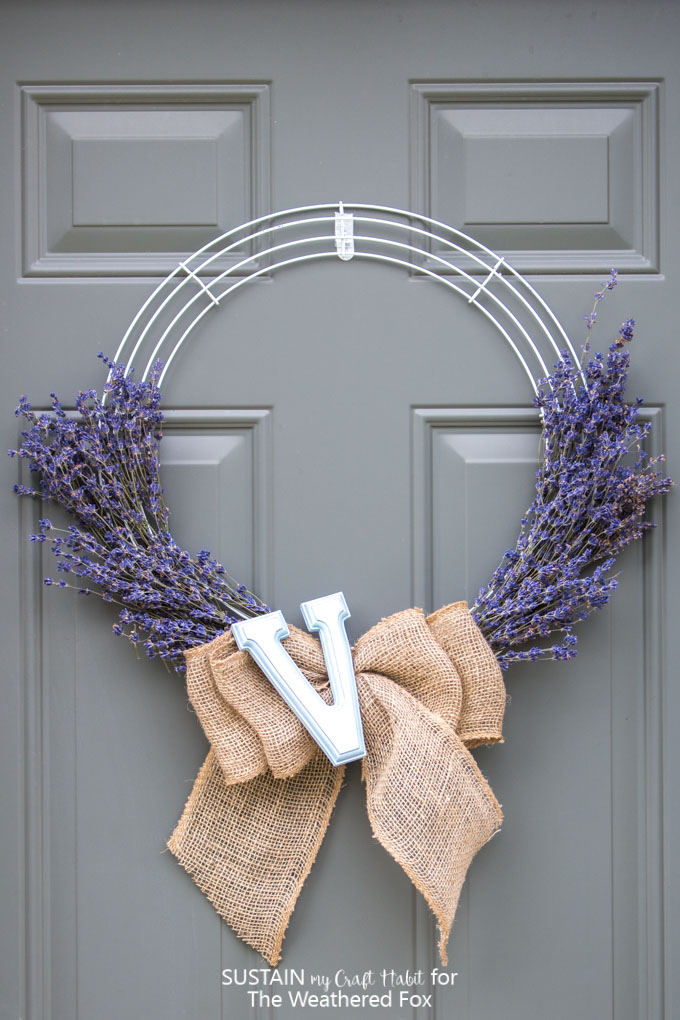
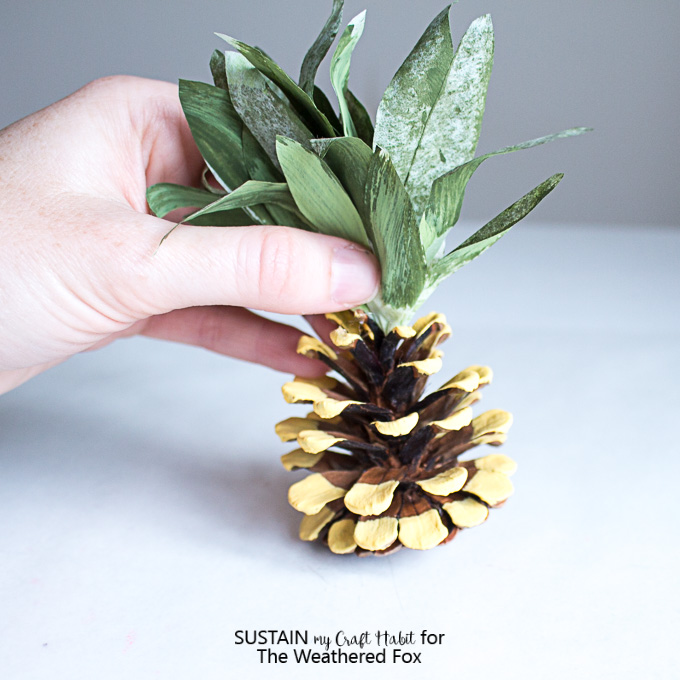
We love creating simple, nature-inspired projects and crafts. Here are a few other Sustain My Craft Habit projects you can find here on The Weathered Fox: